Back in high school I thought I’d become an architect until I picked up my first camera and started photographing. It seemed that all I photographed was architecture. I’ve been fortunate to merge my love of both architecture and photography into a profession and, after 30 years, I still look forward to my next assignment. One of the most important aspects of architectural photography, whether shooting for an architect, interior designer, builder, or a magazine, is to create dramatic images. Here are ten tips that will help you come away with great architectural photographs.
Evaluating the Scope of the Project
Before you start photographing anything, you’ll need to walk the job site with the client so that you can discuss which areas of the building are to be photographed and from which angles. It’s best to visit the location in advance with the client. If that isn’t possible, reviewing a building plan and shot list with the client is a helpful alternative. By walking the building, you’ll be able to establish what time of day is best for each shot. This will help determine if you’ll need access to control the building lights, what type of equipment will be necessary for each particular shot, and if you’ll need strobe or tungsten lighting. This is also the time to learn what the client is trying to convey with these photographs.
Use a Tripod
Architectural photography is all about keeping your perspective of the building correct, especially perpendicular lines. If you want a tack-sharp image, you need to start with a good sturdy tripod; adding a couple of sandbags will help keep your tripod in place. After deciding where the camera will be positioned, you need to level your camera. This can be accomplished with built-in levels in newer DSL cameras. If your camera doesn’t have a built-in level, you can purchase one for around $30, and place it in the camera’s hot shoe. If you don’t have a tilt-shift lens (see the next tip), you can level out your horizontal lines in camera and correct your vertical lines in Photoshop.
Tilt-Shift and Other Lenses
You don’t need a lot of lenses for architectural photography, but one I’d highly recommend investing in is a 24mm tilt-shift lens. I use this lens for about 80% of all my interior photographs and about 50% of my exterior images. It’s an incredibly sharp lens that allows you to set your camera perfectly level, and then shift the lens to compose the image the way you want.
Other suggested lenses include a 16–35mm zoom lens for a wide angle of view (especially for exteriors), and a 24–70mm zoom lens (best for exteriors and detail interior images). Although not often used, a 70–200mm zoom lens does come in handy when you need to photograph from a distance. If you have the budget, I’d also suggest a 17mm tilt-shift lens, which is great for very large spaces; but it shouldn’t be overused, as it has some distortion issues in the corners when used close up to a subject.
Camera Placement
One of the most important decisions you make when photographing architecture is camera placement. Most of the time it’s best to shoot from a corner, as this will give the building or room more dimension, depth, and interest. Very rarely will you find yourself shooting straight onto a building or interior, but there are times when the architecture will lend itself to a straight-on camera placement, and when this happens it can be a very powerful image. When photographing a residential exterior, try to place your camera on the opposite side of the garage doors to minimize their size and prominence.
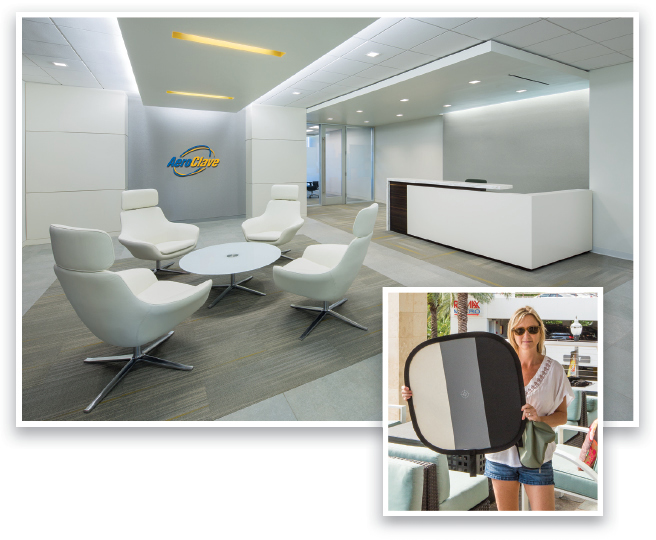
Color Target
The use of a color target is essential as, most of the time, you’ll be photographing in lights that have mixed color temperatures. Using a color target will speed up your postprocessing and help you determine the type of color corrections you’ll need to apply to your images. In many cases, you’ll have to photograph the target in different locations because of two or more lighting sources with different color temperatures. By having the target information in different locations you’ll be able to make the color adjustment, and in the end have the correct color for the image.
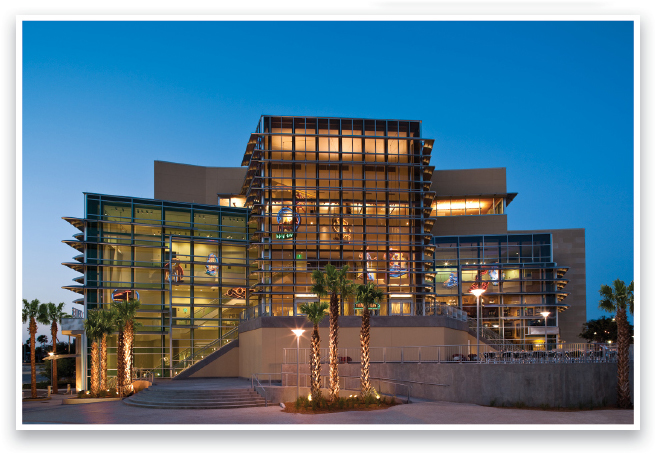
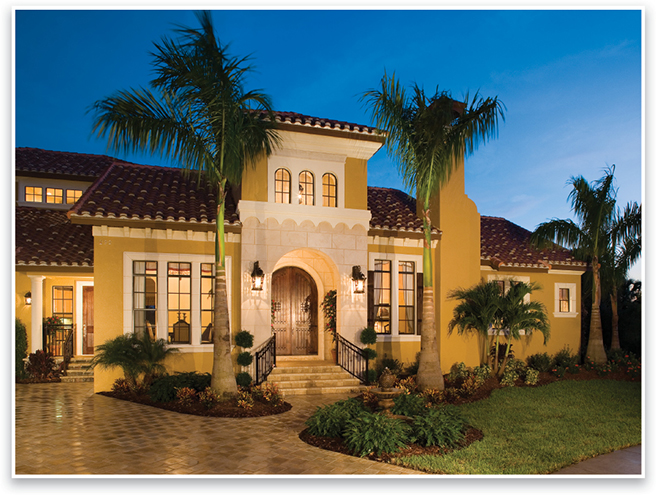
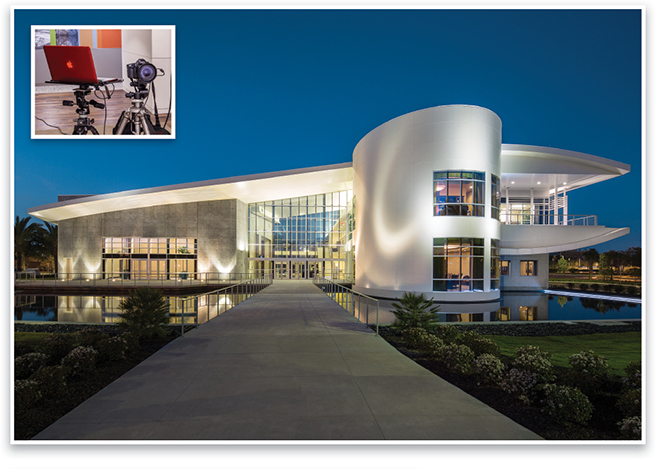
Photograph at Twilight
One of the most dramatic (and client-requested) shots in architectural photography is the twilight image. It doesn’t matter if it’s an interior or exterior image, photographing at twilight will add drama to the architecture and your photograph. There’s only about a 20-minute window of time when ambient and artificial light will have the same color temperature and exposure range, so planning for the shot is a must.
When shooting at twilight, you should plan on making three different images: the first when the sun is just below the horizon; the second about 10 to 20 minutes after the sun has set (this is usually the best and most popular); and the third when the sky is almost black (in case you need to change some of the lighting). Remember to give yourself extra time to set up for a twilight shot. Place your lights in the right location and test them to make sure the circuit breaker won’t trip in the middle of shooting (as has happened to me).
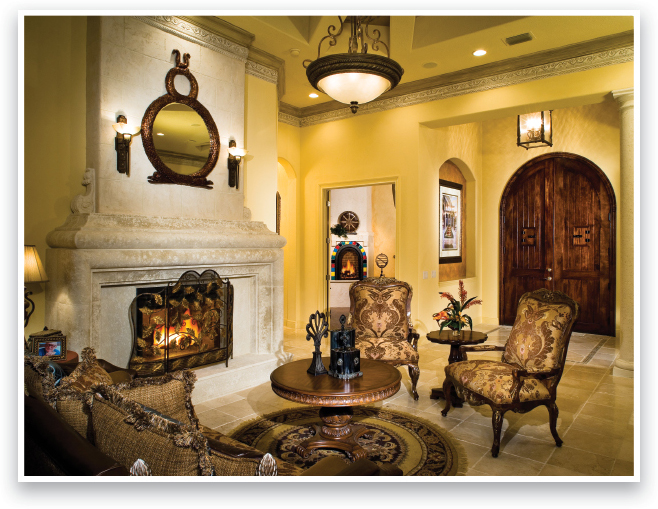
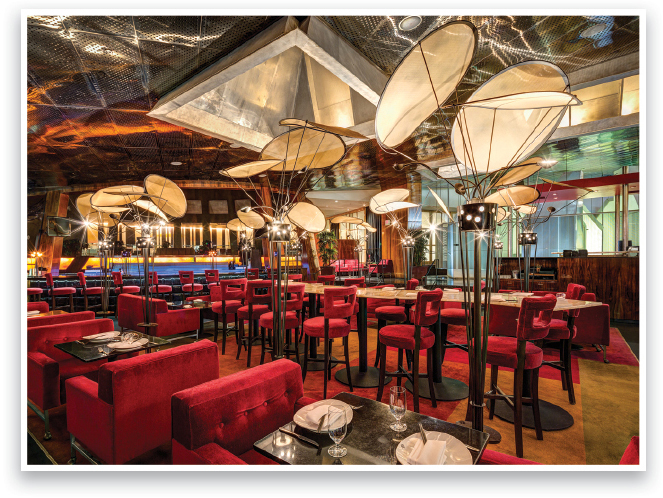
Artificial Lighting
In order to photograph architecture, you’ll need both strobe and tungsten lights to control the different lighting conditions. When using strobes to light an interior, the goal is to balance your lighting with the ambient light. This is accomplished by using softboxes or umbrellas to fill in the shadows, and a few lights with grids to add interest to key elements in the room. Strobe lighting tends to be a little flatter than tungsten, and for this reason I prefer tungsten lighting. With tungsten, you have more control and are able to create a more dramatic feeling—and they’re a lot less expensive than strobes! You can use tungsten lights for both interior and exterior photographs, allowing you to balance your lighting for twilight shots. (Note: For more on how to light an interior space with tungsten lights, see “Light It,” page 80.)
Water Down Driveways
Especially in residential photography, watering down driveways and sidewalks will not only add interest to your photograph but will also darken the driveway so it’s not the brightest spot in your photo. Having a reflection of the building or the sky will add color and break up what tends to be a very boring part of the photograph.
Tethered Shooting
Architectural photography is a collaboration between you and your client. Tethering your camera to the computer allows you and your client to view and evaluate a larger image, where you can check focus, look for items that shouldn’t be in the image, and make changes to the styling. Allowing the client to view the image on the computer will let him voice any concerns, and then you can make any changes so that he gets the best image possible.
Be Careful with HDR Photography
HDR photography is a great tool for architectural photographers, but one that can be overused. Starting with a correct exposure and processing the image in Adobe Lightroom will usually get you a great final image. Adobe has added a new feature in Lightroom CC that allows you to process an HDR image with great results. Merge to HDR can give you a very realistic HDR image, and you can use all the adjustments that you’re already using in Lightroom to tone-map your image.
One of the great things about architectural photography is that your subjects don’t move, show up late, or have an attitude. It can be very rewarding, and I hope that you’ll be able to use some of these tips the next time you’re out photographing architecture.
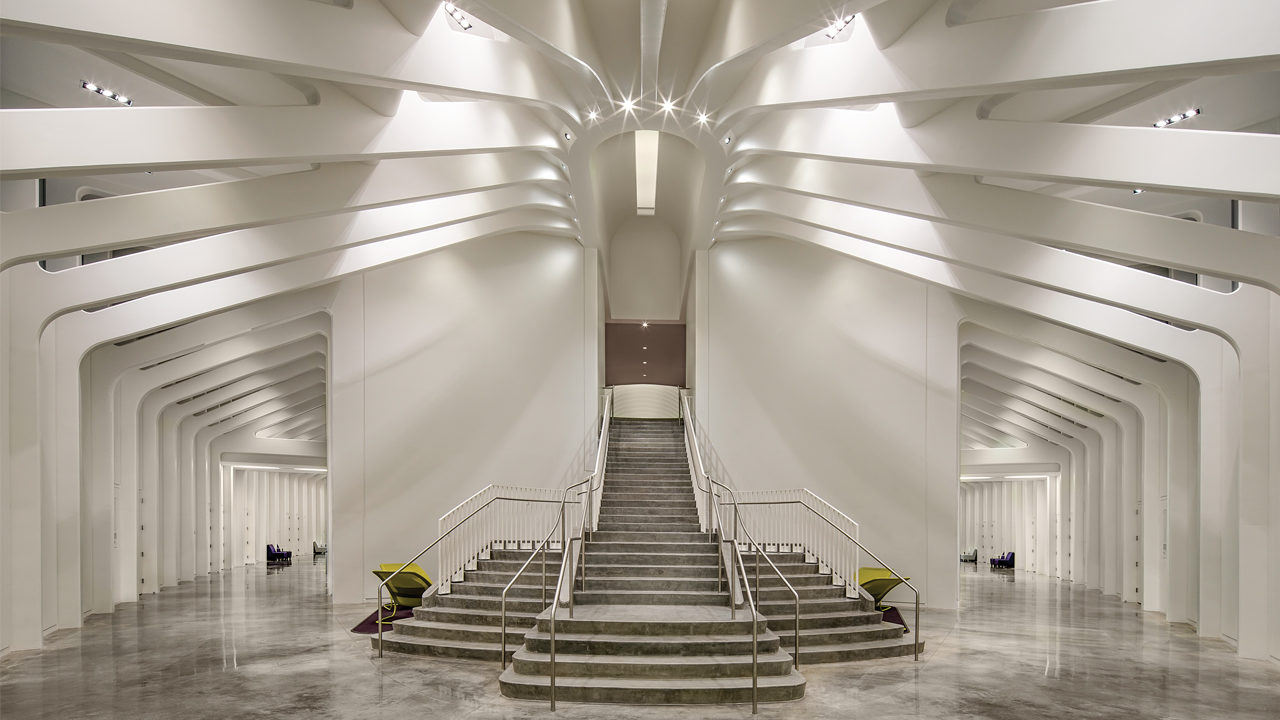
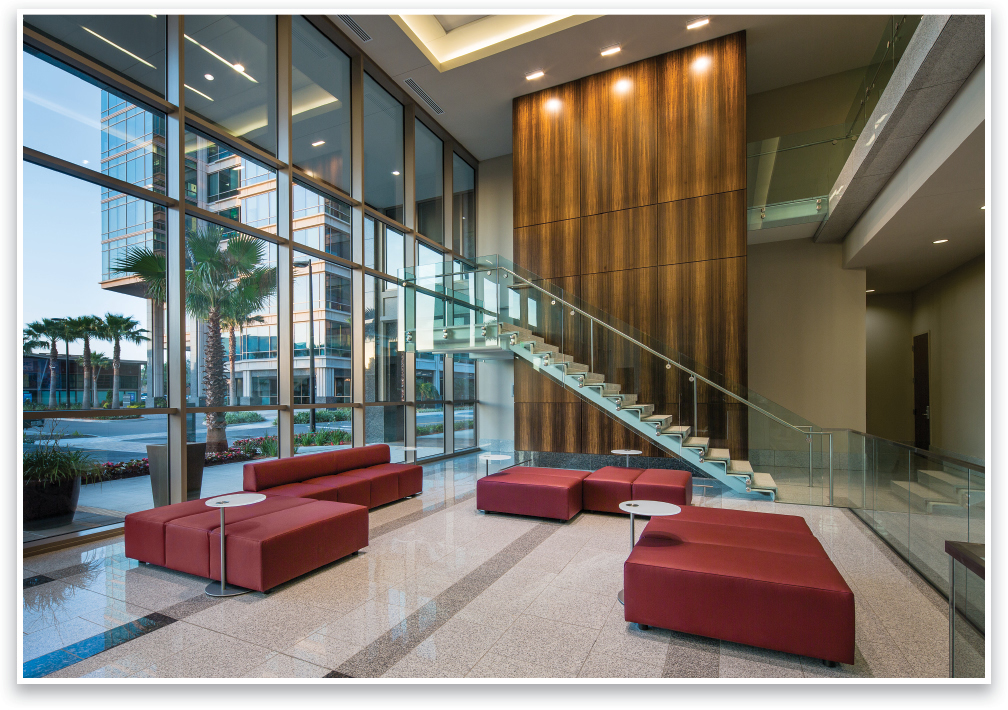
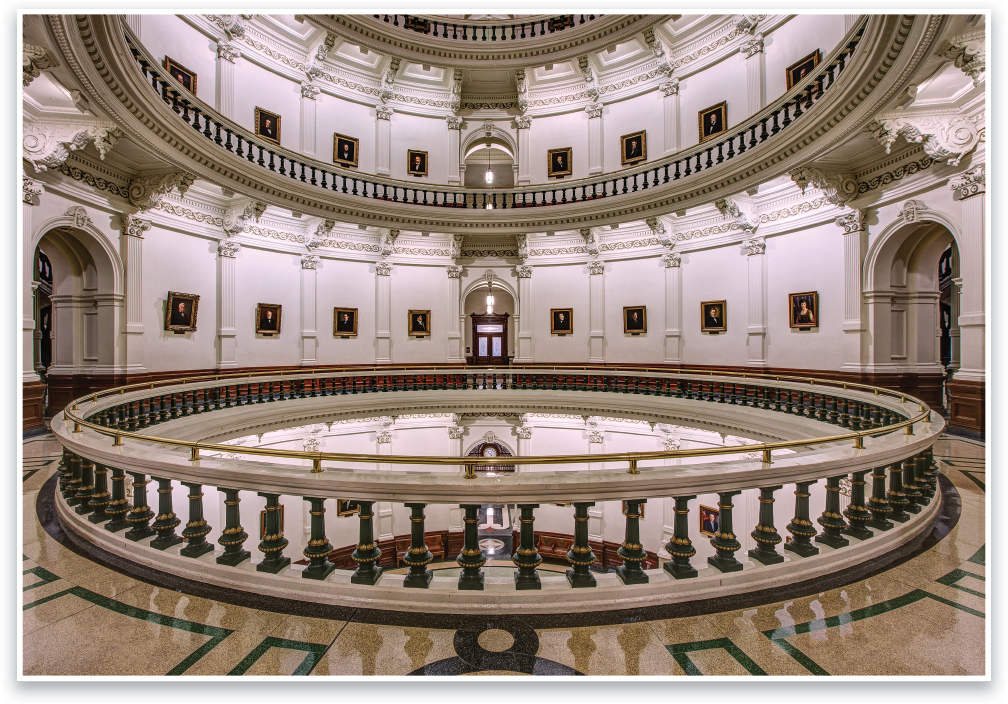
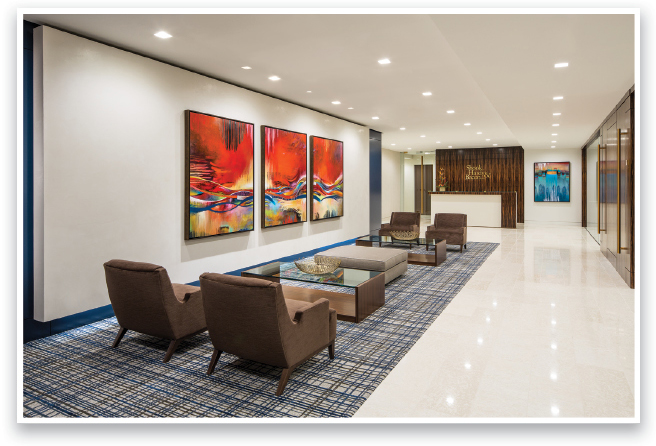
All images by Randy Van Duinen
This article originally published in the September, 2015 issue of Photoshop User magazine.


Hurrah, that’s what I was exploring for, what a information! present here
at this website, thanks admin of this website.