Masking and making selections is still one of the most fundamental skills in Photoshop. It used to be much more complicated, but with the inclusion of new technology, such as Adobe Sensei, we’re continually seeing the process get easier. But that doesn’t mean you should forget about best practices when it comes to your workflow and how to protect yourself from dreaded “rework” in the future.
Need to Know
If you’ve been using Photoshop for any length of time, or have been reading this series, you’re familiar with layer masks, those handy little elements you can attach to a layer so you can hide (mask out) pixels on that layer without actually erasing them. The old saying “black conceals and white reveals” is the rule of thumb here. Let’s take a look at the following graphic to see how it was built using nested layer masks along with layer group masks.
The Graphic
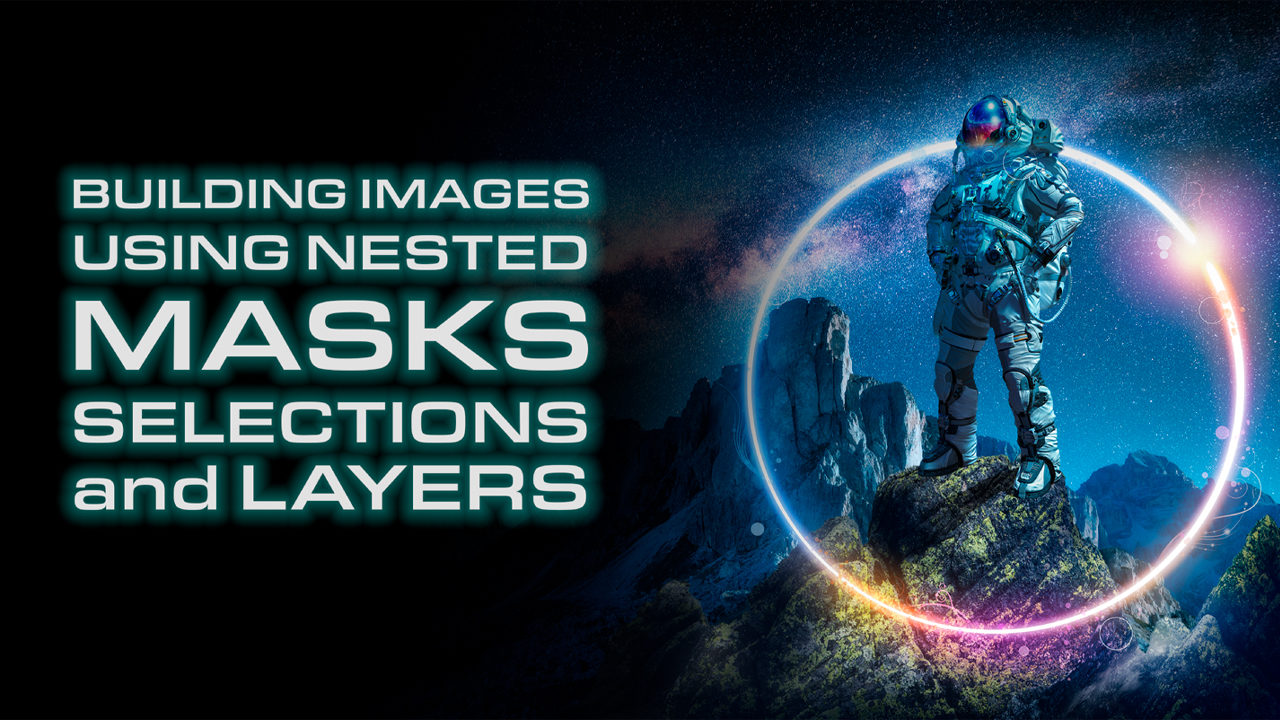
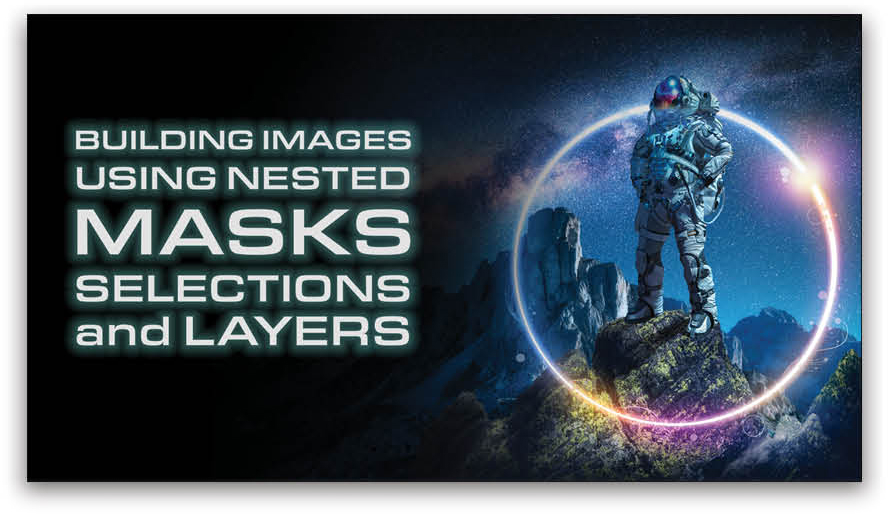
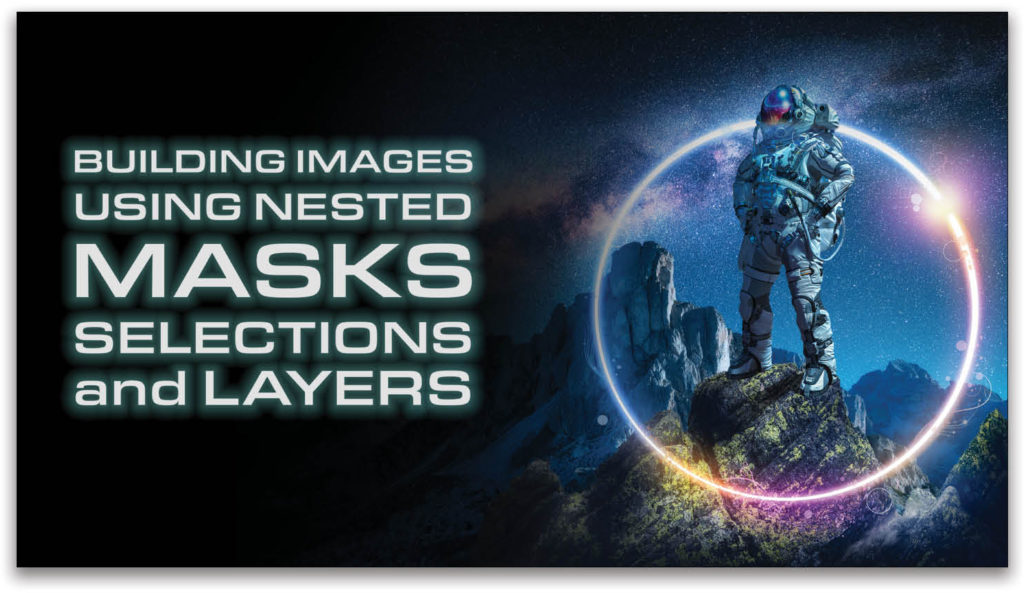
This graphic is made up of several images, with a wash effect that fades the left side of the composited images so there’s an area for text. From a design standpoint, it makes the text easier to read rather than trying to force it to “pop off” the background image. Like anything in Photoshop, there are lots of ways to re-create this effect, but it should be produced in a way that enables us to make changes easily and separate out the various elements of the composite if needed. Let’s break down the graphic into its various parts.
The Spaceman
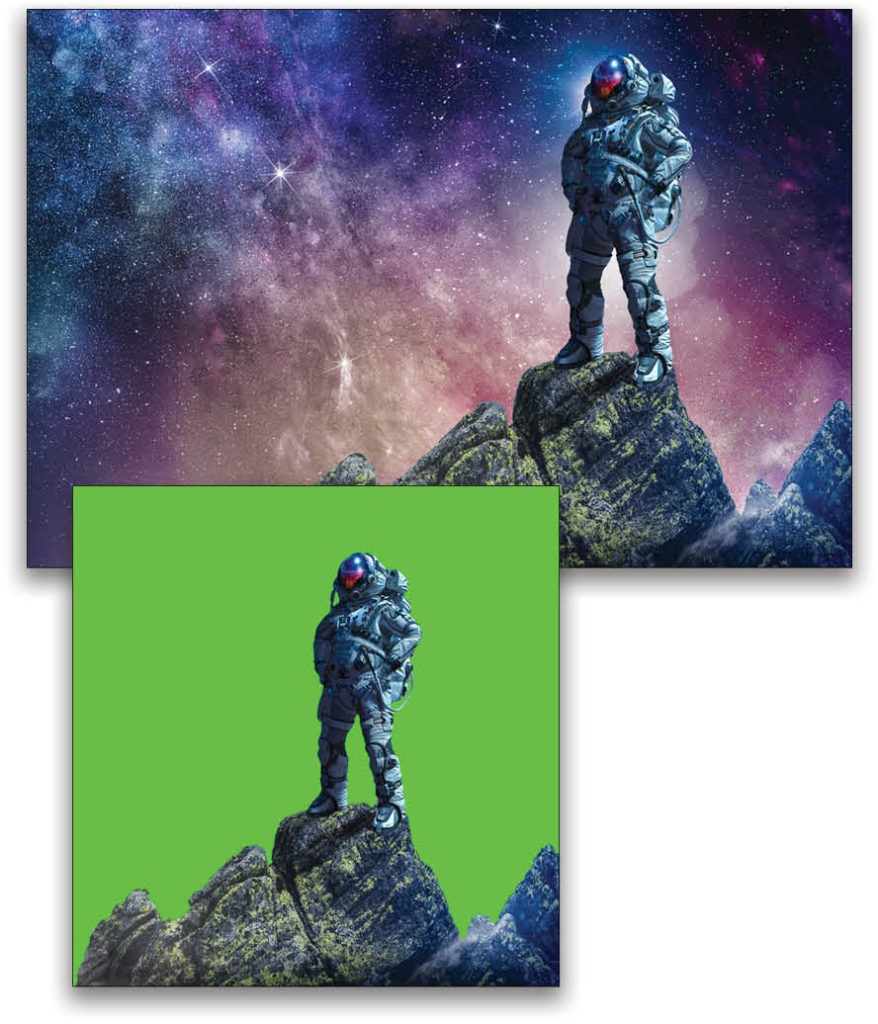
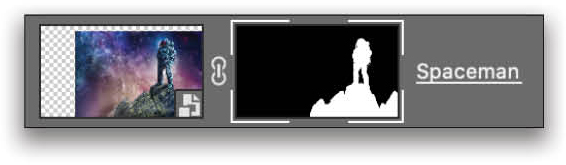
The first part of the graphic is an image from Adobe Stock that originally had the astronaut figure standing on some rocks with a space background. Below you can see the green representing the area that was masked out. (You can download the low-res preview of the astronaut image to your Libraries panel by clicking here. Once the image is downloaded, double-click it in the Libraries panel to open it in Photoshop.)
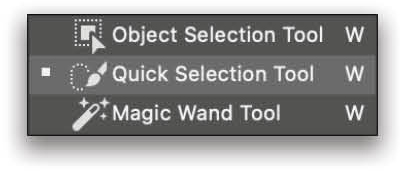
Step One: Masking out the background can be done fairly quickly by painting a selection on the spaceman (and the rocks on which he’s standing) using the Quick Selection tool (nested below the Object Selection tool [W] in the Toolbar). This tool is handy because it quickly samples pixels with its brush-like control as you paint. As you brush the tool over the image, it looks for edges, similar pixels values, and more.
Step Two: After you’ve made the selection, click the Add a Mask icon (circle in a square) at the bottom of the Layers panel. The great thing about making a layer mask from your selection is that it can reveal any artifacts or issues with the pixels you masked out. Add a new layer below your masked image layer and fill it (Edit>Fill) with a vibrant punchy color, like the green example above, and then Shift-click the layer mask thumbnail to turn it off and on. This will let you quality check your mask to see if you have any unwanted holes or chopped-off parts.
You can repair those areas by using the Brush tool (B) and painting with either white or black on the mask you made. Just be sure you select the layer mask thumbnail in the Layers panel so you aren’t working directly on the layer itself. The thumbnail will have a small white frame around it to let you know if you’re working on the mask or the layer pixels.
The Ring
We’ll use the ring graphical element to frame the spaceman. You can download the low-res version of the ring by clicking here. Drag the ring image from your Libraries panel into your main spaceman document, and press Enter.
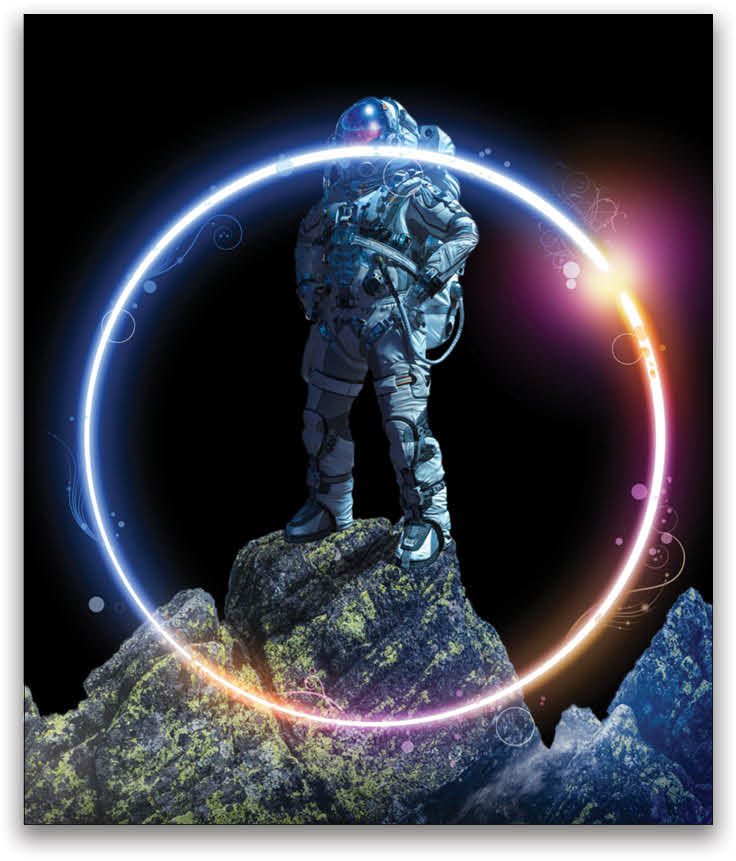
Step Three: The Ring layer should be above the Spaceman layer. To knock out all the black pixels in the Ring layer, set its blending mode to Screen, which will keep all of the brighter tones on the layer while blending out the darker pixels. Use the Move tool (V) to position the ring over the spaceman. Select the green-filled layer in the Layers panel, press D to set the Foreground color to black, and press Option-Delete (PC: Alt-Backspace) to fill it with black to make it easier to see the ring.
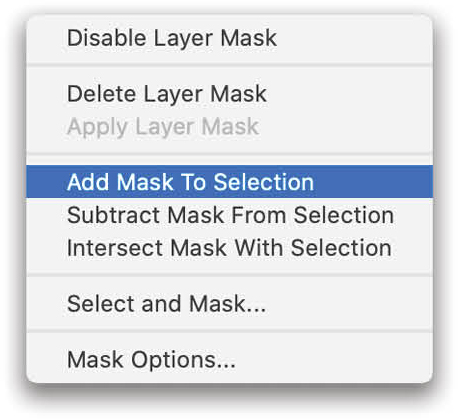
Step Four: To make it look like the ring is going behind the head of the spaceman, we need to mask that portion out. Instead of erasing those pixels (blasphemy!), we should first add a layer mask to the Ring layer, and then activate a new selection using the mask we made for the Spaceman layer. To do this, you can either Command-click (PC: Ctrl-click) on the layer mask thumbnail on the Spaceman layer, or you can Right-click on the Spaceman layer mask and choose the Add Mask to Selection option to make it an active selection.
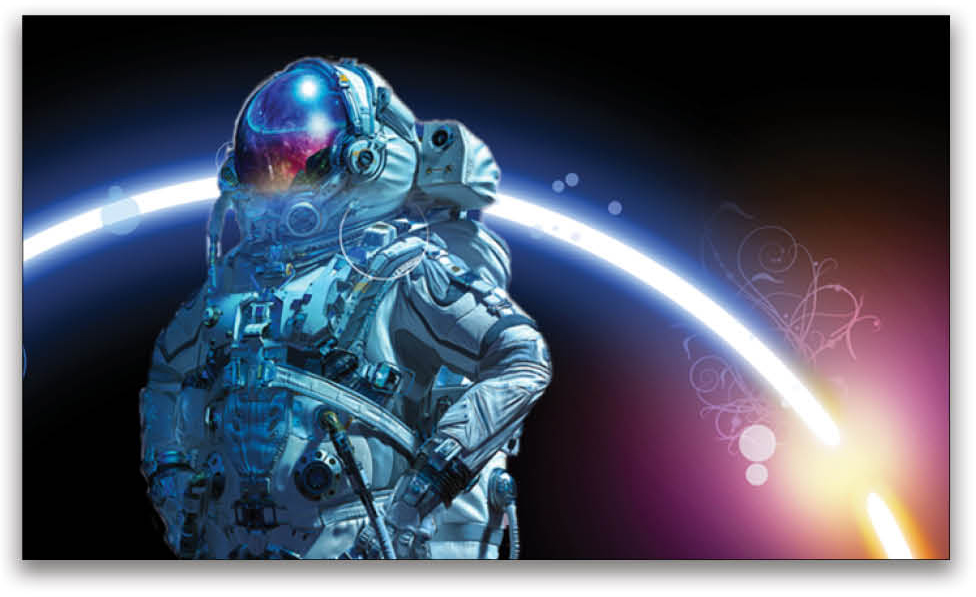
Step Five: Now you can target the layer mask you made for the Ring layer, and because you have an active selection that’s the shape of the spaceman, just paint with the Brush tool set to black (remember black conceals and white reveals!) in the area around the spaceman’s head. This will hide that section of the ring, giving the illusion of it passing behind the spaceman’s head, without removing any of those beautiful pixels in case we need them in the future. After all, creatives and their clients, sometimes change their minds from the first version of an image project. You can’t paint outside the selection, so you can’t hide any of the ring pixels that appear outside the spaceman.
The Background
We’re using a Milky Way landscape shot from Adobe Stock as our background for this image composite. You can download the image here.
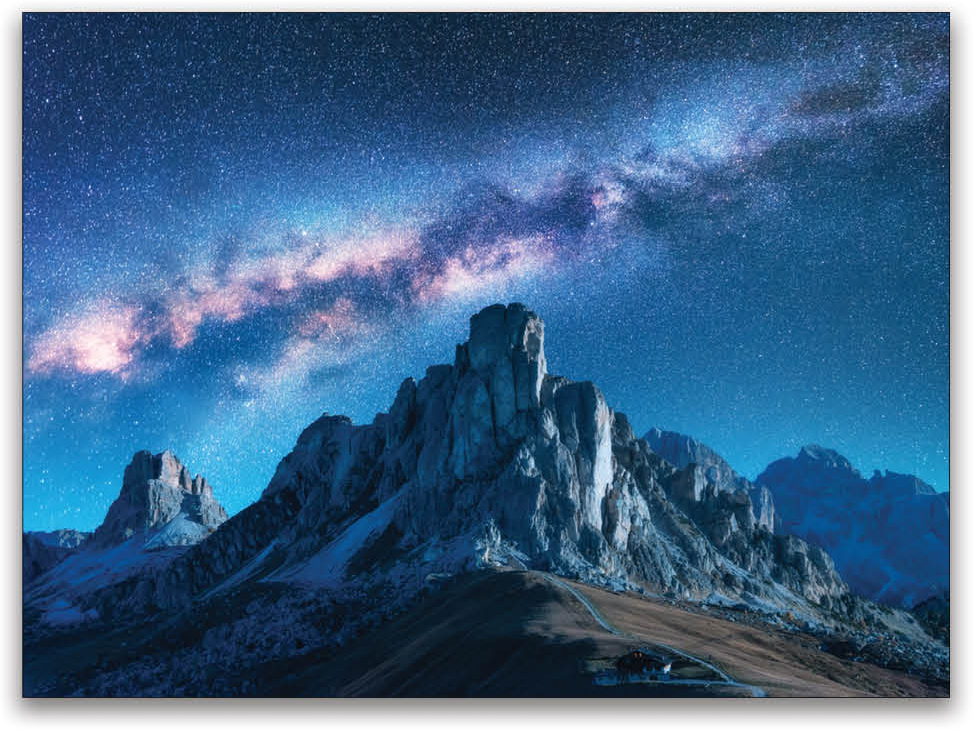
Step Six: Drag the Milky Way image from your Libraries panel into the main image. Resize it to fill the image, and press Enter. No major edits needed here, just position it below the Spaceman and the Ring layers in the Layers panel.
Set Up Your Layers
Now’s a good time to start organizing and protecting the various assets you’ve worked into your image. I know, organizing layers is no fun, but for this technique it’s necessary.
Step Seven: Place the Spaceman layer into a layer group. You can create a group by clicking the Create a New Group icon (folder) at the bottom of the Layers panel, and then dragging your layer(s) into the group. But for an even faster workflow, first select the layer(s) in the Layers panel that you want to group. You can select multiple layers using the Shift key to select contiguous layers or the Command (PC: Ctrl) key to select noncontiguous layers. With the layer(s) selected, click the Create a New Group icon to automatically add them into that group. The group allows any elements that are used to modify the Spaceman image to “travel” together. So if we move the Spaceman layer group, all of those various elements move together.
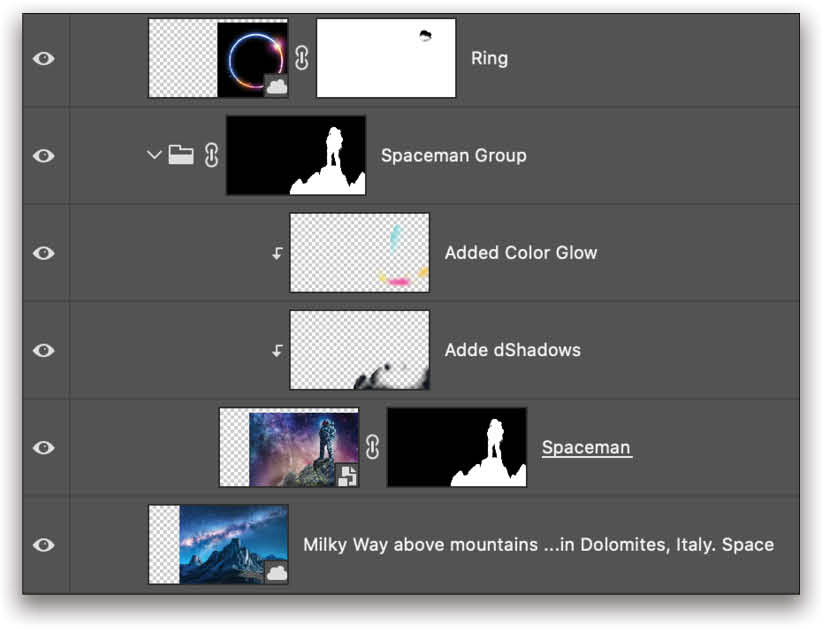
Step Eight: Option-drag (PC: Alt-drag) the Spaceman layer mask to the Spaceman Group to copy it to the group. Now you can make additional edits to the spaceman within the group without affecting areas in the background. In this example, we added additional colors and shadows on layers within the group, and because we have a layer mask on the group, it constrained the edits to the spaceman and the rocks on which he’s standing.
Mega Group & Finishing Blend
Now we’re going to repeat the group process to create what we’re going to call a “Mega Group.”
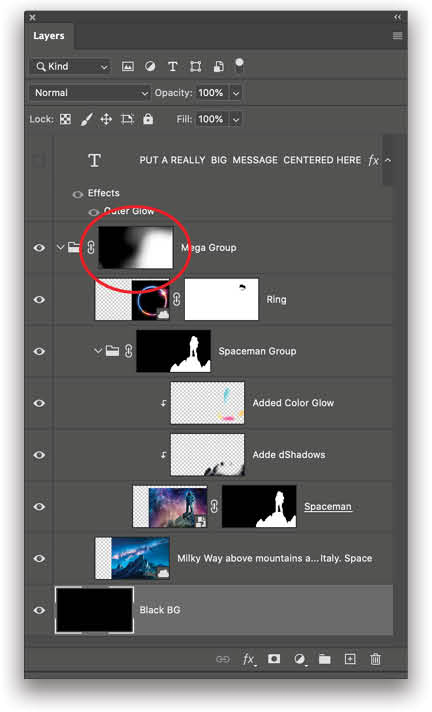
Step Nine: Select the Spaceman Group, the Ring layer, and the Milky Way background layer. Click the Create a New Group icon to put all of the selected layers and group, along with their masks, into one new group. Nesting together multiple layers, groups, and their masks, keeps them easily accessible for any additional future edits. Plus, as we saw in Step Eight, we can add layers masks to groups!
Step 10: In the final step, add a layer mask to the Mega Group. Using a big soft brush set to black, paint on the layer mask for the Mega Group to slowly blend away the left edge of the composite image. This will affect all the layers in the group. It works best to paint with lowered Opacity values (in the Options Bar) on your brush so you can create some variety in the blend. This helps it look less digital and computer rendered. Now you have room for any text or design elements that you want on the left-hand side of your image.
This technique allows you to use layer groups to stack your masks, which not only protects pixels and maintains individual layers, but also gives you some really creative options between mixing hard and soft layers in two separate masks. It’s now easy to go back and edit any element of this image while keeping the integrity of the masks we’ve produced along the way. This helps reduce any rework in the future.
This article originally published in the May, 2020 issue of Photoshop User magazine.


