![Line Burst Background Effect [Flashback Friday!]](https://insider.kelbyone.com/wp-content/uploads/2017/05/Heroimage.jpg)
Excerpted from Scott Kelby’s 2009 book, Photoshop CS4 Down & Dirty Tricks, and updated for PSCC 2017.
Since circular line bursts are so popular as backgrounds these days, I knew I had to include it in the book. The example we’re doing here I saw on a poster inside a Walt Disney World park bus when I was on vacation there with my family. It was for the ABC show Good Morning America, and it makes for a perfect project for learning about these line bursts (by the way, I have no idea what the official name of these things are, so I came up with “line burst.” But believe me, I’m open to any better names, since “line burst” just doesn’t have much oomph!).
STEP ONE:
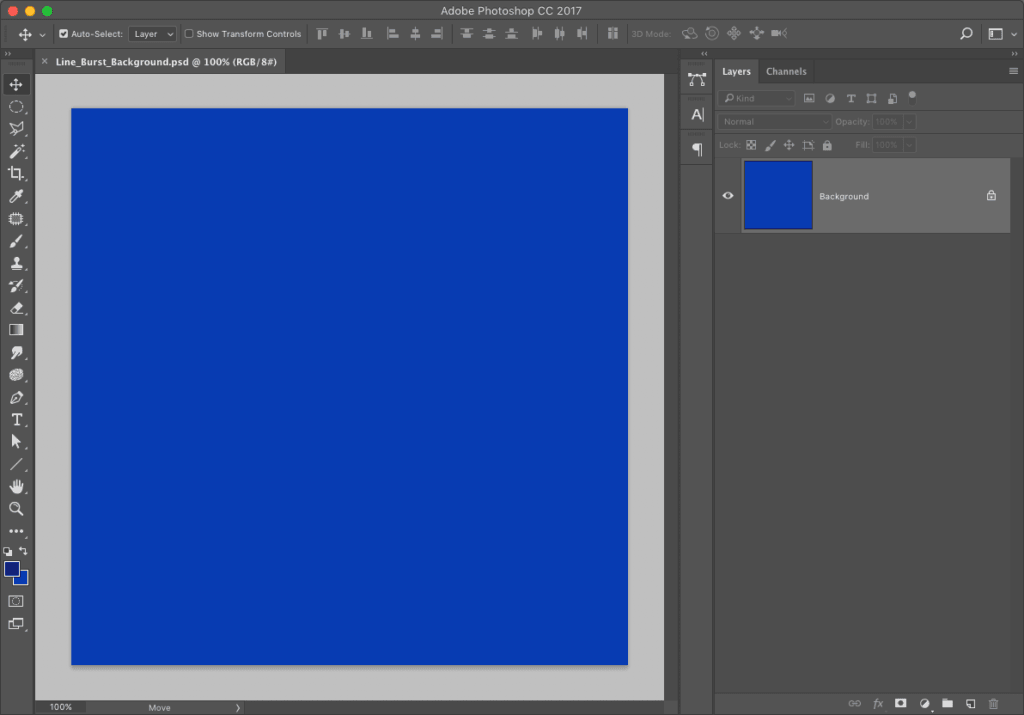
Create a new document that’s 9×9” at a resolution of 72 ppi (we’re using this low resolution for practice purposes only). Click on the Foreground color swatch in the Toolbox and set your Foreground color to blue (I used R: 29, G: 62, B: 174) and then fill your Background layer with that color by pressing Option-Delete (PC: Alt-Backspace).
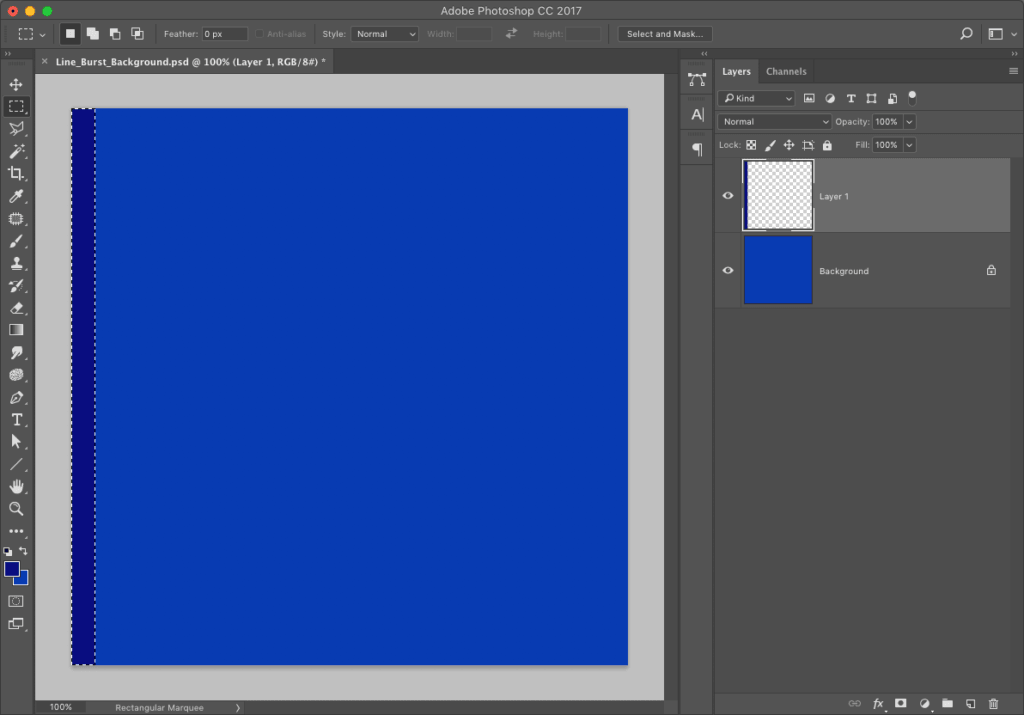
STEP TWO:
Go to the Layers panel and create a new blank layer by clicking on the Create a New Layer icon at the bottom of the panel. Now, get the Rectangular Marquee tool (M) and create a tall, thin rectangular selection on the far-left side of the document (like the one you see here). You’re going to fill this rectangular selection with a darker shade of blue, so set your Foreground color to R: 1, G: 21, B: 125, then fill the selected area with this new color by again pressing Option-Delete (PC: Alt-Backspace). Don’t deselect yet.
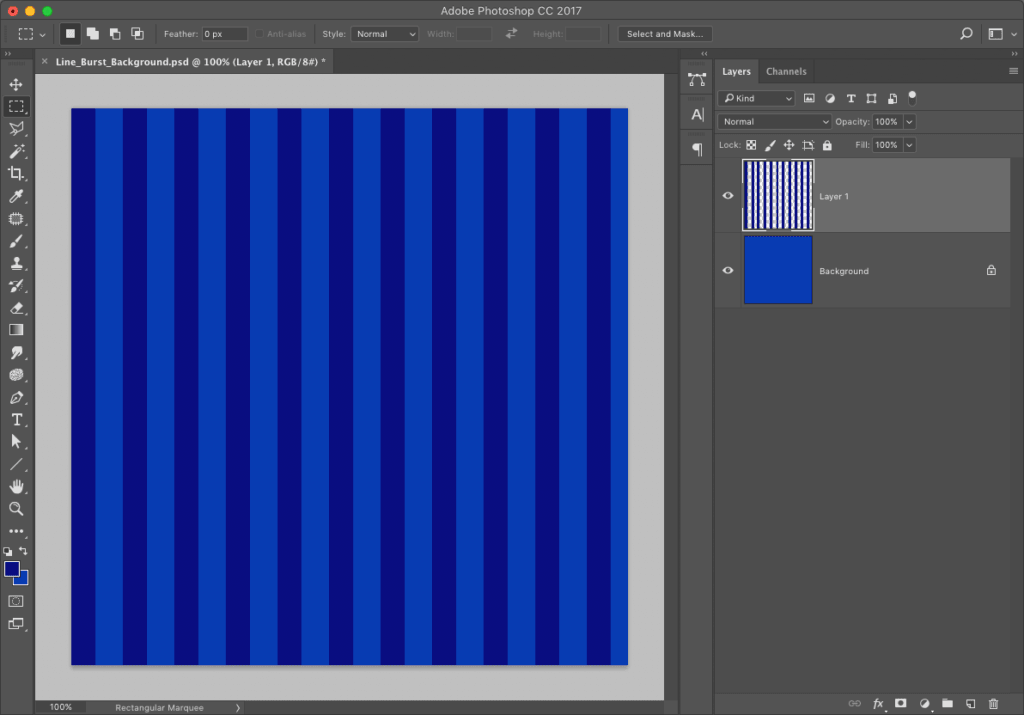
STEP THREE:
Instead, press Command-Option-T (PC: Ctrl-Alt-T) to go into Free Transform and make a copy of your selected dark rectangle, then press-and-hold the Shift key (to keep things in a straight line), and drag the copy to the right. Leave approximately the width of one bar as the space between the two bars (as seen here). Press Return (PC: Enter) to lock in this duplication and move, but still don’t deselect quite yet.

STEP FOUR:
Now, press Command-Option-Shift-T (PC: Ctrl-Alt-Shift-T), which is the keyboard shortcut that will create another bar that is spaced to the right exactly as you had spaced the second bar (think of it as “step-and-repeat”). Keep pressing that keyboard shortcut again and again until you have a row of perfectly spaced dark blue bars, like you see here. When you get to the last bar, you can finally deselect by pressing Command-D (PC: Ctrl-D).
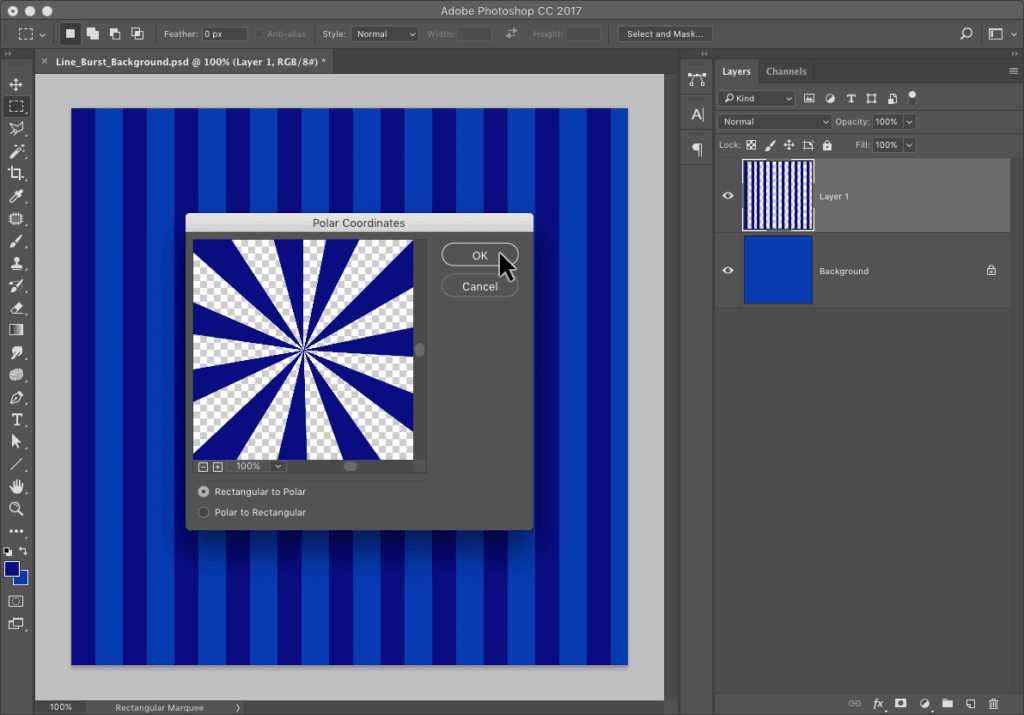
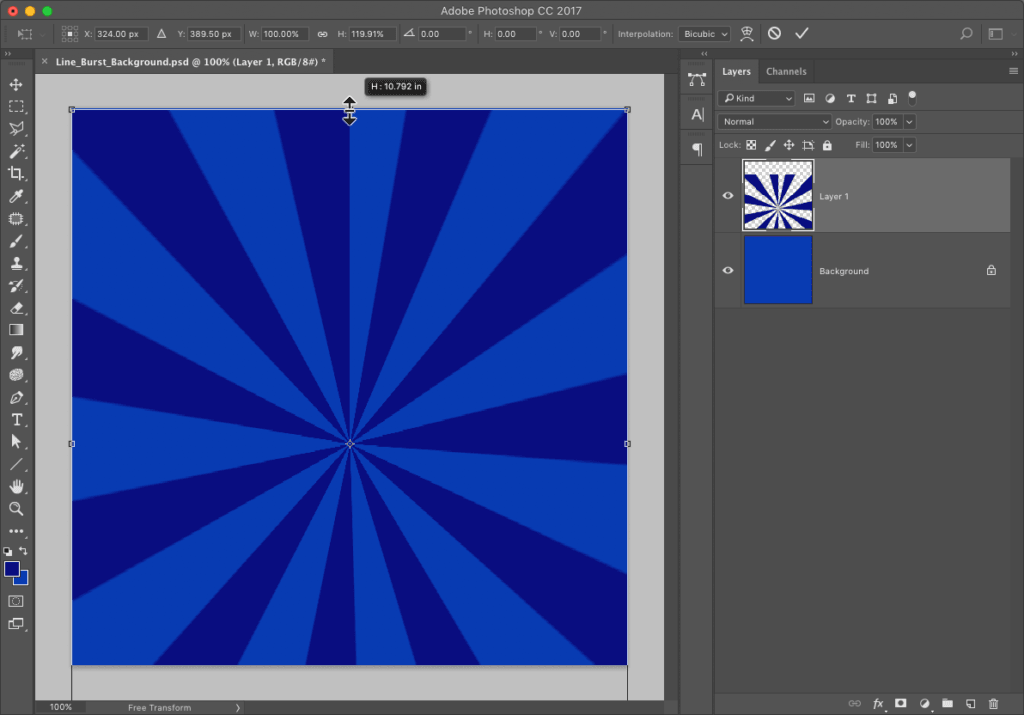
STEP FIVE:
Now you’re going to take the vertical bars and turn them into a circle of bars. So, go under the Filter menu, under Distort, and choose Polar Coordinates. The default setting for this filter is Rectangular to Polar, so all you have to do is make sure that’s what’s selected as your option, and then click OK.
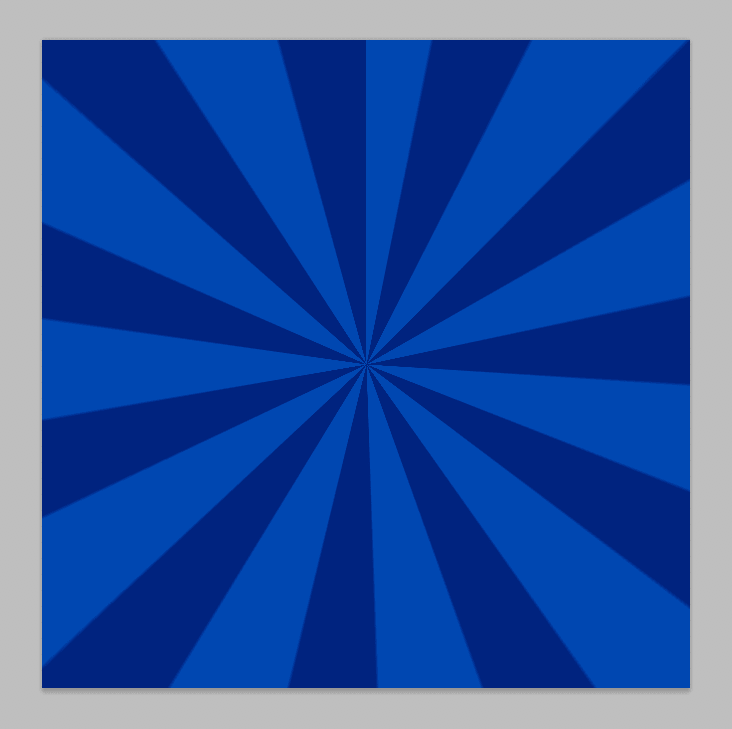
STEP SIX:
Here’s how the rectangular bars look once you apply the Polar Coordinates filter to them.
Now, for this particular layout we need the center of our circular bars to be a little lower than the center of our image area. So, switch to the Move tool (V), click where the bars meet in the center of the image, and drag it downward, so the center is around 25% from the bottom of your document (as seen here). Of course, this leaves a huge gap at the top of your image, so we’re just going to stretch it. Press Command-T (PC: Ctrl-T) to bring up Free Transform, click on the top-center handle point, and drag upward until your bars fill the entire image area, covering up that gap and aligning nicely with the edges of your document, as you see in the next step.
STEP SEVEN:
Press the Return (PC: Enter) key to lock in your transformation, and you can see that now the center of your circular bars is in the lower part of the image (as shown here).
STEP EIGHT:
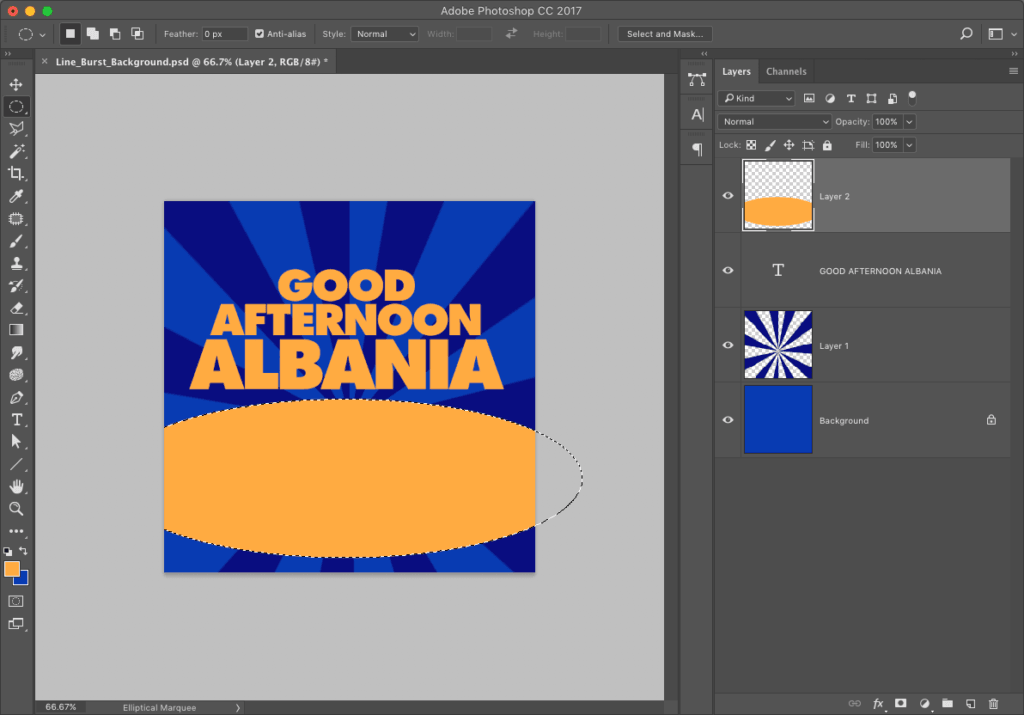
Now, let’s add some text. First, set your Foreground color to a dark yellow (I used R: 240, G: 170, B: 75). Get the Horizontal Type tool (T) and create your text (I used the font Futura Extra Bold, but you can use Helvetica Bold, or any really bold sans serif font). In Photoshop’s Character panel (found under the Window menu), I set the font size to 72 and the tracking (the space between the letters) to –50, so the letters would be nice and close to each other. I also made the leading (the vertical space between the lines of text) nice and tight at a setting of 60 points. Lastly, I made the bottom word “ALBANIA” quite a bit larger than the other words (I set the font size to 115 points, which also caused me to increase the leading amount of “ALBANIA” to 94, because the tops and bottoms of the letters were touching).

STEP NINE:
We’re going to add a little “swash” graphic under the text, so start by creating a new blank layer. Then get the Elliptical Marquee tool (press Shift-M until you have this round selection tool), and click-and-drag out a huge oval-shaped selection that extends right off the image area (you’ll have to click on the bottom-right corner of your image window and drag it out, so you can see the gray area around your image). Make the oval similar to the one you see here (really, really big), and then fill your oval with your Foreground color (if you need to, press-and-hold the Spacebar to move your selection around while you’re creating it). Note: On a Mac, while you’re dragging out your oval, you’ll see it extend off the sides like this, but in CS4, once you release the mouse button, your selection automatically becomes contained inside your document border (on a PC, your selection will not extend off the sides). That’s okay, because you can’t do anything out in that gray area anyway. I just wanted you to know, so you don’t freak out. Hey, it could happen.
STEP 10:
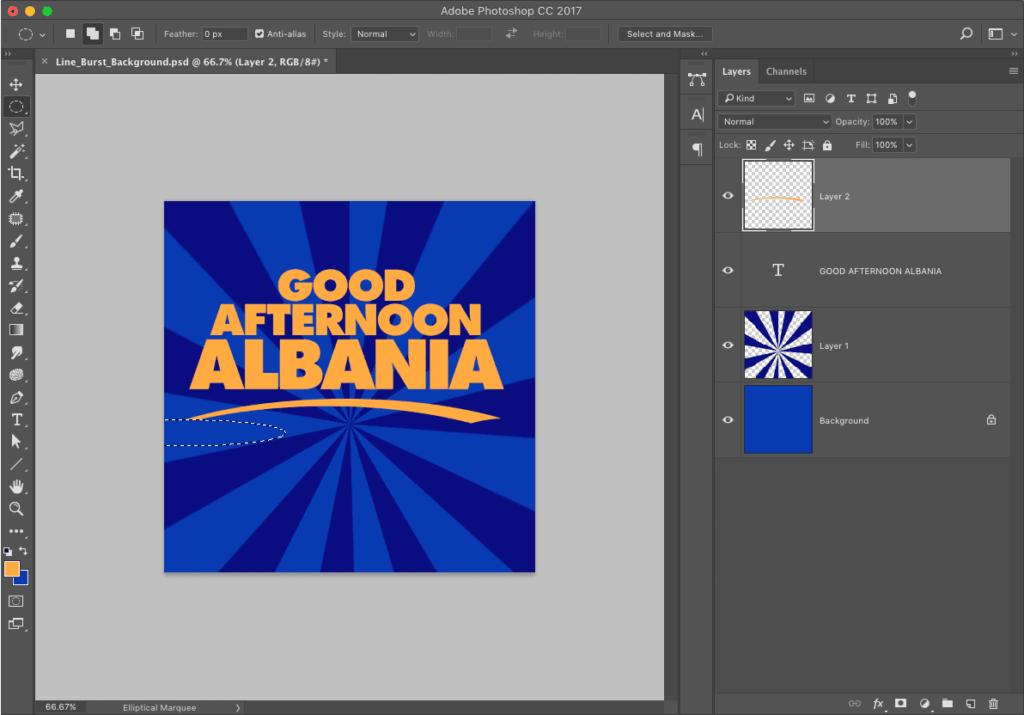
Go ahead and deselect the oval. Now you’re going to create another huge oval-shaped selection just a little bit below the big oval that’s already in place (like the one seen here). Leave just a little of the top of the original oval still visible, because once your new oval is in place, you’re going to press the Delete (PC: Backspace) key to delete the rest of your big yellow oval, leaving just that curved sliver up at the top (as seen here). Now you can deselect again.

STEP 11:
Next, you’re going to cut a little chunk out of the far-right side of your yellow graphic sliver. This time, make a small, thin oval (like the one you see here) that cuts off the end of your sliver at an angle, then press the Delete (PC: Backspace) key to cut that area out (as seen here), and deselect.

STEP 12:
Just one more little area to cut out, and then our little graphic sliver becomes a graphic swash (because a “swash” just sounds much better!). Draw another oval on the far-left side, just like the one you see here, so it cuts off the left side of the swash (see? Swash sounds better), then hit the Delete (PC: Backspace) key. Go ahead and deselect and you can see the final swash. There’s still a couple more things to do, but at least you’re done making ovals.
STEP 13:
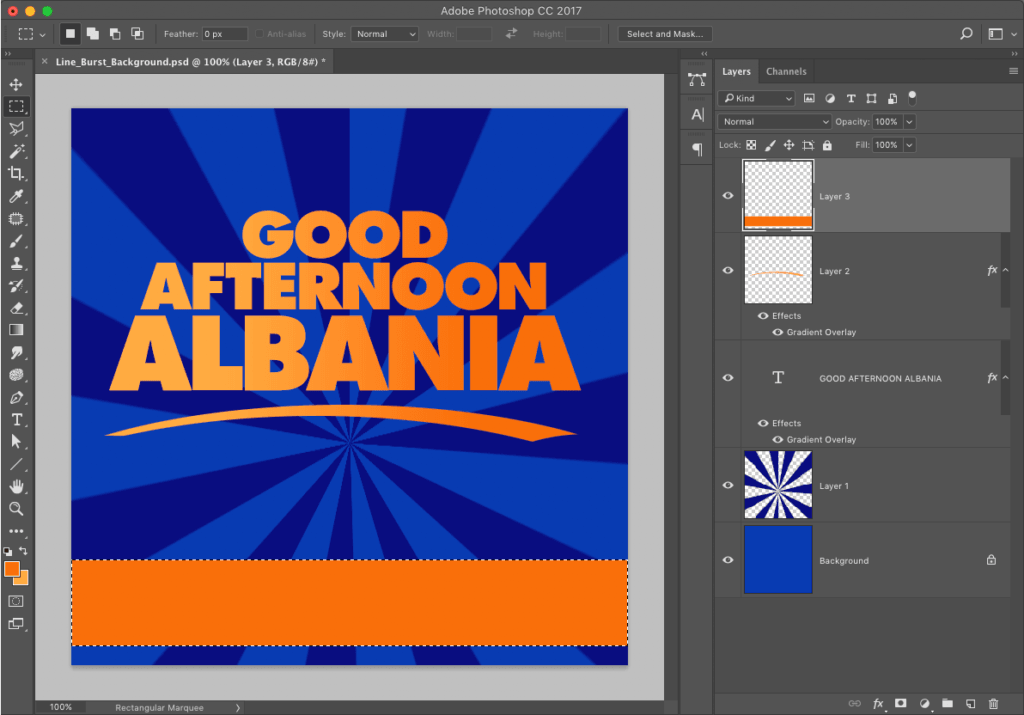
Now, you’re going to add a gradient through your text that goes from your regular yellow on the left to an orange on the right. First, click on your Type layer in the Layers panel to make it active. Press the letter X to swap your Background and Foreground color swatches (at the bottom of the Toolbox), and then click on the Foreground color swatch to bring up the Color Picker. Choose a dark orange color (I chose R: 220, G: 110, B: 30), then click OK. Now, click on the Add a Layer Style icon at the bottom of the Layers panel, and choose Gradient Overlay. When the Layer Style dialog appears, click on the down-facing arrow to the right of the gradient to bring up the Gradient Picker. Click on the very first gradient (the Foreground to Background gradient) to use your Foreground (orange) and Background (yellow) colors as your gradient. Now, in the Gradient Overlay options in the Layer Style dialog (shown here), set the Angle to 180°, and drag the Scale slider down to 60%, so the gradient graduates from yellow on the left to orange on the right (as seen here), then click OK.

STEP 14:
Let’s apply that exact same gradient to our swash graphic. Press-and-hold the Option (PC: Alt) key, go to the Layers panel, click directly on the phrase “Gradient Overlay” beneath your Type layer, drag it up to your swash graphic layer, and release your mouse button (pressing-and-holding the Option key copies the layer style from one layer to another—you’re basically dragging-and-dropping effects). Now, create a new layer. Near the bottom of your image area, with the Rectangular Marquee tool, make a large horizontal rectangular selection (like the one shown here), then fill it with your Foreground color and deselect (it actually doesn’t really matter which color you fill it with, because in the next step, you’re going to “drag-and-drop” that same gradient effect onto this bar.
STEP 15:
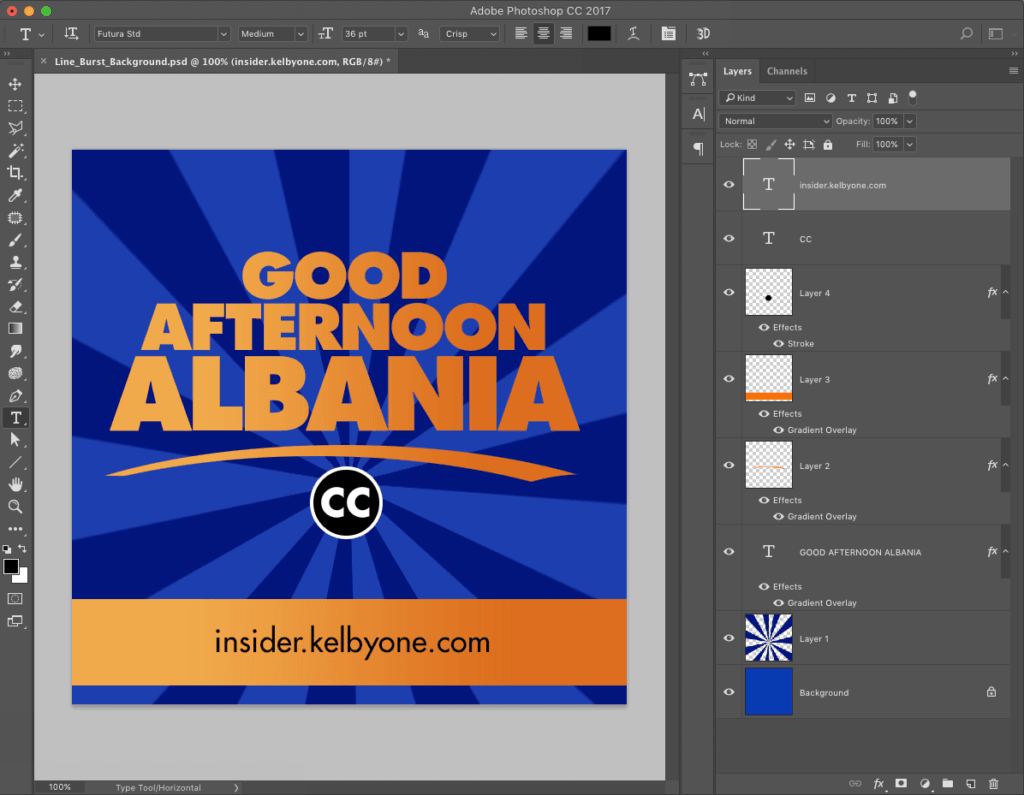
Drag-and-drop a copy of the Gradient Overlay layer style from the swash layer to this rectangular bar layer to add the gradient (as seen here). Now you can press D to set your Foreground color to black, and use the Horizontal Type tool to add text for the website of the company (although I put this blog address as a subtle reminder to visit us here). Now let’s add a logo below the swash, so create a new layer. Get the Elliptical Marquee tool again, press-and-hold the Shift key, so it creates a perfect circle, then click-and-drag out a circular selection below the center of the swash (press-and-hold the Spacebar to reposition it). Fill the circle with black (your Foreground color), and then add a white stroke around your black circle by clicking on the Add a Layer Style icon at the bottom of the Layers panel, and choosing Stroke from the pop-up menu. In the Stroke Fill Type section of the Layer Style dialog, just click on the Color swatch, change the color to white, click OK in the Color Picker, and then also in the Layer Style dialog. Now press X to make white your Foreground color, then add the CC text in the center of the black circle.
STEP 16:
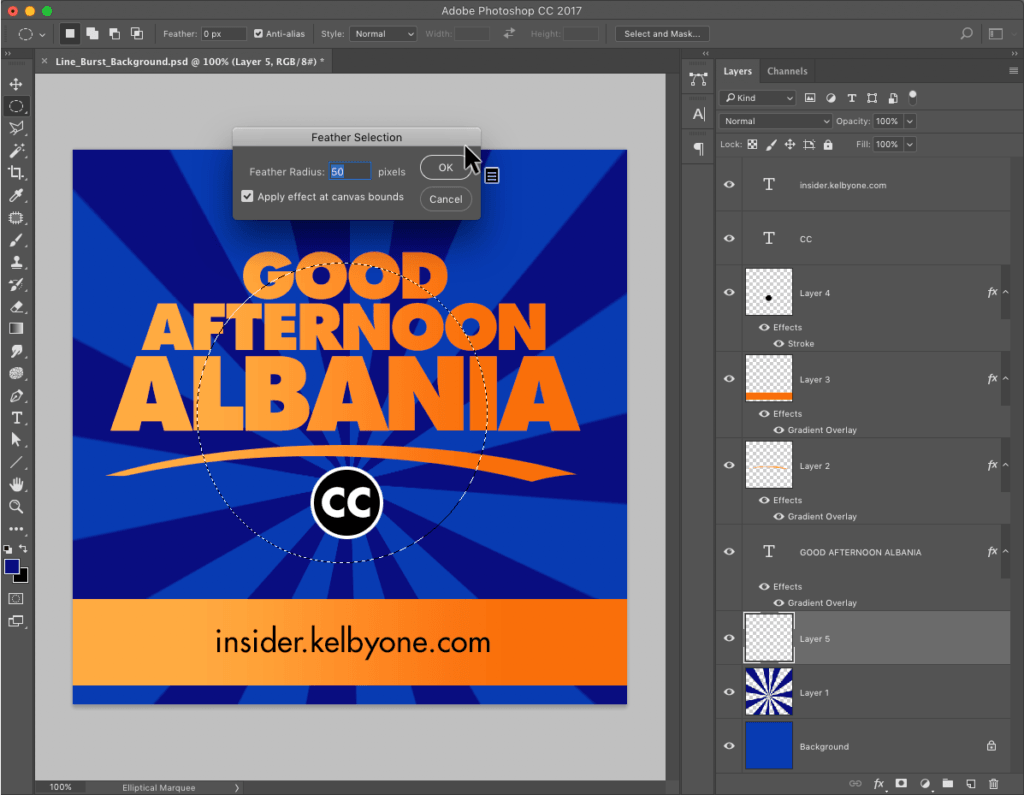
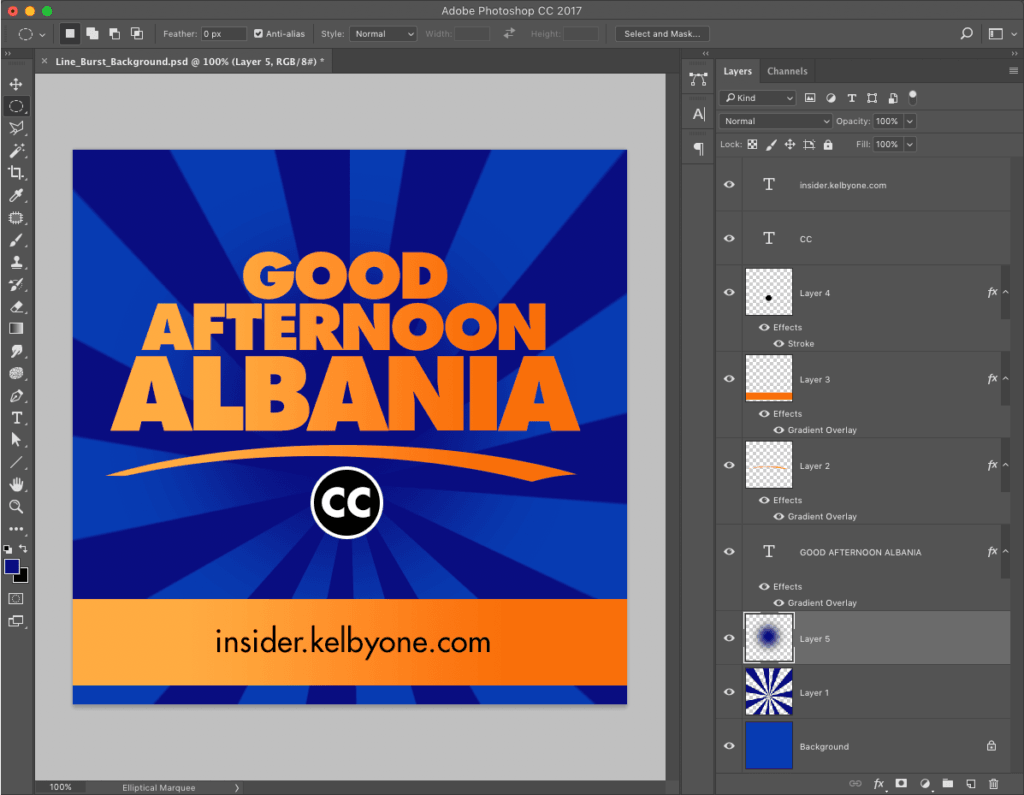
The final step is to darken the area behind the text and black circular logo, so it’s not so hard to read over the center of the circular bars. Start by clicking on the circular bars layer (Layer 1) in the Layers panel, then create a new layer directly above it. Get the Eyedropper tool (I), click on one of the darker blue bars to make it your Foreground color. With the Elliptical Marquee tool, make a large oval selection where most of your text appears (as seen here). Soften the edges of your oval selection by going under the Select menu, choosing Modify, and then choosing Feather. When the dialog appears, enter 50 pixels and click OK. Now, press Option-Delete (PC: Alt-Backspace) to fill your softened selection with the dark blue foreground color, which completes the effect (seen below).