Learn These 8 Tricks in Photoshop Right Now by Colin Smith
In this article, I have lots of nice tips for you. Some of these are only in the latest version of Photoshop and others will work in almost any version of Photoshop. I hope you enjoy them!
1. Open RAW Files as Smart Objects
When you open a RAW image in Camera Raw, you can open your photo in Photoshop either as a regular image or as a smart object. Smart objects are often the best option, because they enable you to go back into the Camera Raw settings by double-clicking the thumbnail in the Layers panel, which means you’re working nondestructively.
To open an image as a smart object from Camera Raw, you have two options. You can click on the link at the middle bottom of the Camera Raw window and, in the dialog that pops up, choose Open in Photoshop as Smart Objects, and click OK. The Open Image button now says Open Object. Another way is to hold down the Shift key before clicking Open Image, and the button will say Open Object. The choices depend on if you want to open every image as a smart object or decide on a case-by-case basis. (These options aren’t available if you already opened the image in Photoshop and you’re using Camera Raw from the Filter menu.)
2. Live Canvas Resize
If you’re using Photoshop 2020 and you want to expand the size of your working document, there are some great options. It’s quite common to expand the size of your working document when doing compositing. There are also many reasons where you might also choose to make it smaller or change the aspect ratio. This one is a neat feature that was “snuck” into Photoshop 2020. Go to the Properties panel (Window>Properties), open the Canvas section, and type the new size into the Width and Height fields. If Canvas isn’t available, it’s because this only works on a flattened image; if you have any layers (or the Background isn’t an actual background) you can’t do this. But if that’s the case, just grab the Crop tool (C) and crop larger than the document. Yep, you can do that! Once you add a layer in a document, the Canvas option changes to Transform in the Properties panel.
3. Hide Tool Overlays in Lighting Effects
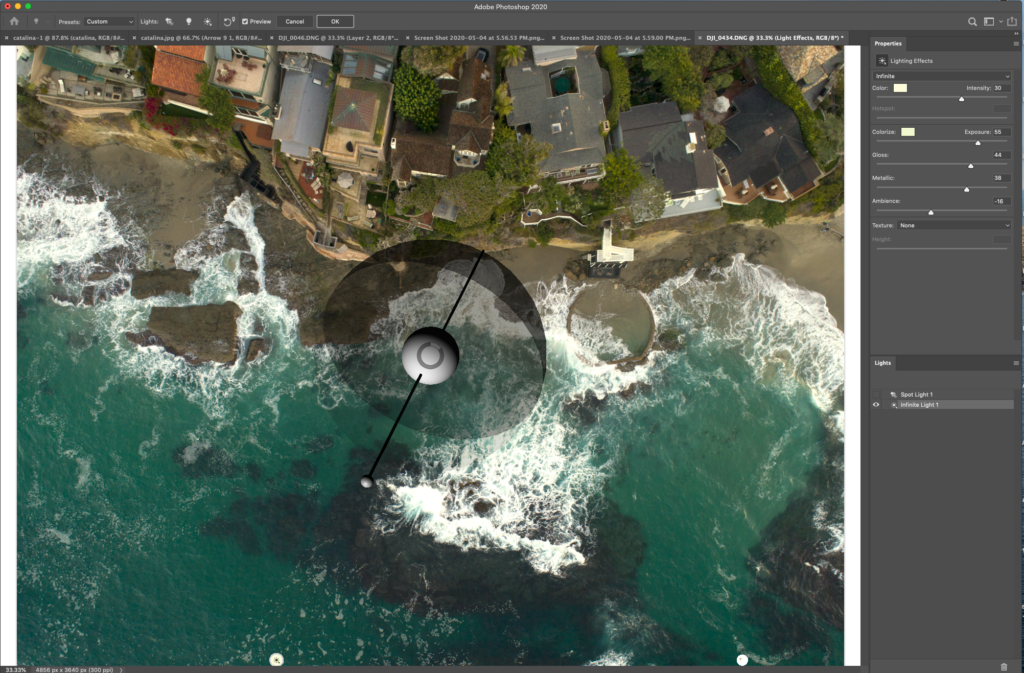
The Lighting Effects filter (Filter>Render>Lighting Effects) is one of those tools that isn’t used as much as it once was, but it’s great when you need it. If you’ve been around Photoshop for a while, and you jump into Lighting Effects for the first time in years, you’ll notice the tools look a little different than they did way back in the day. They’re nice and snazzy, but sometimes they get in the way, and you can’t see your work below them. Just tap Command-H (PC: Ctrl-H) to hide the tool overlayer and view your work. Press Command-H (PC: Ctrl-H) again to bring it back. It’s a cinch.
4. Shuffling Layers Quickly
Layers are like laundry; they have a way of stacking up quickly. When you go to shuffle them around in the Layers panel, you can do it one at a time if you like, but that can get rough if you have lots of layers because you’ll have to do a ton of scrolling. Here’s a tip: You can select multiple layers and move them together in the Layers panel. The layers don’t even have to be directly on top of each other. All you need to do is select the first layer you need, hold the Shift key, and then click on the last layer you need. All the layers in between will be selected. If you want to exclude some layers from the layers you just selected, hold Command (PC: Ctrl) and click on the layers you want deselected. When you’re happy with your selected layers, either drag up or down any selected layer, and all your selected layers will move together. Once you drop them in place, they’ll sit on top of each other just like dominos.
5. Combining Images in Tabs
When you want to combine images in Photoshop, it’s really quite easy. I cringe, though, when I see people copy-and-paste, because it’s not only slow, but it also places your image into the clipboard, which gobbles up available RAM. The most efficient way is to switch to the Move tool (V), and click-and-drag your first open image to the tab of the image with which you want to combine it. Wait a couple of seconds and the destination document will open, but don’t let go of that mouse button yet! Drag your cursor into the destination document, and then release the mouse button. The image you dragged will be added as a new layer. If you want it centered, hold the Shift Key before releasing the mouse button.
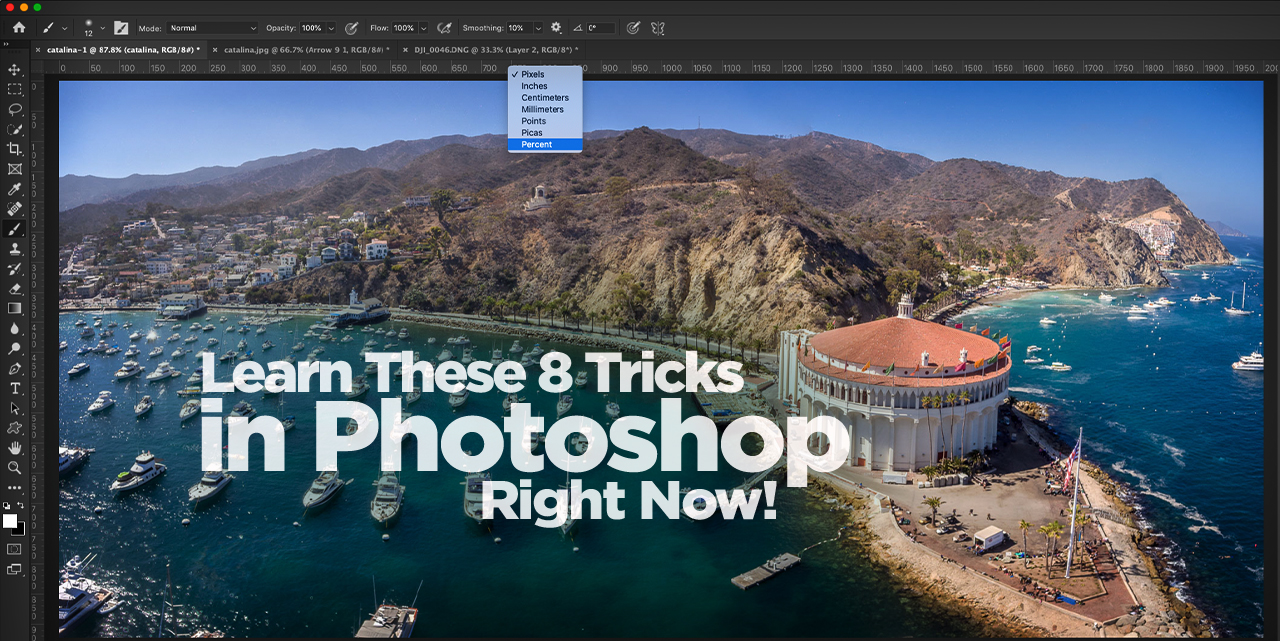
6. Use Percentage when Making Actions
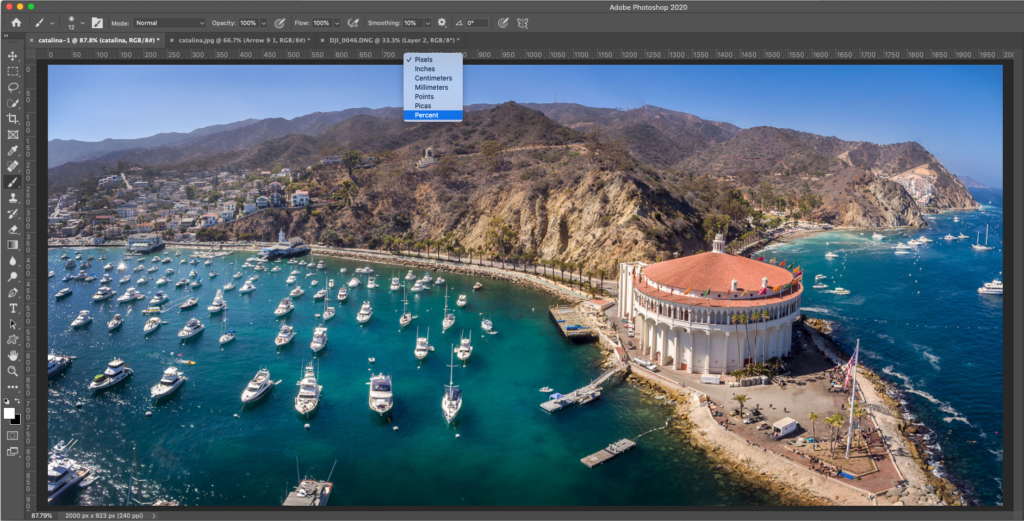
Here’s a quick tip on actions. Before you start making an action that involves placement, change your unit of measurement to Percent. With any document open, press Command-R (PC: Ctrl-R) for the rulers. Right-click on one of the rulers to see the available units of measurement, and choose Percent. Now when you record an action and then use it on images with different dimensions, the action will still work the same.
7. Colorize Quick Mask
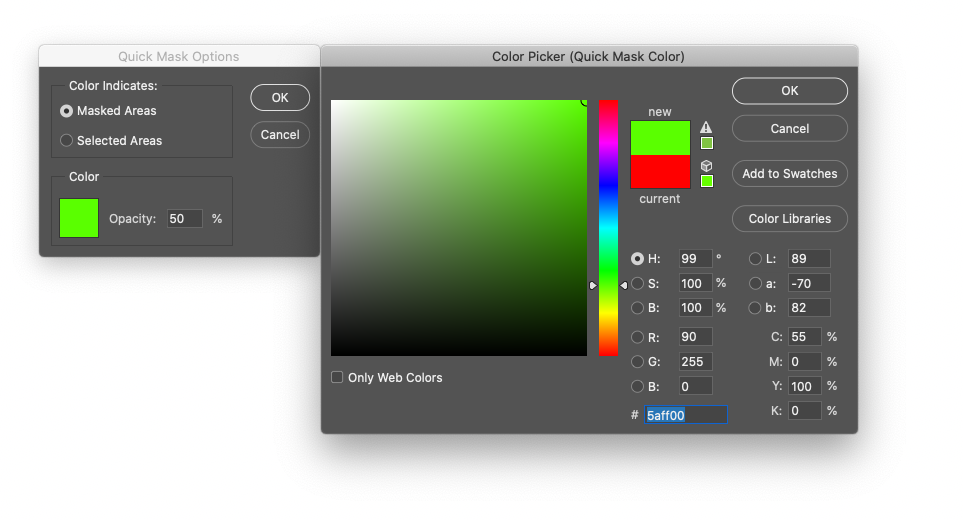
Quick Masks are awesome: They’re temporary alpha channels, but another way to describe them is paintable selections. Press the Q key to enter Quick Mask mode, and then as you work with selection tools and brushes, you’ll see a reddish (Rubylith) color overlay. When you tap the Q key again, the red will turn into a selection. Keep pressing Q to toggle between a mask overlay and a selection. The only hitch is that, if you’re working on a red or pink image, it’s really hard to see what’s selected and what isn’t; then, just change the color of the overlay. Double-click the Quick Mask Mode icon, which is near the bottom of the Toolbar (it looks like a circle inside a rectangle). When the Quick Mask Options pop up, you can now choose a different Color and Opacity.
8. Instant Watermark
For this tip, I’m going to avoid the argument on whether you should or shouldn’t watermark your images before posting them online. (I do by the way, because they are my images). If you do want to watermark your images, you can create a custom brush that you can use to quickly stamp your logo or signature. Start a new document and leave it white, and design your watermark in black. Make a selection around the image with the Rectangular Marquee tool (M) and choose Edit>Define Brush Preset. Type in a name for it in the Brush Name dialog, and click OK. To use the watermark brush, choose a Foreground color and select the Brush tool (B). Open the Brushes panel (Window>Brushes) and scroll all the way to the bottom to your new brush (it’s selected by default when you first create it). Click once in your image without dragging and you have now stamped your watermark. You can even add it to your Libraries panel (Window>Libraries) by dragging it from the Brushes panel.