Since CMYK channels represent ink rather than light, the grayscale information you see in your Channels panel represents the opposite of what it does in RGB mode. In CMYK mode, black indicates color at full strength and white indicates color at its weakest. Even if you’re not sending your image to a professional printing press, you can still have some fun in CMYK mode!
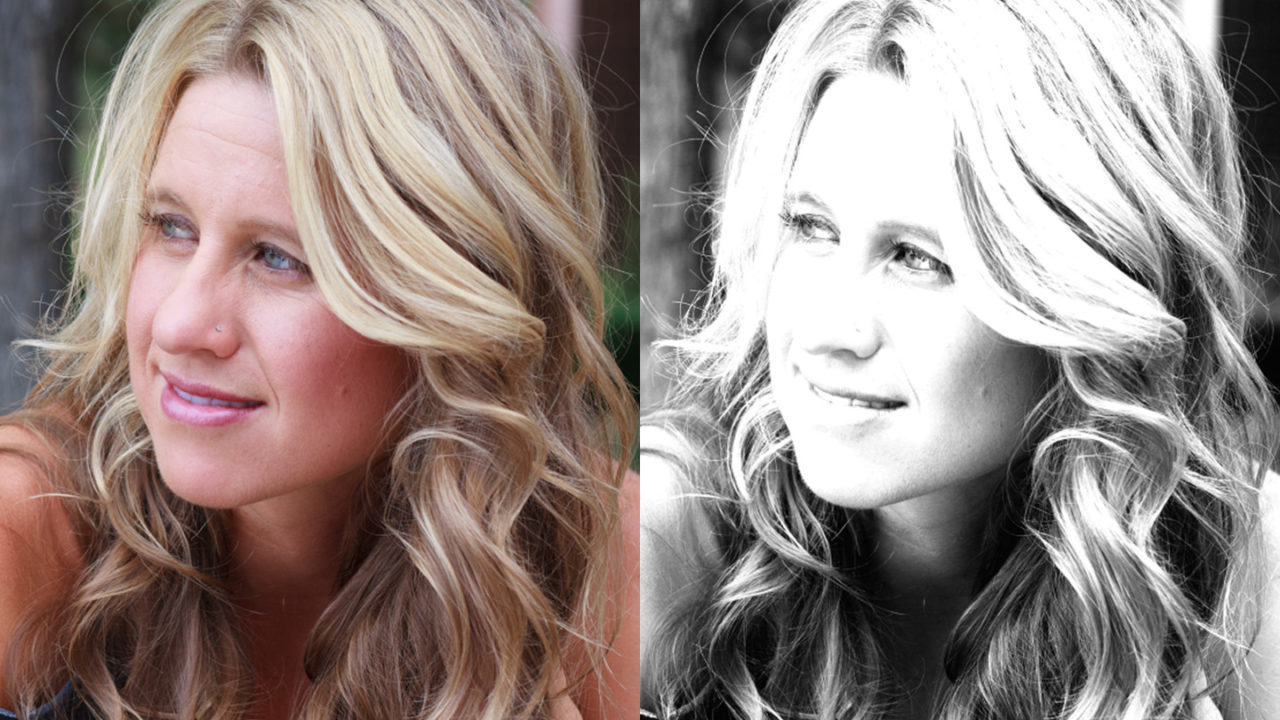
For example, the Black channel of a portrait image in CMYK mode resembles a popular portrait effect called high-key lighting, in which multiple light sources are aimed at the subject. To create a similar effect, you can simply extract the Black channel from a CMYK version of the image. Here’s how to get it done.
[KelbyOne members may download the file used in this tutorial here. All files are for personal use only.]
Step One:
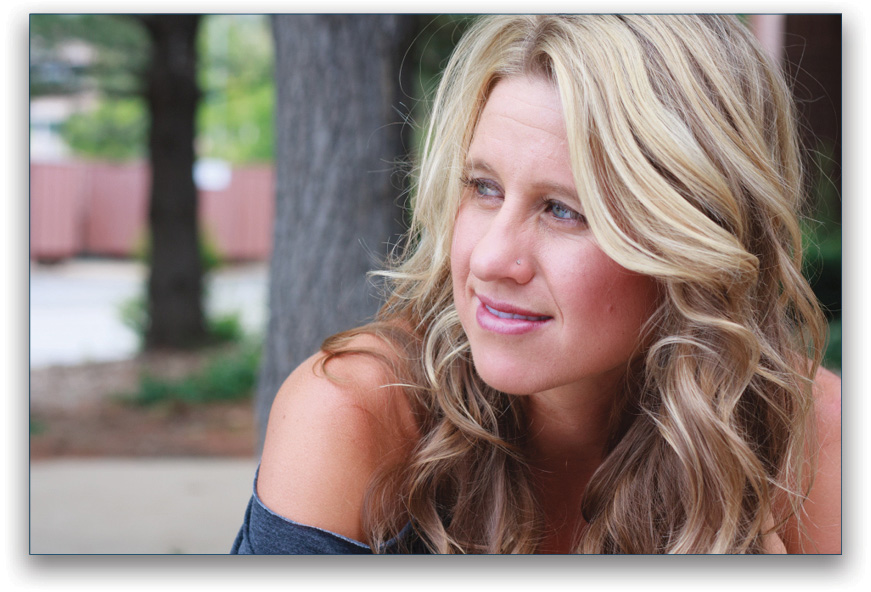
Choose File>Open and navigate to a portrait. In this example, we’ll use a portrait your author took of Lauren Goss, a Colorado-based professional triathlete. (If you’re starting in Lightroom, select the photo and then choose Photo> Edit In>Adobe Photoshop CC.)
Step Two:
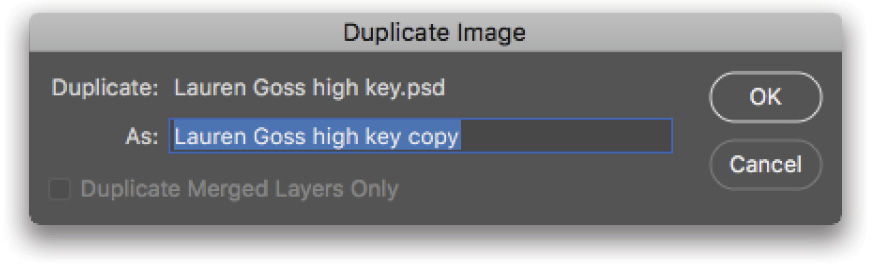
Make a copy by choosing Image>Duplicate. In the dialog that opens, just click OK. Because you’re going to change color modes in the next step, it’s a good idea to do that on a copy of your image, because you’ll lose a tiny bit of color information when you switch from one color mode to another.
Step Three:
In the duplicate image, choose Image> Mode>CMYK Color. If your document includes more than one layer, Photoshop asks if you want to combine them into one by flattening the image (compressing all layers into one). If those additional layers affect the way your image looks (for example, you used adjustment layers), then click Flatten; if not, click Don’t Flatten. (Flattening a document is typically a scary move, but here you’re working with a duplicate of your original image.) If you see another dialog asking about color profiles, just click OK.
Step Four:
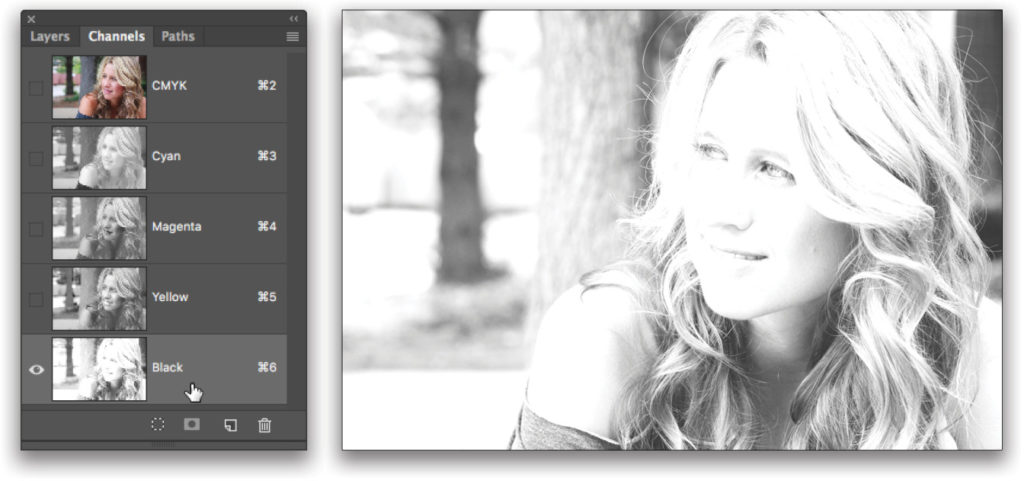
Still in the duplicate image, locate the Channels panel. In most workspaces, the Channels panel is tabbed with the Layers panel; but if not, simply choose Window>Channels to open it. Click the Black channel to activate it, and when you do, Photoshop automatically turns off the other channels’ visibility icons.
Tip: If you’re preparing the high-key image for printing in true grayscale—meaning the image will be printed with black ink only at a professional printing press (think newspaper or a magazine)—then you can skip the following steps, and instead, make sure your file is flattened, and choose Split Channels from the Channels panel’s flyout menu at the top right. Photoshop instantly creates separate documents from each color channel. Simply find the one with “Black” in its name and call it a day.
Step Five:
Press Command-A (PC: Ctrl-A) to select everything in the Black channel, and you should see marching ants surround the image. Now copy it to your computer’s memory by pressing Command-C (PC: Ctrl-C).
Step Six:
Switch back to your original RGB document and paste the Black channel into the Layers panel. To do that, click the original RGB image’s tab or click somewhere inside its window to make it the active document. Next, open the Layers panel by clicking its icon in the panel dock or its tab (if you don’t see it, choose Window>Layers). Paste the Black channel from the duplicate document by pressing Command-V (PC: Ctrl-V). (You don’t have to create a new layer; Photoshop does that for you.) The beauty of producing this effect inside your original RGB document is flexibility; for example, you can lower the Opacity of the new black layer for a completely different, yet interesting, partial high-key/partial color effect.
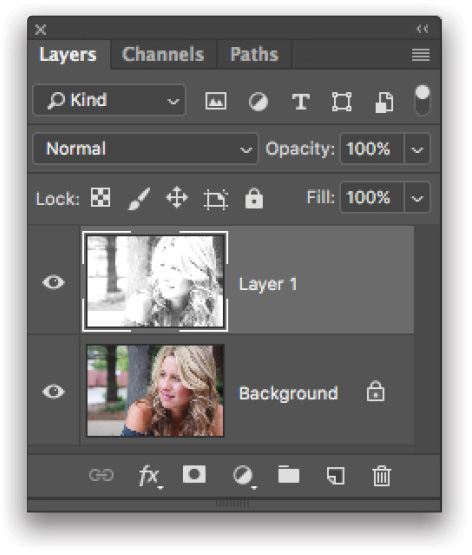
Step Seven:
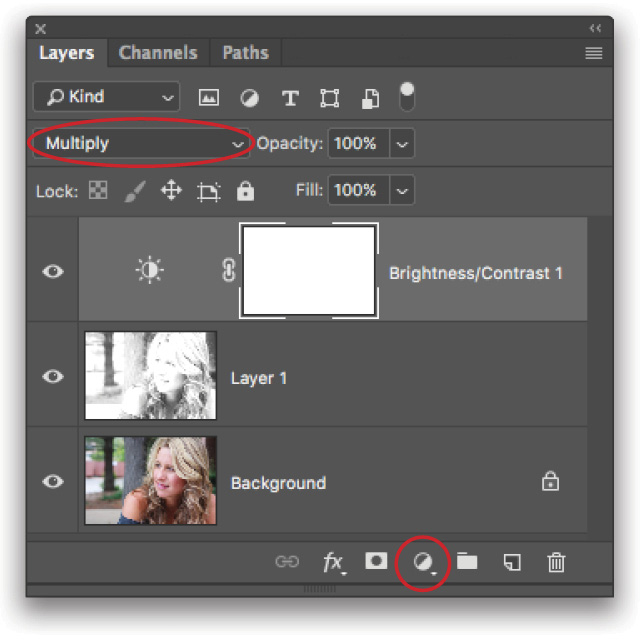
To fine-tune the brightness and contrast, click the half-black/half-white circle at the bottom of the Layers panel (circled) and choose Brightness/Contrast. Resist the urge to play with the sliders in the Properties panel that opens, and instead, trot over to the blend mode menu near the top left of the Layers panel (also circled) and choose Multiply.
Step Eight:
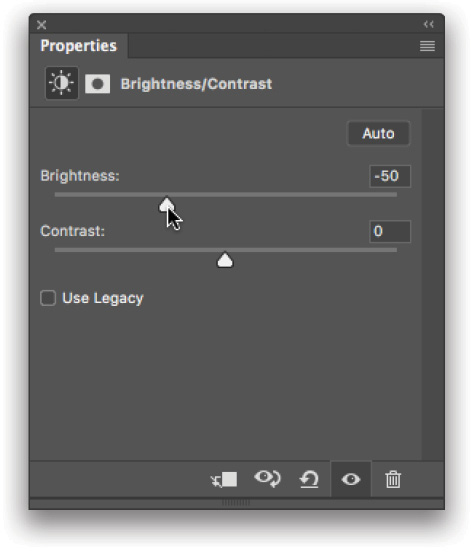
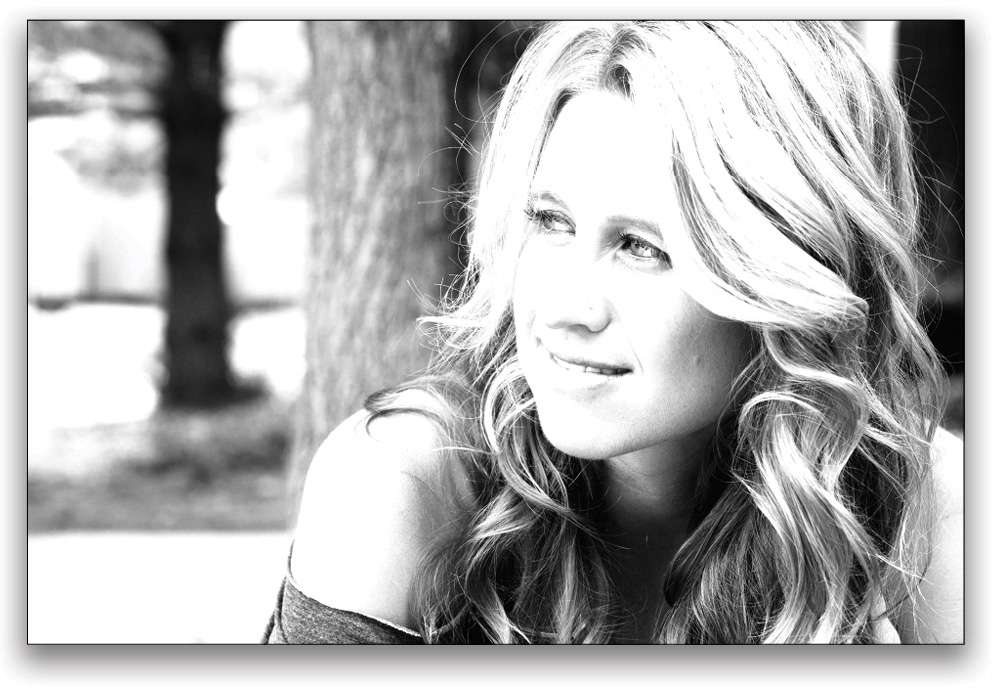
Now you can play with the Brightness and Contrast sliders in the Properties panel and adjust them to your liking. In this example, the Brightness was reduced to –50.
Save the original document, and then close the duplicate document because you don’t need it anymore. That’s all there is to it! You have yourself a beautiful, high-contrast look that took only minutes to achieve. Until next time, may the creative force be with you all!
This article originally published in the June/July 2018 issue of Photoshop User magazine.


