
If you haven’t had a chance to play around with the features inside Liquify that are devoted to modifying facial features, you’re in for a serious treat. Face-Aware Liquify is a module inside the Liquify dialog that uses Adobe’s artificial intelligence to identify all the facial features in an image so you can use sliders to easily change those features however you need. Say goodbye to the old days of liquifying things freehand. By incorporating Adobe Sensei (Adobe’s A.I. engine) into this module, they have completely revolutionized the entire tool, and I can’t wait to show you what it’s capable of!
When I first heard about Face-Aware Liquify back when it was introduced in Photoshop CC 2015.5, I was expecting it to be clunky and give me poor results, but I was pleasantly surprised. And it gets even better—Adobe updated the engine in 2017, and it works like a charm!
How It Works
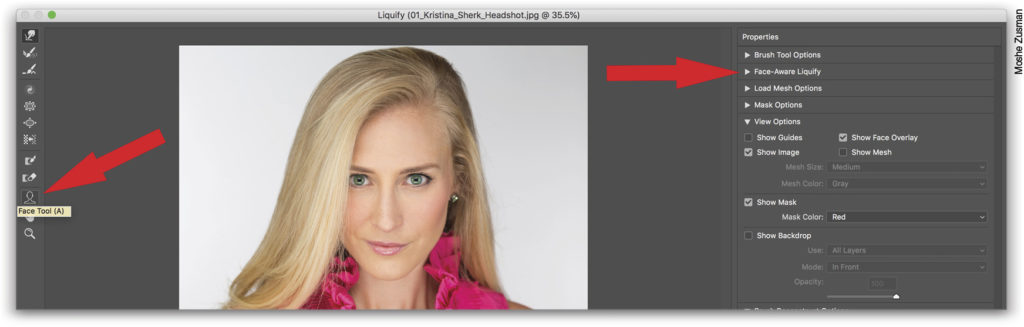
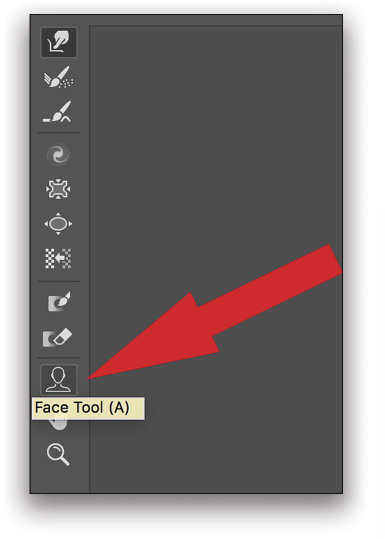
When you bring an image with a face into the Liquify dialog, you have a tool on the lower left called the Face tool (A). This tool corresponds to the Face-Aware Liquify section over in the Properties panel on the right.
Once you expand the Face-Aware Liquify section on the right, you’re greeted with a plethora of options, all devoted to tweaking facial features. When you open the Eyes sub-category, you’re able to make changes to all sorts of things; for example, you can make the Eye Size larger or smaller, and you can do it for the left eye, the right eye, or both. By default, the modifiers for the eyes are unlinked so you can change them independently, but if you want to tweak both eyes at the same time, simply click the chain-link icon between the sliders and that will link the two together.
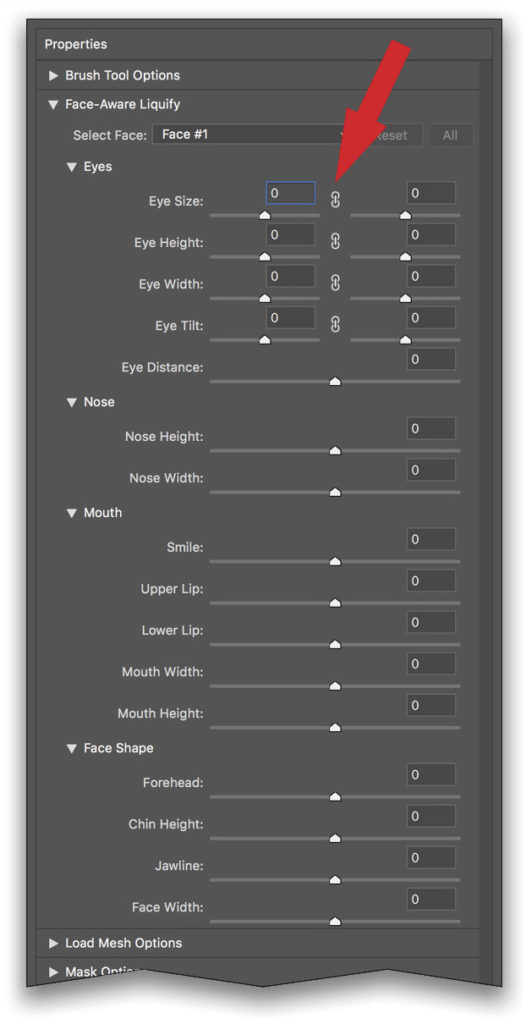
But it gets better. You also have multiple sliders for the Nose, Mouth, and even Face Shape!
If you aren’t already impressed, then I think you’re about to be. Guys, Face-Aware Liquify not only works on rasterized layers, but also on smart objects. It can also work on multiple faces in the same image. There’s a Select Face drop-down menu that allows you to tell Photoshop which face you want to work on. But here’s the real kicker: It works on video and illustrations too! Isn’t that just crazy? I’ll be sticking to photographs for this article, but this tool has some significant power behind it.
But the real reason I love this tool so much is because of how applicable it is to my everyday work. Many of you know I’m a professional retoucher, but I also do headshots in Washington, D.C. (Check out my KelbyOne class, Pro Quality Headshots Using a Simple Setup, since I devote a lesson to Face-Aware Liquify in that class.) When I go into a business to do headshots, about 20% of the subjects tell me, “I’m about 10 pounds heavier than I was in my last headshot, so I’d rather not shoot a new one unless you can shave 10 pounds off me and remove my double chin in Photoshop.” They say it as if they’re joking—but I know they’re not.
This tool allows me to do that for them. The Face Shape controls are particularly useful, as I can easily bring in jaw lines to make them more flattering, but since the software knows where all the features are, it protects those other features as I thin the jaw line. It’s pretty remarkable.
Making Changes
There are two ways to make changes. If you’re old school like me, you can use the sliders in the Properties panel. If you’re new school and you work on mobile devices, you can use the access points on the image itself as you hover your cursor over the face. For the eyes, the diamond shape changes the size of the eye, and the circles change the height and width. For the face, the circles correspond to the Forehead, Chin Height, Jawline, and Face Width sliders.

If you don’t see the access points when you hover over the face, make sure the Face tool is active over on the left, and that under View Options on the right, the Show Face Overlay is checked.
The first modification I’d like to make to my portrait is to increase the size of my camera left eye to match the size of my camera right eye. I’ll do that by changing the left Eye Height slider from 0 to 24. And let’s give me a tiny bit more smile. In the Mouth section, I’ll pull the Smile slider to 21. To preview the changes between the before and the after, simply hit the P key to switch between the two states. P stands for Preview. The changes are extremely small, but I hope you can still see how this tool will help you.
One of the limitations of Face-Aware Liquify is that if a face is rotated more than 30° in the photo, it won’t register a face. It also doesn’t work on facial profiles.
Multiple Faces
If you have an image with multiple faces, you’ll need to first choose which one you want to modify. In the Properties panel, go down to the Face-Aware Liquify area, and then click on the Select Face drop-down menu to make your selection. You can also simply click on the face in the image, and the drop-down will switch to the corresponding face.
Let’s imagine that we did a portrait session with a family, and that this is their favorite image from the shoot, but the mom has a few requests. She wants her camera right eye to be opened, and she would like the young boy to have a little more smile.

We can start by clicking on the mother’s face, which will immediately switch to Face #2 from the drop-down menu. Now, it’s as simple as moving the right Eye Size slider to 33, and moving the right Eye Height slider to 36. We’re halfway finished, just by moving two sliders! Are you starting to see how much easier this tool will make your Liquify experience?
It’s time to move on to the boy’s face. Let’s try to turn that frown upside down!
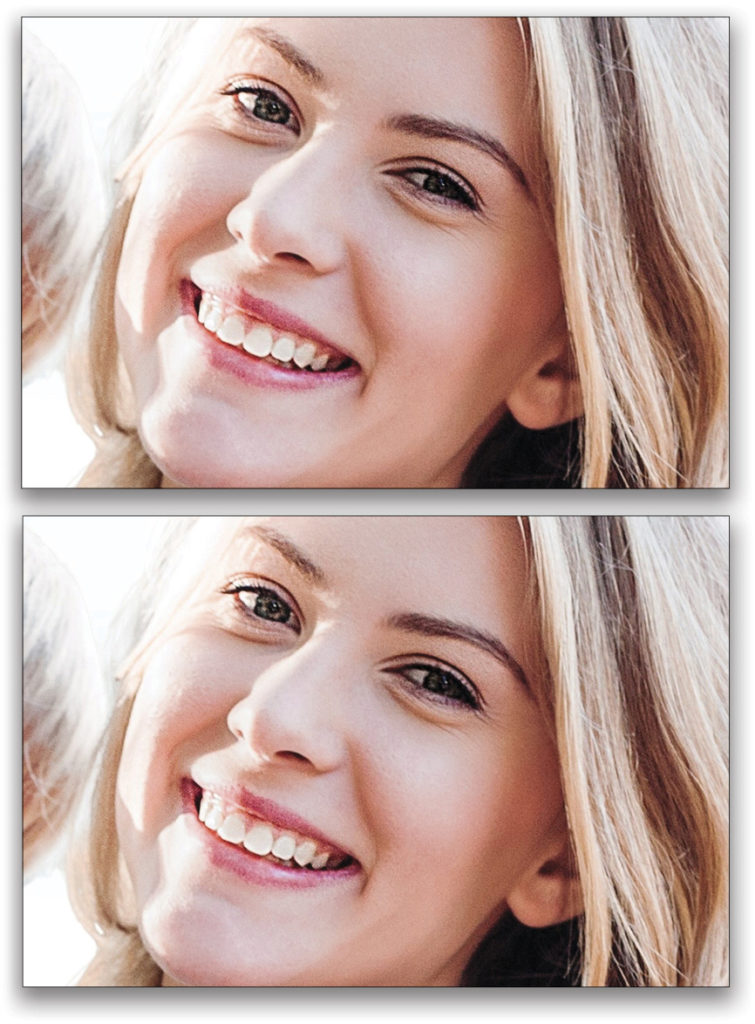
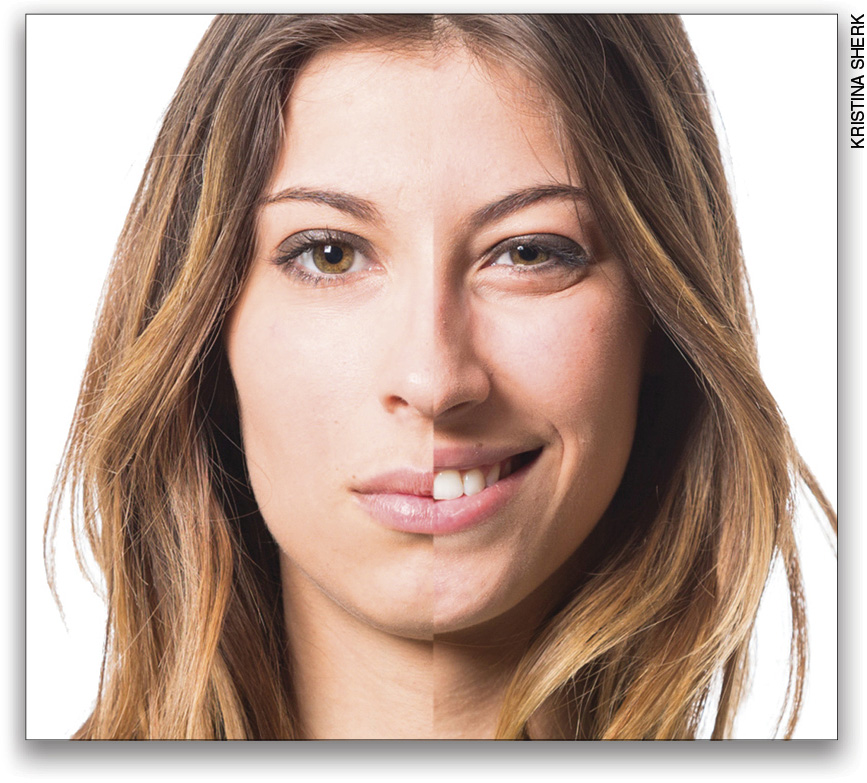
But first, a quick side note on smiles: There are a few things that happen to a mouth when it goes from a non-smiling position to a smiling one. First, the sides of the mouth turn upward slightly. But more significantly, the lips stretch out wider from side to side. The top and bottom lips also become thinner because they’re stretched. And as you can see from my freaky split screen image below left of a subject not smiling on the left and smiling on the right, the bottom lip stays in relatively the same location while the top lip rises.
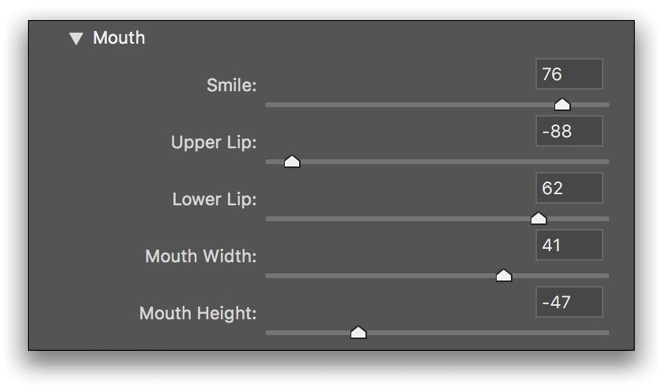
So, we need to apply all these changes to the boy’s smile; otherwise, it will look fake. Our first step is to click on his face to activate Face #4 from the Select Face drop-down menu, and then we can start to change the smile. The first slider we’ll move is the Smile in the Mouth section. Let’s drag that to 76. Let’s continue by making the Upper Lip thinner by setting that slider to –88. We’ll also need to make the Lower Lip thinner, so let’s pull this slider to 62. Lastly, we’ll change the Mouth Width to 41 and Mouth Height to –47.
Here’s what the boy’s face looks like before and after the smile was edited. And then the final image below.
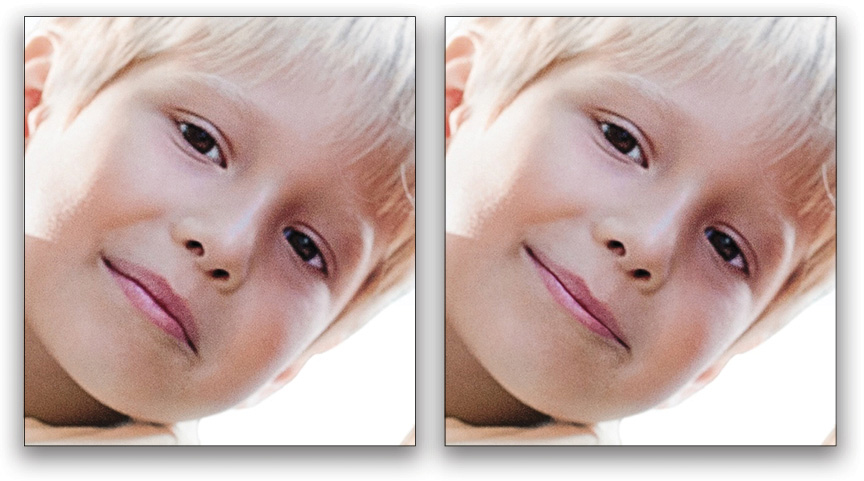
Quite a dramatic change, don’t you agree? And the time it took was mere minutes! On top of everything that we’ve accomplished here, we’ve merely scratched the surface of this tool’s capabilities. As I said earlier, it also works on video and illustrations. So take some time and give this tool a spin. I guarantee you’ll be impressed by what it can do. And as soon as you see it in action, I know you’ll start using it in your daily editing.

This article originally published in the March, 2019 issue of Photoshop User magazine.


