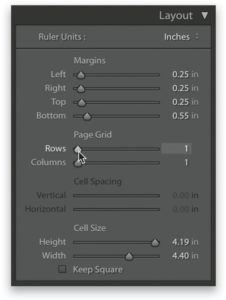
There are a couple of different ways, but we’ll start with probably the most-used method, which is choosing how many rows/columns of images you want on your page. In the Page Grid section of the Layout panel (in the right side Panels area), if you choose 1 for Rows and 1 for Columns, you get one image (makes sense, right?). If you want more than one image per page, you just increase either the number of rows or columns. For example, if you drag the Rows slider to 3, you will now have a page with three images stacked vertically, one on top of the other. If instead, you dragged the Columns slider over to 3, you’d have three images side by side. You’ll get a single row or column as long as one of those two sliders stays set to 1. If you move both sliders, the math kicks in. For example, if you drag the Rows slider to 3 and the Columns to 3, you’ve got a page set up for nine photos (3×3). Another way to choose a multi-photo page is to choose one of the pre-made page templates that come with Lightroom Classic—just go to the Template Browser (in the left side Panels area), click on one of the multi-photo presets, and you’re good to go.
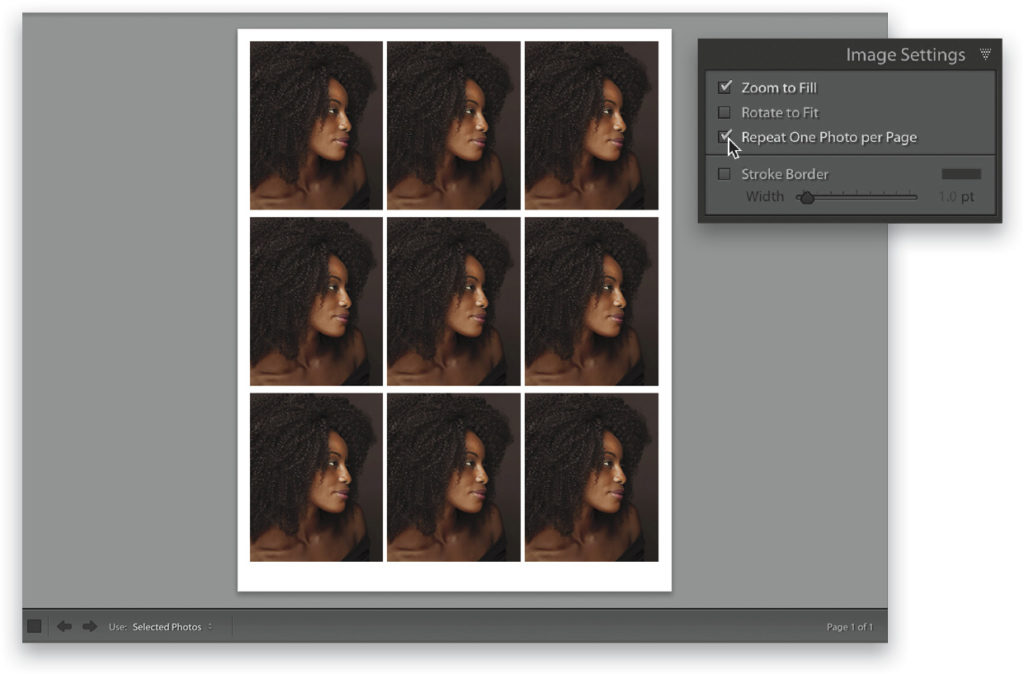
Once you’ve decided on how many photos you want on a page, then go over to the Image Settings panel, in the right side Panels area, and turn on the checkbox for Repeat One Photo per Page (as shown here). Now, it fills every photocell with the same image.
This tip was originally published in How Do I Do That In Lightroom Classic?: The Quickest Ways to Do the Things You Want to Do, Right Now! (2nd Edition) by Scott Kelby.