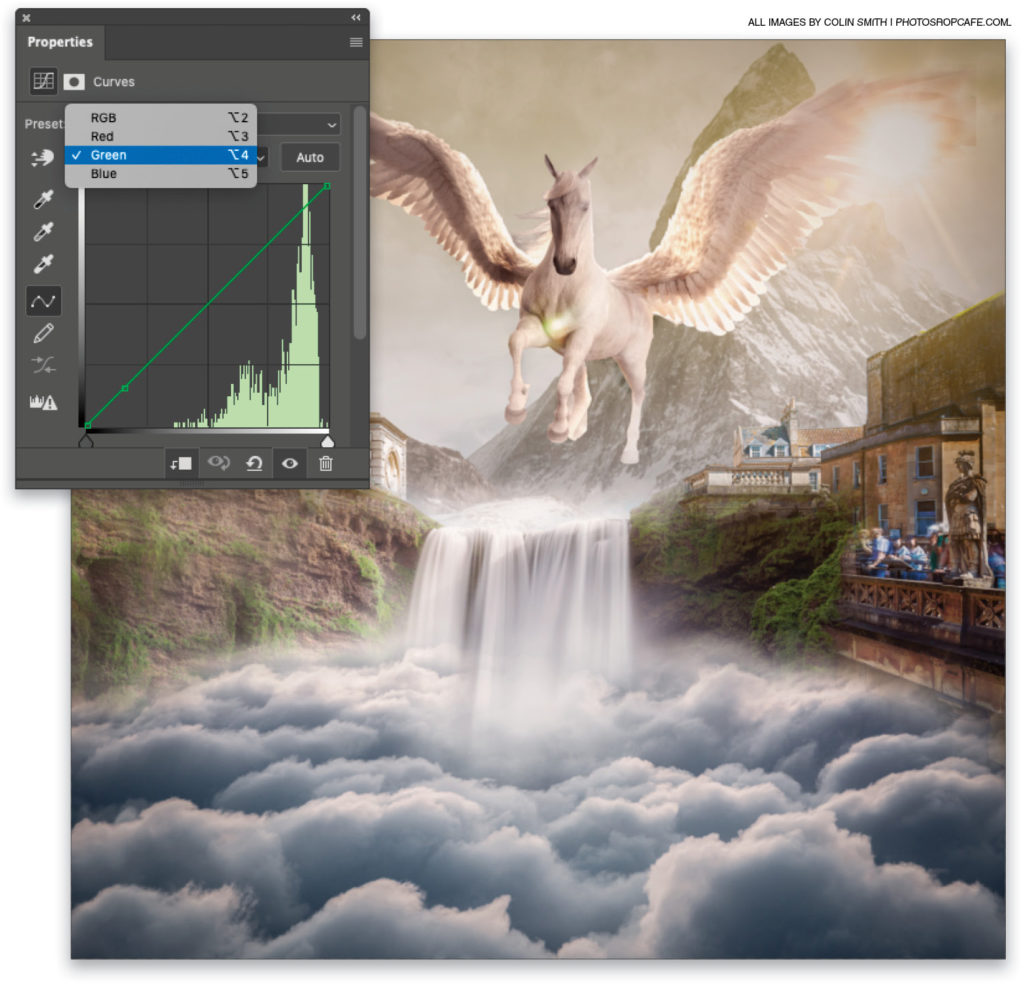
When you’re working with Curves to adjust an image, it’s very useful to be able to add a point to your curve simply by clicking on the image. Did you know that you can also add a point to the color channels in the curve so you can adjust the precise colors you want? When you’re using a Curves adjustment layer (Layer>New Adjustment Layer>Curves), select the little finger icon near the top left of the Properties panel (Window>Properties). If you click on the image, it will add a point along the RGB curve; but if you hold down Shift-Command (PC: Shift-Ctrl) and click on the image, it will sample that color and add the appropriate points to the color channels. You won’t see the points yet, but they’re there. Click where it says RGB in the Properties panel, select each color channel individually, and you’ll see that the point is visible in each channel.