Dodge-and-burn is one of the key features in Lightroom’s ability to do local retouching. But there is a way to do it that has been kept secret for a long time, and I’m now going to reveal the trick, which you can apply on landscape and portrait images!
Over the last decade, the key thing that I’ve learned with retouching is dodge-and-burn. Let me show you an example of how to perform dodge-and-burn on a photo taken in Tuscany. (I really love Tuscany because it has a natural dodge-and-burn with the touches of lights.)
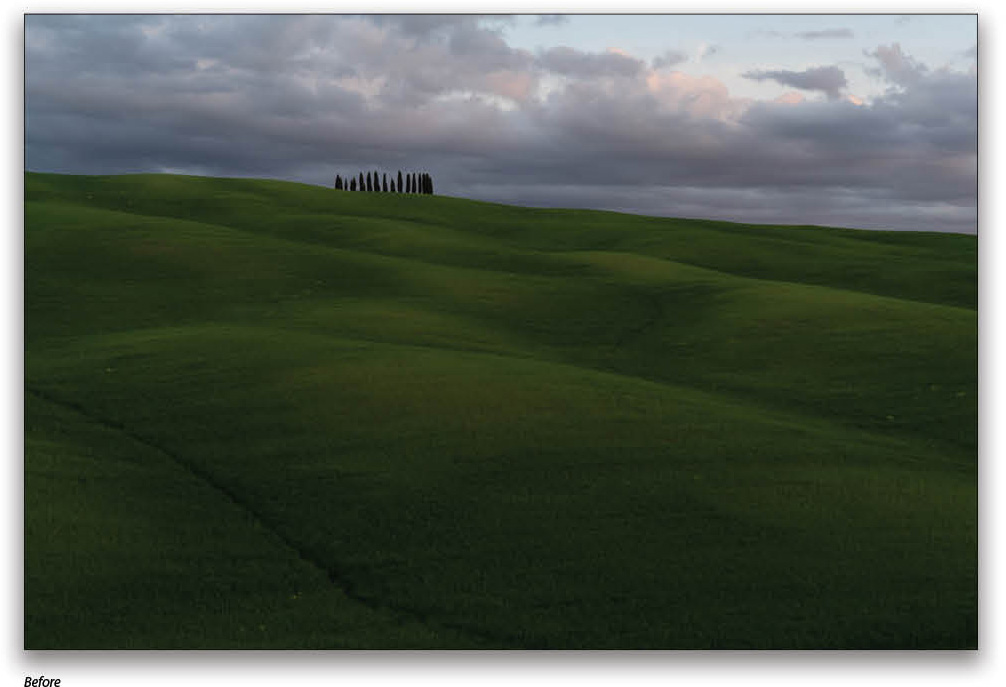
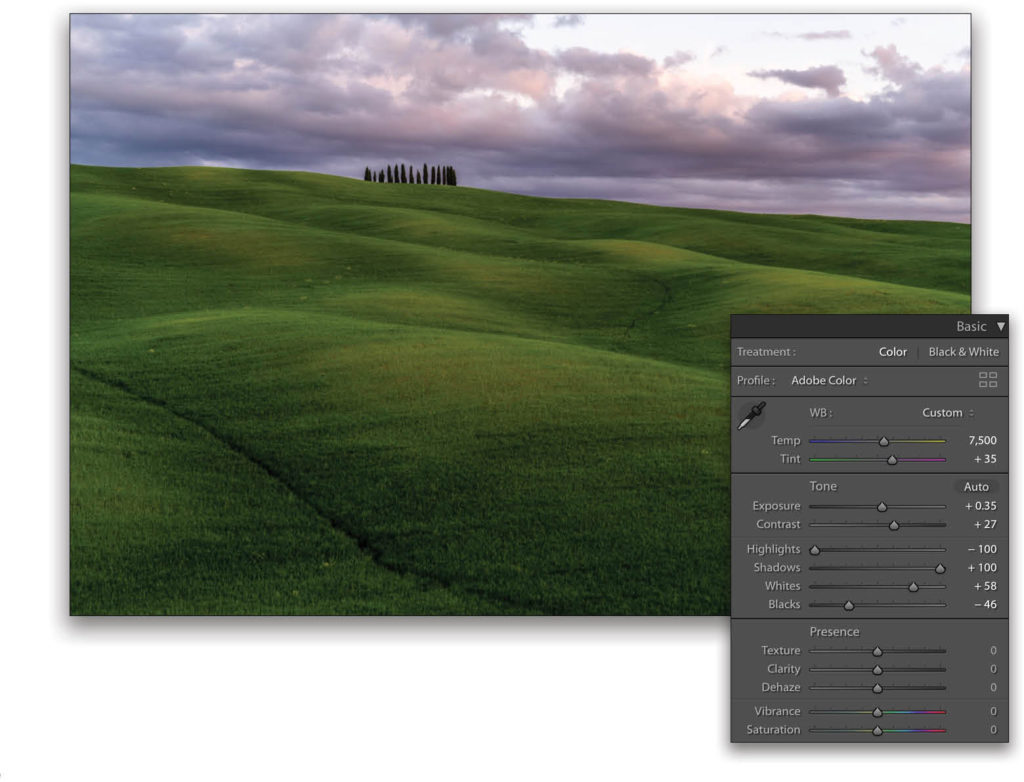
We’ll do a basic retouch first: Bring down the Highlights to –100, open up the Shadows to +100, set the Whites to +58, and the Blacks to –46. Set The White Balance (WB) to Shade, because the photo was taken in the evening. Add some magenta (Tint +35), and Contrast (+27), and set the Exposure to +0.35.
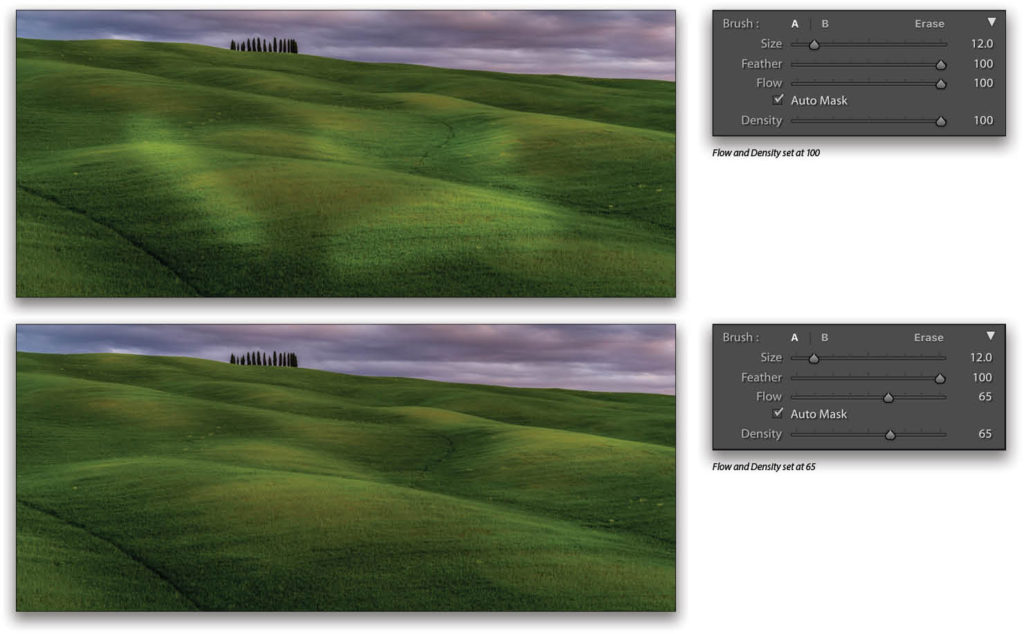
I used to do dodge-and-burn with an adjustment brush, adding Exposure. Note: You have to set the brush’s Flow and Density between 60 and 70; at 100 it’s very obvious as shown above.
A Faster Way
The idea behind dodging-and-burning is that you want to add some contrast and enhance light parts of the photo; this really makes the whole photo pop. Now I’ll show you a faster way to accomplish this.
Select the Adjustment Brush (K), boost the Exposure to 0.96, set the Flow and Density to around 80, and then paint over the whole area you want to dodge-and-burn. In this example, I painted over the grass, but not the sky.
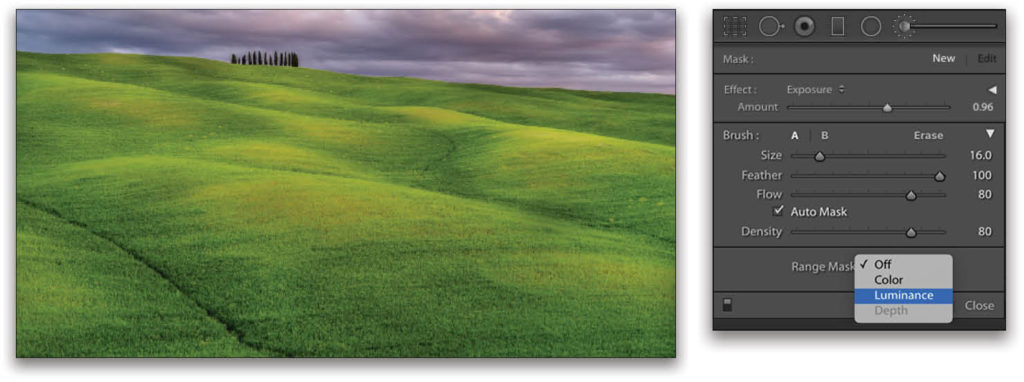
It looks weird, but wait! I’m not done. Next, click on the Range Mask menu and select Luminance.
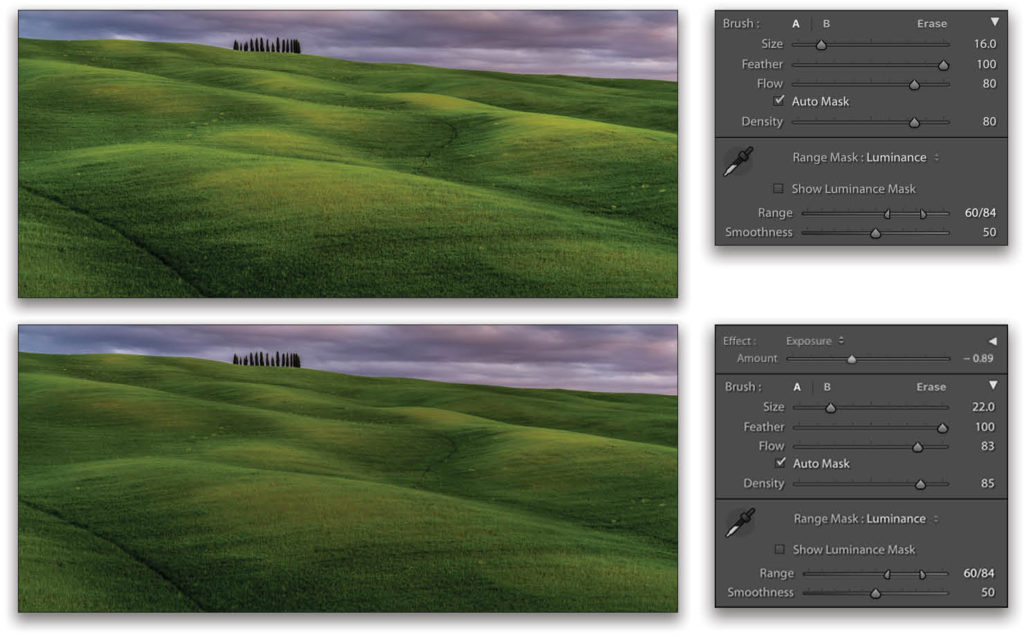
If you play with the Range (as shown top-right), it will naturally enhance the lighter parts of the photo. This is much quicker, looks more natural, and you don’t have to worry about where to highlight.
Now you can use the same technique to “burn” your photo. Click New at the top of the brush options, and then double-click the word “Effects” to reset the sliders. This time, lower the Exposure to –0.89, paint over the grass, and use the Range slider after you select Luminance from the Range Mask menu. Isn’t that a cool tip?
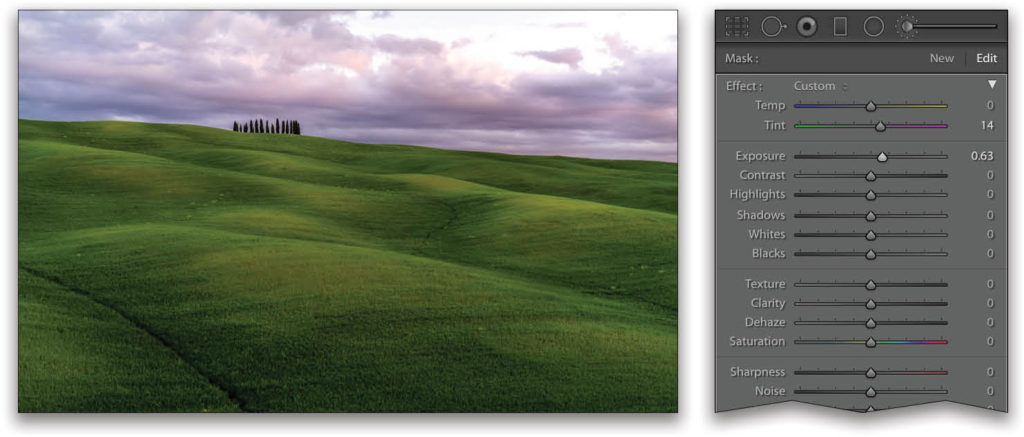
But…I’d like to improve the sky. I clicked New again, reset the sliders, increased the Exposure to 0.63 and Tint to 14, and then painted over it with an adjustment brush.
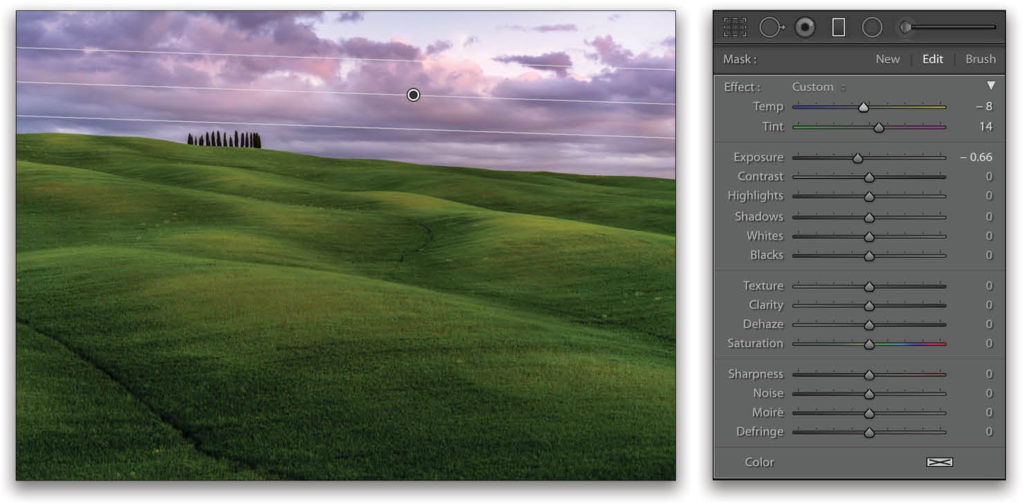
And to finish up, let’s add a graduated filter at the very top of the photo. Get the Graduated Filter tool (M), set the Temp to –8, Tint to 14, and Exposure to –0.66, and then drag downward across the middle of the sky, as shown here. You can see a large example of the final results on the first page of this article.
Another Example, Using My Trick
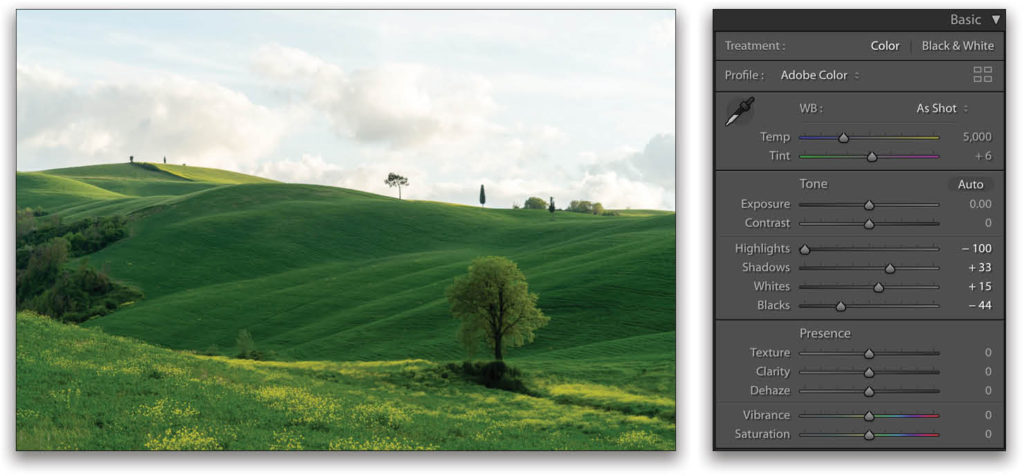
Let’s try this with a different photo taken in Tuscany. Do the basic retouching: Decrease Highlights to –100, increase Shadows (+33), increase Whites (+15), and decrease Blacks (–44).
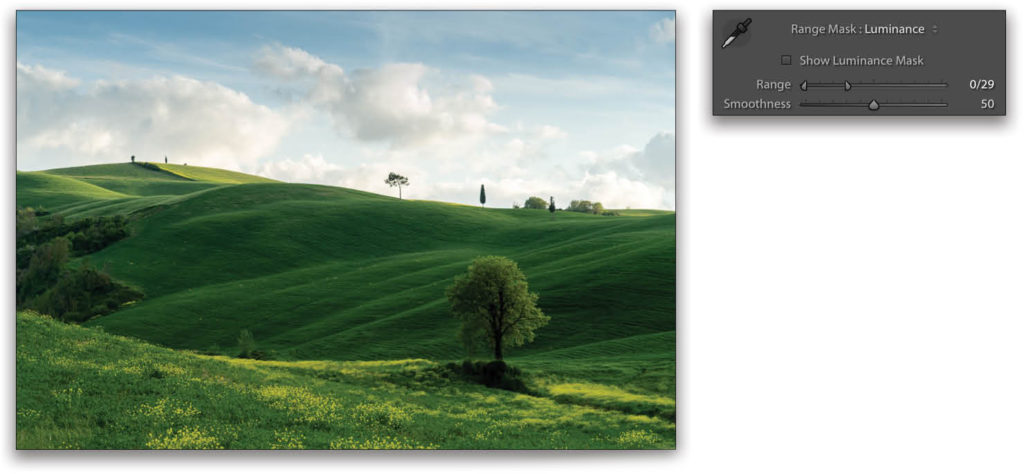
To darken the sky and “close up” the photo, add a graduated filter over the top of the photo, lowering the Exposure to –1.44 and dragging the Temp to –22.

Now, let’s do the trick: First, take a new Adjustment Brush, boost the exposure to 0.67, and paint over the grass.
Next, set the Range Mask menu to Luminance and adjust the Range slider, which lets you lower the effect in such a way that only the highlights are enhanced.
Now do the same thing again, but lower the Exposure to –0.88, and then paint over the entire grassy area.
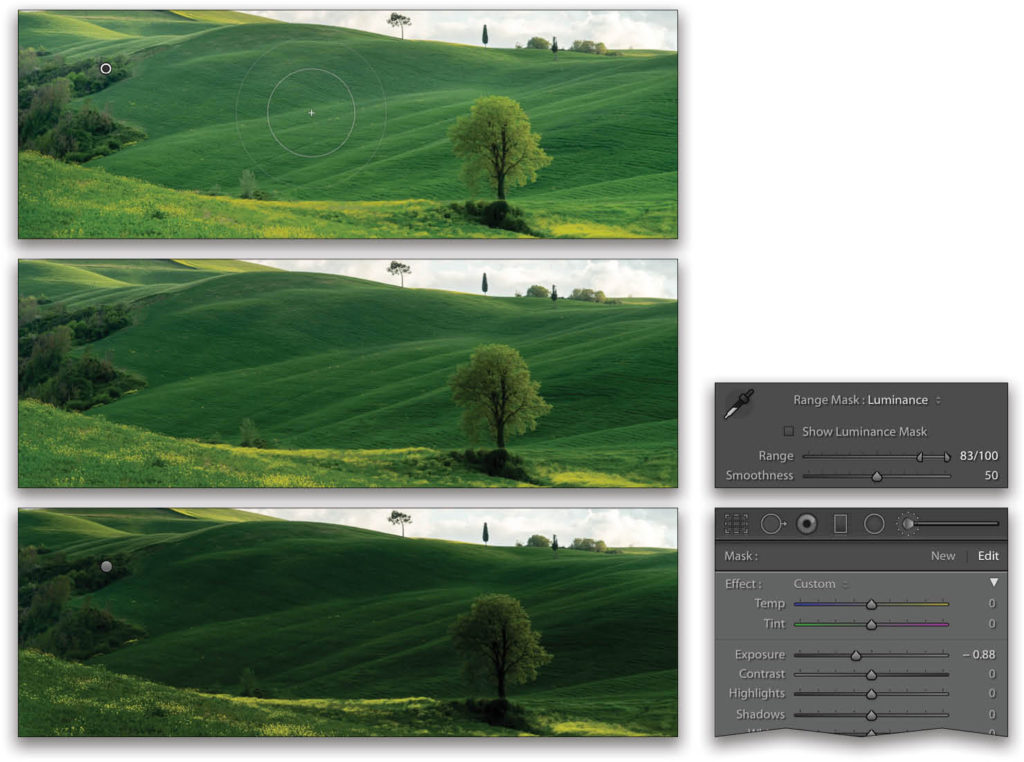
Lastly, set the Range Mask menu to Luminance, and adjust the Range sliders to lower the effect and make it more subtle for a very natural dodge-and-burn.
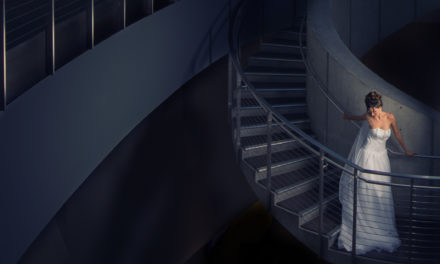
Using it on Portraits
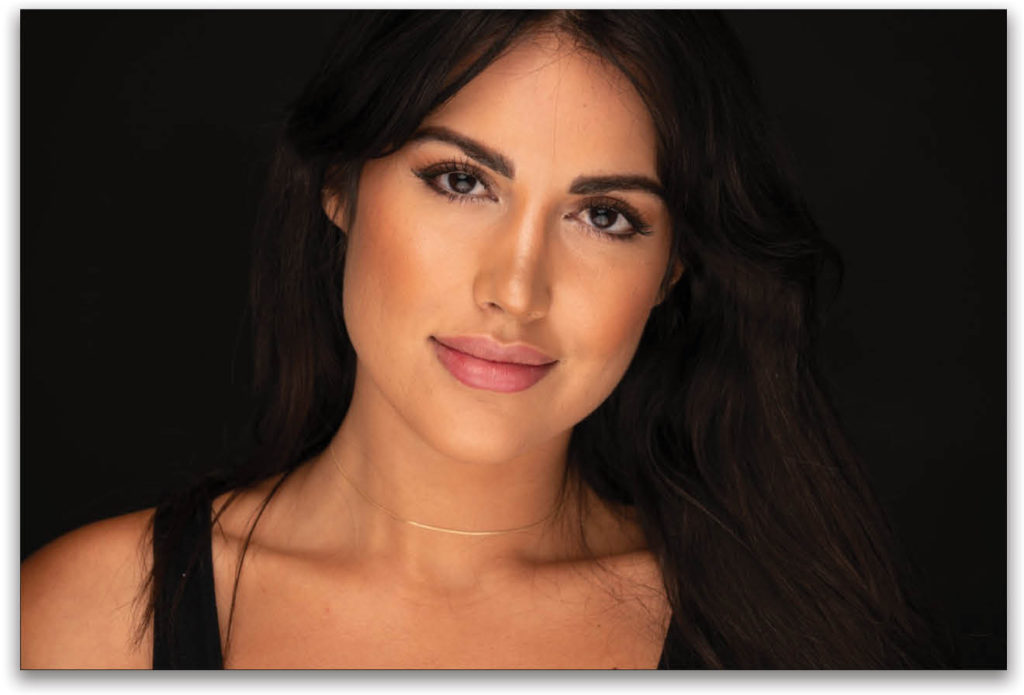
You can use this same concept for portraits, too. Here, we’re using a portrait I took in my studio.
I painted over the model’s skin with an Adjustment Brush that boosted the Exposure 0.66. I set the Range Mask to Luminance and adjusted the Range, which added a glow.
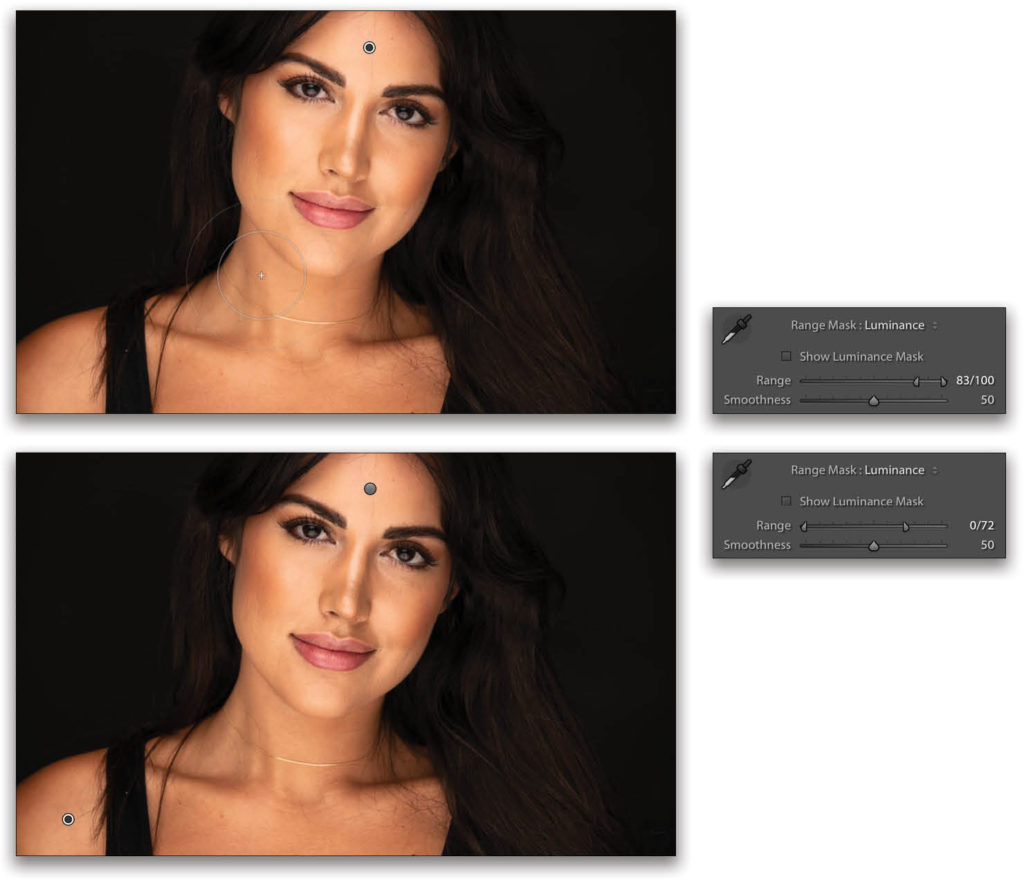
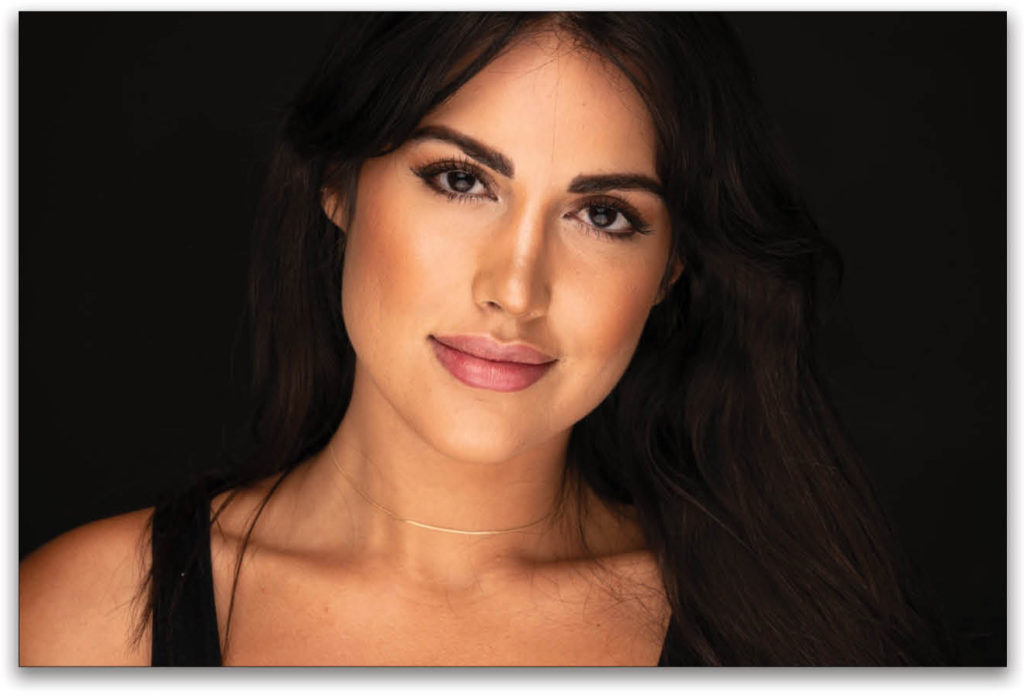
Now let’s do the same thing, but decrease the Exposure –1.06, and set the Range Mask menu to Luminance. It really makes a difference!
Hope you enjoyed the tip! Although it can be hard to dodge-and-burn a face, this technique makes it natural and so easy! Here’s the final result of the portrait.
This article originally published in Issue 60 of Lightroom Magazine.