2D Animation for Tutorials, Games, and Videos
Review by Erik Vlietinck
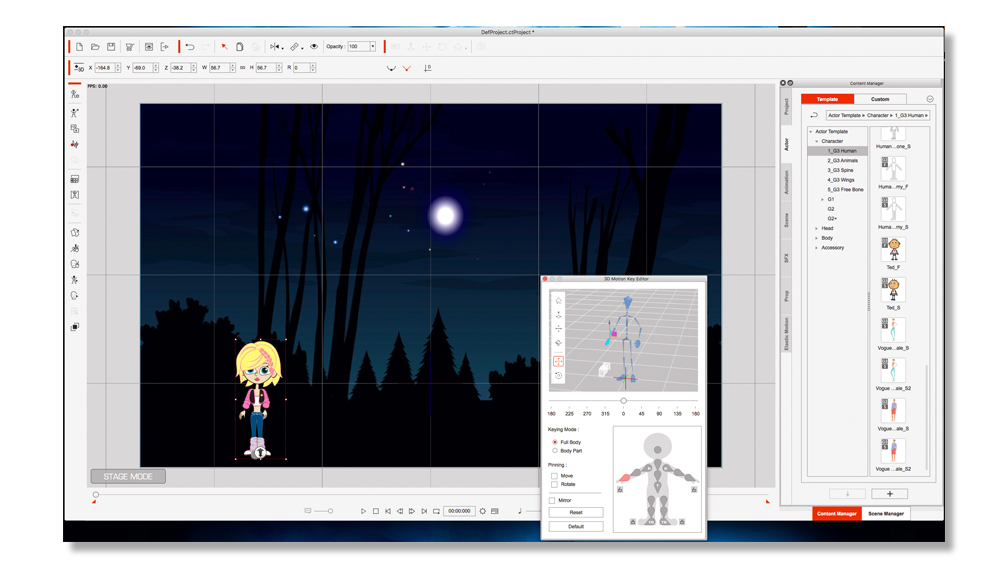
Animation for anything from presentations to games and goofy YouTube movies is possible with CrazyTalk Animator 3. You can bring an image or a piece of vector art into the application and create an animated figure by applying bouncy “Elastic Motion” effects using “bones.” I tried the app with a PNG image of a stuffed Paddington bear. By removing the white background, importing it and adding bones, I could control its extremities and head. But animation can be simpler or far more complex with this app.
CrazyTalk Animator 3 comes with 2D character templates and character motion libraries—you might call them ready-made animation components—that you can combine with 2D bone rigs, facial puppets, and audio lip-syncing tools, a feature that allows you to create tutorials as well as hilarious cartoons. The result is that you can create almost any animation from static elements.
My review version, known as Pipeline, provided me with a fully functional PSD in-and-out solution that allowed me to keep using a familiar design environment for character creation and animated content development. The round-trip PSD Pipeline lets you create characters on which you put the moving parts on different layers. Then, by importing the layered result into CrazyTalk Animator 3, the artwork’s layers are translated into sprites and you can start animating. Sprites make up the second animation method within the app; however, I’d probably have relied on morphing to give Paddington bear facial expressions.
CrazyTalk Animator 3 doesn’t just import PSD files, it also exports them, allowing you to freely pose illustrated characters, quickly swap outfits and accessories, and create custom facial expressions. After combing all your custom creations, you can then export them in layers for re-editing and compositing. That, in turn, allows you to create sidekick designs, such as magazine covers, infographics, banner designs, etc.■


