Enhancing Your Background Blur in Lightroom (Without a Prime Lens!)
When shooting with prime lenses and wide apertures, achieving beautiful background blur (aka bokeh) happens naturally. But what if you’re not shooting with a prime lens or your image lacks that dreamy blur? Lightroom’s Lens Blur tool is here to help! In this tutorial, KelbyOne instructor Tracy Sweeney shows you how to enhance your background blur—even if your original shot doesn’t have that soft, creamy bokeh.
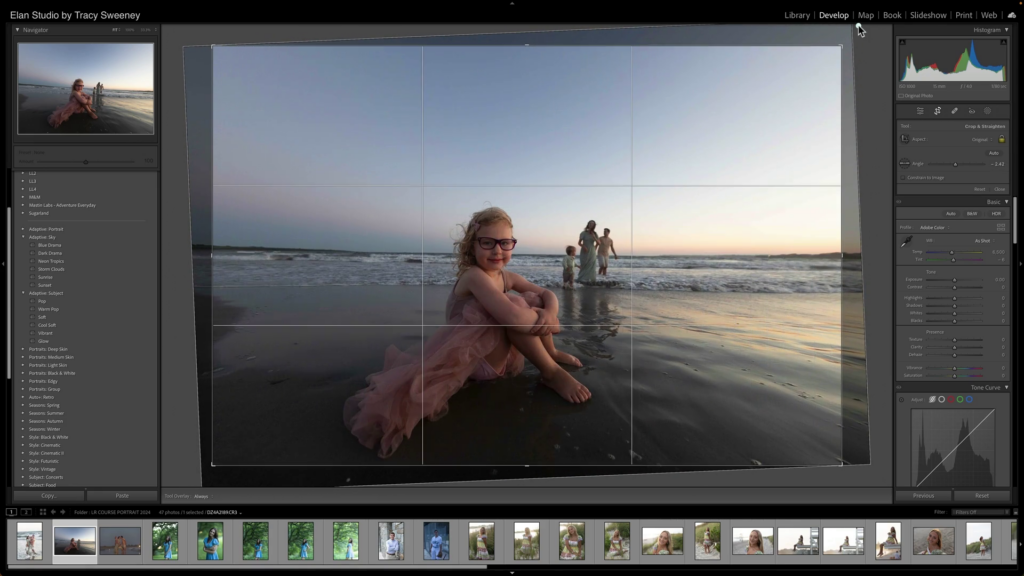
Step 1: Prepping the Image with Basic Adjustments
Before applying the Lens Blur effect, I like to start with some foundational edits to get the image looking its best.
- Straighten the Horizon – A crooked background can be distracting, so I always fix that first.
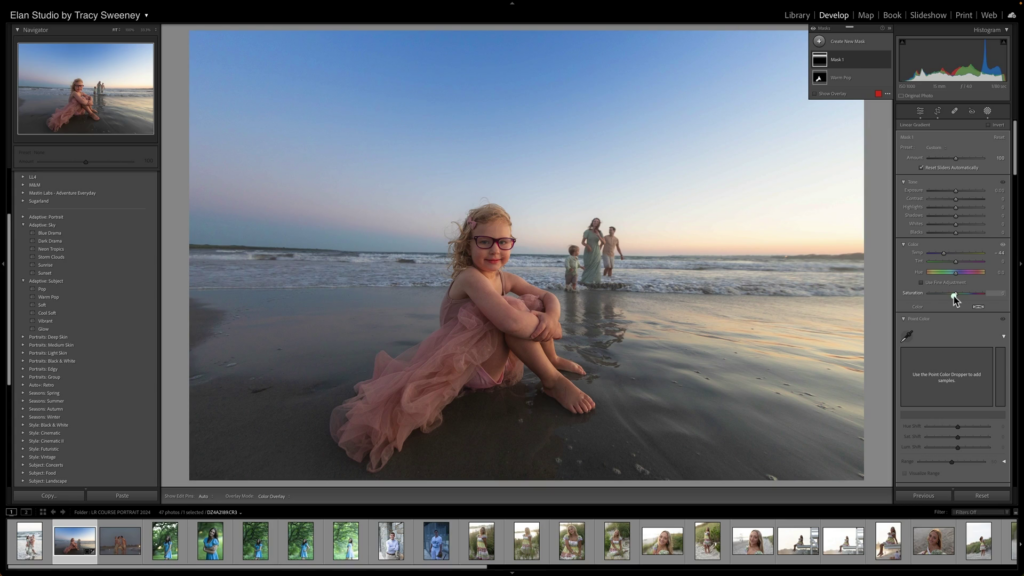
- Apply Global Adjustments – Before we add blur, let’s enhance the image’s overall look.
- Try Adaptive Subject Presets (I love the Warm Pop preset for beach photos!).
- Adjust shadows and blacks for depth.
- Drop the clarity slider for a dreamy effect.
- Use the HSL panel to fine-tune colors (but be mindful of skin tones!).
- Add a linear gradient to adjust the sky’s color and mood.

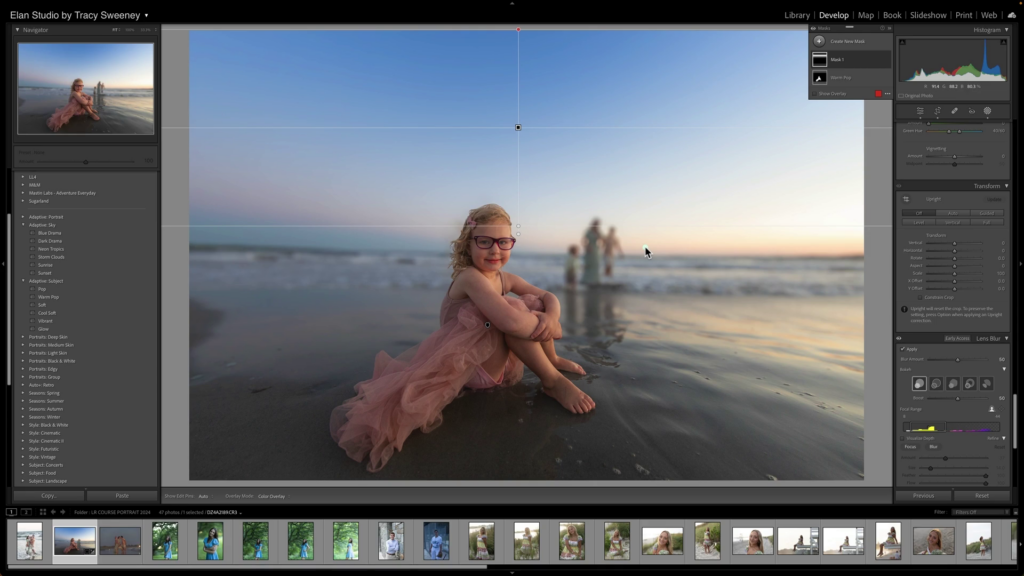
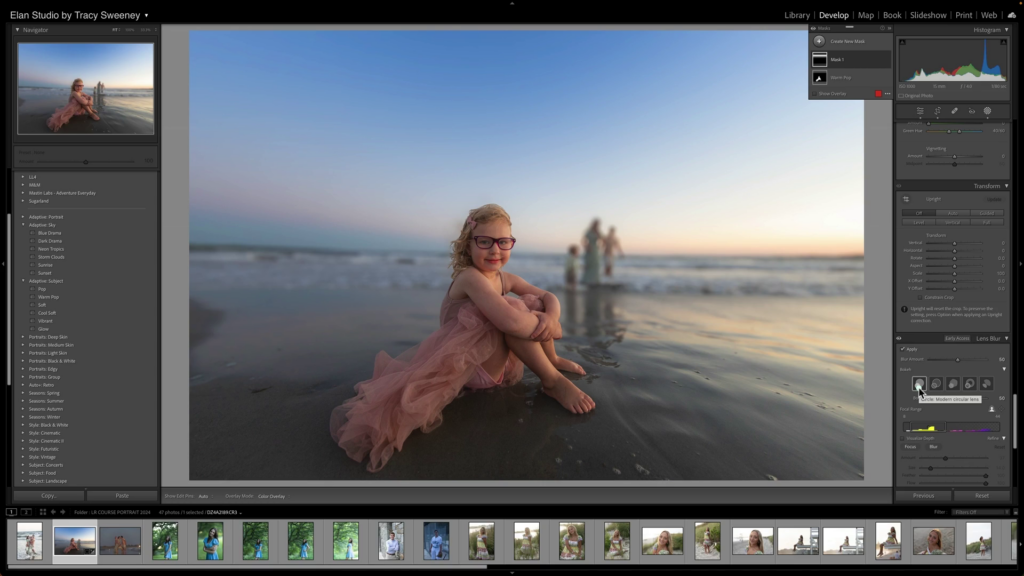
Step 2: Applying the Lens Blur Effect
Now, let’s dive into the magic of the Lens Blur tool.
- Scroll down to the Lens Blur panel in Lightroom.
- Click Apply – Lightroom will analyze your image and apply an initial blur effect result which you can adjust.
- Adjust the Blur Amount slider to control the intensity.
- Choose your Bokeh Type:
- Modern Circular (a natural look, my go-to choice!)
- Circular (creates more distinct bokeh orbs, great for lights in the background)
- Five Blade (a stylized look for creative effects)
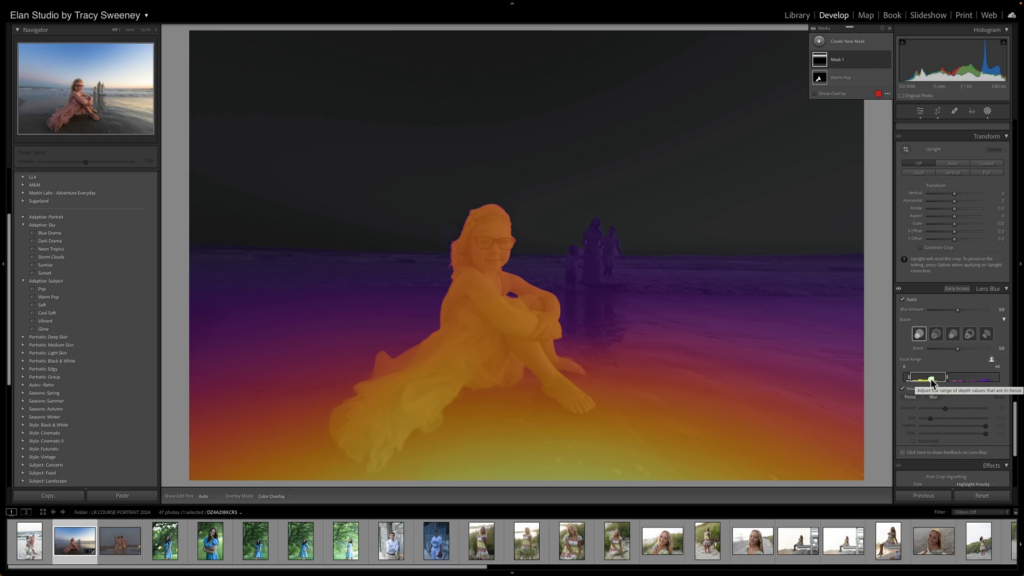
Step 3: Fine-Tuning the Depth with Visual Depth Map
Lightroom provides a Visual Depth Map to show the focus range:
- Click Visual Depth to see a color-coded depth map.
- Warm colors = in focus.
- Cool colors = blurred areas.
- Want to bring certain areas back into focus? Click Focus and adjust accordingly.
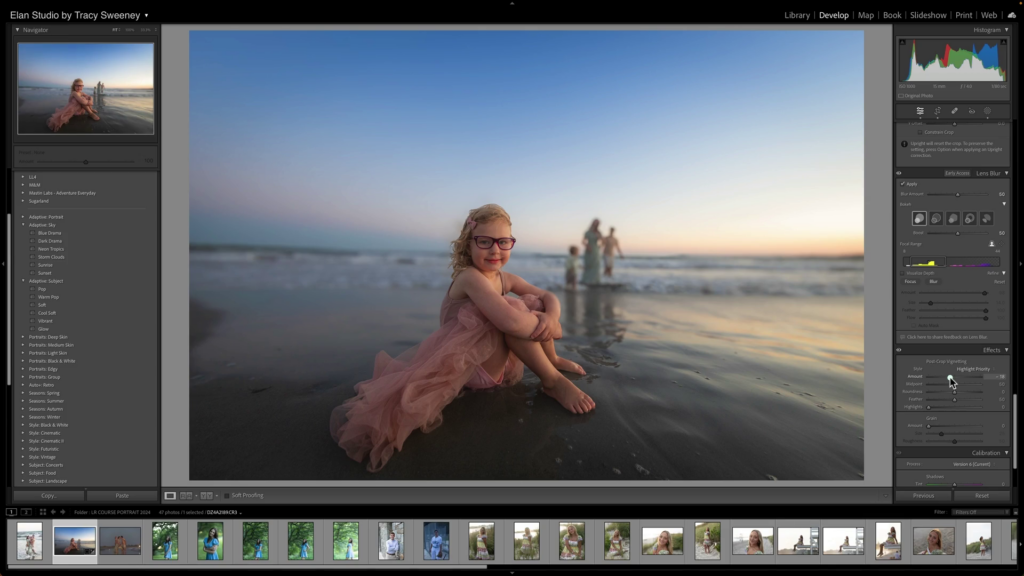
Step 4: Adding Finishing Touches
To further enhance the effect and direct attention to the subject:
- Apply a Vignette – A subtle darkening around the edges helps isolate the subject.
- Use a Brush Mask – Lightly brush over the subject to brighten and add a soft spotlight effect.
- Run AI Denoise (if needed) – Especially helpful for high ISO shots.

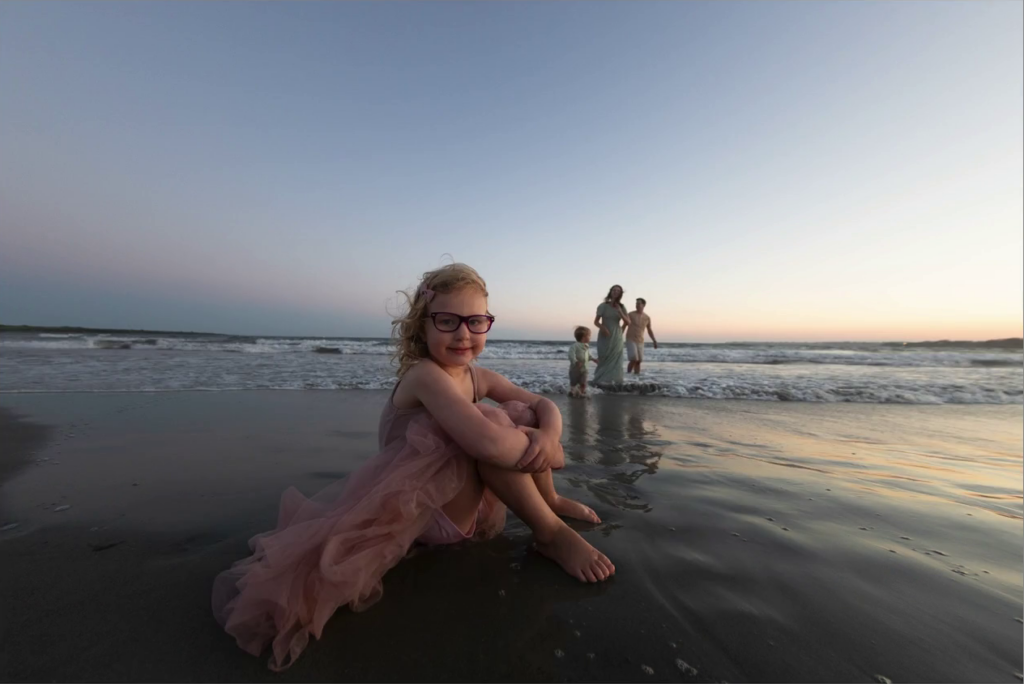
Final Thoughts
And there you have it! With just a few sliders, you can achieve that prime-lens blur—no need for an f/1.2 lens. Whether you’re working with a fisheye or a kit lens, Lightroom’s Lens Blur tool gives you creative control over your depth of field. Try it out and see how it transforms your portraits!
Mark your calendars because the KelbyOne Lightroom Conference is back, May 13–14, 2025. Join us for two action-packed days of Lightroom learning, inspiration, and insider tips. Master the tools, tricks, and techniques that will transform your workflow and take your edits to the next level—live and online! Secure Your Spot Now!