The golden hour is that time in the morning and late afternoon when the light is so beautiful that even the most mundane of subjects looks extraordinary. It’s the quality of light that makes it worth getting up extra early for because the resulting images can be so remarkable.
But what about the rest of the day, which makes up most of your waking hours and shooting time? What’s a photographer to do when the light isn’t as obviously beautiful as it is at dawn or dusk? You don’t have to put away your camera or while away hours watching cat videos on YouTube, because if you know what to look for, you’ll find images that can work even with less-than-ideal light that the day has to offer.
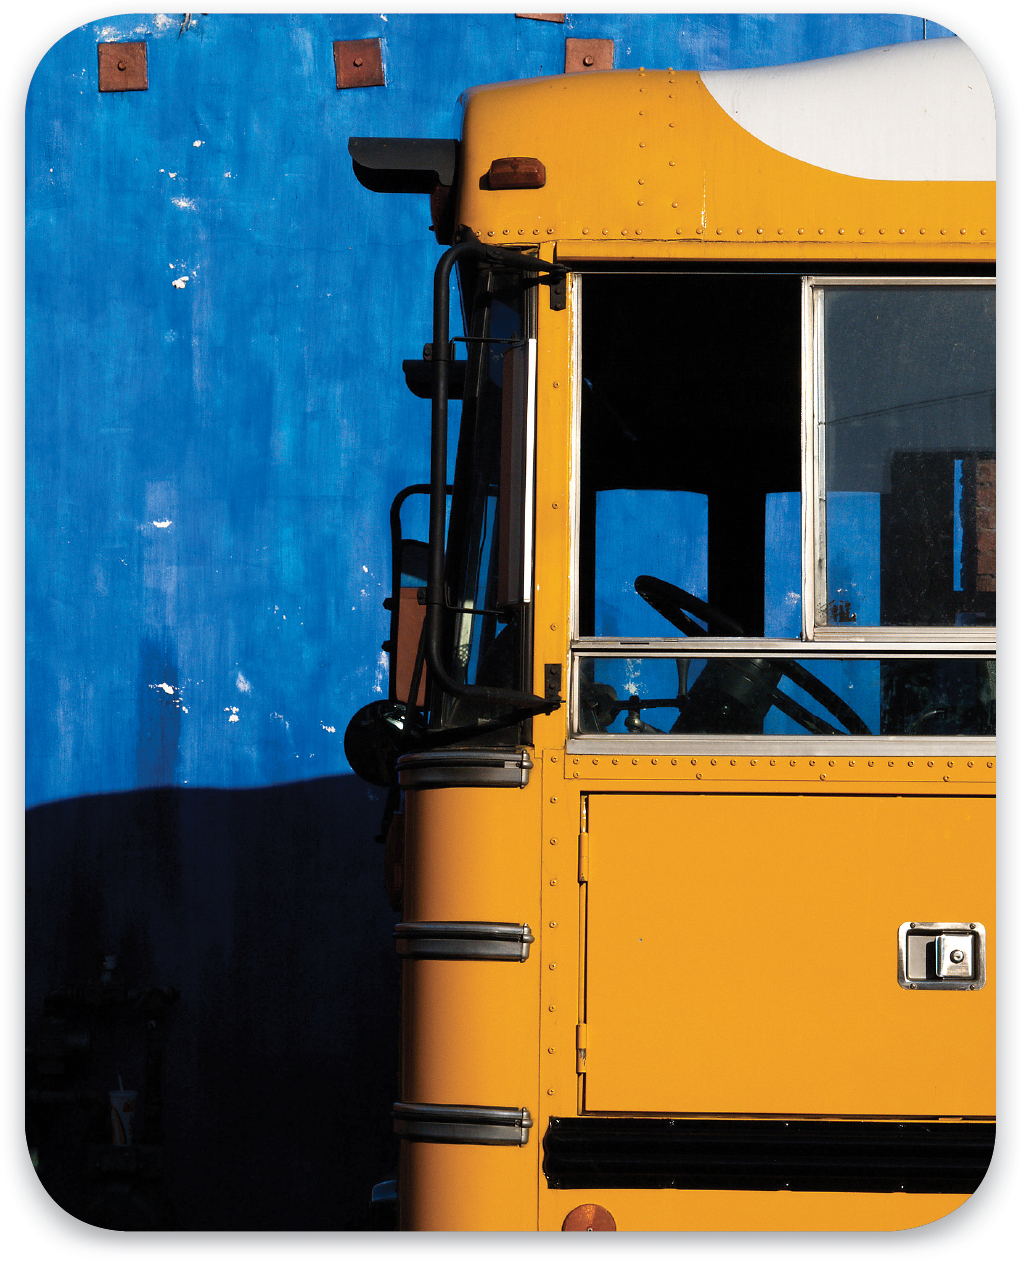
Midday light has been given a bad rap because, on a bright day, the sun is overhead. The result is a hard, high-contrast light, which is relegated to the role of a one-legged stepchild when compared to its stunning sibling, the golden hour. But you don’t have to send it off to the cellar. Instead, find and use to your advantage some of the very qualities for which midday light is disdained. Here, the hard light adds vibrancy to the color of the school bus and blue wall. By purposefully exposing for the highlight, I underexposed slightly to help further saturate the colors.
High Contrast
The high-contrast quality of midday light is likely one of the reasons why you’ve been persuaded that it’s a terrible quality of light for much subject matter, and there’s some truth in that. For example, you should avoid shooting a portrait, where such light would produce deep, pronounced shadows beneath a subject’s brow, nose, and chin. The resulting photographs might be so bad that your friend may question whether it’s even moral to allow you to wield a camera. Intervention anyone?
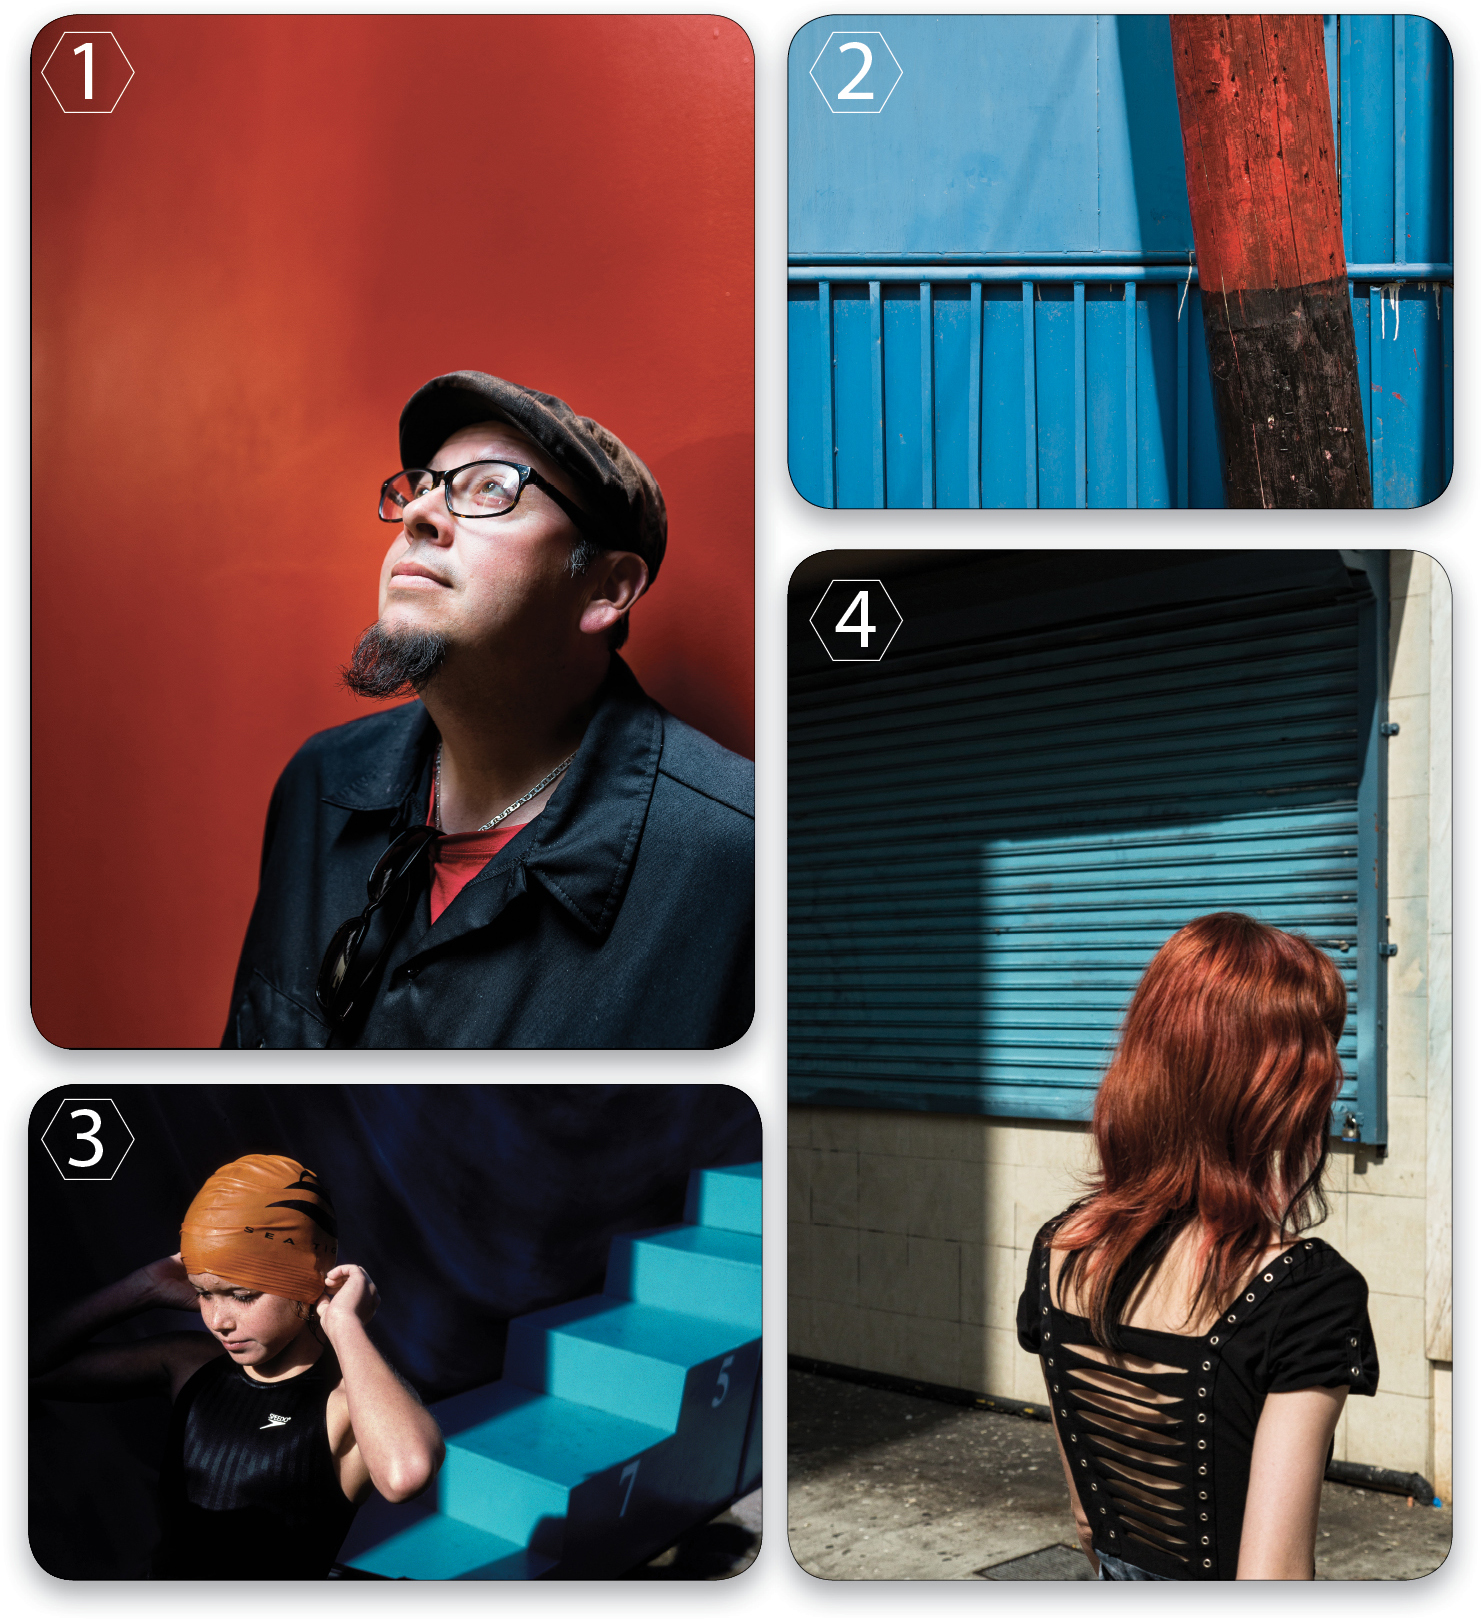
In this image, I eliminated the issue of shadows obscuring important details of the subject’s face by having my friend tilt his head up toward the skylight that provided the source of light. (See Image 1)
But that same quality of light that produces those strong shadows can help reveal texture and pattern in an amazing way. If you look for subject matter that possesses texture and pattern, high-contrast light can reveal it in a way that wouldn’t be revealed as easily under more flat, even lighting. In shade, this same scene would appear dull and muted, but with the hard, direct light, the shapes, lines, and patterns are accentuated in a much more dramatic fashion. (See Image 2)
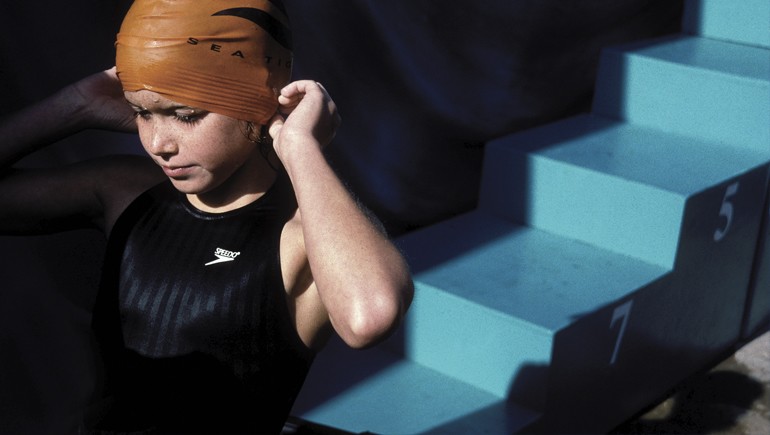
You can extenuate shapes and forms by leveraging such high-contrast light in your compositions, whether you’re shooting color or black and white. The hard light and resulting contrast helps you to create images with a sense of depth, which is something you want because it helps to draw the viewer into the image. The presence of deep shadows in this image helps to define the various shapes and colors in the frame. Without them, the image would have been much flatter. (See Image 3)
Along with brightness, contrast is something that draws the eye into an image, whether it’s a painting or a photograph. Why not use that to your advantage?
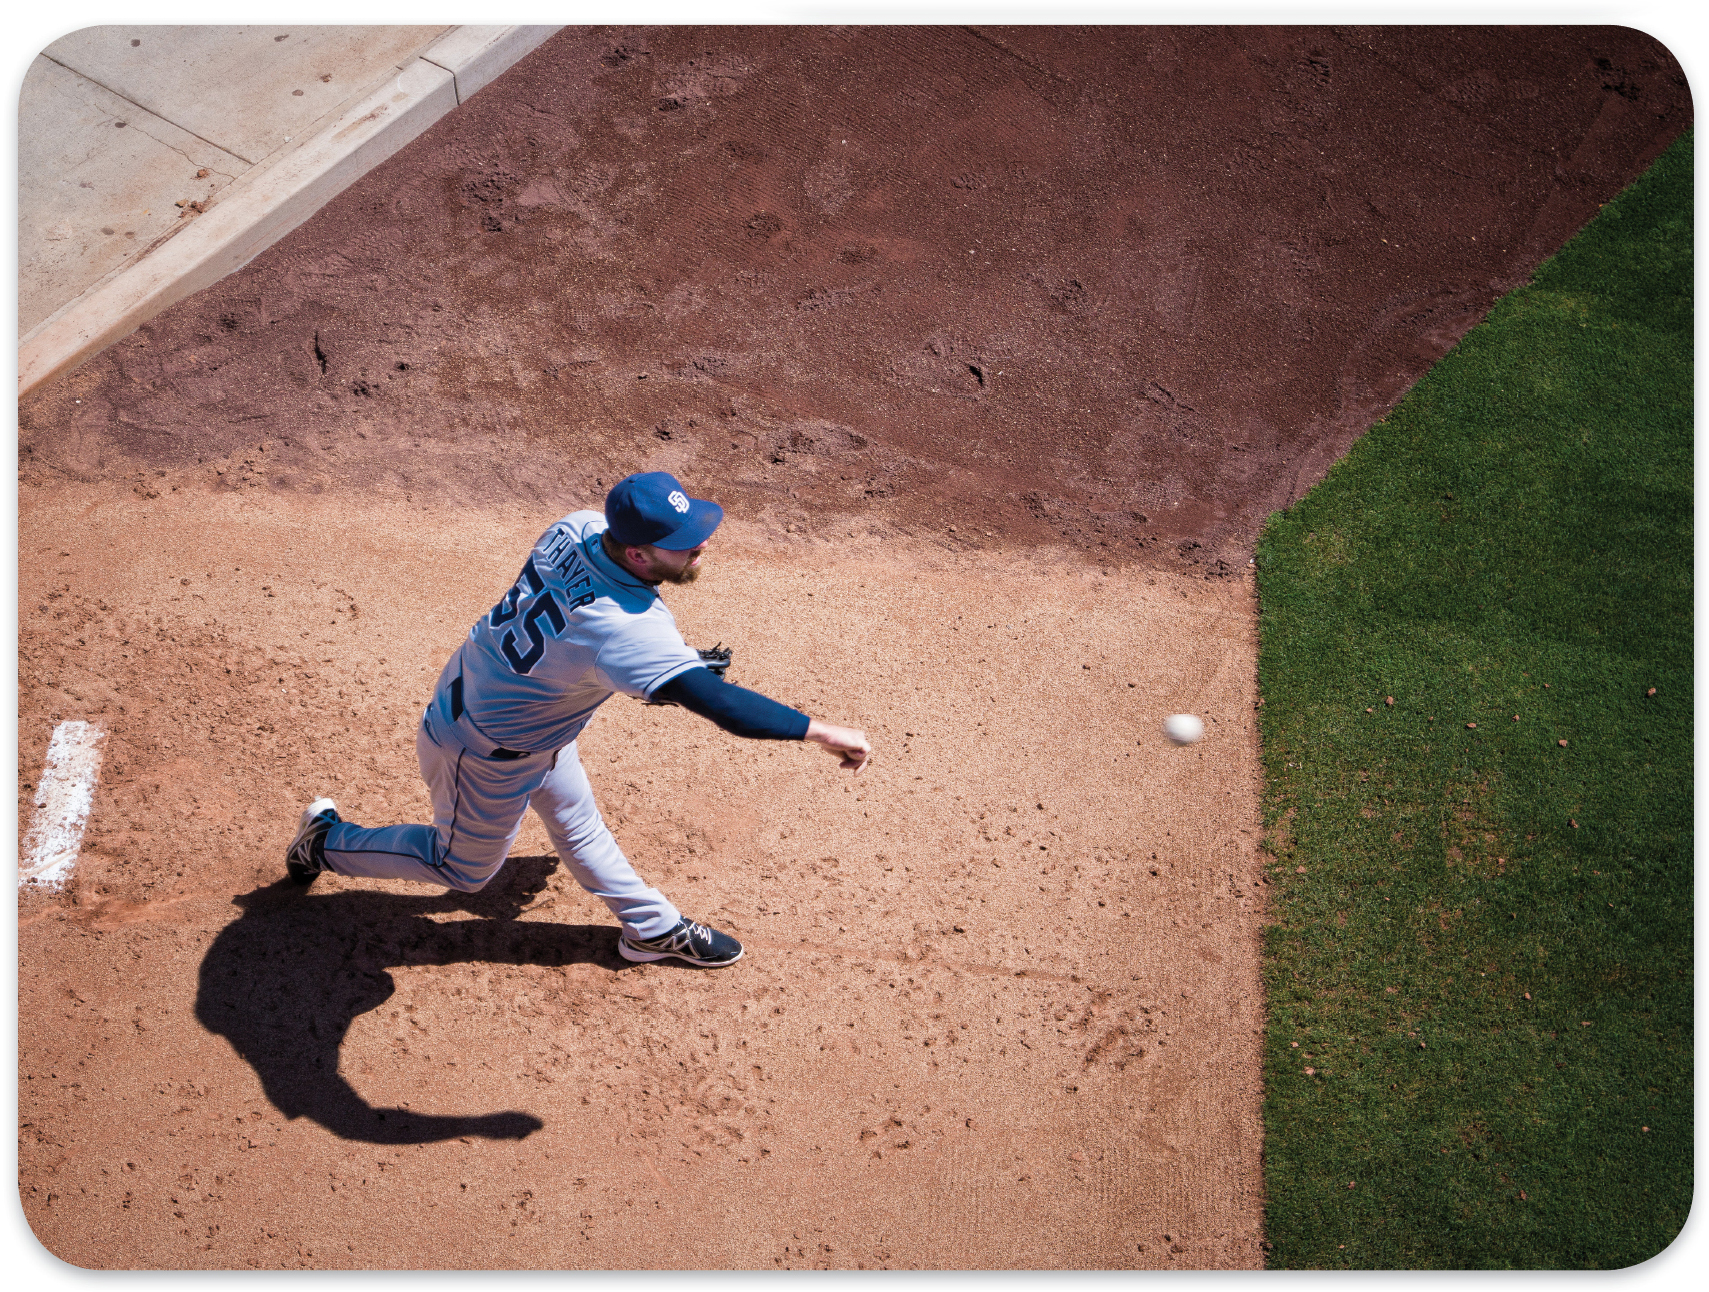
For high-contrast images, I tend to favor exposing for the highlights and allowing the shadows to go black. You can do this by exposing for the highlights using your spot meter, or purposefully underexposing using your camera’s exposure-compensation feature. (See Image 4)
Exposing for highlights and including strong shadows are also wonderful ways to accentuate strong colors in the scene. By obscuring certain details in shadow, you bring attention to the highlights, and if there’s color there, it appears much more pronounced and vibrant.
The Direction of Light
To take advantage of the daylight, you need to know where it’s coming from. The position of the sun relative to you and your subject is a critical consideration, as it determines where you’ll need to stand to make the most of the light.
An easy way to determine this is to raise your hand and rotate it at the wrist. Look at how your palm gets lighter or darker as you move it. When your palm is bright, that’s the direction from which the light is coming; the opposite direction is where your shadows will fall—valuable information when you look at the scene and your subject. I found this colorful wall and knew that the light would really emphasize the blues and reds and the repeating lines. To complete the scene, I waited until this man’s curiosity got the best of him. (See Image 5)
Look at the scene with respect to the subject and the background; not as light and shadow. Observe the scene and subject and determine where the shadows are falling. If you’re photographing a person, are the shadows obscuring important details of the face, such as the eyes? When taking a macro shot, is your subject relegated to shadow, and the background brightly lit? That information can help you make better choices as to where to position yourself to improve the look of the image, even before exposing a single frame. When I spotted this colorful wall and door, and how it was illuminated by the hard light, I waited for the right subject to complement it. (See Image 6)

Light Is Always Reflecting
Light bounces everywhere, and that’s something else that you can use to your advantage. When that hard, direct light bounces off a large, reflective surface, such as the windows of an office building or a large, white wall, it creates a strong, but softer, quality of light—the equivalent of an immense softbox—directly opposite. When you see light hitting such a surface, simply look across the street and there you’ll find your light, and your next potential setting for a photograph.
This quality of light is something I’m always on the hunt for. Not only does this provide brighter illumination than you’d typically find in deep shade, but there’s a pop to the light that can favor virtually any subject, but especially a portrait.
Looking for Signs of Transition
I often stare down at the ground, looking for the best light. Along with finding lost change, I may also find something more valuable: a good pocket of light. Look for an area where you see a hard transition between light and shadow, where the hard light suddenly transitions into shade. Several feet into the shadow can be a wonderful spot for a photograph because it’s receiving the benefit of reflected light bouncing off the street.
All you have to do is position your subject within a few feet of the transition in the shade and see how the light falls on her. As you look at her face, you’ll not only see the soft quality of light, you’ll also see how her face gets darker the further back she moves into the shade. Your challenge is to find that sweet spot where the light falls nicely and evenly on your subject. The best thing about this is that it doesn’t require a reflector, a C-stand, or an assistant.
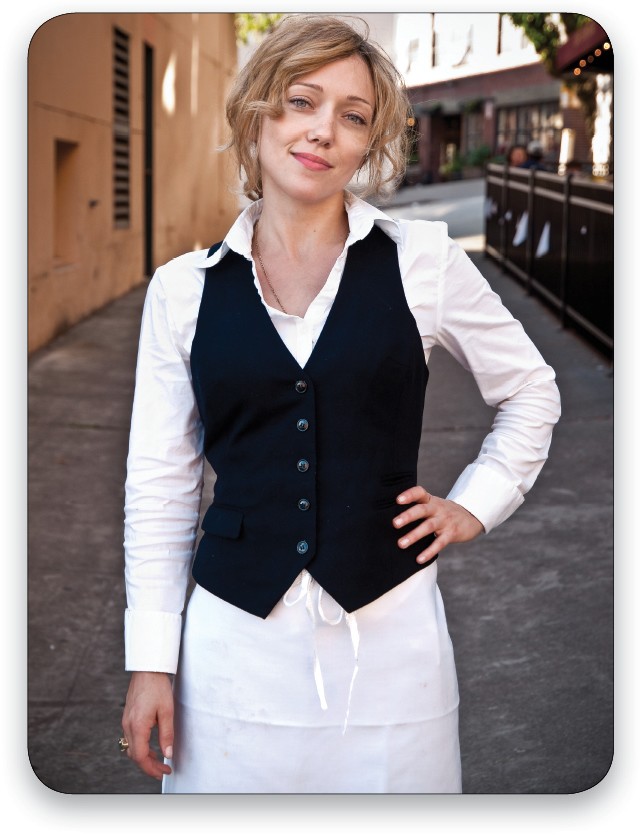
For this portrait of a server outside a restaurant in Seattle, I saw the light even before I discovered my subject. The moment I stepped into the restaurant, I knew I wanted to photograph her, and exactly where. After a bit of persuasion, I walked her outside and placed her on what I considered the sweet spot. The light combined with her expression and body language makes this one of my favorite street portraits, even though it was shot in the middle of the day. By positioning the server a few feet away in an area of shade, I used the bright light reflected behind me to serve as the main light source. The result is this portrait with good brightness and color saturation.
Seeing Light in Black and White
One of the best ways for you to develop an eye for light is by learning to see in black and white. The easiest way to do this is to set your camera’s picture style to its monochrome or black-and-white setting. Your images will now appear as black and white during playback or when you’re composing using an EVF or your camera’s Live View.
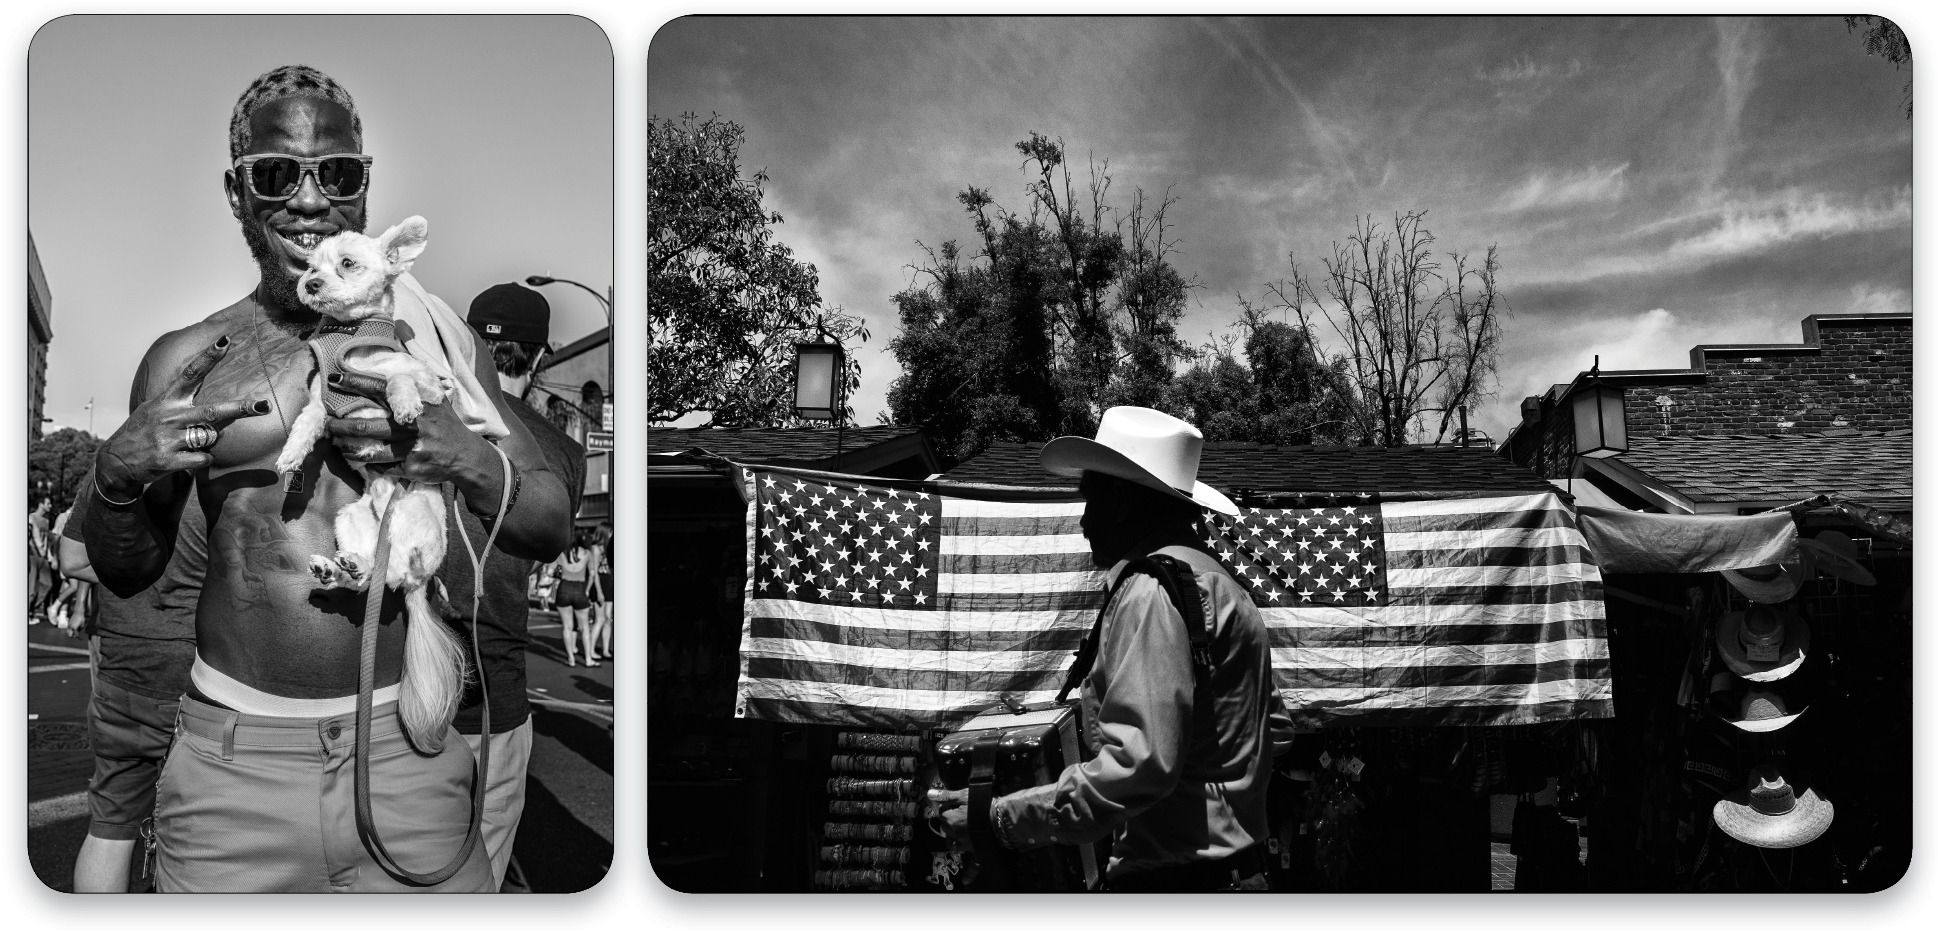
By stripping away color, you get to see the world in terms of light and shadow. If you’re capturing RAW files, you’ll still have the benefit of the color files to work with later, but the monochrome view will help you to refine how you see and use high-contrast light. Though midday light isn’t ideal for most portraits, it was for this colorful fellow with his dog. Here, the harsh quality of the light serves as perfect illumination.
Photographing People
While you may likely avoid creating portraits under such harsh midday light, that doesn’t mean you should avoid photographing people altogether. Face it: If you attend a public event such as a fair or public concert, you’ll probably be out there during the middle of the day, and that’s many hours of not shooting people. Vampires didn’t design your camera, so it won’t explode into ashes when the sun shines on it.
Instead, use the high-contrast light and the fact that it will obscure some feature of your subject and scene to your advantage. For this image I made on Olvera Street in Los Angeles, I used the hard sunlight to emphasize the man’s hat, in contrast with the two American flags behind him. His facial details are lost to shadow, but the result is still a strong graphic photograph, whose success is based largely on the high contrast between light and dark.
Learning to work with the light that you have—especially less than ideal light—will make you a better photographer. It’s not just about learning to work with bad light, but rather developing an eye for light and shadow, a skill that will be invaluable to you under any circumstance.
This article originally published in the October, 2014 issue of Photoshop User magazine.


