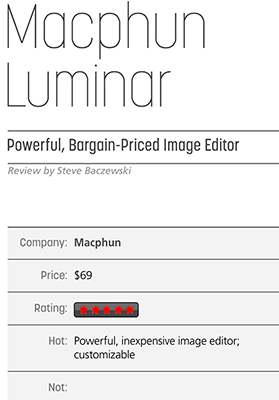
 Macphun has produced an inexpensive ($69), yet extraordinarily comprehensive image editor called Luminar, and it warrants attention from beginners to seasoned professionals. Currently, it’s exclusively for Macs running at least OS 10.10.5 and it works as a standalone or as a plug-in for Adobe Photoshop, Lightroom, Aperture, and Elements. You can also launch it as an extension from inside Apple’s Photo application.
If you’ve used any of Macphun’s other applications, such as Aurora HDR, Luminar’s interface will be familiar; but just in case, Macphun has posted 63 video tutorials, a user’s guide, and a comparison chart stacking Luminar up against Photoshop and Lightroom. Macphun’s commitment to Luminar’s development is both reassuring and impressive. Since launch, Macphun has added batch processing, Touch Bar support for new Mac laptops, and dehaze and golden-hour filters—the latter adds a warm- tone sunlight effect that’s just beautifully nuanced. Also coming up is a DAM (digital asset management) feature.
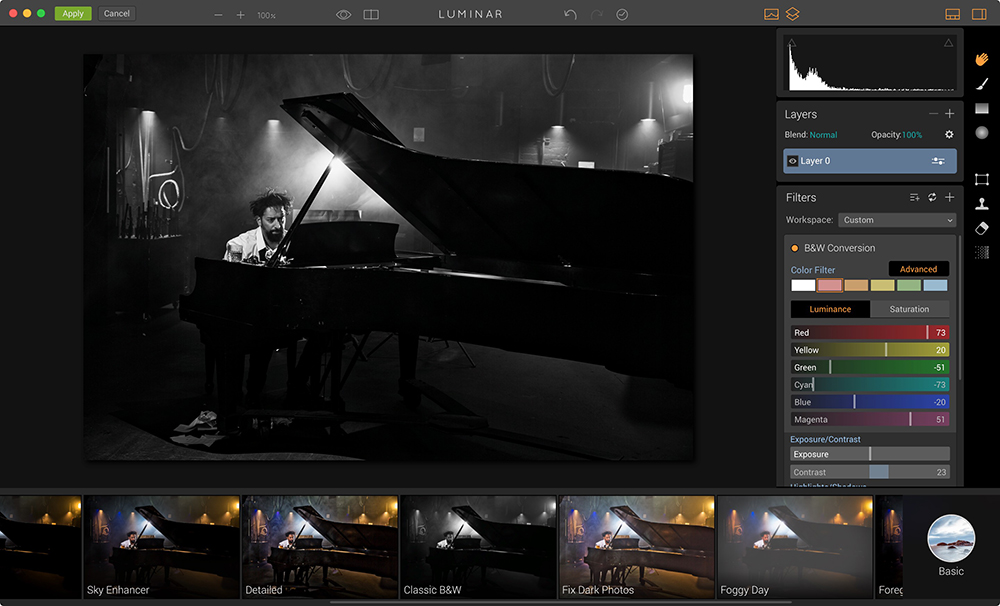
Working with Luminar as a standalone, you can navigate to a folder or simply drag-and-drop a file on the splash screen. Luminar quickly opens JPEGs, TIFFs, and every major proprietary RAW file. Its clear-cut interface has a large image window with most of its editing features along the window’s right side. On top is a toolbar and, with the standalone version, you can export a finished file to a desktop folder or share it on Facebook, Flickr, SmugMug, or to an email. You can’t print directly from the stand- alone version, but you can if you use Luminar as a Lightroom or Photoshop plug-in.
Under the image window are 60 presets broken down into categories, such as outdoor, drama, portrait, etc. This is a great place to start if you’re new to image editing. The large preset thumbnails help visualize the effect, and integrated into each thumbnail is a slider that lets you adjust the degree of the preset’s effect. You can also customize or create and save your own presets. Many of the presets are superb, from stylized color to black- and-white, and sometimes the effect is so good that no further tweaking is necessary. Tweaking, however, is where Luminar shines.
There’s a comprehensive set of more advanced features that will be familiar to professionals including: layers, adjustment layers, layer masks, blending modes, object removal, a history panel, curves, a histogram, and much more. Luminar allows you to streamline the process of editing an
image by letting the user customize the workspace with just the filters necessary for specific work, like architectural, portraiture, or landscape photography.
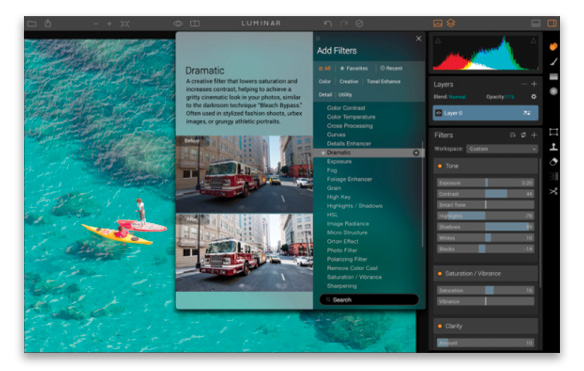
Luminar has dozens of image-editing “filters” (Macphun’s term for features) like those you’d see in a standard RAW processor, for example: Exposure, Tone, Curves, HSL; but it also includes conventional filters, such as fog or texture overlay. Built into each filter are unique options for blending modes and mask- ing. When you select from the list of filters, a before-and-after illustration helps you visualize the impact of each filter on your image. You can add as many filters to your image as you need by clicking the Add Filter icon. Sliders control the degree of each filter effect, and many of the filters (Tone, for example) have multiple sliders. The sliders are well designed and imple- mented, needing only slight incremental movements to create visible distinctions.
Overall, there’s a simplicity to the Luminar interface that belies the power, fast processing, and sophistication under the hood. Luminar is missing some of the niceties that are in Photoshop or Lightroom, like the target adjustment tool or the white-point “tur- key baster,” but Macphun listens and responds to users’ requests, so we just might find them with the next update. Try the 30-day trial and see for yourself. This is quite a strong first version. ■
> Review from From the April 2017 issue of Photoshop User magazine.


