
Because I started photography in 2005, I never used film, so I wanted to challenge myself by shooting film and processing it in Lightroom. First, I tried a 4:5 film camera to follow in the footsteps of Ansel Adams, but out of 50 shots, I only kept two that were properly exposed. There was no sensor, so I had to use an external sensor.
Then I bought a medium-format Mamiya 7 II. It wasn’t a cheap camera, but I really wanted to get the good stuff. The Mamiya is much easier to use because it has a sensor—up to 1 second of exposure, you’re good; above 1 second of exposure, you need to use an external sensor that could even be your phone, a camera, or any other device.
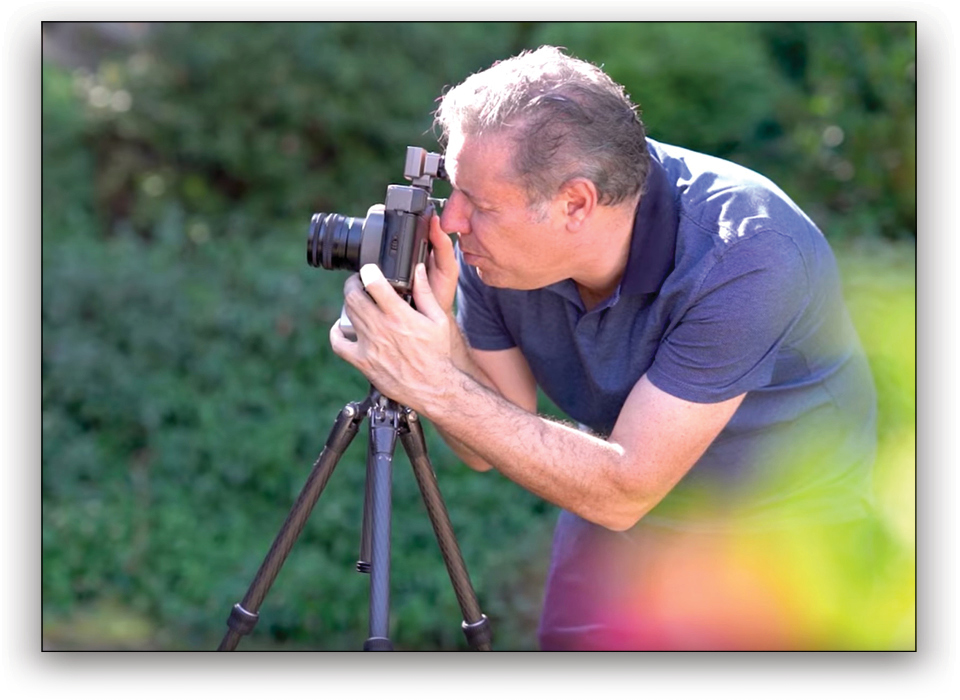
I quite enjoy the whole experience of shooting film. The good thing about film is that you have to slow down—you know you only have 12 exposures and you’ve got to get the shot! So let’s see what I got, and let me show you how to retouch film shots in Lightroom!
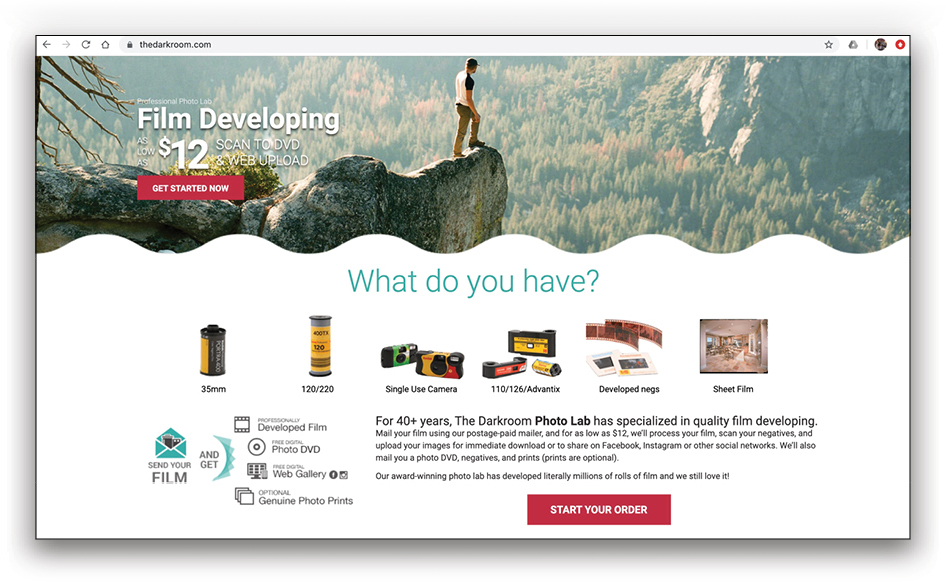
Step One: First, get your film developed at your favorite lab. I used The Darkroom, where I selected the film I used, and then picked a scanning option. I usually go with the Enhanced Scan option to have a better resolution and more pixels. I just had to pay, send in my film, and then I received my developed and scanned files in JPEG format.
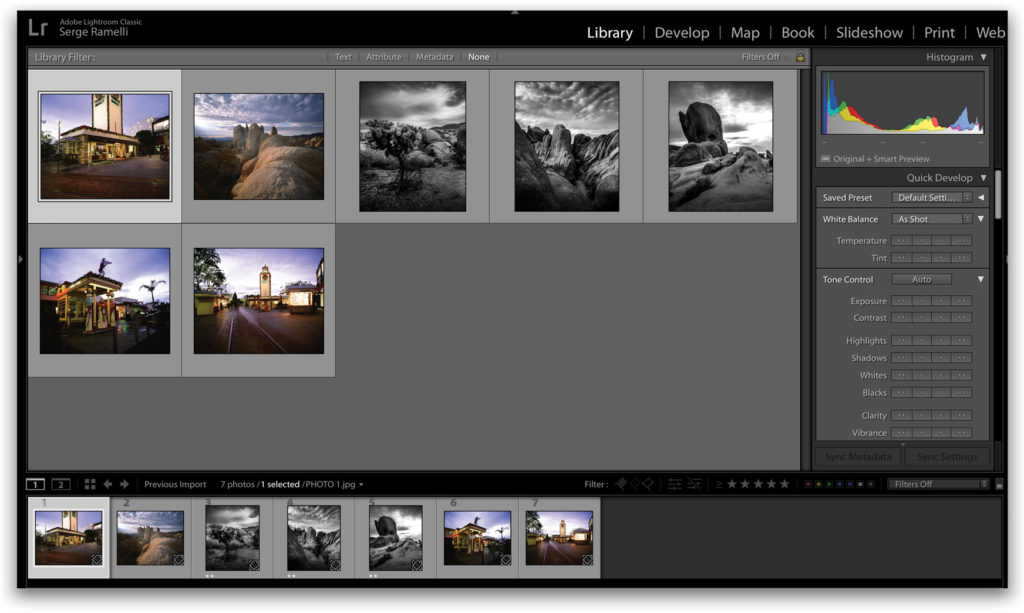
Step Two: Now you need to open your photos in Lightroom. Once you get your digital JPEG files, it’s easy. You just have to import them into your Lightroom library.
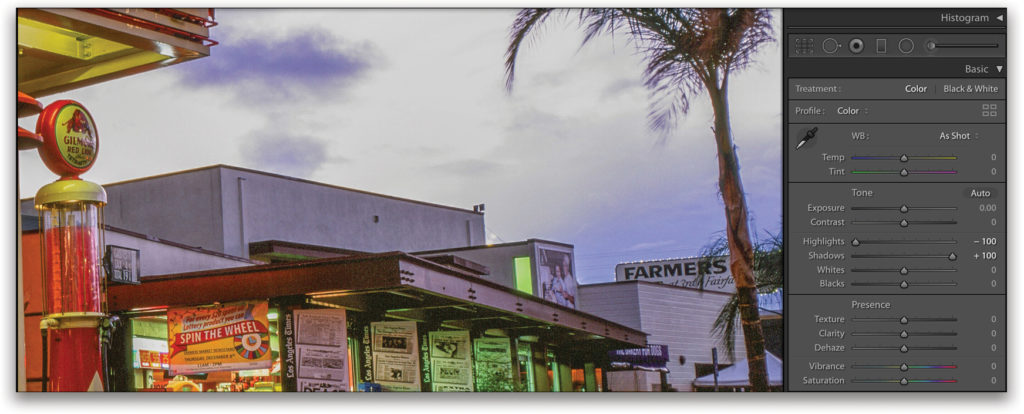
The photo below is a 24-million-pixel file, which isn’t bad. The only problem with film is that I’m not crazy about the dynamic range. Just by opening up the shadows, you get a lot of noise. It’s the same for the highlights—you’ll get burned-out sky.
Step Three: Let’s start the retouch in Lightroom. I wasn’t excited about the colors in this image, and since I’m a fan of Ansel Adams, I decided to go black-and-white and give it an Ansel Adams’ look. Using presets will speed up your workflow, so I’ll give you some for free. You can download them here or by visiting kelbyone.com/magazine. To install the presets in Lightroom, go to the Develop module, click on the + (plus sign) at the right end of the Presets panel header, and choose Import Presets. Navigate to where you saved the presets, click on the first one, Shift-click on the last one to select all of them, and then click Import. You should see them in the Presets panel now.
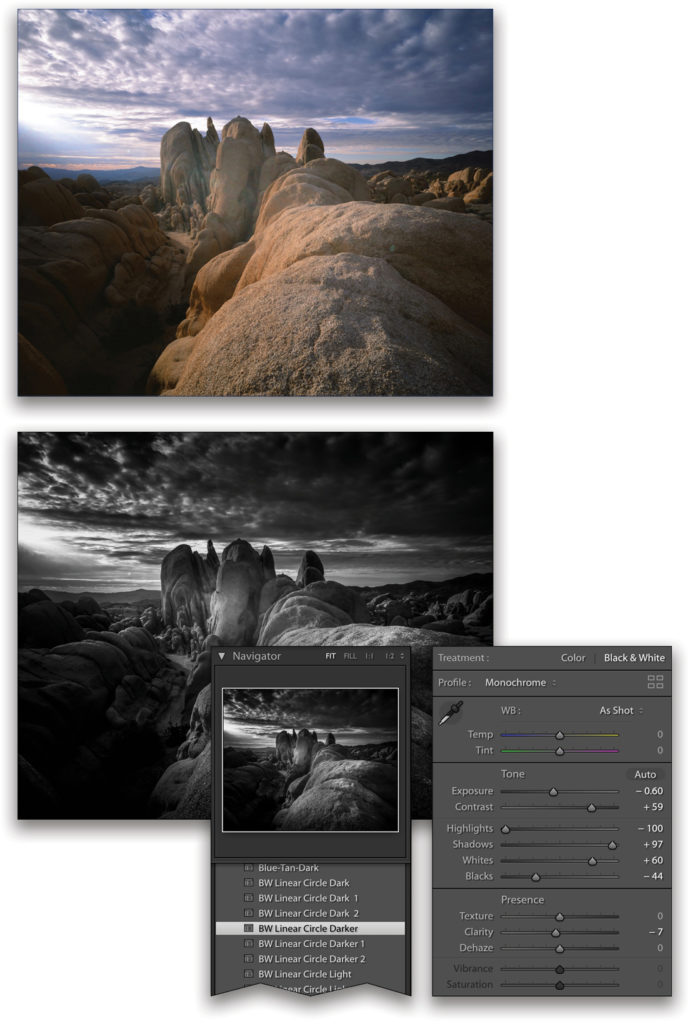
These presets were meant to be used on digital photography, but they also work well on film photography. Select the preset that best fits your photo. On this one, I used the BW Linear Circle Darker and raised the Blacks to –44, boosted the Whites to +60, and lowered the Exposure even more to –0.60.
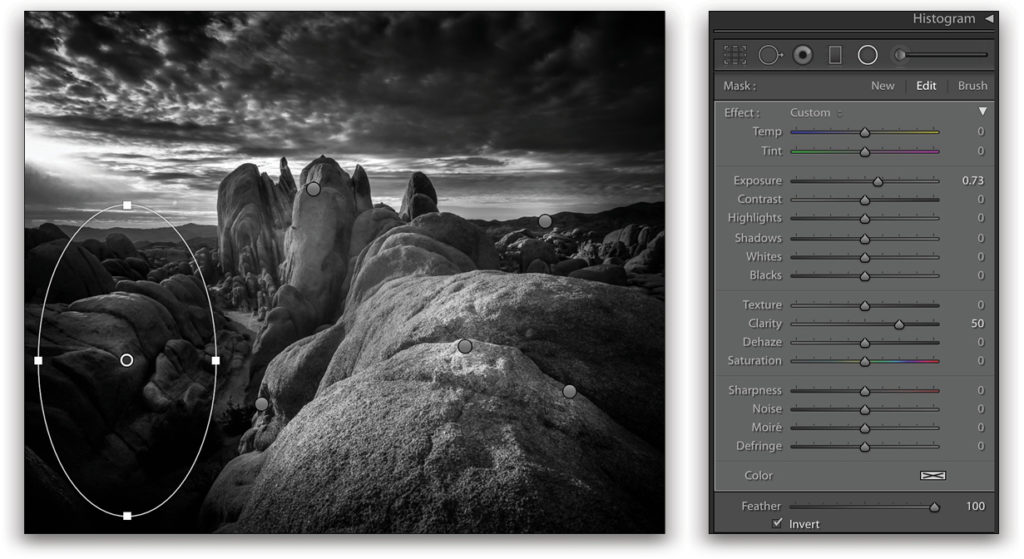
Step Four: If you’re going to do some black-and-white editing, I advise you to use Adjustment Brushes and Radial Filters for dodging and burning. If you activate the Radial Filter (Shift-M), and hover your cursor over the image, you’ll see several pins have already been added as part of the BW Linear Circle Darker preset. Just drag one of the Radial Filter pins and place it where you want on your photo. The idea is to break up the pattern of light.
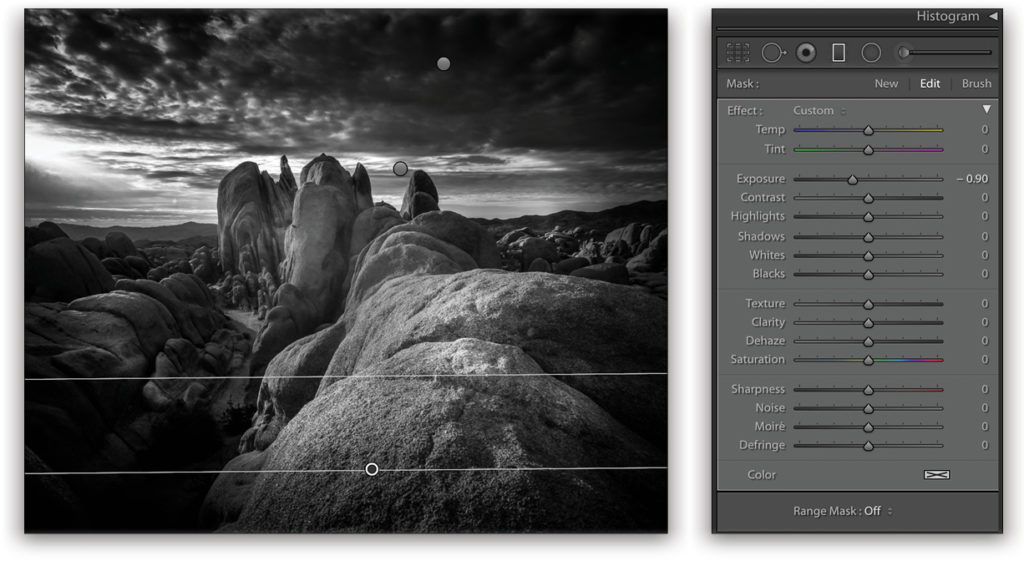
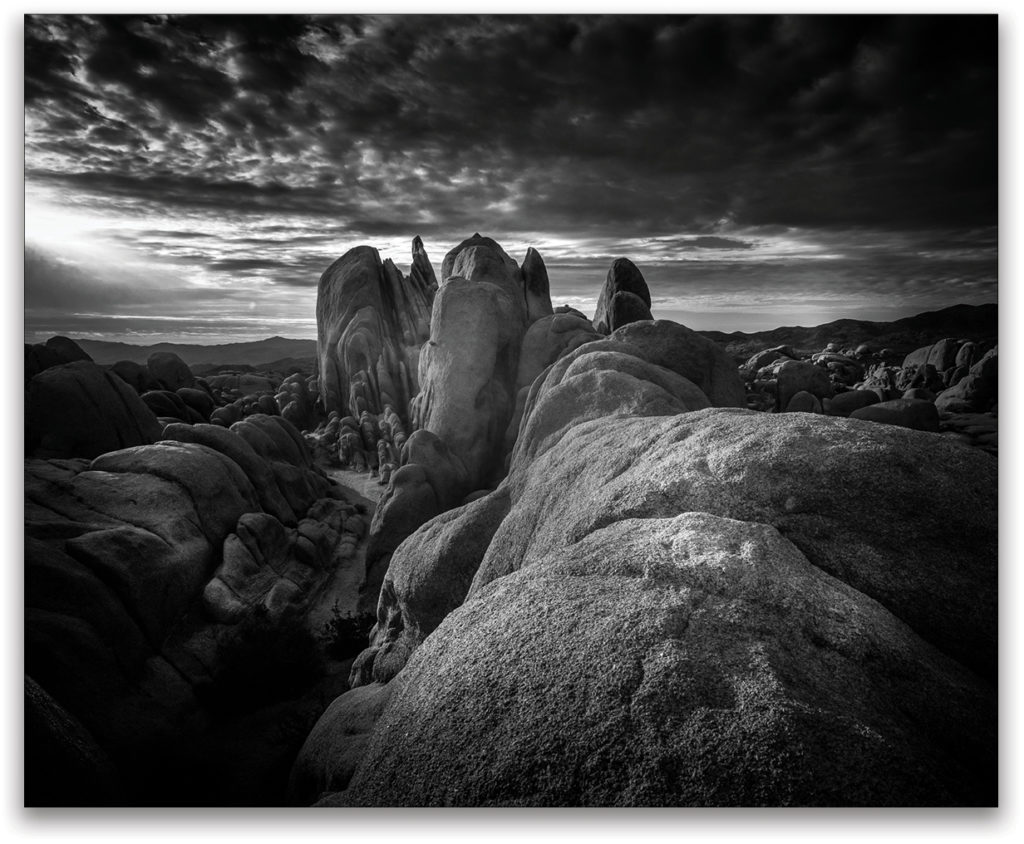
Step Five: With this preset, you can also use Graduated Filters (M) to darken the top and bottom of your photo to “close” it up (again, there are already Graduated Filters included with the preset). This makes the image more dramatic, and focuses the eyes of your viewers on your subject in the photo. The final image here has that sort of film-grain look, which is very nice.
Honestly, I don’t often shoot film. The dynamic range on digital cameras is out of this world compared to film. I have so much respect for photographers who still shoot film today because the whole process is much more advanced and not always practical. But, have fun shooting and I hope you have fun with your film camera!
This article originally published in Lightroom Magazine, Issue 57.


