
The two things that I get asked the most on social media is how I create the images I post of my kids and how I get them to collaborate with me on the shoot. I’m going to guide you through my personal process from the idea to the final image, including how I get my kids involved, how I let them tell their own stories, and what I do when things don’t go as planned.
Coming Up with an Idea
It’s kind of hard to explain how I come up with concepts for my shoots. It usually comes randomly, and I stop what I’m doing and write it down on my phone. Inspiration is everywhere. Just take a moment and look around, pick one thing that catches your eye, and write down five ways you could use that certain thing in an image. Then do it again the next day with something different. Make it a habit. By doing that, you’ll train your brain to think creatively, so every time you look around, you’ll see a world full of possibilities.
When I work with kids, I’m interested in hearing their ideas. I want to open a door into their imagination. They grow up so fast, and I think it’s important to keep those childhood fantasies alive somehow. My goal is to keep a memory of that spark of innocence that sadly gets washed away with adulthood. I want these images to reflect their personalities and what they were into at a specific stage in their life.
The way I work when I photograph my two-year-old daughter is completely different than when I photograph my ten-year-old son. With my daughter, I still have control of the concept and wardrobe of the shoot, but when it comes to my boy, he’s my creative director.
Let your little subjects take the lead. Ask them how they’d like to be photographed, as well as what they want to be doing, what elements they want in the final image, what’s their favorite color, what makes them laugh, and what’s their favorite character. If they can make you a drawing of what they have in mind, then that’s even better.
The main rule when photographing kids is to let them have fun and make them feel comfortable so they look forward to being in front of the camera. Be a goofball, let them run the show, and when you see something that’s making them uncomfortable, fix it immediately. Kids’ sessions have to be fast; you’re only going get their attention for a short period of time, so shoot away!
Tribal Princess
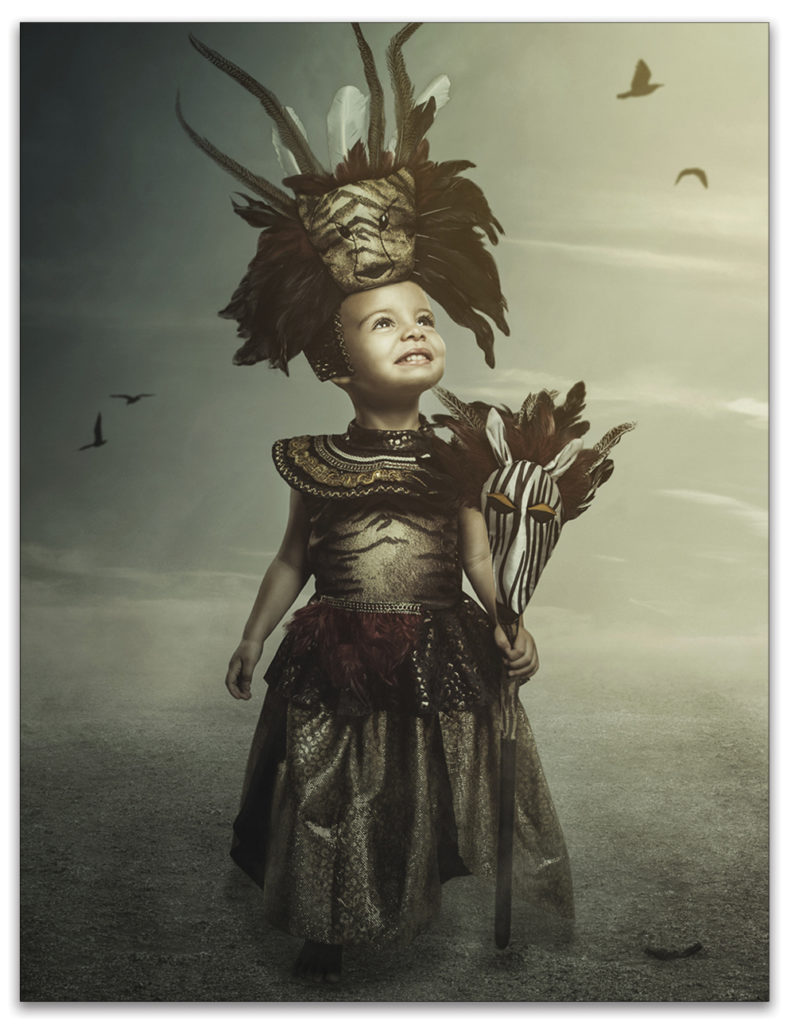
Photoshop is your best friend! And costumes are a great way to get kids (and adults) in the mood for pictures. When I got this costume for this image, I knew my girl probably wouldn’t want to put on that big headpiece—and I was right! I tried it on her and saw that she wasn’t very comfortable with it, so I immediately took it off.

She played with the cane for a while but never got it in the position I wanted, so I decided to shoot the cane and the headpiece separately. I got the perfect shot of her face but I noticed she was too close to the camera and her feet were out of the frame. (The camera was on a tripod so I could play around with her as I shot.) I took another full-body shot and then swapped her head in Photoshop and added the headpiece and the cane.
Chef Enzo and Sous-Chef Norah
Let them light your fire! This image started with the background. I shot this beautiful kitchen a few years ago and always wanted to create a composite with it. I approached my son and asked him for ideas on what he’d like to do with that image. We sketched his ideas, and he even practiced in front of the mirror to get his expression right. Involvement makes a huge difference when working with kids; they’ll give you their best when they feel part of the project.
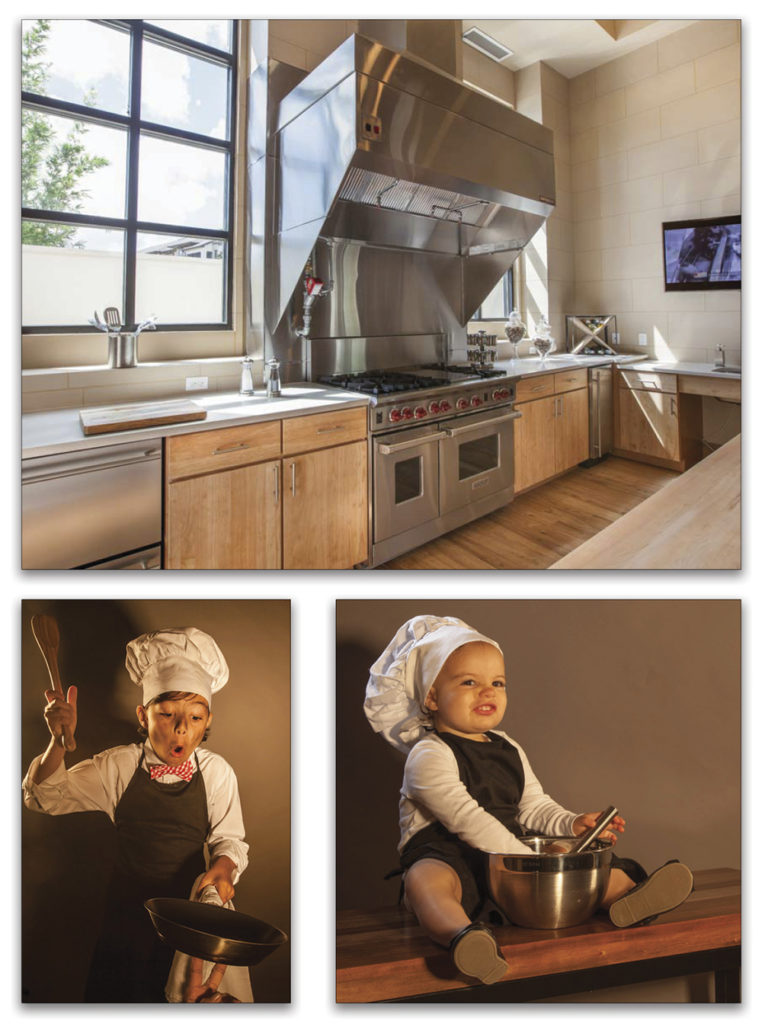
My son also wanted his sister in the picture, so I sat her on a bench to get the perspective I needed to add her on top of the kitchen counter of the background picture. I gave her a bowl and a whisk to play with, and shot away like crazy! I used CTO gels on my lights to create the right tones to match the fire that I was going to add to the final image, and I tried to mimic the light in the background image.

Finding Nemo
We were walking home from the pool one day and my son was still wearing his diving mask, making all kinds of funny faces. As soon as we got home, I told him I wanted to take pictures of him wearing his diving mask and making some of the same faces that he made on the way home. (I have a little home studio set up in the corner of my dining room, all ready to go.) I shot his picture, found a background in my Lightroom library from a beach wedding I photographed recently, added a little clownfish for fun, and was done! This was a fast one to make.

Chess Queen
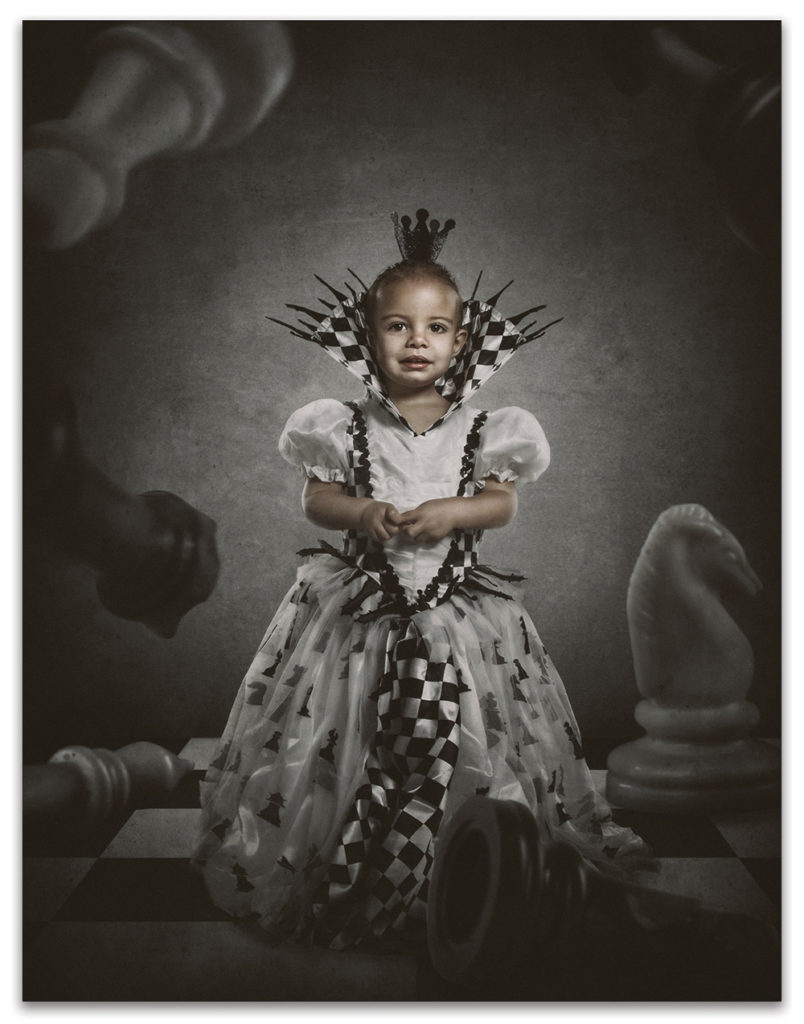
The starting element in this image was the dress. The dress has a chess pattern on it and I obviously wanted to go that route. Note that my daughter didn’t want to wear her crown, but I knew I could easily add it afterwards in post. I shot the chess pieces separately, created a chess pattern in Photoshop to use as the chessboard, and used textures to blend the images and create the mood.


The Bunny Whisperer
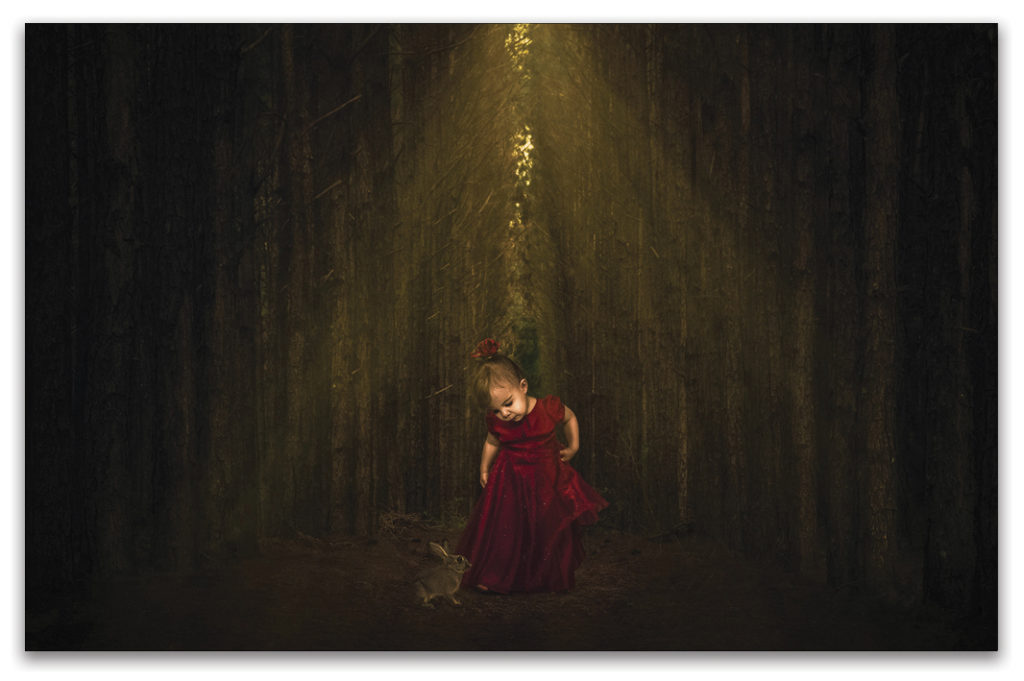
Use their appetite! I approached this shoot blindly. I dressed my daughter up, but I didn’t have a plan or a concept. I gave her a rose with a couple of goldfish in the petals to keep her distracted (she loves to eat). She dropped the flower and when she leaned down to get it, she held her dress so graciously. When I looked at the back of my camera, I knew that was the shot I was going to use. The background is a shot that I had taken one day on the way home. Every time I drove by, I kept looking at those trees so perfectly lined up, so one afternoon, I finally stopped to get a few shots of them. I added the bunny to tell a story and give it more of a fairytale mood.

As you can tell, I don’t have a book of golden rules. Each of these pictures was approached differently. Sometimes everything starts with the background image, sometimes it all starts with a costume, and other times things happen organically.
One thing I do that helps my creative process immensely is keep myself busy photographing. The more I shoot, the more I come up with new ideas, and the more I learn.
You don’t have to be a Photoshop master to create a piece of art. The only way you can step up your game is to let go of fear, follow tutorials, and practice techniques with your own images: Play with those sliders and have fun!
Originally published in the October 2016 issue of Photoshop User magazine.


