Over the past two years, I’ve started doing quite a bit more Photoshop education as part of my retouching business, Shark Pixel. While the bulk of my teaching can be found on KelbyOne.com, I also do live speaking engagements both nationally and around the world. More often than not, at the end of my seminars, I’ll usually receive one or two questions similar to this: “This is all really useful information and I can’t wait to incorporate it into my retouching, but one problem that I continually have is that I don’t know when enough is enough, and sometimes I catch myself over-retouching my images. How do you protect yourself against doing this?”
I used to answer this question by saying “This, unfortunately, is something that’s learned over time. It’s a skill that rarely comes naturally to beginner retouchers, so you have to train your eye to notice over-retouching in order to protect yourself from doing it.” Frequently, the response to my answer was disappointment in my students’ faces, and this left me frustrated that I couldn’t better answer the question.
In today’s article, I hope to shed a little more light on three specific retouching techniques that can easily, if overdone, become telltale signs and dead giveaways that an image has been overly retouched. Hopefully, the tips you learn in this article will enable you to not only protect your own retouching against going overboard, but also give you the skills you need to spot over-retouching on other photographers’ images as, well.
OVER-RETOUCHING AND BRIGHTENING OF EYE WHITES
The first of these three mistakes is over-retouching and brightening of eye whites. I’ve seen countless examples of eye whites that have been brightened to the point of looking radioactive! Beginner retouchers are sometimes under the impression that the only way to retouch eye whites is to make them bright beyond all sense of normalcy. To be frank, when I retouch eye whites, I rarely brighten them. My retouching of eye whites consists of the following: (1) I use the Clone Stamp or Healing Brush tool to get rid of veins in the eye whites; (2) I decrease any red that may be contaminating the eye whites; (3) I slightly tweak the color of the eye whites away from yellow and closer to blue; and (4) on rare occasions, I’ll brighten only the inside ring of the eye whites (closest to the iris).
Some of the aforementioned retouching steps might seem odd to you, so let me try and explain. As humans age, their eye whites change in color from a blueish to a yellowish tinge. Next time you run into a small baby, or an elderly man or woman, take a moment to note the color of their eye whites and you’ll see what I’m talking about. So sometimes, in an effort to make clients look younger (if that’s a request of theirs,) I’ll tweak the color of their eye whites toward blue to subliminally make the viewer of the image think that the subject is younger.
You can achieve this effect by using a Color Balance adjustment layer. Here’s how:
Step One:
Click on the Color Balance icon in the Adjustments panel (Window>Adjustments), then choose Highlights from the Tone drop-down menu in the Properties panel. In the panel, increase the Blue and Cyan tones, which in turn decreases the Yellow and Red tones. Here are what my values look like.

Step Two:
After you’ve changed the color balance, it’s important to make sure that the effect is only visible on the eye whites of your model. The easiest way to achieve this is to click on the layer mask thumbnail of your Color Balance layer in the Layers panel to select it, and press Command (PC: Ctrl)-I to invert the mask icon from white to black, which hides the effect over the entire image. After you’ve changed the mask color, you can now use your Brush tool (B) to paint with white (press X until your Foreground color is set to white in the Toolbar) over the eye whites to reveal the effect. Use the Bracket keys on your keyboard to quickly change the size of your brush.
Another thing that happens when people over-whiten eye whites is that they inadvertently create a flattening effect to what should actually be a three-dimensional sphere—at the end of the day, an eyeball is round. When people over-whiten the corners of the eye whites, they end up making the round eyeball look flat. Check out the illustration of the beach ball below. Which one looks more realistic? The beach ball on the left is currently only in two dimensions. On the right is a more realistic rendition of what a true beach ball would look like. What’s the difference? The shading.
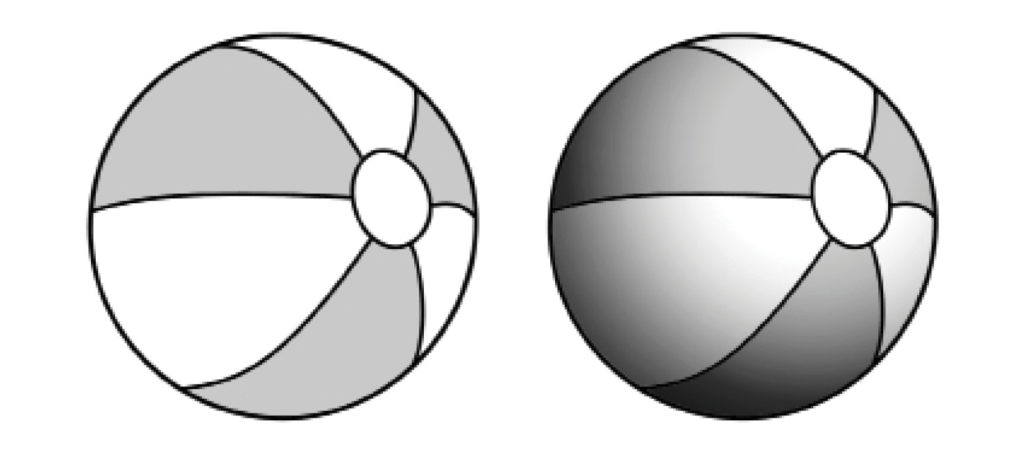
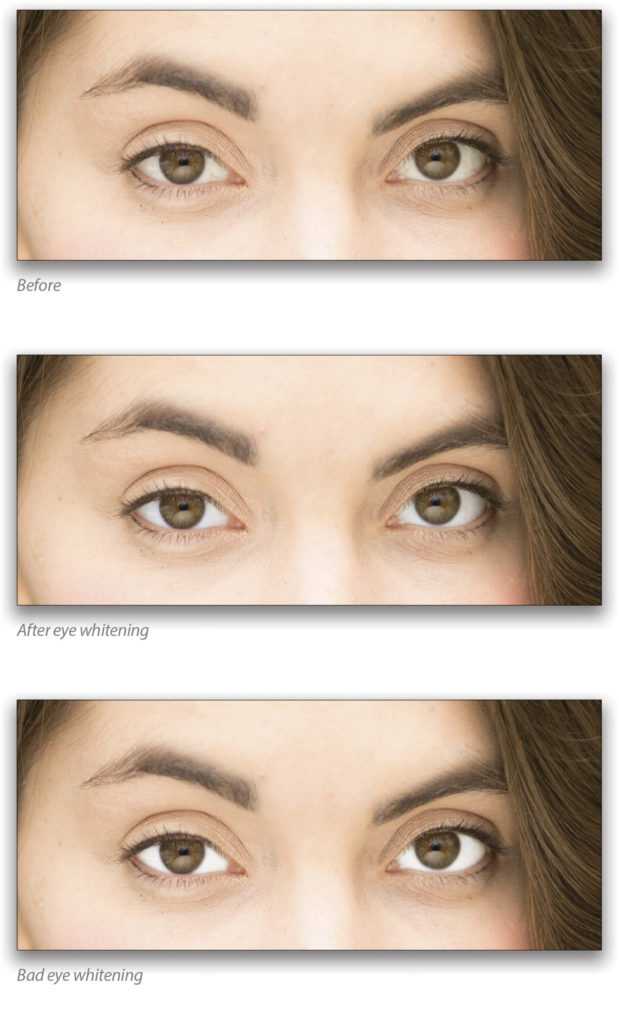
So when retouchers over-whiten the corners of eye whites, they’re making their retouching look fake. If you do need to whiten the eye whites, try whitening the area closest to the iris and avoiding the corners. Here are examples of good and bad eye whitening.
OVER-WHITENING OF TEETH
The same concept, and the way I feel about eye whites, also holds true for my second tip, which is over-whitened teeth. Again, retouchers early in their careers think brightening teeth is the way to fix them; but sometimes it’s more about fixing the color than it is the brightness. Try removing the yellow from the teeth using this method:
Step One:
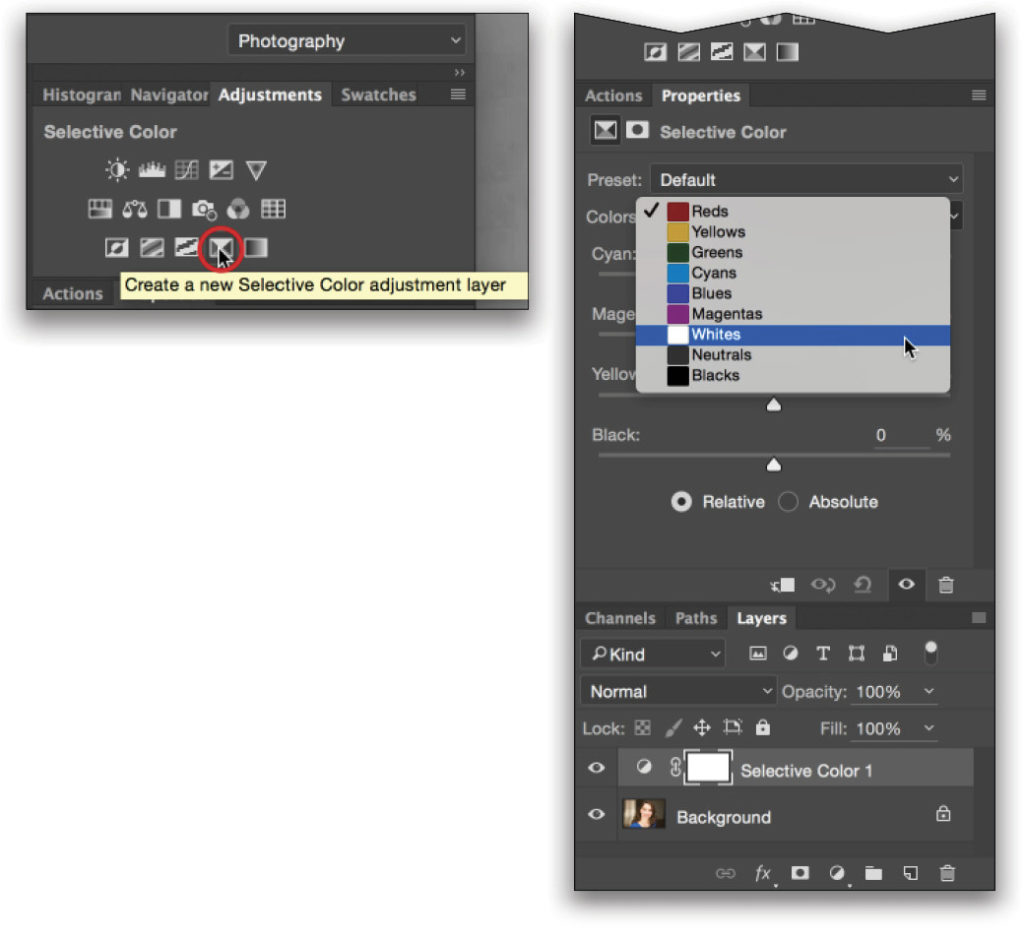
Start with a Selective Color layer by clicking the Selective Color icon in the Adjustments panel.
Step Two:
Then, in the Properties panel, change the Colors drop-down menu to Whites.
Step Three:
Start by slightly increasing the Cyan, and then decreasing almost all the Yellow.
Step Four:
Now, on the same Selective Color adjustment layer, click on the Colors drop-down menu again in the Properties panel and choose Yellows. And again, you’ll slightly increase the Cyan and take out almost all of the Yellow.
Step Five:
our whole image should look a bit blue and cool looking, and that’s because the effect you just created is visible over the entire image. Click on the mask of your Selective Color layer and press Command-I (PC: Ctrl-I)invert the mask to black. This will hide the effect from the entire image.
Step Six:
Your last step is to use your Brush tool (B) to paint with white over the teeth area so that the effect only shows through on that area.
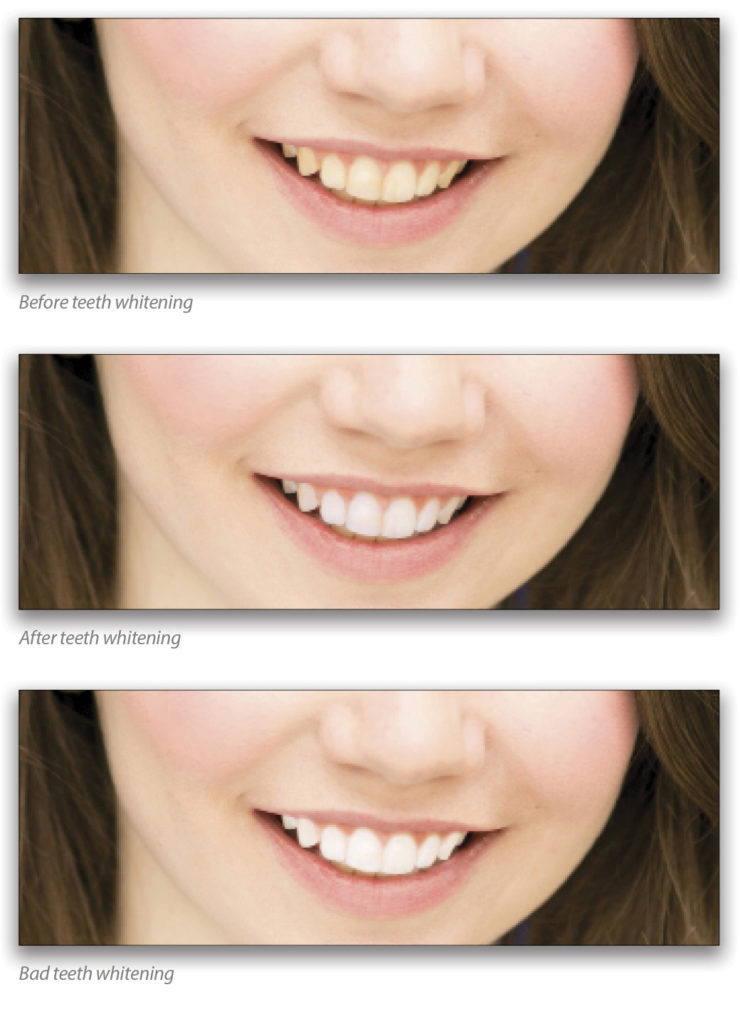
Here’s a before and after of teeth where I’ve used this technique to whiten them, as well as a bad example of teeth whitening where I feel it’s overdone.
RETOUCHING SKIN
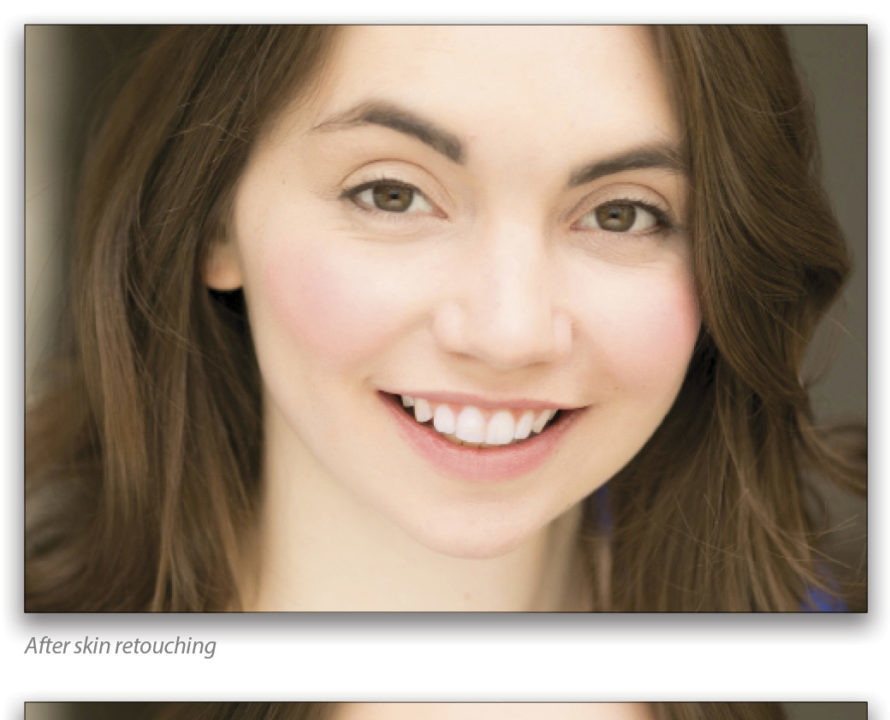
My last little tip on how to avoid the look of over-retouching is definitely the most important. It has to do with retouching skin. If you’ve seen any of my KelbyOne retouching classes, you know that retouching skin is something I’m kind of known for around these parts. If a newbie retoucher goes overboard on smoothing skin, it’s an immediate sign that the photo has been over-retouched. The main way to see if skin has been over-retouched is by looking to see if the skin still has pores or not. If all of the pores are gone, then this is a big red flag, and it screams over-retouching. If the skin still has pores (for the most part), it means that the retouching has been done well.
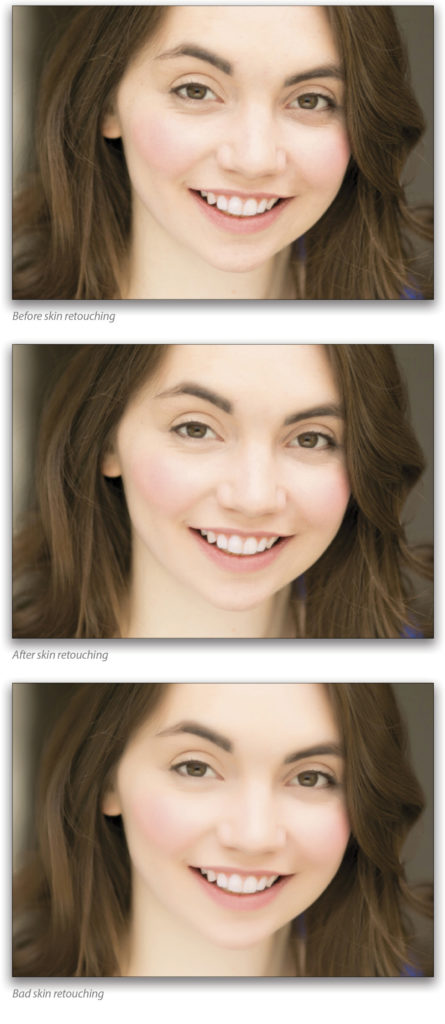
While I don’t have the capacity here to go into how to do realistic skin retouching, I’d highly recommend checking out my 70-minute class on High End Skin Retouching—Start to Finish on KelbyOne.com, which will show you all the tips and tricks you need to know in order to retouch skin like the pros. Here’s an example of skin retouched well and skin retouched poorly.
In closing, while I still stand by my original answer to the question of over-retouching, I think these three tips will absolutely put any retoucher on the right track to making sure they keep their retouching realistic. Soon you’ll realize that when it comes to retouching, sometimes less is more.
This article originally published in the April/May 2017 issue of Photoshop User magazine.


