“Wait a second—I think I see it!” I mumble to my wife, Cree, as our midnight Delta flight approaches Fairbanks. “Are you sure? The KP index is only .6 tonight,” Cree responds. “Oh wow, look at that curtain. Aurora for sure,” I proclaim loud enough for the entire front of the plane to hear. Now everyone’s looking out the window.

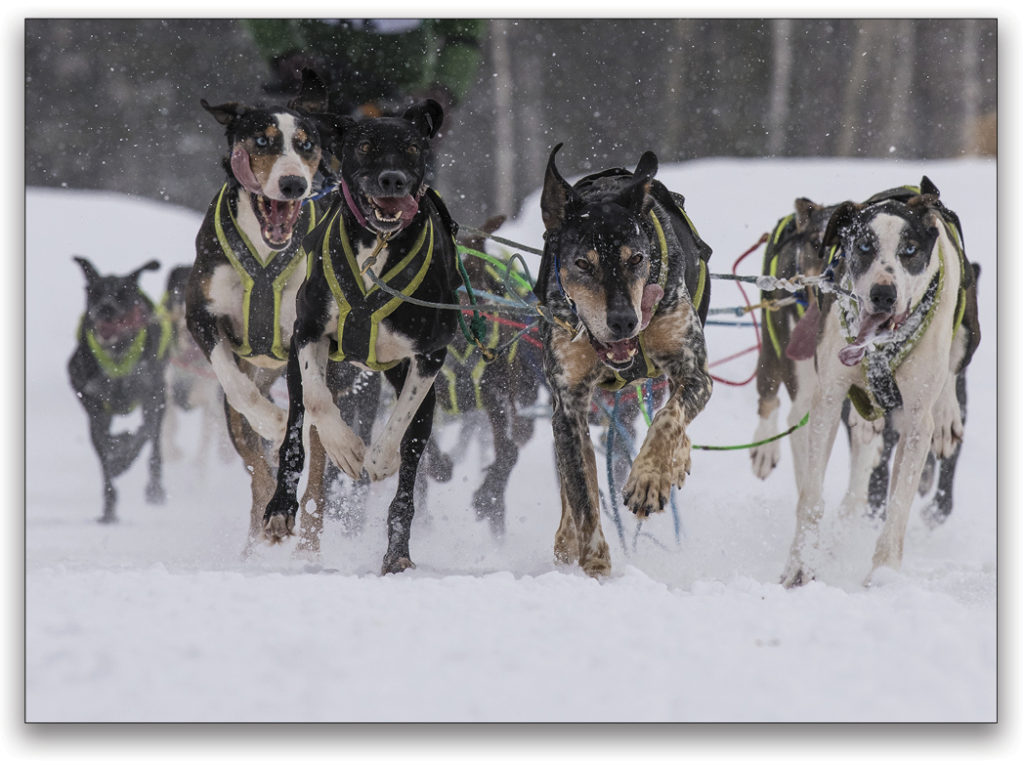
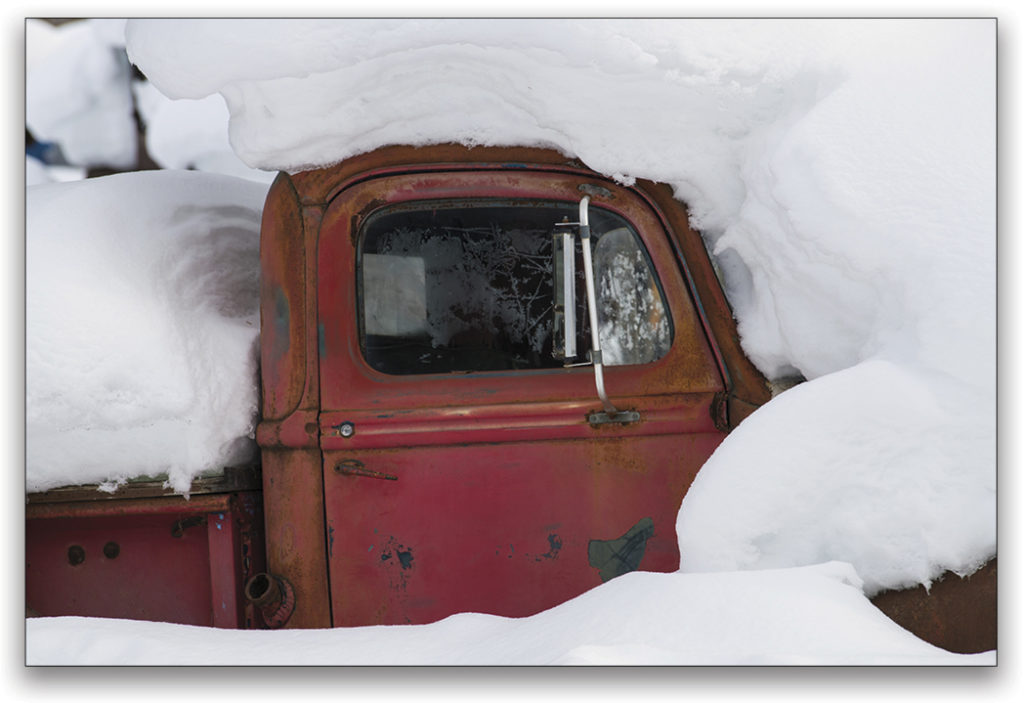
I’ve just gone from deep sleep to adrenalized hyperactivity. Witnessing the northern lights does that, no matter how many times I’ve seen it. Cree and I have come to Fairbanks, Alaska, to photograph the winter landscape, dog sledding, and hopefully get some northern lights photos. We lived in Alaska for many years, and always enjoyed winter photography of iconic Alaskan subjects.
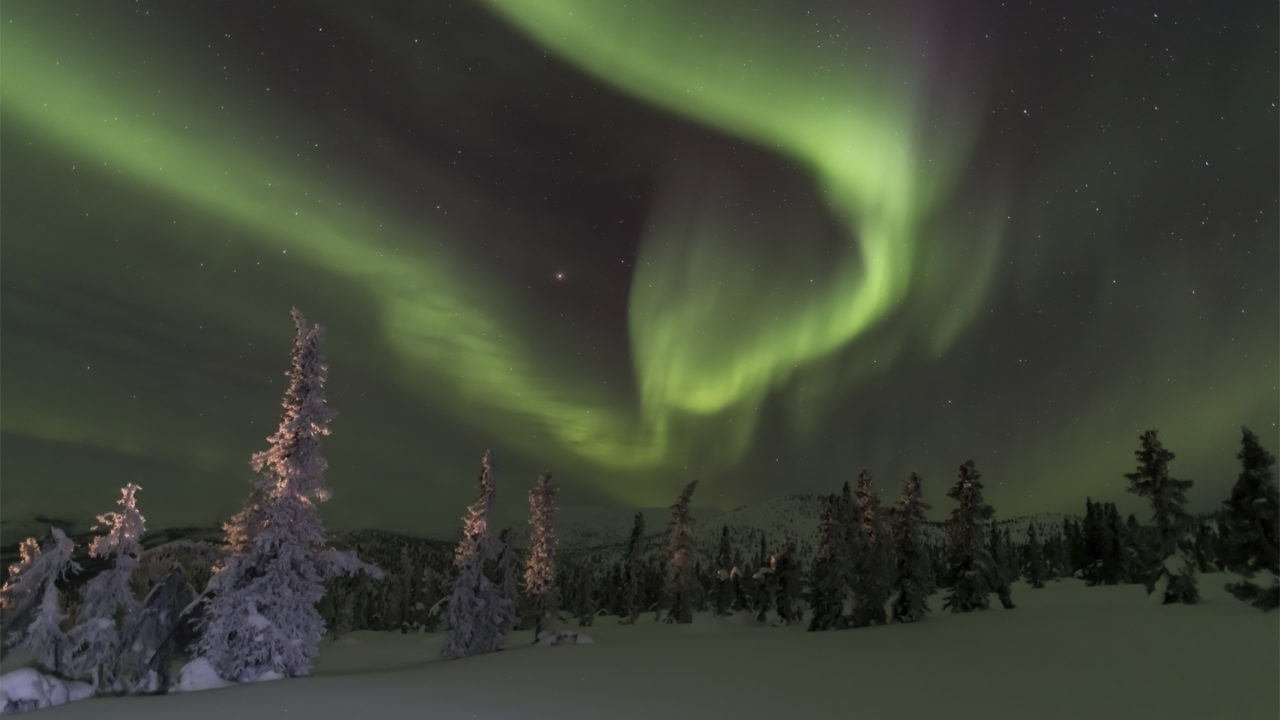
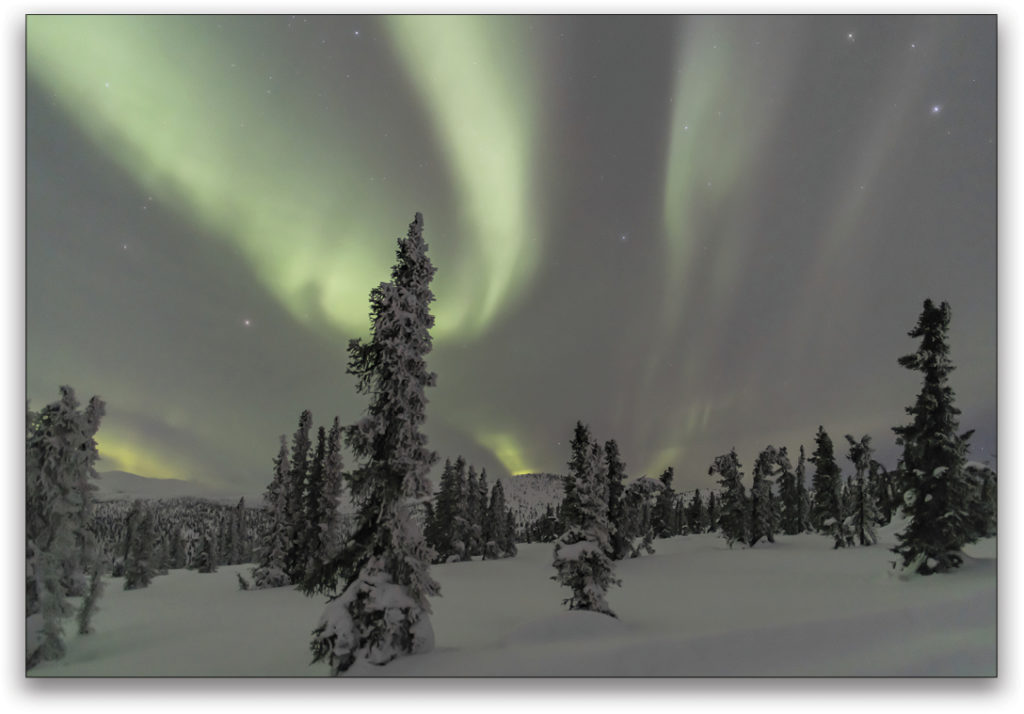
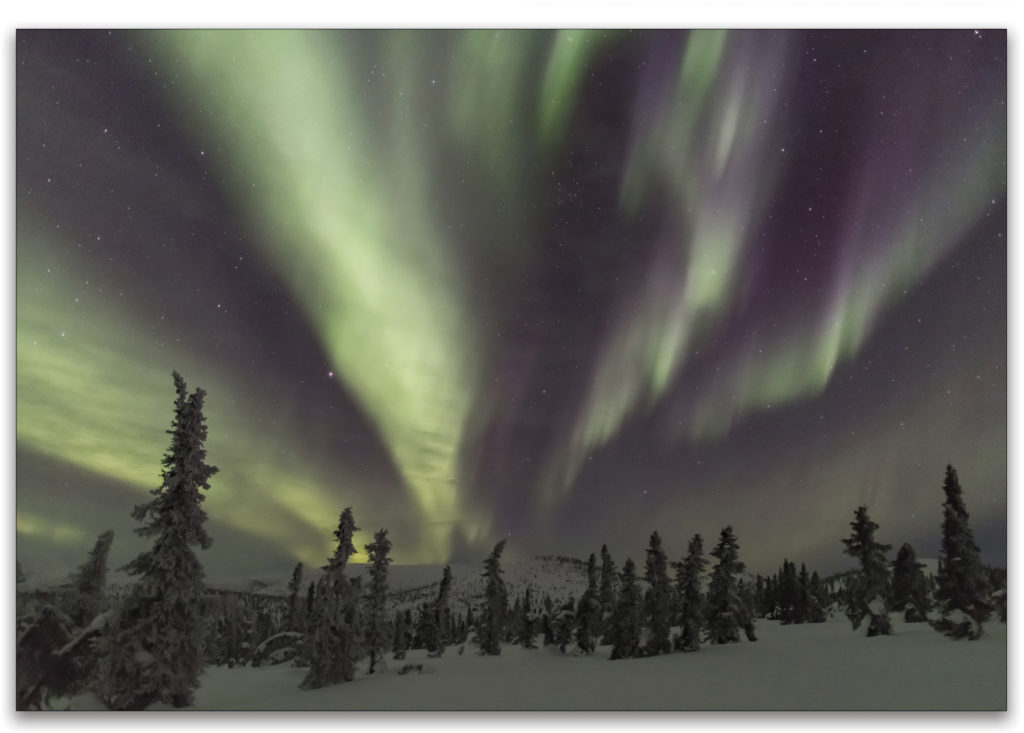
What causes the aurora borealis, or northern lights? Highly charged particles in solar winds hit the earth’s atmosphere, causing electrons to change their energy state to a higher level. These electrons release energy when they return to their normal state, creating the aurora. The color is determined by which gas the charged solar particles hit. Oxygen results in green or red displays, while nitrogen creates blue colors in the aurora.
Photographing the northern lights takes some effort, and not only camera technique, but also the right location and timing. When we mentioned to friends we were going to Fairbanks for spring break, we got a lot of funny looks. Hmm, would you rather be sitting on the beach slurping a fruity drink while the surf massages your feet, or standing in the deep snow at night in the middle of nowhere with numb extremities at –10°? That’s an easy choice. Go for the frozen adventure! Photographing the northern lights should be on every photographer’s bucket list.
Where Do the Northern Lights Occur?
If you follow Instagram, chances are you’ve seen northern lights images. Aurora photography has become common, and popular shooting destinations include Alaska, Canada, Iceland, Norway, and Finland. What’s important is that your destination is near the aurora oval. Circling the magnetic poles, these ovals are where the most aurora activity occurs. The further south you go, the less likely you are to see the northern lights.
In Fairbanks, you might see the aurora most nights during the winter, while in the lower 48 states you might see the aurora once a year. Weather plays a huge part too. Iceland has incredible landscapes for aurora photography, but stormy weather can keep you from seeing the aurora. The flipside is the winter landscape photography in Iceland is stunning even if you don’t see the northern lights.
When to Photograph the Northern Lights
One universal truth about photographing the northern lights: you won’t be shooting much in the summer. Since you need to go to the far north (or south) to find aurora, there’s no darkness during the summer. The season stretches from late August till early April when the night sky gets dark enough to see the northern lights. I’ve seen some amazing displays in early September in the arctic, but most of my aurora photography has been during February and March.
There are two important things to consider. First is the moon phase. Many photographers prefer a new moon with complete dark skies. I’ve found I like a partial moon to help illuminate the landscape in the foreground. I’ve photographed during a full moon too, and full moon aurora photography works, but you need strong aurora displays to balance with bright foregrounds. The second item to consider is fall vs. winter. Fall typically has more open water, better for reflections. Winter has more snow on the ground, making foregrounds more illuminated.
Another very useful tool to determine whether you should go out and shoot at night is an aurora-forecasting app. There are many to choose from, but my favorite is My Aurora Forecast Pro for iOS and Android. This app shows you the current probability of seeing the aurora, the amount of clear skies predicted, and the all-important KP index. Note: The abbreviation KP comes from “Planetarische Kennziffer,” although it’s better known in English as the planetary index.

The KP index measures the geomagnetic disruption caused by solar storms. Rated from 0–9, the higher the number, the better the chance for seeing the aurora. Anything 5 or above is a geomagnetic storm; get ready for a wild night of aurora shooting. But don’t be discouraged by a low KP index. Our first night in Alaska we had a KP of .6, and still had a beautiful green band to photograph.
Staying Warm In Cold Climates
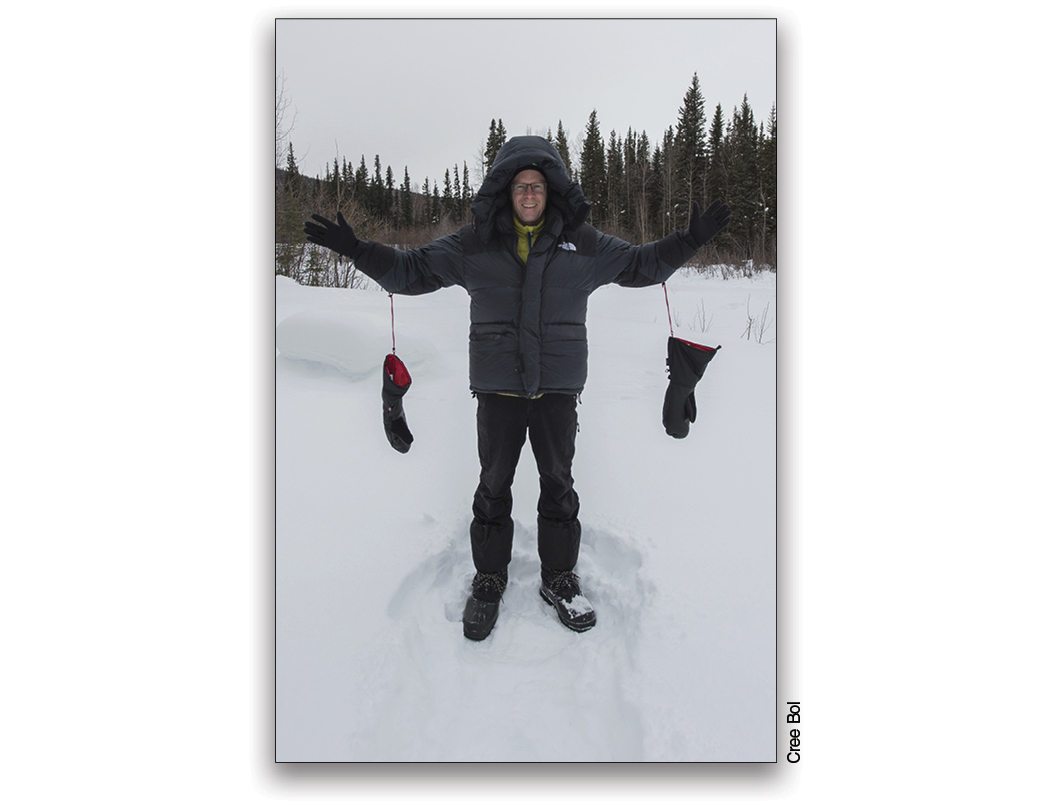
I find my ratio of good aurora images is directly related to how comfortable I am standing around in subzero temperatures. Depending on your location, you might be experiencing temperatures dipping to –20° or colder. Hands and feet are the first to chill. I use Sorel Glacier boots, which are rated to –100°. With a warm pair of socks, my feet never get cold.
For my hands, I wear a medium-weight liner glove inside down mittens. My mittens are attached to my down parka, so I can slip them off to adjust camera settings and not lose them. Inside my pockets are chemical hand warmers to help warm my hands, as well. Warm base layers, hat, and facemask round out my cold weather clothing for chilly nights. Consider photographing near a heated building or warming hut. If you get cold, head inside. Just remember to put your camera gear inside your photo pack so it doesn’t fog up.
What Camera and Lens to Use
First, figure out what lens is best. Wide angle will show more of the sky and landscape, and the faster the lens the better. My favorite aurora lens is the NIKKOR 14–24mm F2.8. This lens is tack sharp, has a huge angle of view at 14mm, and shooting wide open at f/2.8 allows me to use faster shutter speeds. Lens coma, which produces those nasty saucer-shaped stars, is minimal with this lens. I prefocus my lens on infinity during the daytime so I don’t have to focus at night. I simply aim my lens at a distant peak, use autofocus to focus, and then turn off autofocus. I apply a couple small strips of gaffer tape to the focus ring to prevent it from moving at night. Establishing focus eliminates one issue to worry about when shooting in the dark.
Almost any DSLR or mirrorless camera will work. Consider the noise performance and battery life of the camera. I use a full-frame Nikon D850 for shooting the aurora. The battery will last for hours of long exposures in subzero temps. And this camera produces excellent long exposures with minimal noise (turn on your noise reduction). One note for mirrorless camera users: the electronic viewfinder eats up battery power, especially in the cold, so bring lots of extra batteries. I use a cable release to minimize bumping the shutter with bulky mittens.
Shooting in the Dark
Okay, you’ve traveled thousands of miles to the right location. Your app says the KP index is 6 tonight, and the skies are clear. Now all you have to do is get the shot. Here are some things to consider.
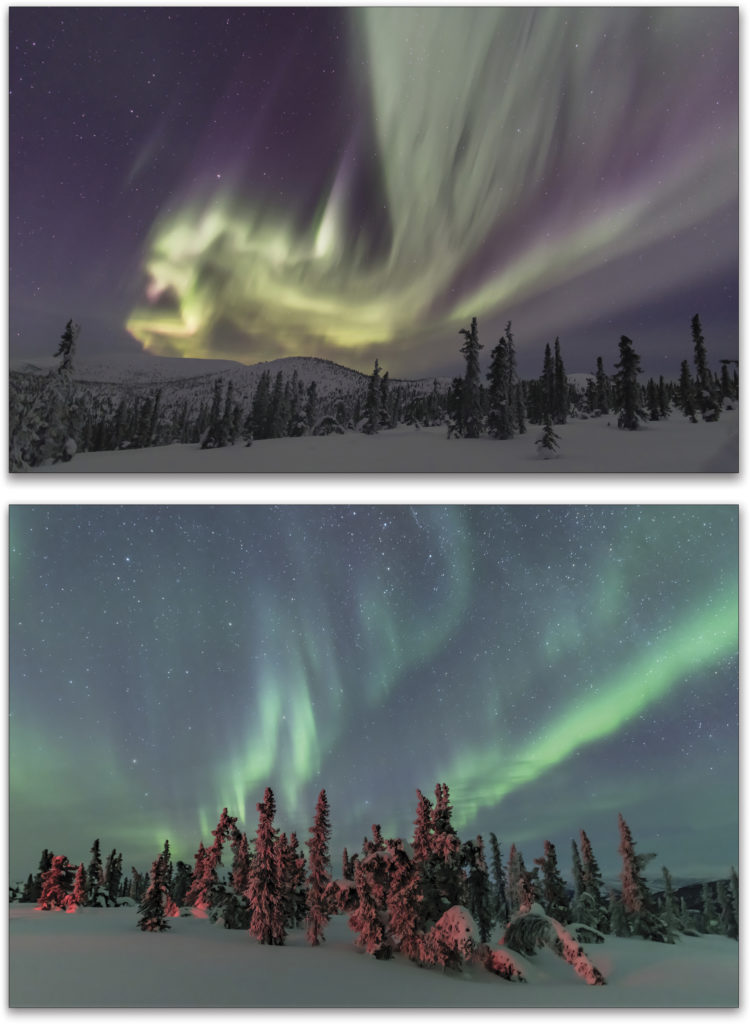
- First, start with an exposure of f/2.8, 15 seconds, at ISO 1600. A lot of variables will determine the correct exposure, including moonlight, strength of aurora display, and snow coverage. Since many displays are green, make sure you don’t clip the green channel on your histogram. Shorter shutter speeds will capture more defined aurora displays. Many of my Alaskan photographs shown in this article were around four seconds. If you have a fast f/1.8 lens, shoot wide open to allow faster shutter speeds.
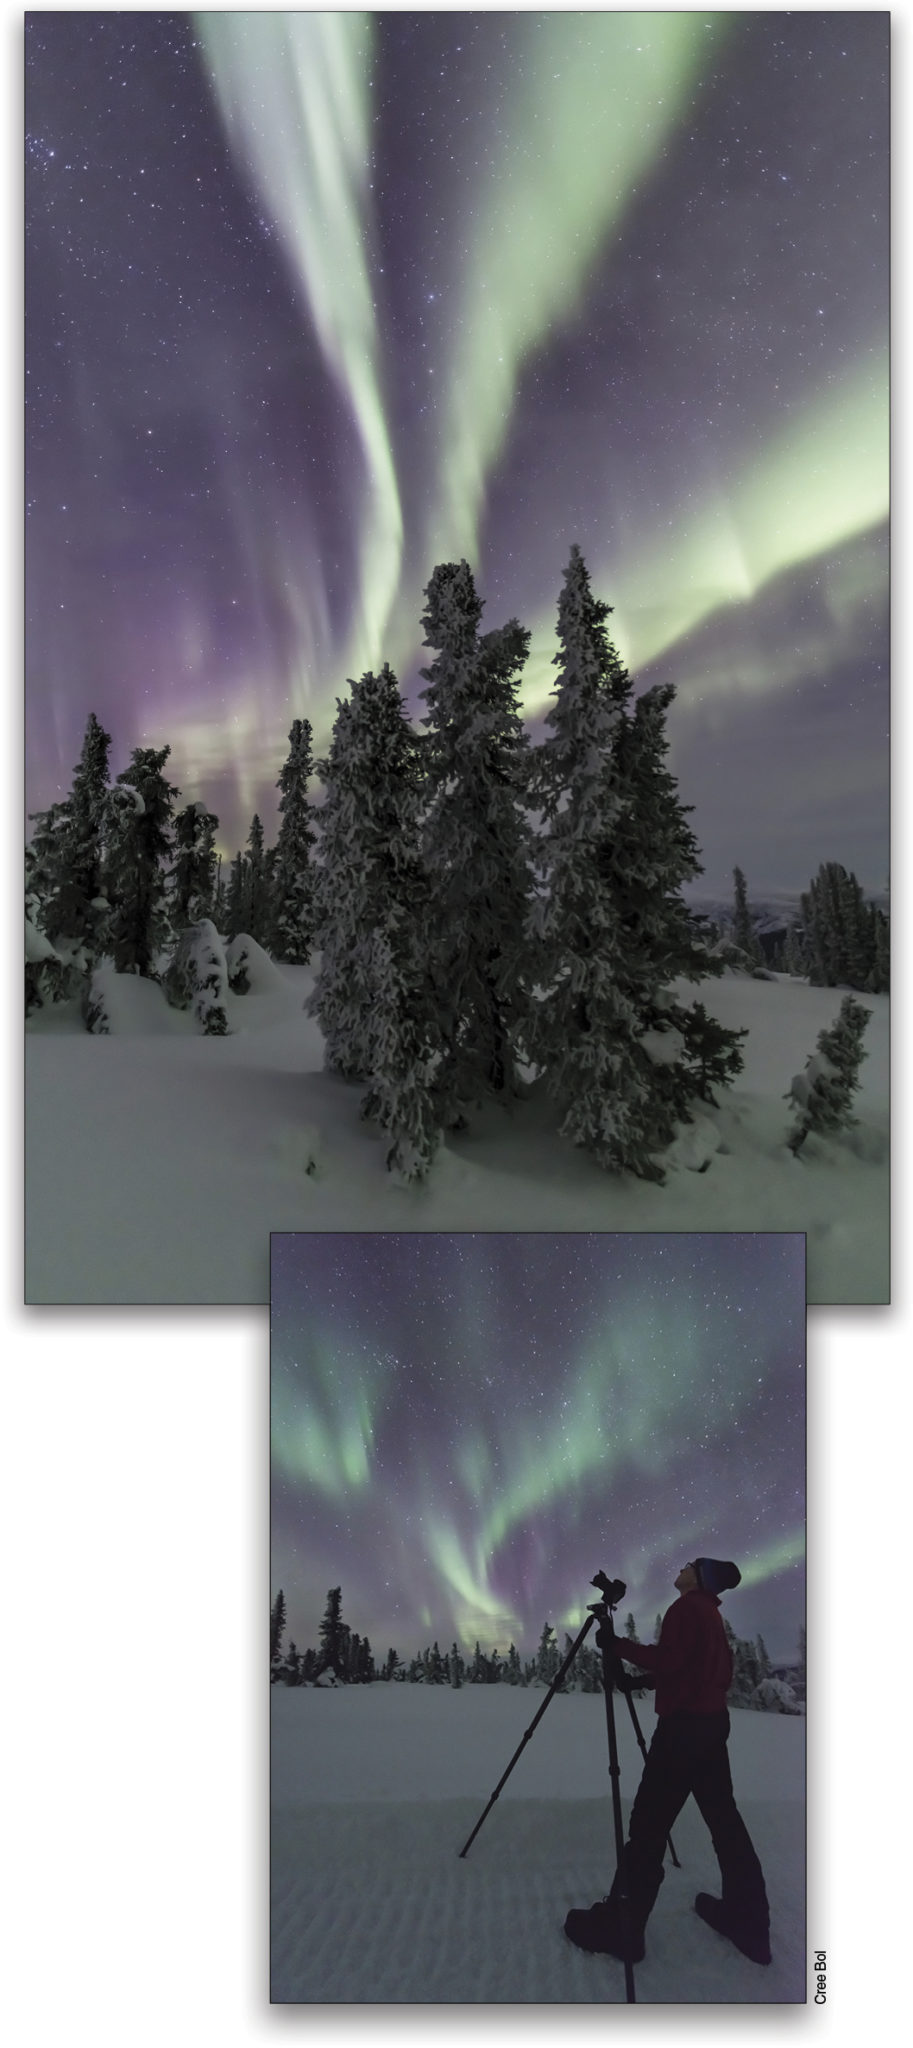
- Next, consider your composition. I like to ground my aurora images with foreground landscape. I look for interesting trees, reflections, and pristine snowy landscapes as foregrounds. If you’re really lucky, you might see an overhead corona display. In this case, point your camera straight up and shoot! Watch your perspective using a wide-angle lens. Trees may need to be straightened in postproduction.
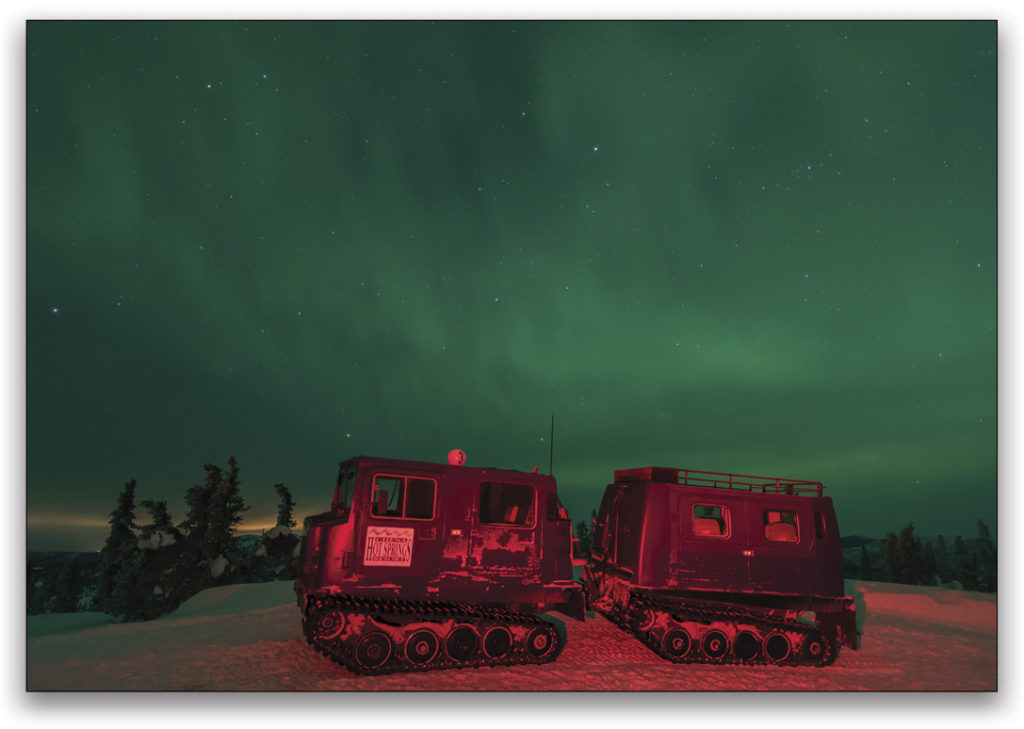
- If you need to see your camera or search through your pack, use a red headlamp. Often you’ll be photographing with other people nearby, and a bright headlamp flashing over the scene is bound to generate a lot of heckling.
Ready to Get Back out in the Cold
Sitting in my office working on my aurora pictures is causing my blood pressure to rise. I’m reliving every magical moment from my recent trip to Alaska watching dramatic displays of green and blue auroras arching across the sky. But summer is approaching, so I’m going to have to wait until next fall for my next fix. No worries, because I’ve already booked a trip to Iceland in November. Now if I can only get clear skies and high KP numbers, the sky is going to come alive. And what are you waiting for? Start
planning your own trip now!

This article originally published in issue 41 of Lightroom Magazine.


