Oh, the weather outside is frightful—as I write this piece during a January winter near whiteout in Croton on Hudson, New York. It’s 10° F outside, about the same temperature as it was when I took the above photograph of the Ice Hotel in Quebec, Canada.
Before we get going with the how-to info, here are two quick tips relating to that Ice Hotel photograph: (1) Only stay in the Ice Hotel if you want to freeze your butt off while sleeping on an ice bed, because blankets don’t help much; (2) Apply the photography, processing, accessory, and clothing tips below to get a good image in snowy and chilly conditions, where exposures and photographing can be tricky.
Okay, let’s go!
Mood Matters Most
Snowy and icy conditions can create a dramatic mood for making photographs, especially when the sky is overcast. The possibility of making a photograph with a mood or feeling—the most important element in a photograph—is a motivational factor for bundling up and going out to shoot. Bring a thermos filled with coffee or hot chocolate and enjoy the challenge, which can result in a feeling of accomplishment.
Try Black-and-White
Speaking of creating a mood, snowy conditions with lots of highlights and shadows, can be ideal for producing moody black-and-white images. If you set out to make a black-and-white image, try to “see” the scene in black and white, and you’ll begin to see values (the range of tones from dark to light) rather than seeing and being enamored by colors. This method of “seeing” can help you produce the best in-camera image. That can be accomplished by setting the exposure for the highlights—the brightest part of the scene—which is made possible by using your camera’s highlight alert and histogram.
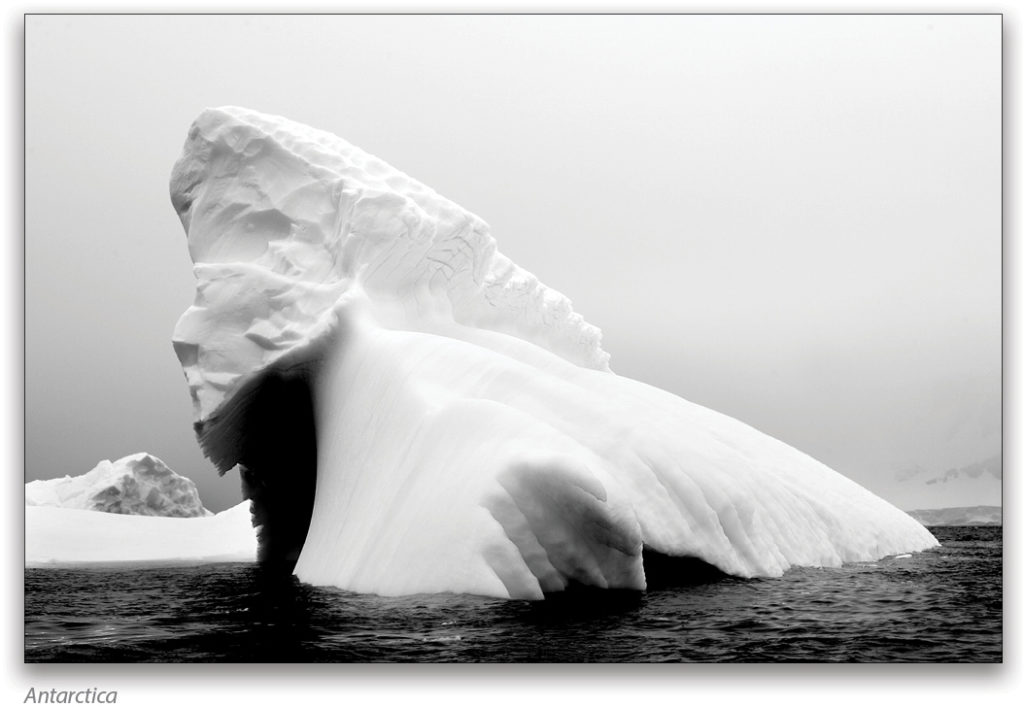
When producing a black-and-white image, keep in mind that “contrast is king,” meaning that contrast rules. My suggestion: If you boost the contrast a little, you’ll like the picture lots better. Also, select a red filter when processing your picture to make a blue sky more dramatic (darker).
Changing Lenses
I try not to change lenses in chilly conditions, especially when it’s snowing, because snowflakes can land on a camera’s mirror/sensor. If I need to change lenses outdoors, I do so under a waterproof camera bag cover.
There’s also a reason not to change lenses inside right after you’ve been outside in the cold. If it’s cold outdoors and your lens and camera are cold, when you go inside and remove your lens, condensation can fog your camera’s mirror/sensor, sometimes for a long time. Therefore, when you go inside to warm up, give your camera time to warm up too before you change lenses.
Exposure Compensation
Lots of white areas in a scene can fool a camera’s meter into thinking that the scene is brighter than in reality. The result is an underexposed image. The basic remedy for this situation is to add EV +1 to your exposure. Also check your histogram. Move the histogram to the right, by increasing the exposure in small increments, until your highlight alert is blinking, and then reduce the exposure until you have no “blinkies.”
Dealing with Contrast
One of the main challenges of snow shooting is dealing with contrast—lots of darks and lights in a scene. Your goal should be to capture as much detail as possible in the shadow and highlight areas of the frame. Here, too, your highlight alert and histogram can help you get a good exposure.
Reflections
Harsh reflections on snow and ice can ruin a photograph. You may be able to avoid, or at last reduce, reflections by changing your shooting position and by waiting for the sun to move. You can also reduce reflections with a polarizing filter. More on the benefits of using a polarizing filter in a bit.
Snow Eyes
Take a look at the photo on the right of the two photos above. Can you spot the Arctic Hare? Hint: Look for the black eye. It’s the same animal pictured on the left. I took the close-up after the animal moved position.
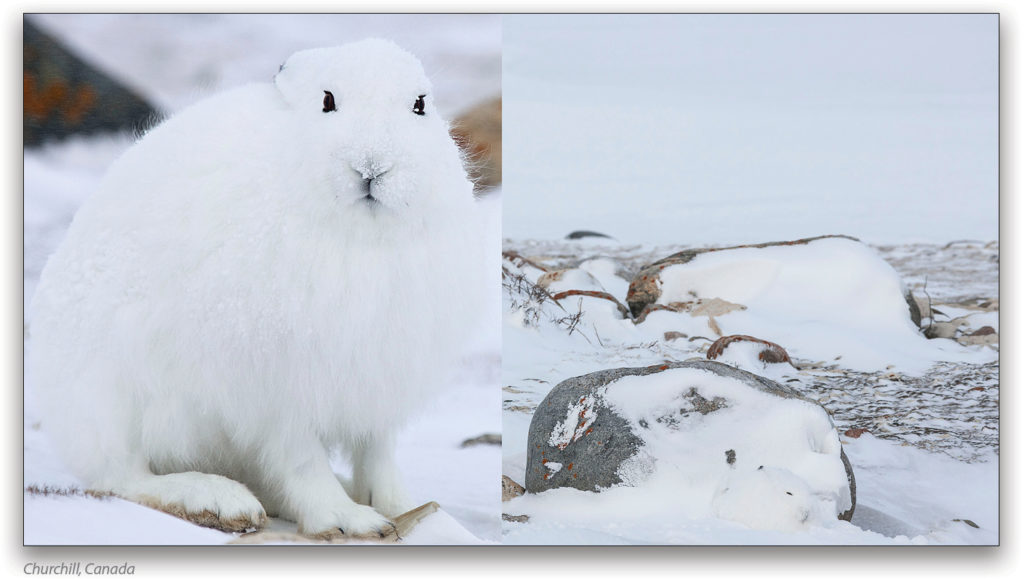
I share these photographs witth you to illustrate the point that we sometimes need to use our “snow eyes” to spot a subject. Knowing what to look for helps us find subjects. Scanning a scene from right to left, the opposite way we read (left to right) here in the U.S., slows down our eyes when we scan a scene, giving us a better chance of spotting a subject.
PROCESSING SUGGESTIONS
Shadows and Highlights
When you think about it, every photograph you’ve ever taken has one main element: light. Break that down and you have two sub-elements: highlights and shadows.
When working in Photoshop or Lightroom, controlling those highlights and shadows is paramount, and relatively easy. Use those sliders to fine-tune those sub-elements and to create dramatic images.
HDR
HDR (high-dynamic range) imaging is another way to control contrast and to get ice and snow images with impact. The higher the contrast range, the greater number of images you need. This HDR image was created from seven bracketed exposures. That high number of exposures was needed because I was shooting into the sun—a very high contrast situation.
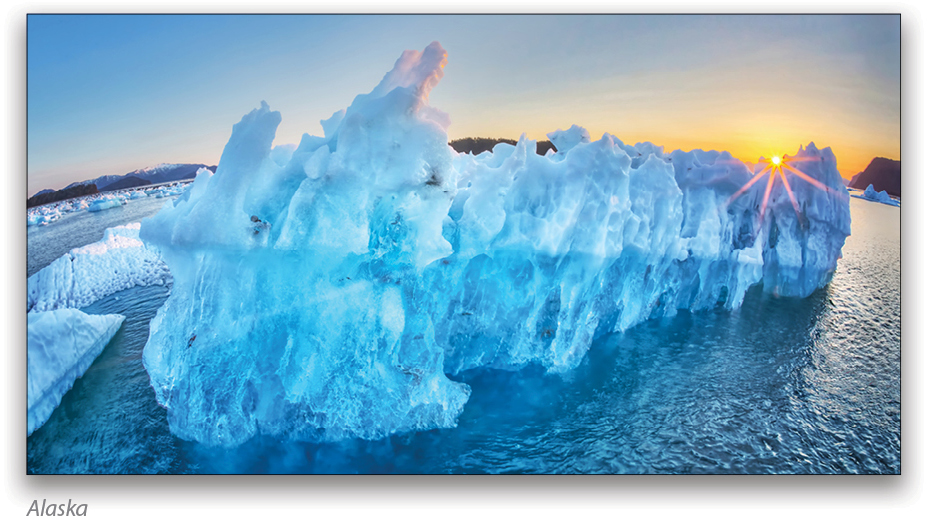
PHOTO ACCESSORIES
Polarizing Filter
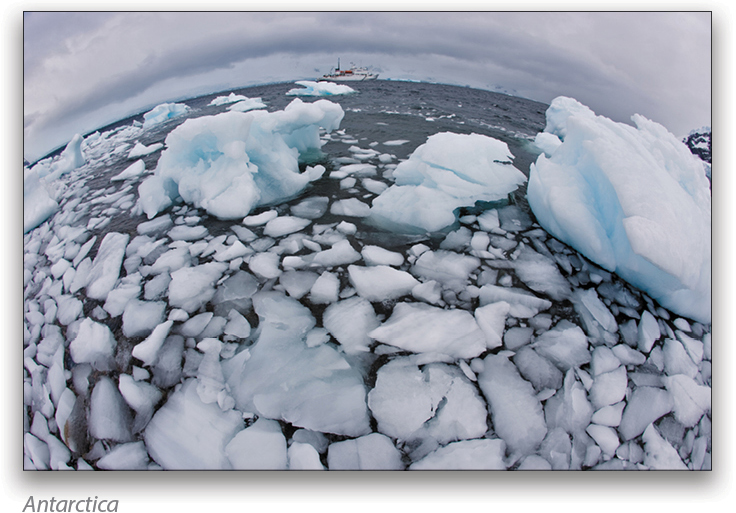
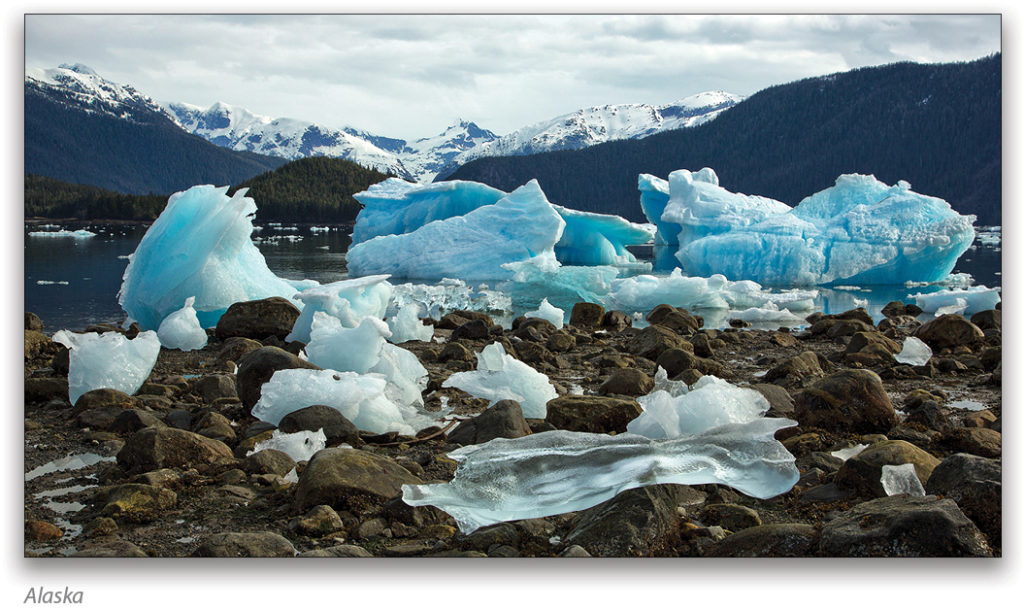
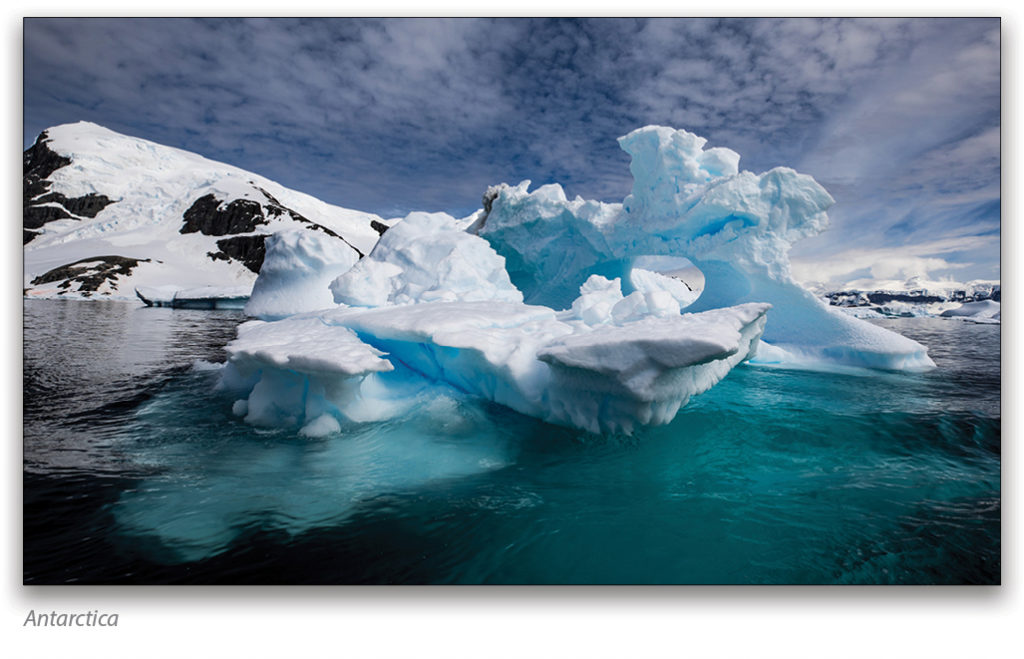
By reducing glare on water, a polarizing filter lets us, and our cameras, see through water. This is a nice benefit when photographing icebergs, which are actually larger in mass under water.
One problem with using a polarizing filter is that you can over-polarize a scene, which results in a dark area in the center of the frame or dark bands in an image. For best results when using a polarizing filter, dial in the desired effect and then check your image on your camera’s LCD monitor. If you see dark spots/bands, dial back the effect.
ND Filters
Neutral density (ND) filters reduce the amount of light entering your lens, which lets you shoot
at slower shutter speeds to create a silky-water effect. If you plan to photograph along the shore in chilly conditions, an ND filter is a valuable and creative accessory.
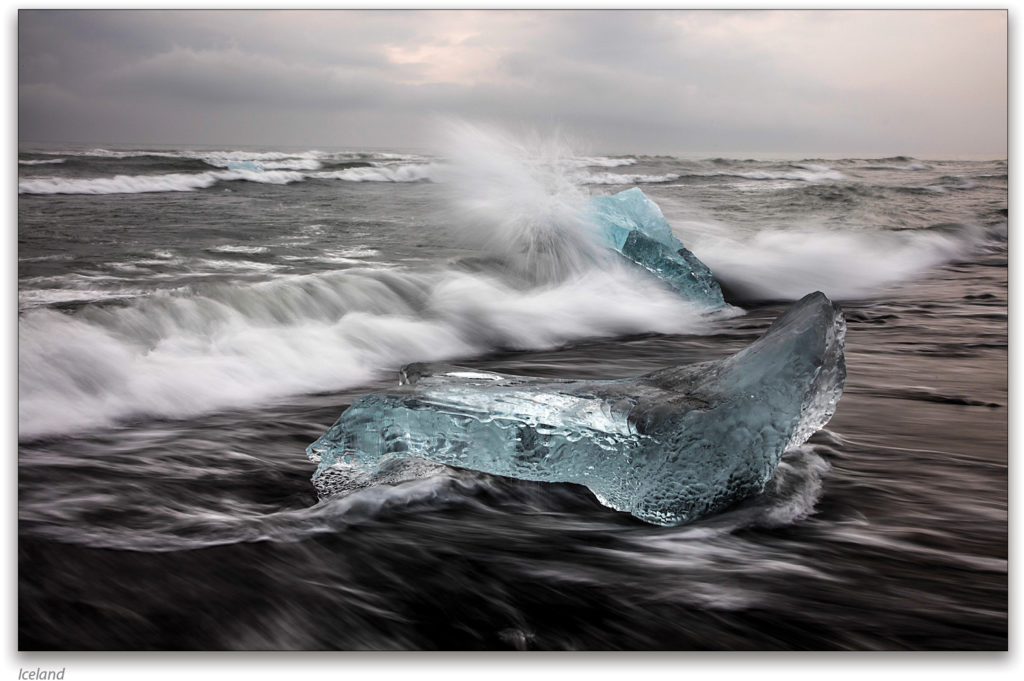
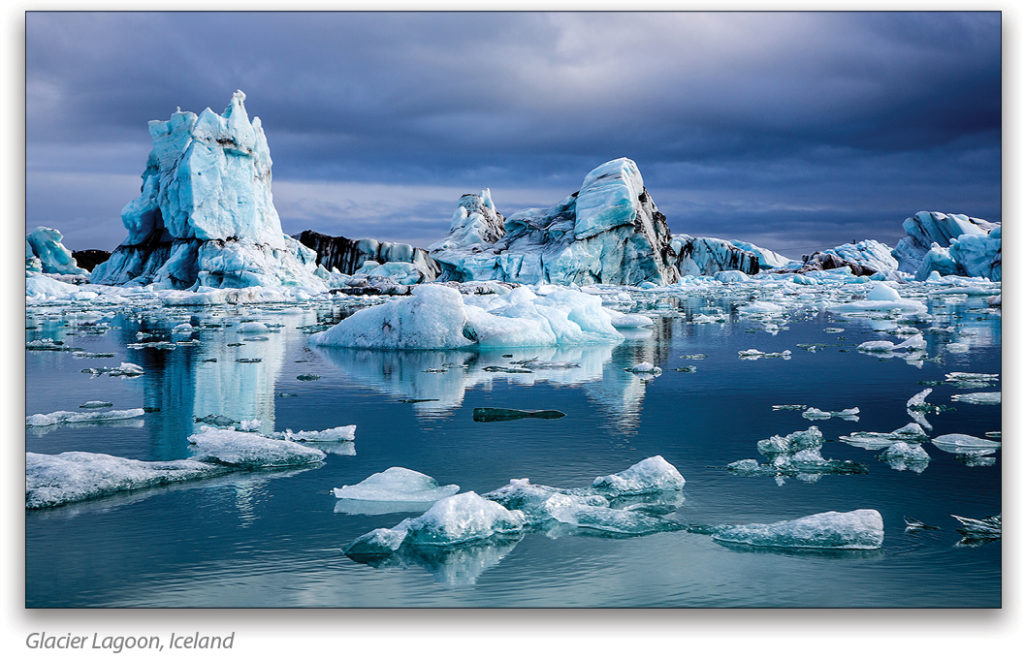
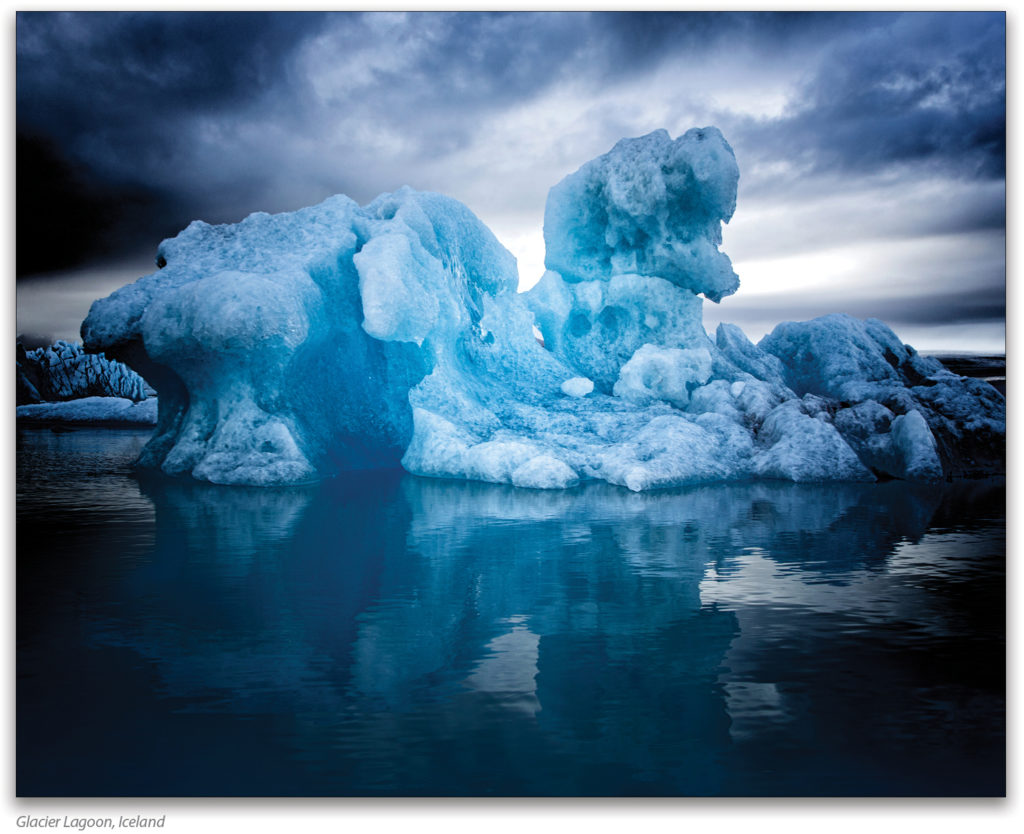
When using an ND filter, experiment with slow shutter speeds. This Iceland picture was taken at 1/5 of a second, but I have other ND filter photos that were taken with shutters speeds longer than 10 seconds.
CAMERA CARE & HANDLING
Protecting Yourself and Your Camera
A comfortable photographer is a happy photographer. Protected gear is happy gear.
That’s me in my backyard, photographed on the day after I wrote this article. I’m wearing warm gloves, rain pants, a warm jacket, wool cap, snow boots, and sunglasses. Before I went out, I put on sunscreen, which also helps to protect your skin against wind. Had it been colder, I’d also have had hand warmers in my gloves and toe warmers in my shoes.
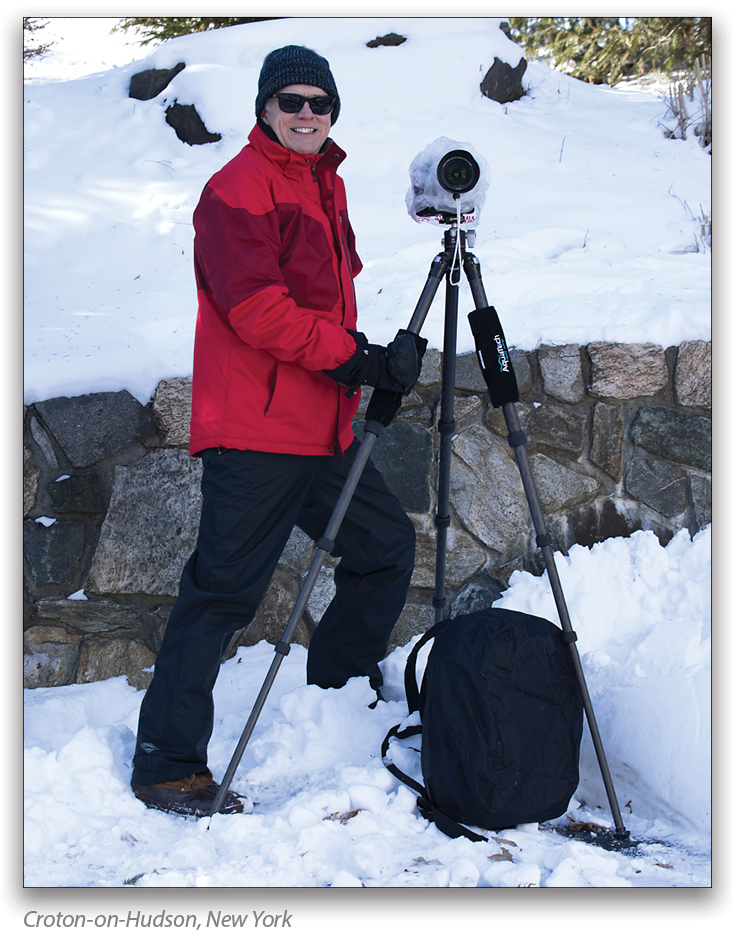
Out of sight and inside my toasty jacket are two extra camera batteries. Like car batteries, camera batteries don’t like to be cold. The colder it is, the faster they drain. So always keep extra batteries warm inside your jacket.
My camera is protected with an Op/Tech rain/snow cover and I have AquaTech pads on two of my tripod legs, which, if you’re not wearing gloves, keep your hands from getting cold when carrying a cold tripod.
My Think Tank backpack is protected from moisture because it’s covered with the waterproof cover that comes with it.
Outdoorphotogear.com carries a wide selection of gloves, camera bags, rain covers, and tripod pads to keep your gear happy.
CLOSING THOUGHTS
Be Prepared
This is a shot of the Tundra Buggy we used for my Churchill photo shoot. It was taken on day three of a three-day whiteout. For three days we couldn’t shoot because the weather conditions reduced visibility to the point where we couldn’t see very far from the vehicle. Fortunately, conditions improved for the last two days of the trip.
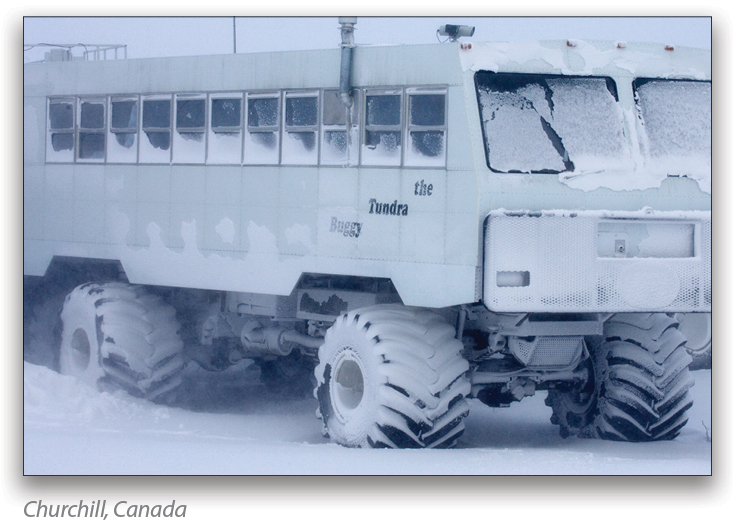
When you’re planning to shoot in snowy conditions, plan on spending more days than you think you need. You never know when a whiteout or near-whiteout can cause a photo blow out.
Have Fun—but Be Safe!
Here’s another important tip: Have fun but be safe.
If you’re dressed for success and have the photo know-how, you can make some creative and fun photographs. But please keep in mind that chilly conditions can be challenging and even dangerous. You don’t want to slip on the ice and fall on the ground or into the water. Always keep safety in mind.
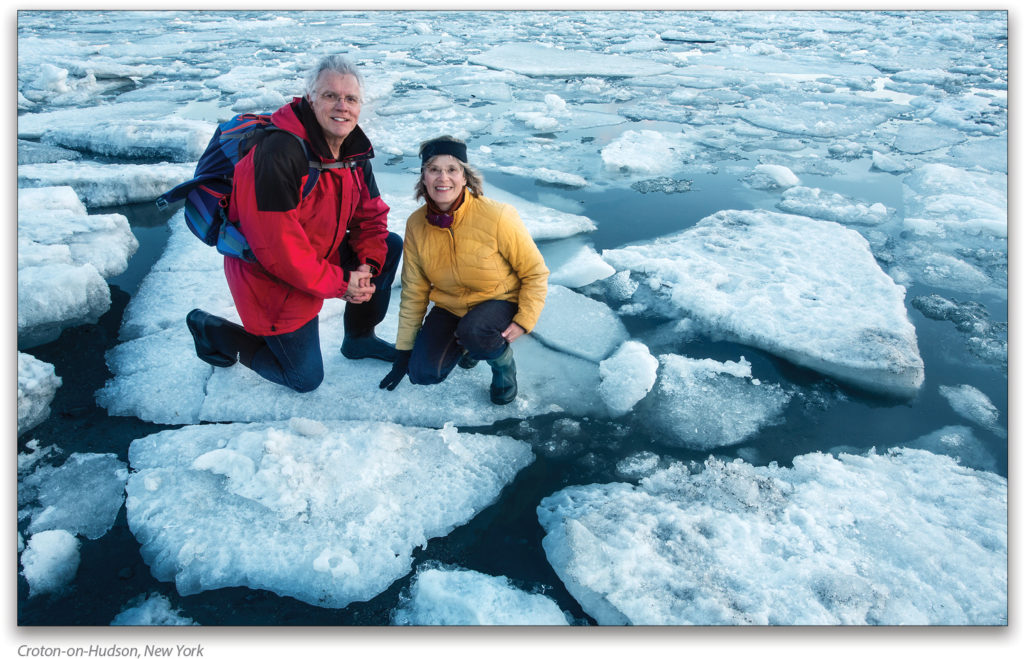
So you may be thinking: Rick isn’t practicing what he’s preaching! He and his wife Susan are balanced on a piece of ice and can fall into the freezing water! Well, my friends, this picture was taken three feet from shore on the Hudson River in Croton-on-Hudson, New York. The water is only two inches deep, and the piece of ice on which we’re perched is stuck in the frozen mud of the riverbed.
As always, have fun making pictures.
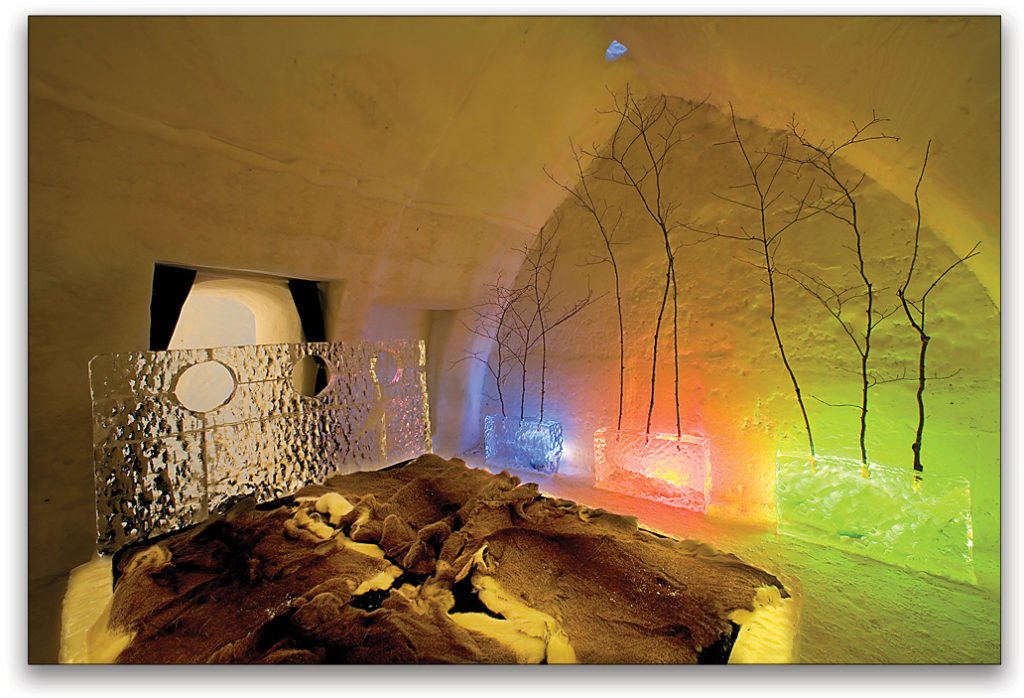
P.S. I’m adding a postscript and photo to this article because I wanted to back up my statement about sleeping in the Ice Hotel. As you can see, the beds are carved out of ice. So even when you’re under the covers, it’s chilly. That said, the experience is very cool.


