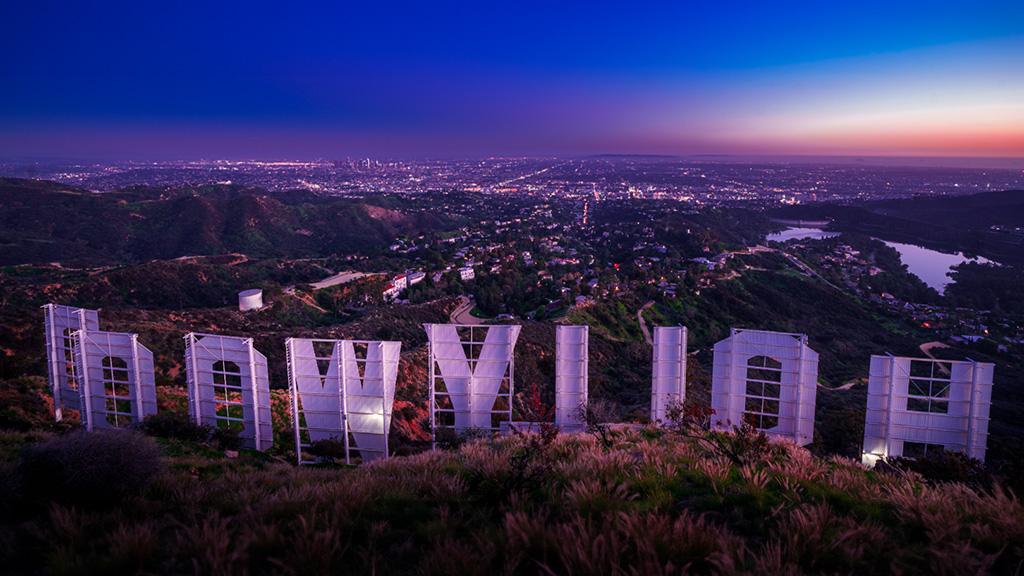
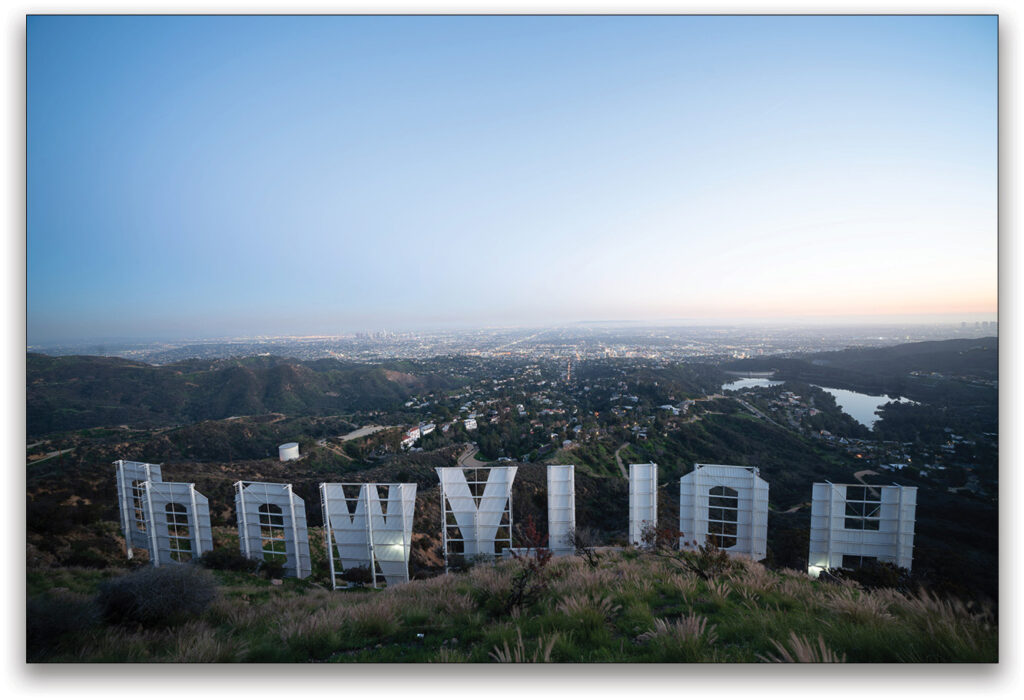
In this article, I want to share with you the adventure of a photo I took a while ago. This was an exceptional moment, and the result was so great, a gallery decided to sell it. I was hiking with a friend, and we shot the Hollywood sign from the back. The only issue is that there are fences all around, and you can’t really get a good shot, so we decided to tape our cameras to the fence, and we were able to capture the entire Hollywood sign. Pretty cool. The problem is that the letters are not lit, so we took different exposures until the end of the blue hour, and we got a pretty cool result! Let me show you how to develop such a shot to make it into a big print.
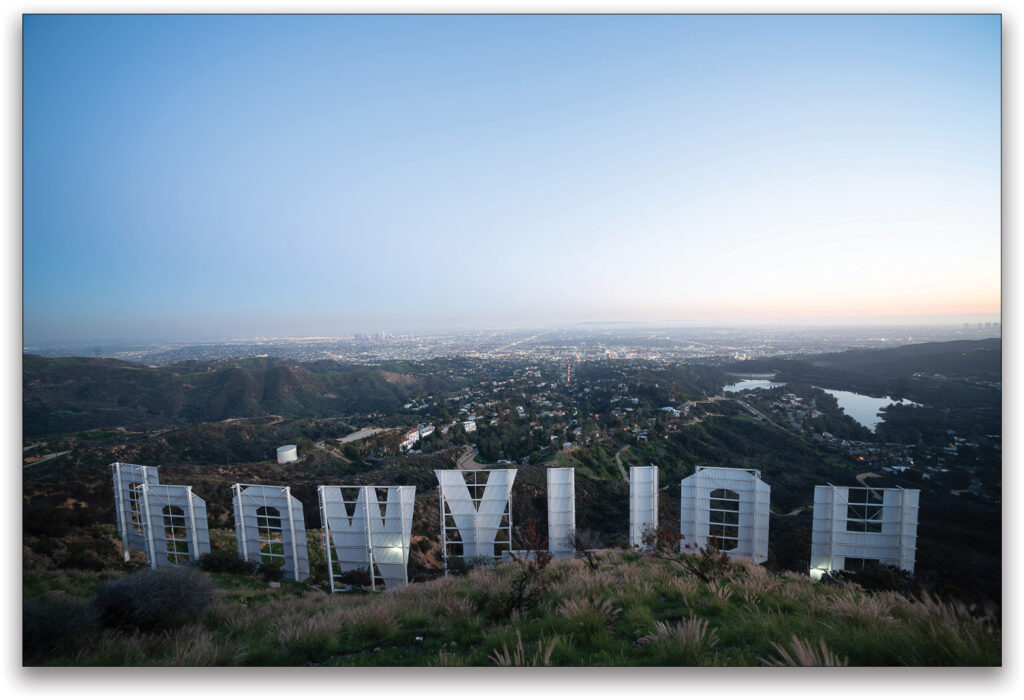
Here’s the RAW result.
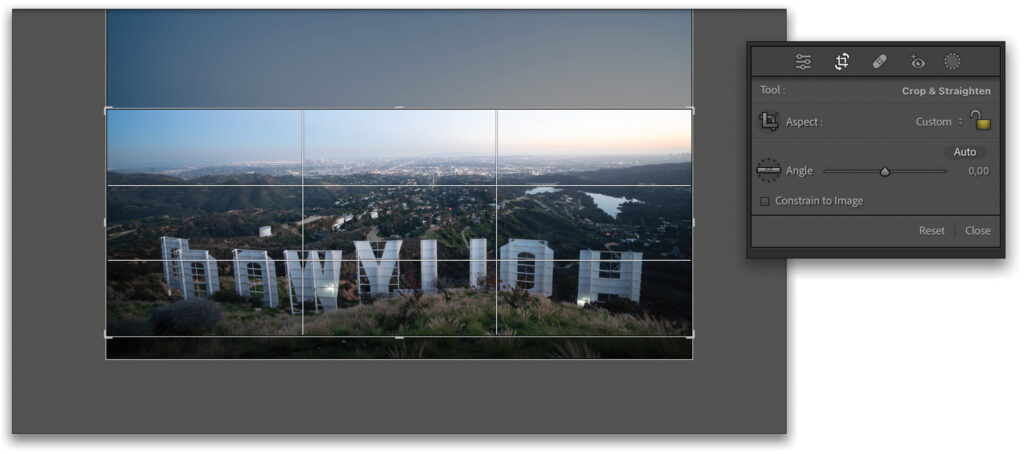
STEP ONE: The first step is to crop the image to a panoramic aspect ratio to make it more cinematic and dynamic. After using the Crop Overlay tool (R), press Enter to commit the crop.
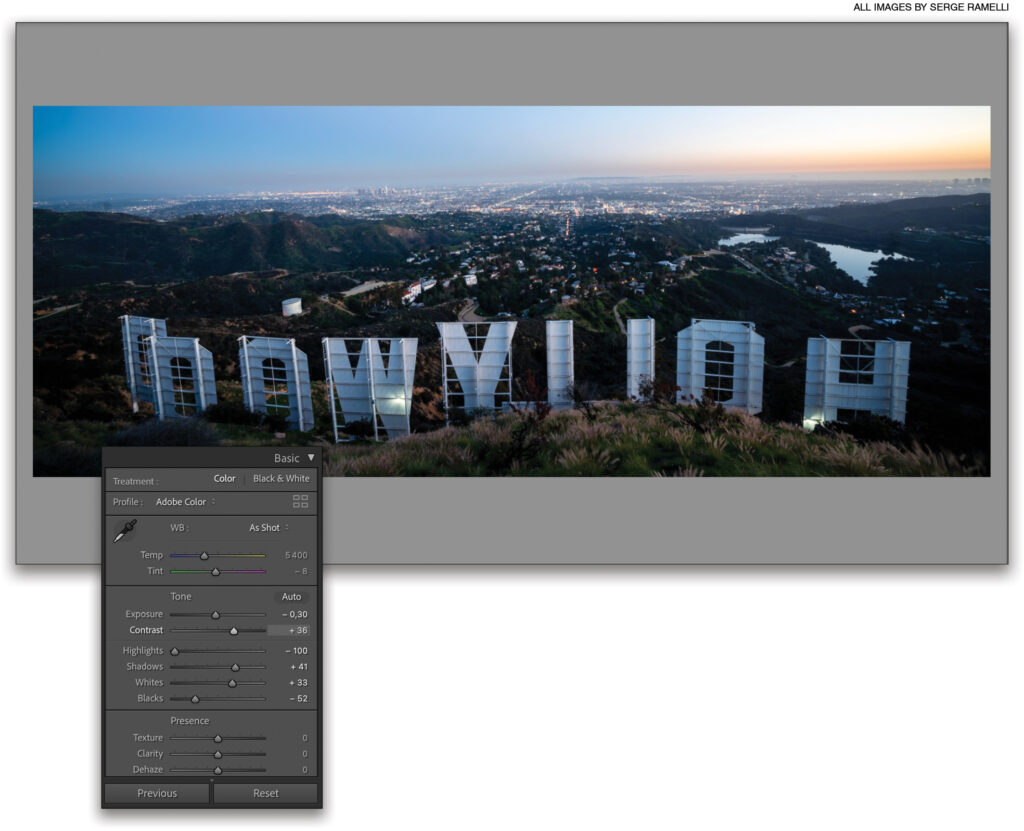
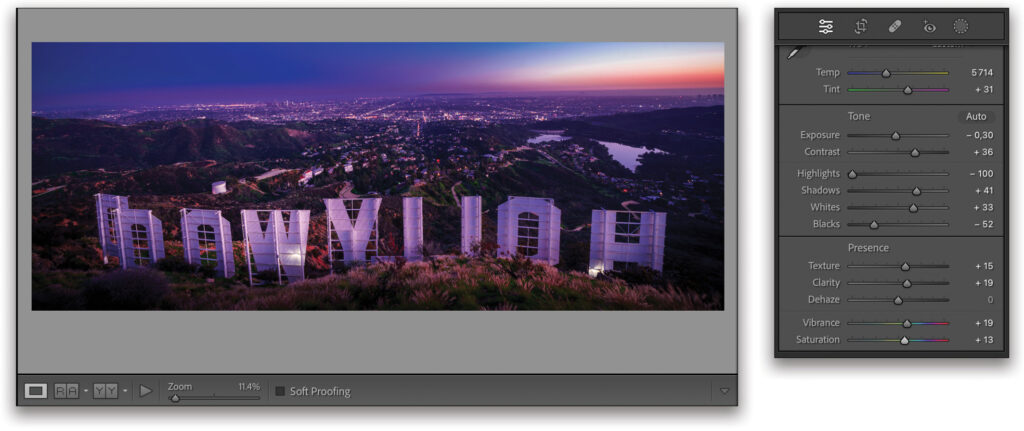
STEP TWO: Now onto the basic retouch. In the Basic panel, we opened up the Shadows to +41, brought down the Highlights to –100, set the white point (Whites) to +33 and the black point (Blacks) to –52, lowered the Exposure to –0.30, and finally added some Contrast (+36).
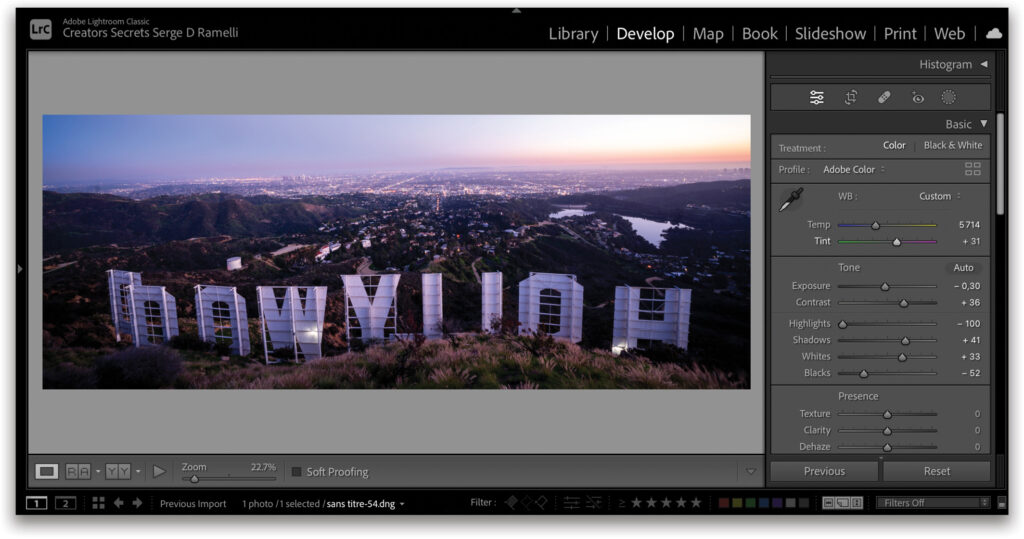
STEP THREE: To re-create the blue hour mood, you can play around with the Temp and the Tint sliders. Here we set them to 5714 and +31, respectively (below).
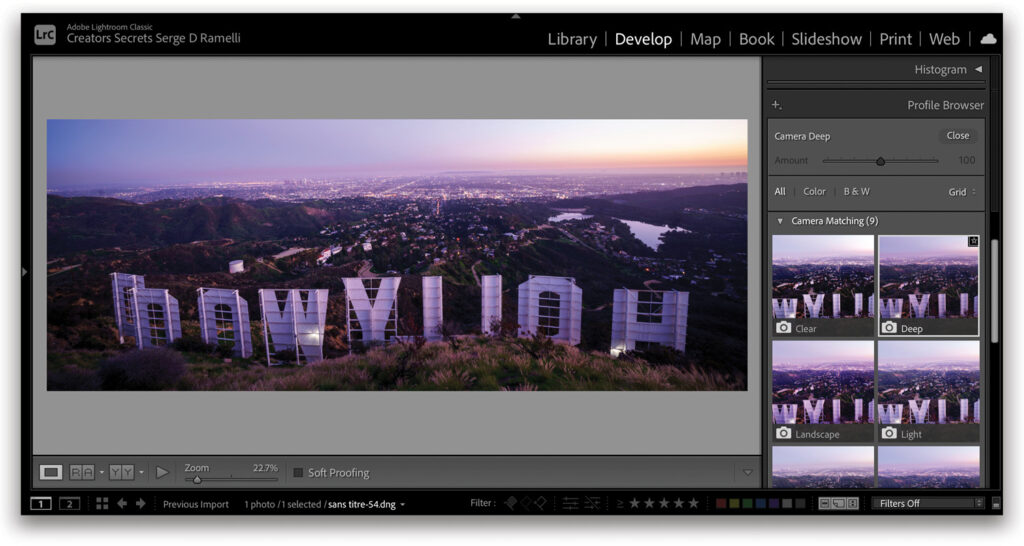
STEP FOUR: To improve the colors of your file, you can go to the Profile Browser (the four-square icon at the top right of the Basic panel), and you’ll find some profiles in the Camera Matching set that are based on the brand of your camera. These will really help you nail the colors. Here, with my Sony, I picked Deep as the profile. Click the Close button to close the Profile Browser.
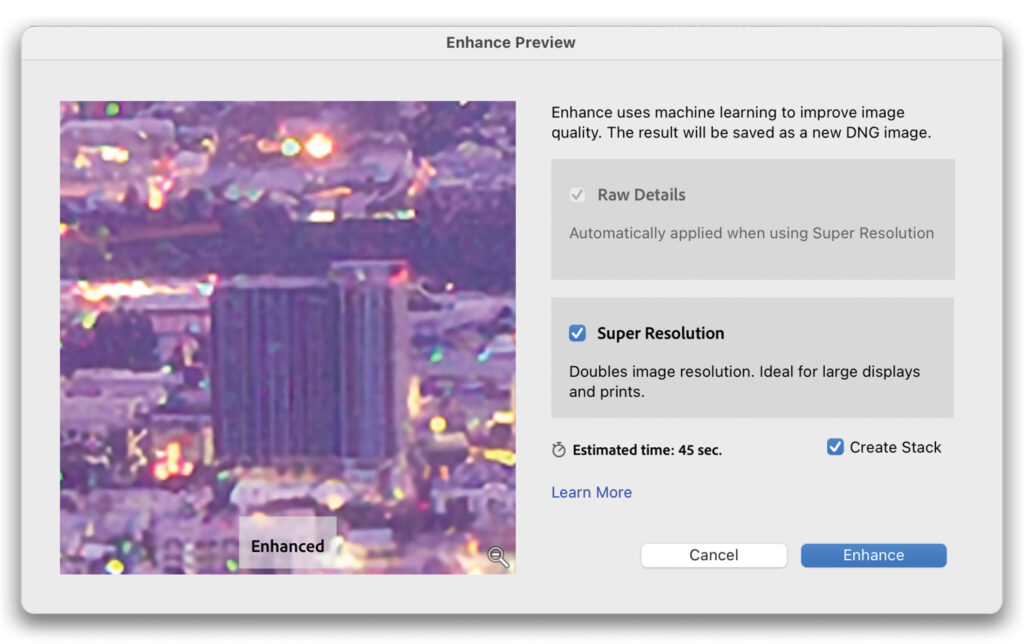
STEP FIVE: A key tool in Lightroom for making big prints is the Enhance feature. To improve the file quality and increase its size, simply Right-click on it, and select Enhance. In the Enhance Preview dialog, select Super Resolution, and click Enhance. In this example, it will transform our 24-megapixel photo into a 96-megapixel photo, perfectly sharp and detailed for big prints!
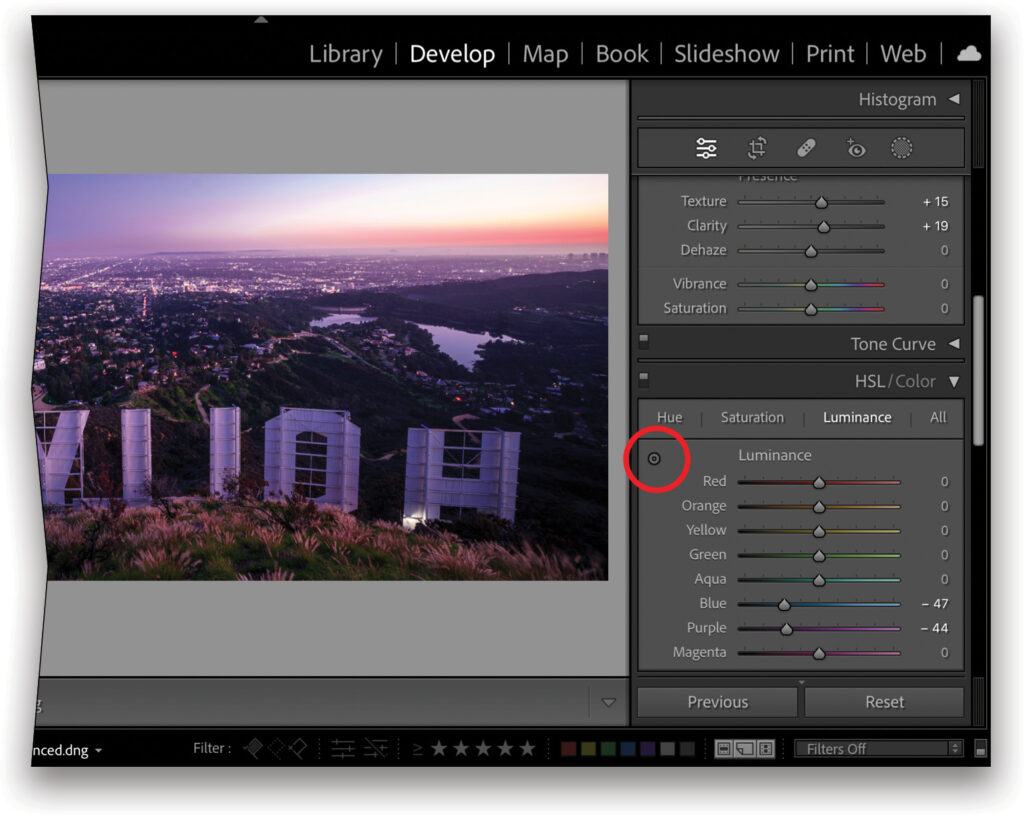
STEP SIX: We want to refine the colors, but first, let’s add some Texture (+15) and Clarity (+19) to the overall photo in the Basic panel. Now we can go into the HSL panel. Starting with the Hue tab, you can use the Targeted Adjust tool (TAT), which is the little circle at the top left of the panel, to click-and-hold on the color in the image you wish to adjust, and drag up or down (it will move the sliders in the panel). Here we changed Red to –14 and Orange to –71. Now onto the Saturation tab. We warmed up the sunset even more with the Red set at +33, Orange at +31, and the Yellow at +31. To finish, let’s play with the Luminance to make the colors deeper. We set the Blue at –47 and the Purple at –44.
STEP SEVEN: You can use simple tools to dodge and burn the image and get incredible results! First, click the Masking icon (gray circle with dotted outline just below the Histogram) and select the Linear Gradient tool. Let’s set a linear gradient at the top of the image over the sky and lower the Exposure to –0.69 and the Temp to –17. Now we’ll click Create New Mask in the Masks panel, select the Linear Gradient tool again, and set a second gradient at the bottom, lowering the Exposure to –0.77. This will close up the photo and focus the eyes of the viewer on the subject.

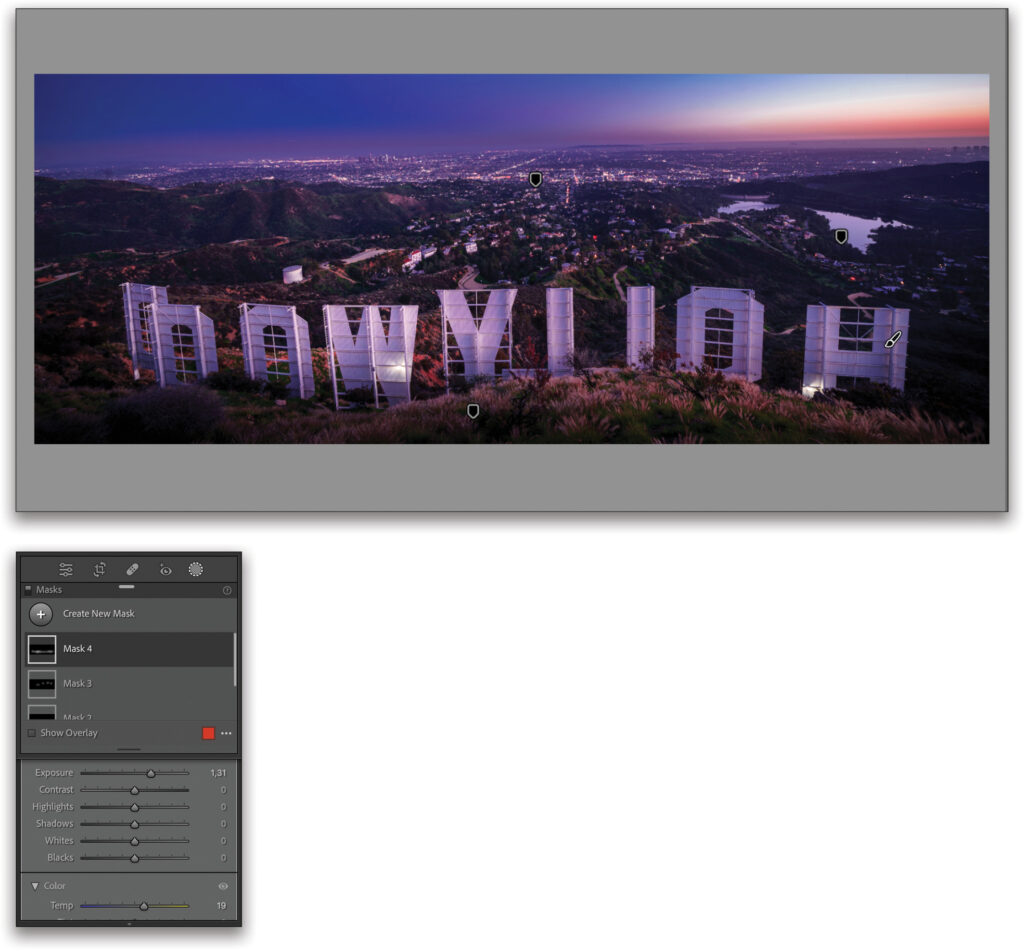
STEP EIGHT: To highlight parts of the photo, you can use the Brush masking tool (K), setting its Feather to 100% with Flow and Density around 70. With the Exposure boosted to 0.43 we painted over brighter parts of the photo, such as the lake. We then clicked Create New Mask for a second brush to highlight the back of the letters. For this we set the Exposure to 1.31 and the Temp to 19. Click the Masking icon to exit the masking tools.
STEP NINE: Finally, to make the overall photo pop, you can play with the Vibrance and the Saturation to really make the colors stand out. Here we set them to +19 and +13, respectively.
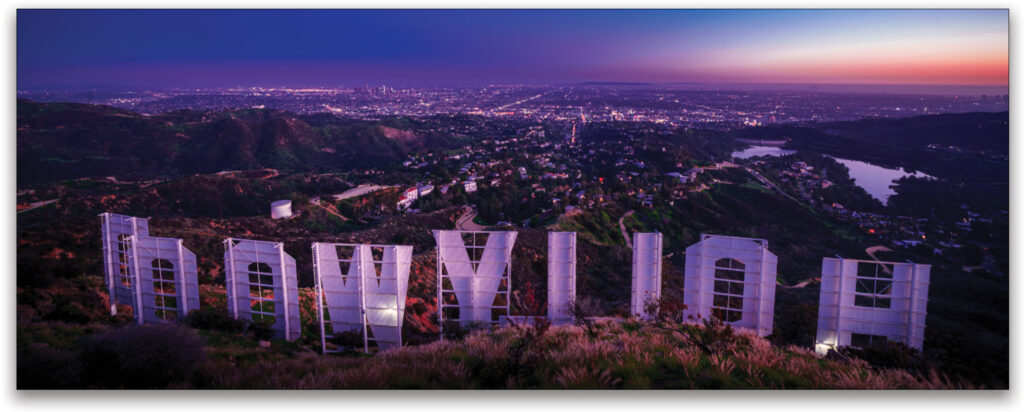
This is a more natural retouch, and I think it works, as it was the feeling I had when shooting this photo. You can also replace the sky in Photoshop or do a crazy HDR look in another platform, but this is just to show you how, in a few steps, you can make a spectacular photo and make a big print out of it. Have fun shooting and printing your art!
This article originally published in the July, 2023 issue of Photoshop User magazine.
Ready to level up in Lightroom? The KelbyOne Lightroom Conference is back, April 16 & 17, 2024. Don’t miss out on this incredible opportunity to elevate your photography game. Secure your spot today for this immersive online event and equip yourself with the tools and knowledge you need to create breathtaking images like never before. Tickets are available now!