In this article, I’ll show you how you can use your camera with the right settings to do a long exposure at sunset without an ND filter. The trick to doing a long exposure at sunset is to wait until the sun is at the horizon, set your aperture at f/22, and put your ISO to the lowest possible setting on your camera. If you can, go all the way down to ISO 50.
Step One:
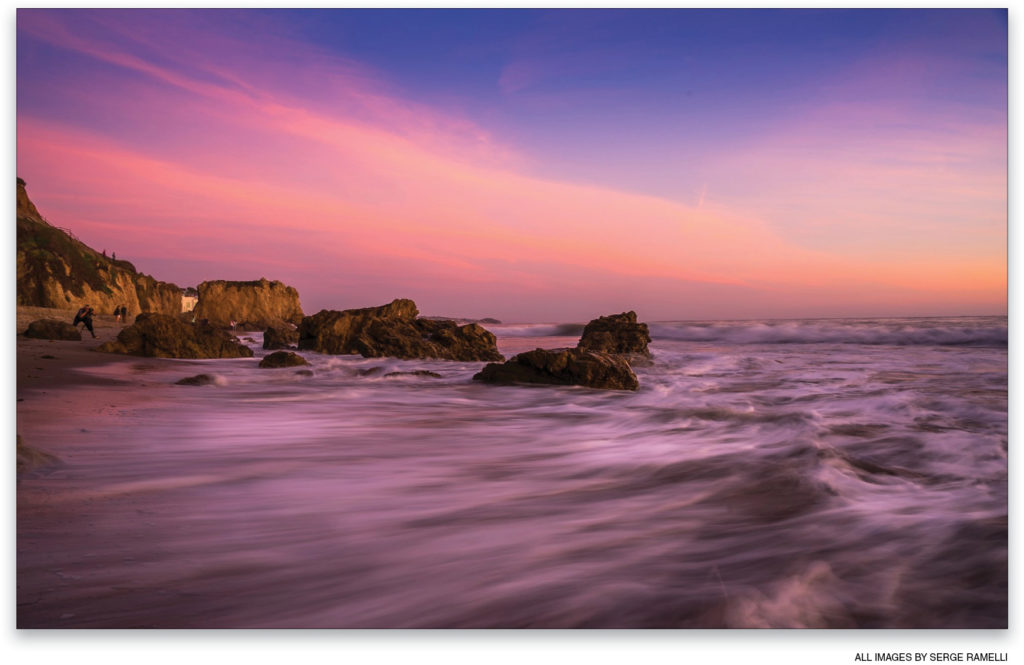
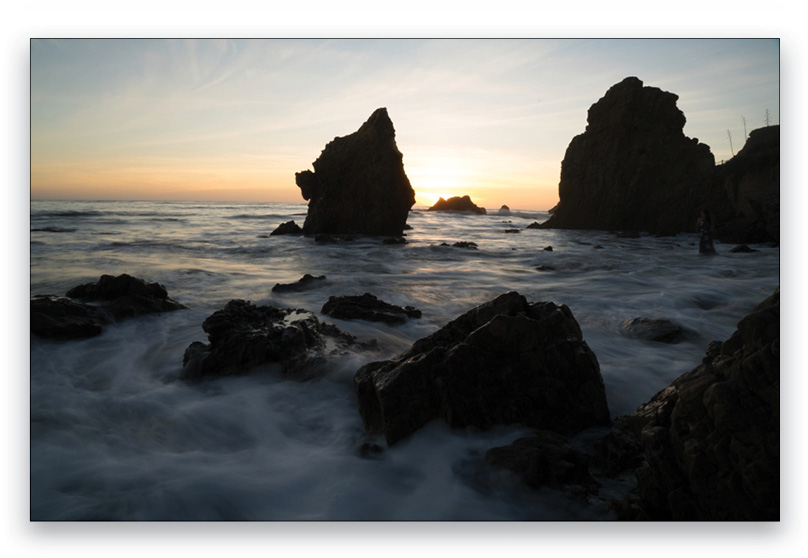
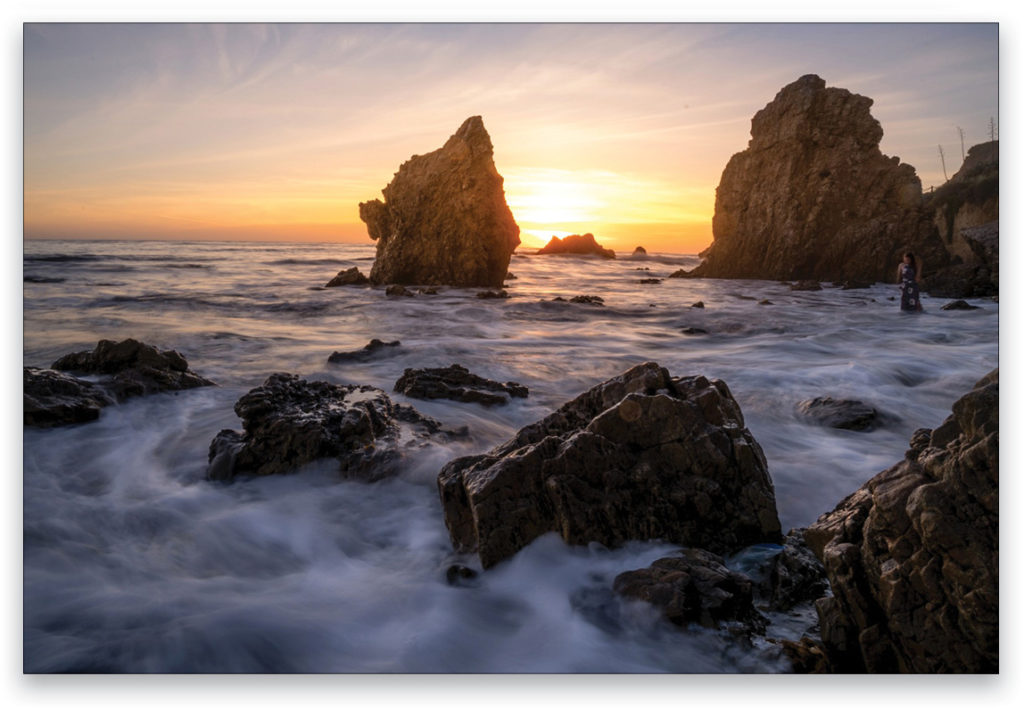
On this photo, my camera was on a tripod with these settings: f/22, ISO 50, 1/2 second. The most important part is to find the right composition. For these types of photos, I like to use the water as my foreground element. You can try different angles to see what works best for your photos.
On this photo, my camera was on a tripod with these settings: f/22, ISO 50, 1/2 second. The most important part is to find the right composition. For these types of photos, I like to use the water as my foreground element. You can try different angles to see what works best for your photos.
Step Two:
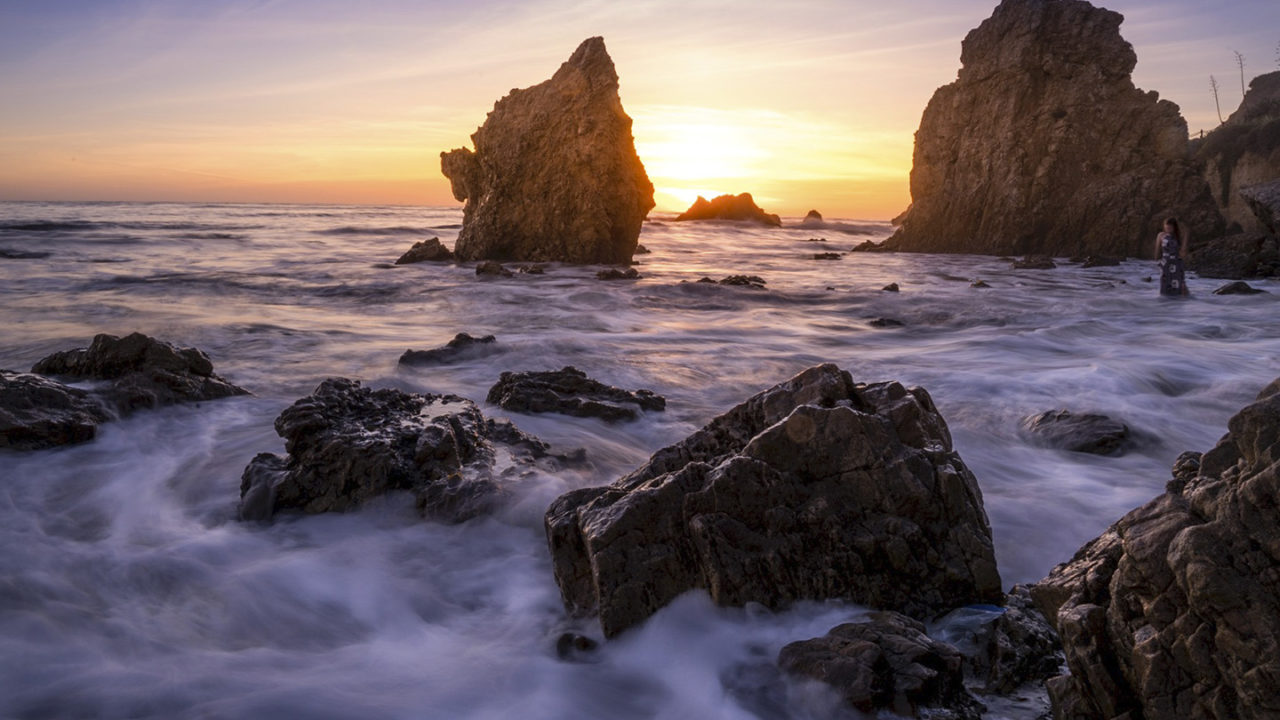
Once the sun goes down, you don’t have to keep your aperture at f/22. I changed my aperture to f/18 and exposed for one second. When shooting water, don’t do an exposure that’s too long, because you’ll lose all the motion of your subject. My fastest shutter speed is going to be 1/2 second. While I was shooting, the sun was coming down and the sky started to become pink, so I tried this composition.
Step Three:
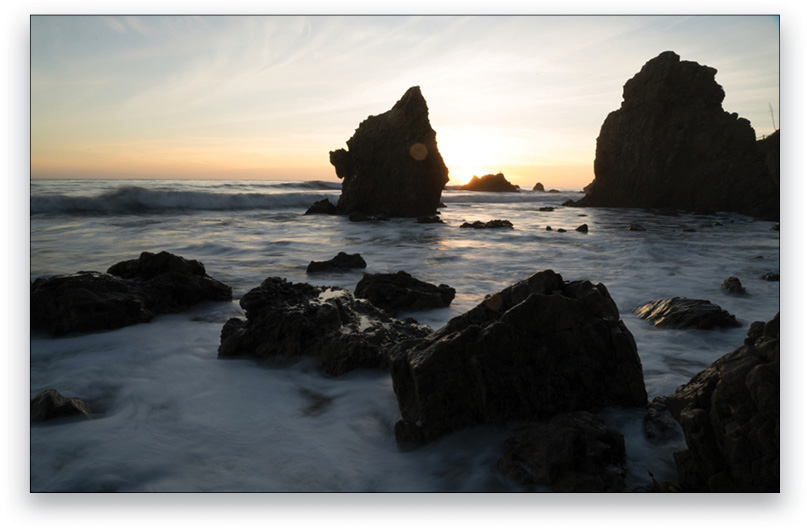
Once you find a composition you like, keep shooting to get different shapes in the water and nice leading lines. After you import your images into Lightroom, you can select the framing that you like and head into the Develop module. Let me show you how I developed this particular photo.
Step Four:
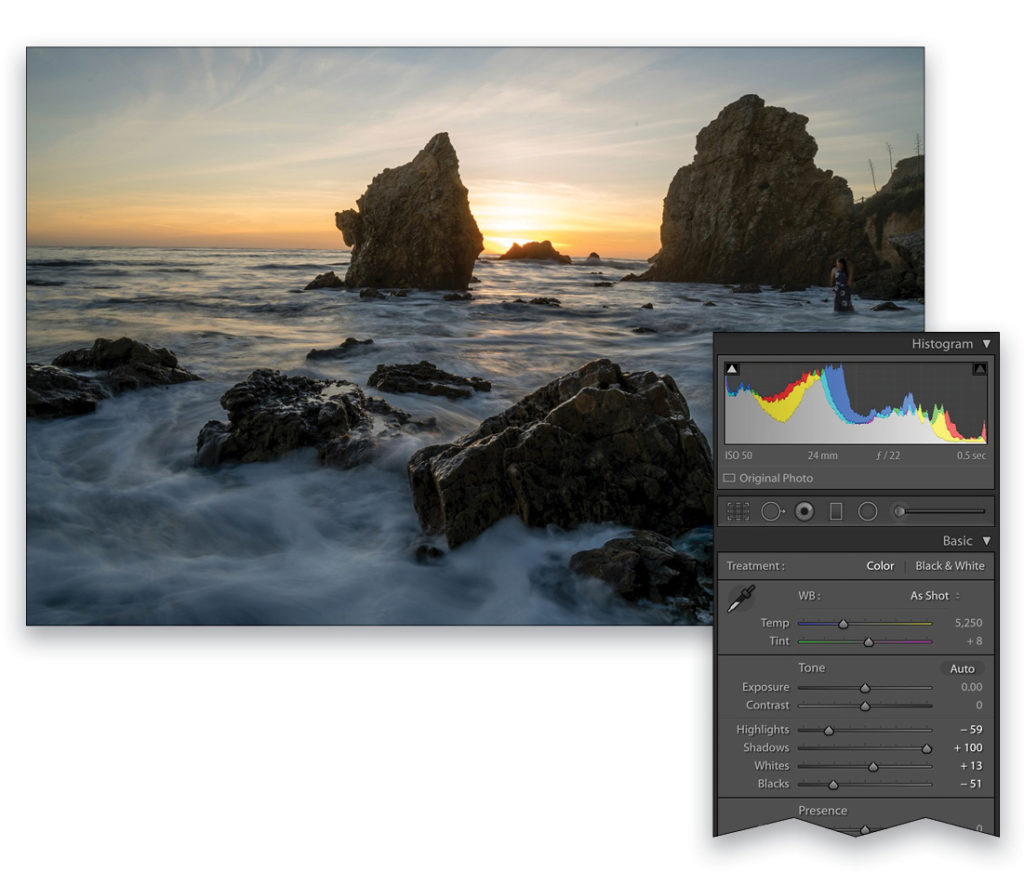
To start, do your standard developing. Here’s my recipe for this image: Set the Highlights to –59 (I don’t want to go much further because I’ll lose too much of the sun), and then open the Shadows to +100. For the Blacks, hold down the Option (PC: Alt) key and drag the slider to around –50. While still holding the Option (PC: Alt) key, boost the Whites to +13. Holding the Option (PC: Alt) key while using these sliders reveals areas that will be clipped (no image detail) if you drag too far. For the Blacks, the image will turn white, and as you drag, you’ll start to see colors appear in the image. These are the areas that are being clipped. For the Whites, the image turns black; anything that turns to color will be clipped.
Step Five:
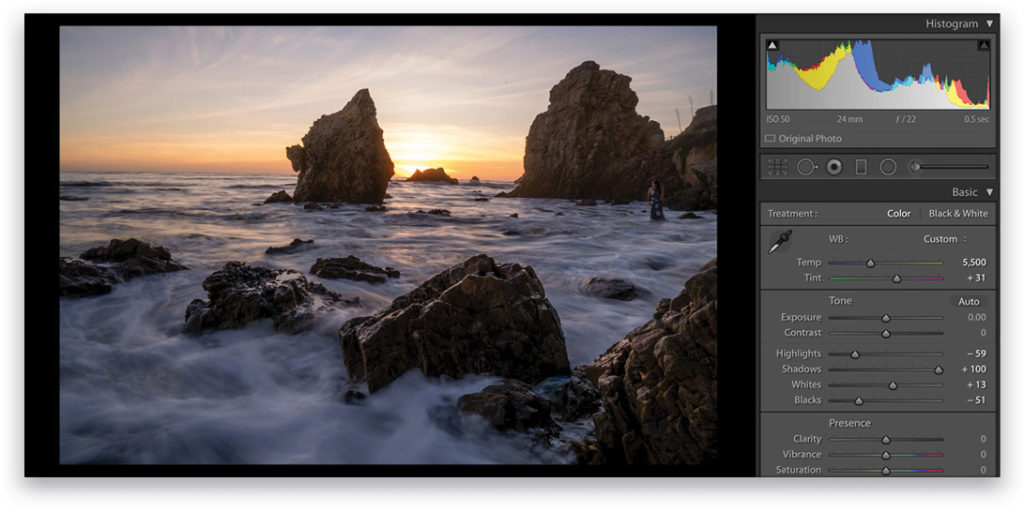
For the white balance, let’s select Daylight in the drop-down menu to keep some blue in the sky. Personally, I’m an unconditional fan of magenta, so I set the Tint to +31. You can do that too if you’re as crazy about magenta as I am. When you drag either the Temp or Tint slider, the WB drop-down menu will change to Custom.
Step Six:
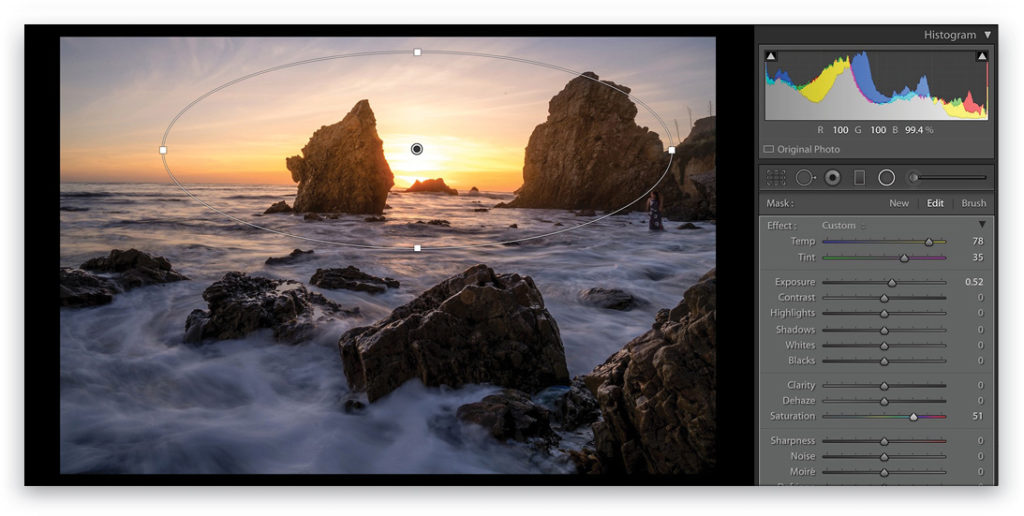
The sun doesn’t feel present enough in this photo, so one thing you can do is use a Radial Filter (Shift-M) to really bring out the light. Turn on the Invert option, and drag out a pretty big mask where the sun should be. Boost the Exposure up to 0.52, add some yellow and magenta (Temp: 78, Tint: 35), and even increase the Saturation (51). If you don’t want your circle to affect the surrounding areas like the rocks in this photo, you can use the new Range Mask option at the bottom of the Radial filter panel. [For more on using Range Mask, see “Under the Loupe,” Issue 36 of Lightroom Magazine.—Ed.]
Step Seven:
One thing I like to do is to enhance the shape of the waves using the Adjustment Brush (K). Make sure that Feather is set at 100%, and Flow and Density to around 80. Boost your Exposure to say 0.90 (which is way too much, but I like to set it high so it’s easier to see what my brush is doing), and then back down the Exposure to around 0.50. The red mask is visible in the image shown here so you can see where I painted in the water.
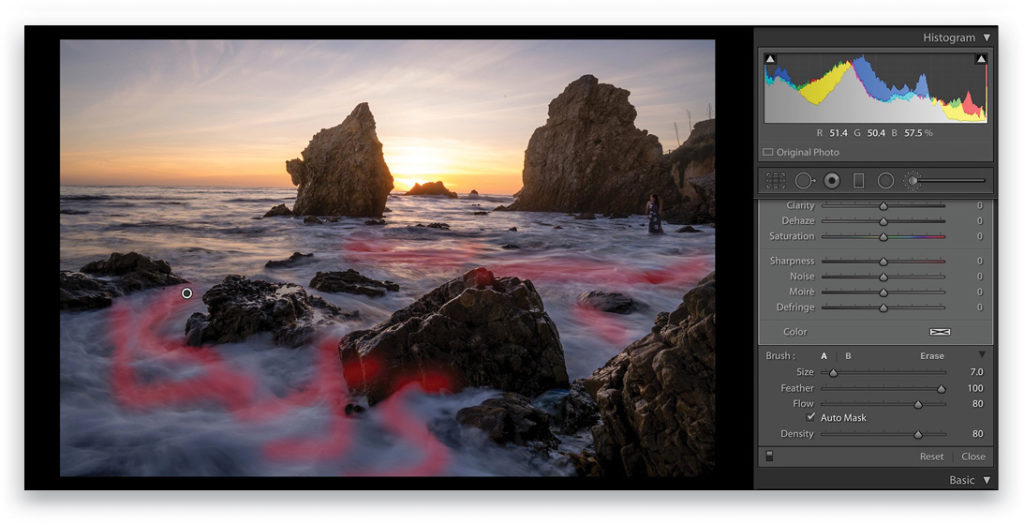
Step Eight:
And here you can see the result of the Adjustment Brush application. It’s subtle, but it gives a nice touch to the photo. I prefer it when the water has some shape and isn’t too fuzzy or flat.
Step Nine:
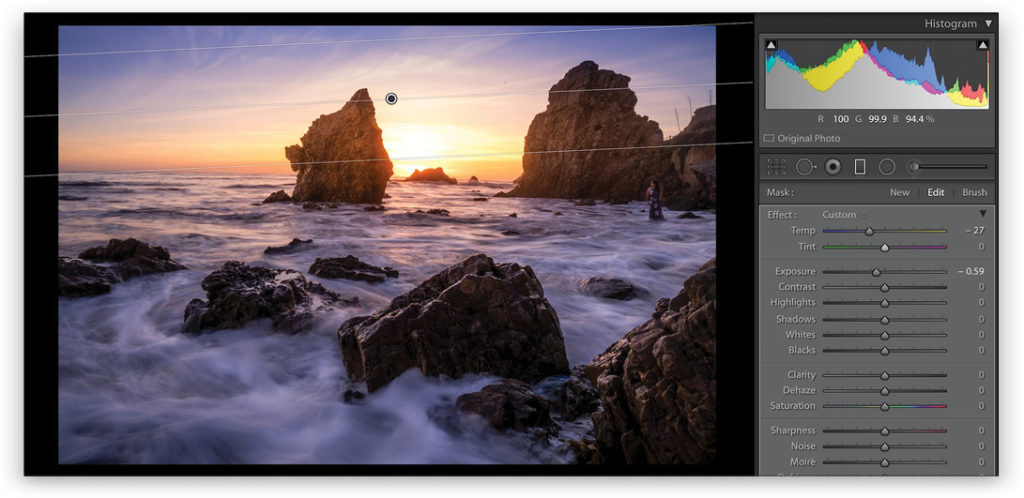
To finish this photo, you can add some Contrast and magenta using the Tint slider if you want. You can also “close” the top of the image with a Graduated Filter (M), adding some blue by setting the Tint to –27 and lowering the Exposure to –0.59.
Step 10:
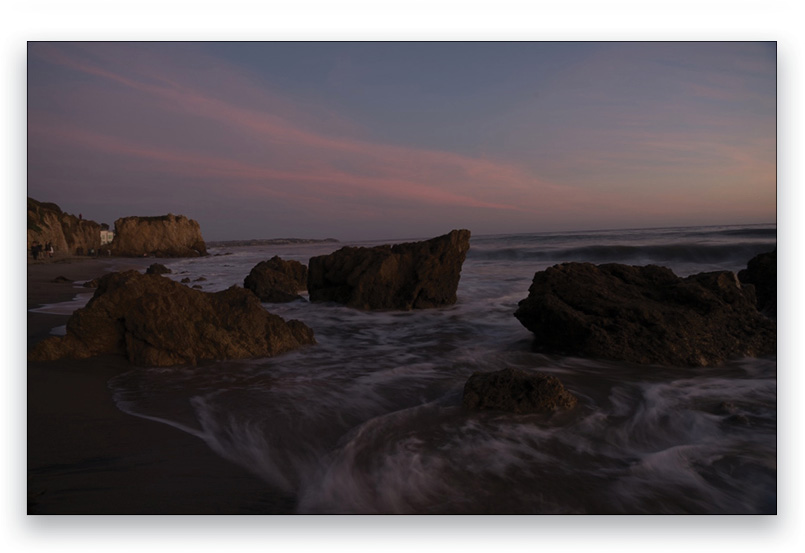
Once you’re happy with your development, you can click the Copy button near the bottom left. In the Copy Settings dialog, check all the settings minus the Adjustment Brush because it won’t fit other images, and click Copy. Now select another shot in your series and click the Paste button. Just tweak the settings to adapt your retouch to each photo. Here’s an example.
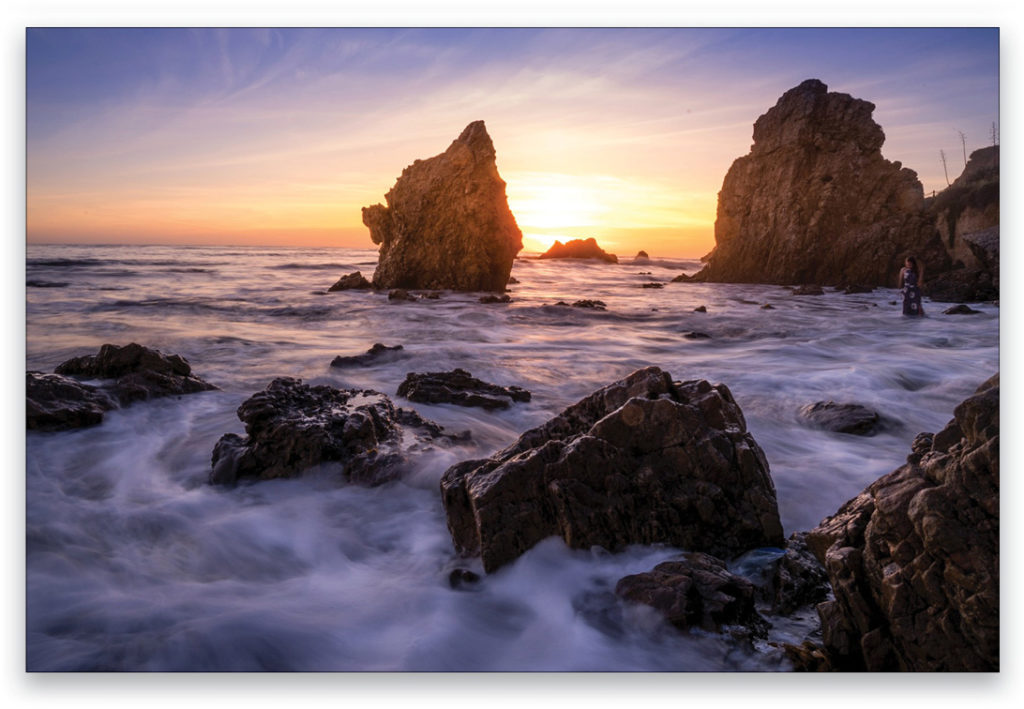
I hope you liked this tutorial: It’s a great way to do a long exposure without an ND filter and get nice content on your social media.