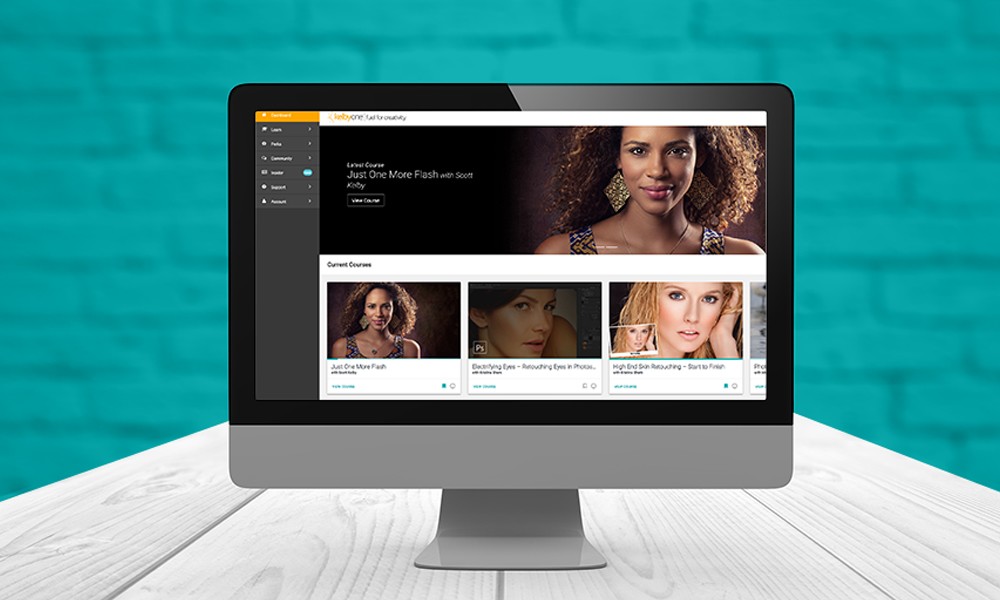
When you’re on the KelbyOne website, each course and issue of the magazine has its own “card.” This is known as material design. The idea is that these cards deliver an easy-to-use digital experience on any device. We’re constantly striving to improve the KelbyOne experience on the desktop and mobile devices, so our web team is never allowed to sleep. In today’s installment of “Did You Know,” we’ll be taking a closer look at the course cards.
When you’re on your Dashboard on the KelbyOne site, the first row of cards that you see are your Current Courses. These are the courses of which you have viewed at least some portion. You’ll also see sets of cards for Newest Courses, Trending Courses, and possibly My Bookmarks (more on that later).
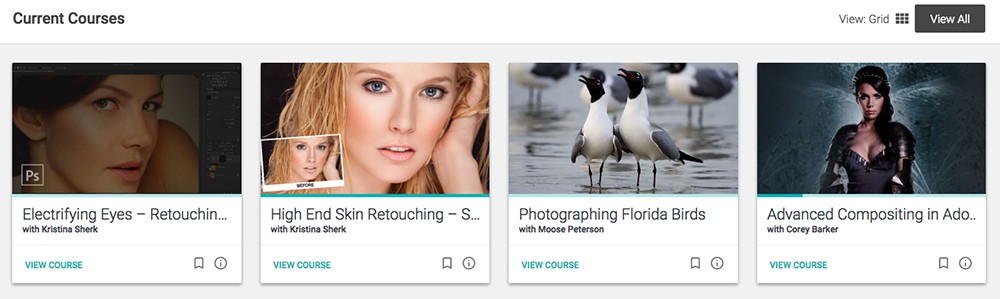
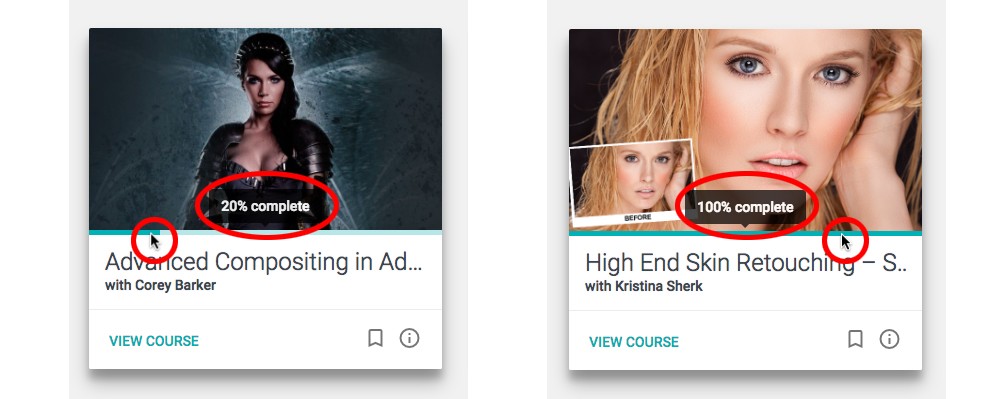
After a few seconds, you’ll notice turquoise progress bars appear directly below each picture in the cards. This tells you how much of the course that you’ve already viewed. You can hover over the bar with your cursor to see the exact percentage amount. If you click on either the title of the course or on “View Course,” it will pick up with the next lesson that you haven’t viewed yet.
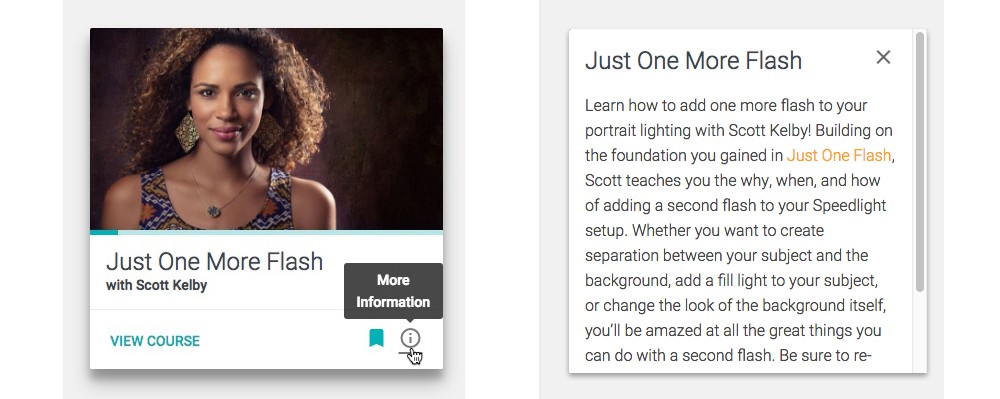
If you look at the bottom right of a card, you’ll see a little “i” in the middle of a circle. This is the More Information button. Click this for (you know what I’m about to say) more information. In this example, the information is telling you to make sure you watch the Just One Flash course before you watch the Just One More Flash course. And there’s a link in the information that will take you directly to the Just One Flash course if you haven’t watched it yet.
To the left of the More Information button is the Bookmark Course button. When you bookmark a course, the icon will turn a turquoise color. Click on the icon again to remove the bookmark.

Once you bookmark a course and refresh the Dashboard page, you’ll see a new row of cards below the Current Courses set. This new set is called “My Bookmarks.”
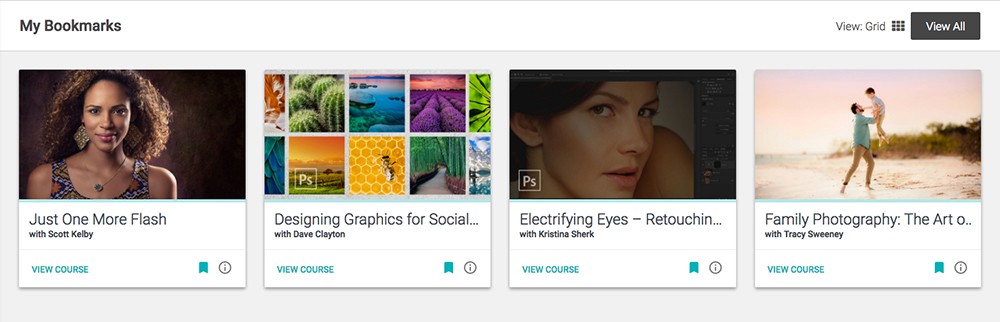
You’ll only see four of your bookmarked coursed in the Dashboard homepage. If you have more than four courses bookmarked, click the View All button to the far right to see all of your bookmarked courses.
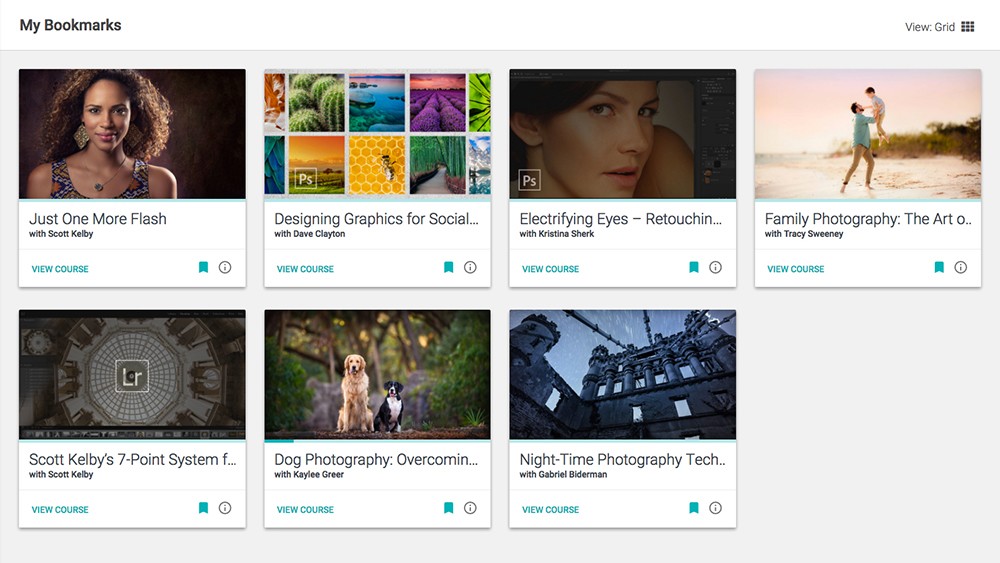
By the way, to the left of the View All button for each row of cards in the Dashboard, you’ll see a View option. By default, it’s set to Grid. Click on it to change it to List. This is just a different way to view the cards that gives you a little more information about each course. You can also change the View from Grid to List after you click the View All button.
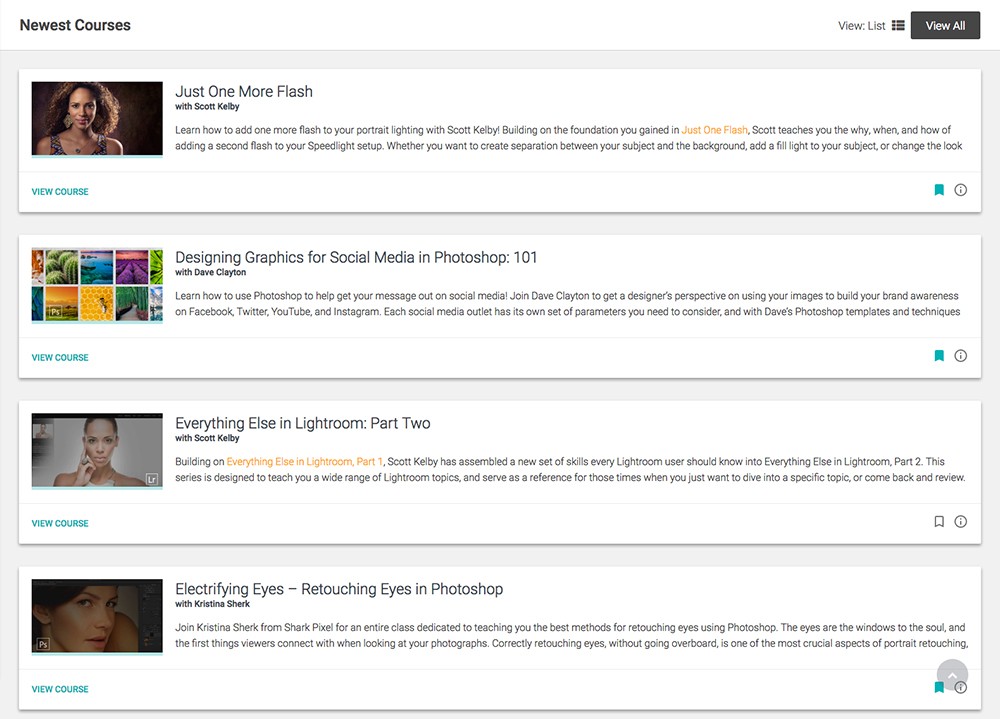
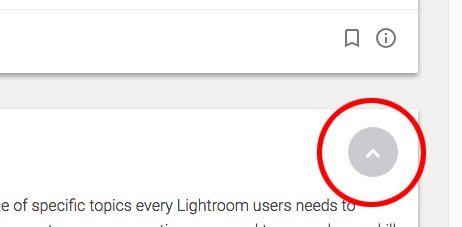
And finally, have you ever noticed when you scroll down any page on the website, a little gray circle with a white arrow appears at the bottom right? Click this button to quickly return to the top of the webpage. I know what you’re thinking. That icon here on this Insider page just over there to your right is square not round. Okay, I’ll tell the web team that they can’t sleep again tonight. 😉