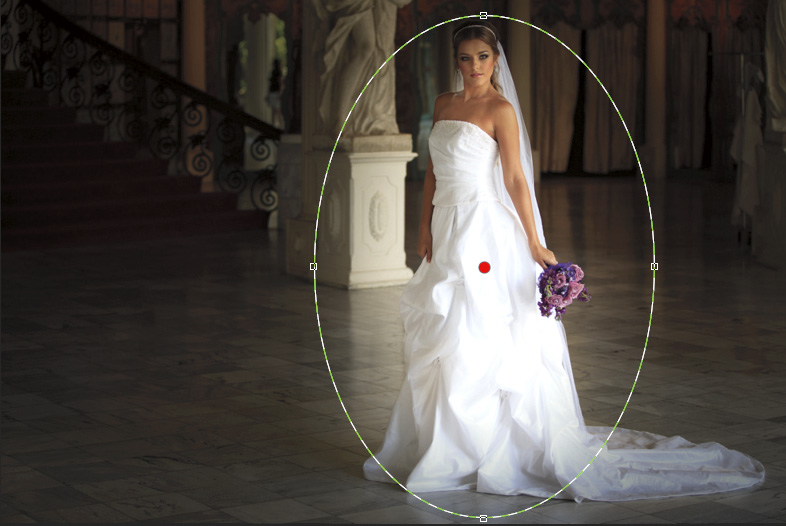
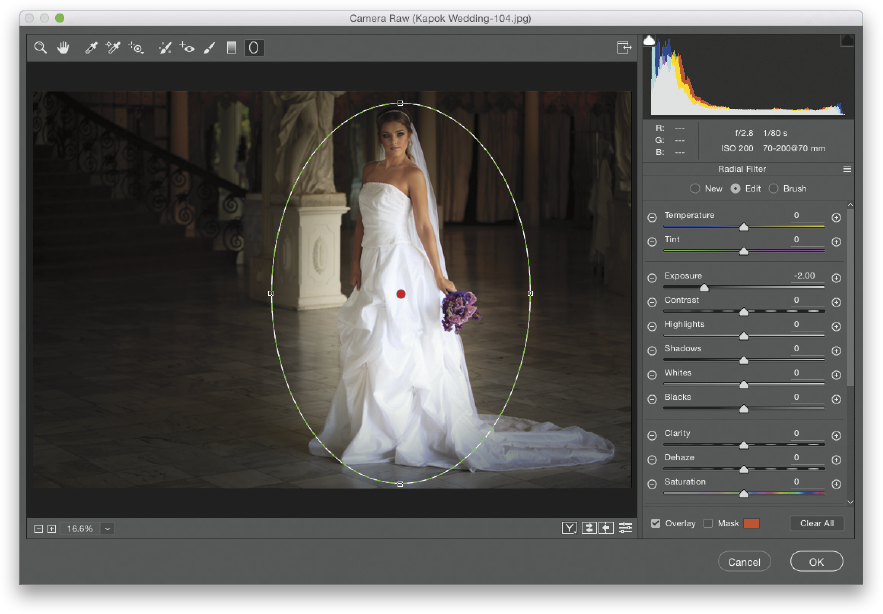
There are two ways to do this, and the one I use most often is this (which we also looked at in Chapter 4): Go under the Filter menu and choose Camera Raw Filter. Click on the last tool in the toolbar at the top—that’s the Radial Filter (J). In the Radial Filter panel on the right side of the window, click on the – (minus sign) button to the left of the Exposure slider four times. This resets all the other sliders to zero, but lowers (darkens) the Exposure to –2.00. At the bottom of the panel, make sure Effect is set to Outside, and then click-and-drag the Radial Filter over the part of the image you want to have a spotlight effect added to. As you drag, it creates an oval shape, and because you chose Outside for where the effect is applied, everything outside that oval is darkened by 2 stops (–2.00), and it creates that spotlight effect. To resize the oval, click-and-drag any of the little control handles on the top, bottom, or sides of it. To rotate it, move your cursor just outside its border, and it changes into a double-headed arrow. Now, you can just click-and-drag up/down to rotate it. The other method for creating a spotlight effect is to open an image, then go under the Filter menu, under Render, and choose Lighting Effects. This adds a spotlight effect, but the default one is pretty bad. I recommend going up to the Presets pop-up menu (in the left side of the Options Bar), and choosing Flashlight. Once it appears over your image, you can click-and-drag the spotlight where you want it. To change the size, click-and-drag the outside circle. To change the brightness (intensity) of it, click-and-drag around the white part of the inside circle.
This tip is an excerpt from How Do I Do That in Photoshop by Scott Kelby.


