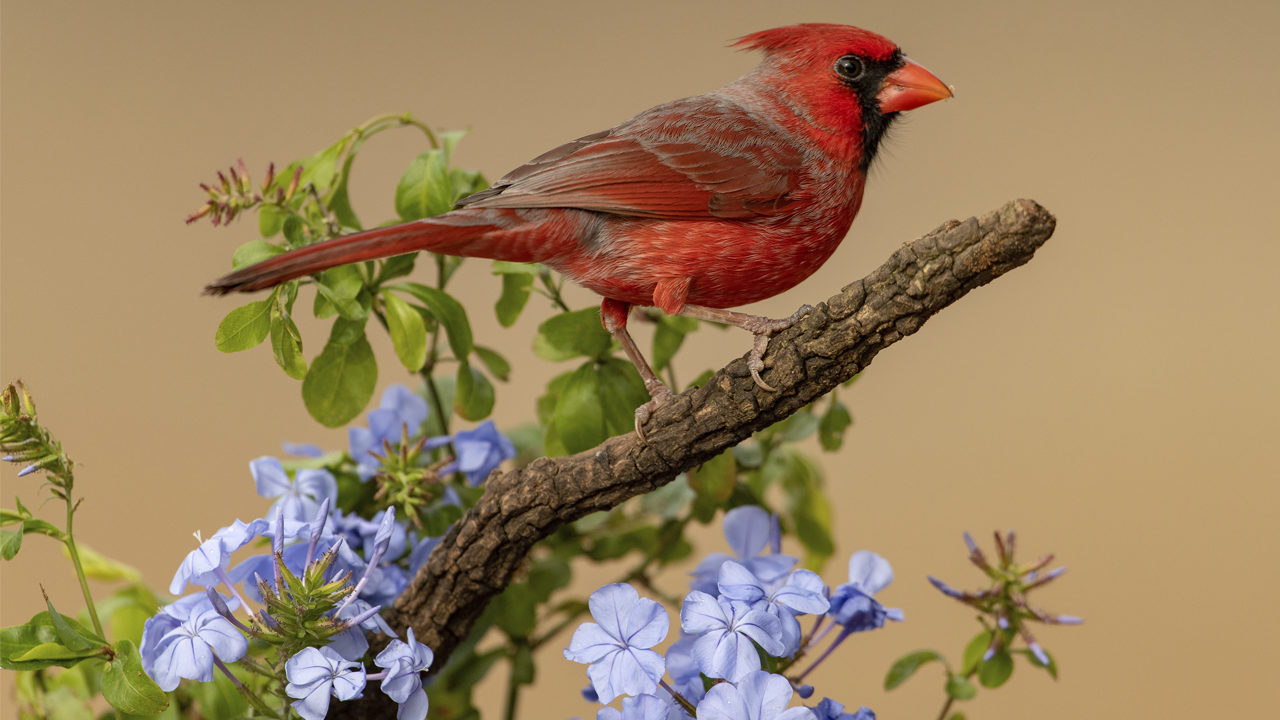
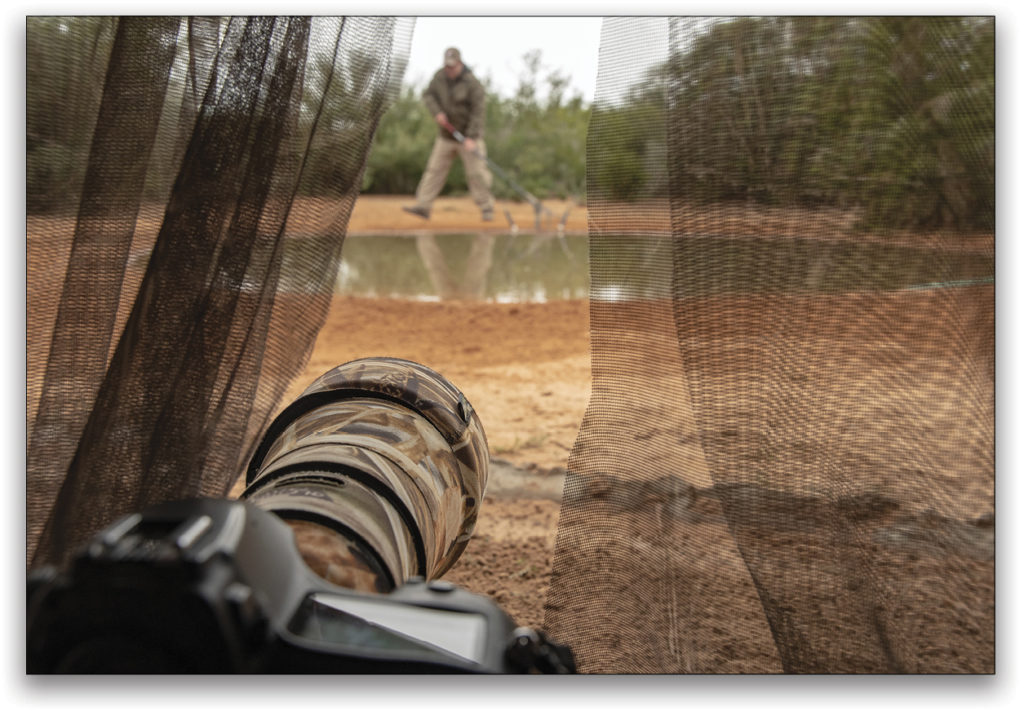
“It’s not about the setup; it’s about the birds,” Gene Gwin says as he carefully prunes a purple flower near our ground-level blind. Delicately twisting his sheers like a master gardener, he carefully trims off small twigs, making sure the slashes are invisible to the camera. “You need to cut twigs off so every part of the plant is in the same plane for good depth of field. Also, it allows the birds to put their tails down for a better shot.”
I’m standing at first light in the thorny Tamaulipan scrub at Laguna Seca Ranch. I’ve been a birder for 30 years, and I’m finally fulfilling a bucket-list trip: photographing at the famous bird blinds of South Texas. Gene, the ranch manager at Laguna Seca, is giving us a class on proper styling of bird perches.
“The birds might land on the perch,” Gene continues as he prunes a branch loaded with red berries, “but I want to motivate them.”
Motivation doesn’t seem to be an issue here, because before we can get into our blind, raucous green jays and exotic pyrrhuloxia are swarming the feeders. The real issue becomes having enough card space for the thousands of images I’ll shoot at the Laguna Seca and Santa Clara bird blinds in the next few days. Photographing from blinds offers exceptional imagery, but there are some considerations and technique involved to get the best images.
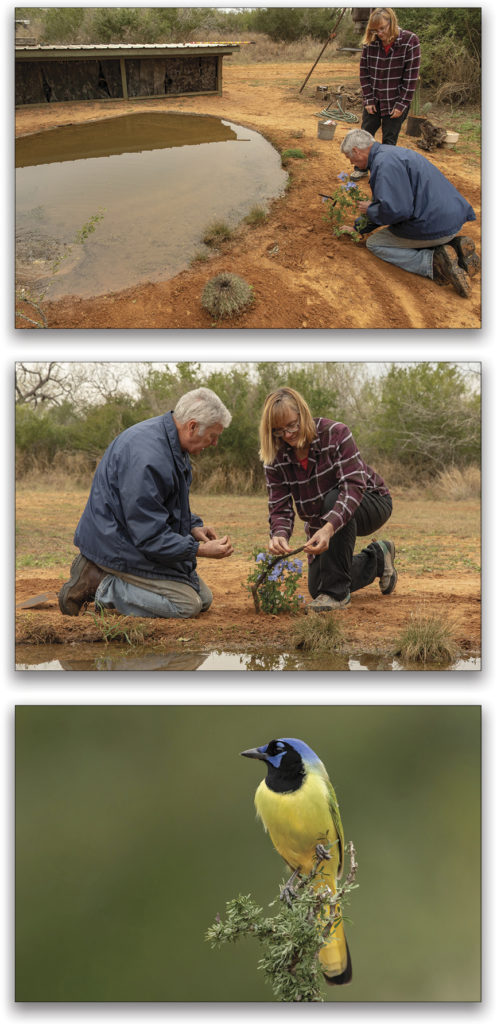
Photo Blind Considerations
Not all blinds are created equal. The goal of a photo blind is to put you close to wildlife for great images, but not disturb the wildlife. Blinds are generally separated between morning and evening blinds depending on the light and sun angle. Most blinds will have small chairs you can sit on while you point your long lens through a narrow opening or camo netting. All blinds will be enclosed with a dark wall behind you. This prevents wildlife from seeing your silhouette and getting spooked.
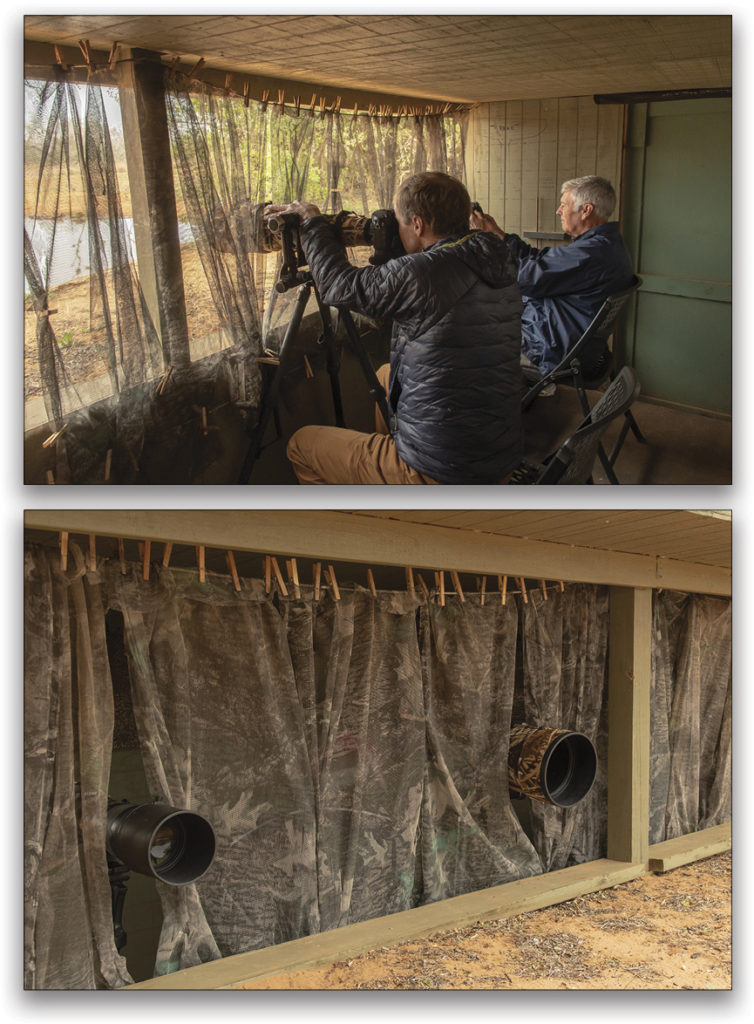
Basic blind etiquette requires slow movement or soft talking from the photographer. If the blind has been in position a long time, the wildlife will be more accustomed to it and less nervous. I’ve found that birds aren’t alarmed by the sound of my shutter blazing away at 10 FPS, but rapid sequence shooting may frighten some mammals such as deer and coyotes. Try shooting single frame shots (or mirrorless) to reduce your noise.
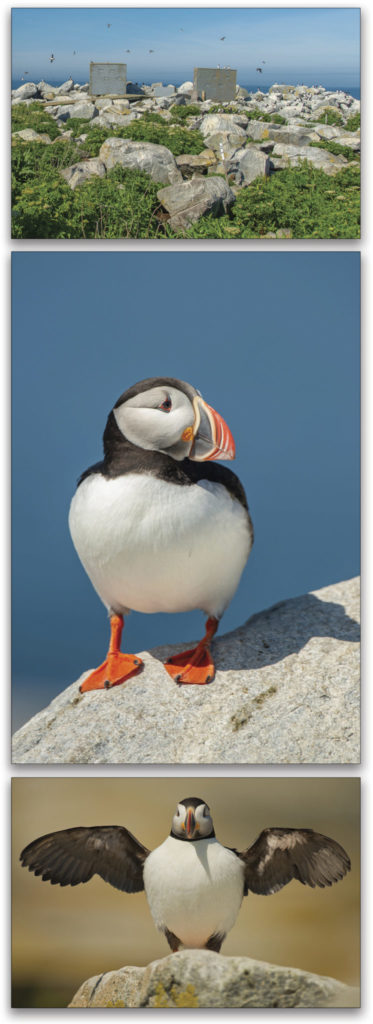
Photo blinds can vary widely in setup and style. Some blinds are in nature refuges and provide cover to photograph birds and wildlife in their natural state. Some of the best puffin images I’ve ever taken are from the marvelous blinds set up on Machias Seal Island, Jonesport, Maine. The blinds overlook breeding grounds of numerous alcids (web-footed diving birds), including puffin, murres, and razorbills. You don’t need a long lens; the birds land on the rocks right in front of the blind.
Other blinds are on private ranches and take a different approach. Bird feeding stations are set up near carefully constructed perches and water features. Not only do the birds come to the blind, but they also land at perches created by you.
“I like to position my perches in the same plane of focus,” Hector Astorga explains as we photograph one morning from a blind at Santa Clara Ranch. “This way you can swing your lens to different perches and still be in focus.”
One advantage of attracting birds and wildlife to your blind is that you can photograph at a carefully designed location. The bird blinds in South Texas often have small ponds directly in front of the blind. Water attracts the birds, and also creates beautiful ground level reflections. You design the perches using vegetation you choose, and carefully position it relative to the camera angle.
Another approach is creating a blind in your own backyard. Research what type of vegetation attracts birds and provides cover, and convert a corner of your backyard into a bird photography zone. Small active drip water baths aren’t too expensive and they’re easy to install. Dripping water is a big attraction for birds. For the actual blind, head to your local outdoor sporting goods store, where there may be many portable blinds from which you can choose to set up in your backyard wildlife habitat.
Photography Techniques Inside the Blind
Photographing from a blind sounds pretty straightforward, but there are specific techniques you’ll want to use. First, what length lens do you really need? For most blind shooting I’ve done, I’ve used a 500mm or 600mm prime lens. A 500mm is a nice focal length: You can generally get close enough to your subject, but it’s still wide enough to include multiple birds or animals if they’re in the same frame. An important consideration is the minimum focusing distance of your telephoto lens. The minimum focus distance of my 600mm f/4 is 16.4′. If a bird lands closer than that, I can’t focus on it. If you’re setting up perches for birds, make sure they’re beyond your minimum focus distance.
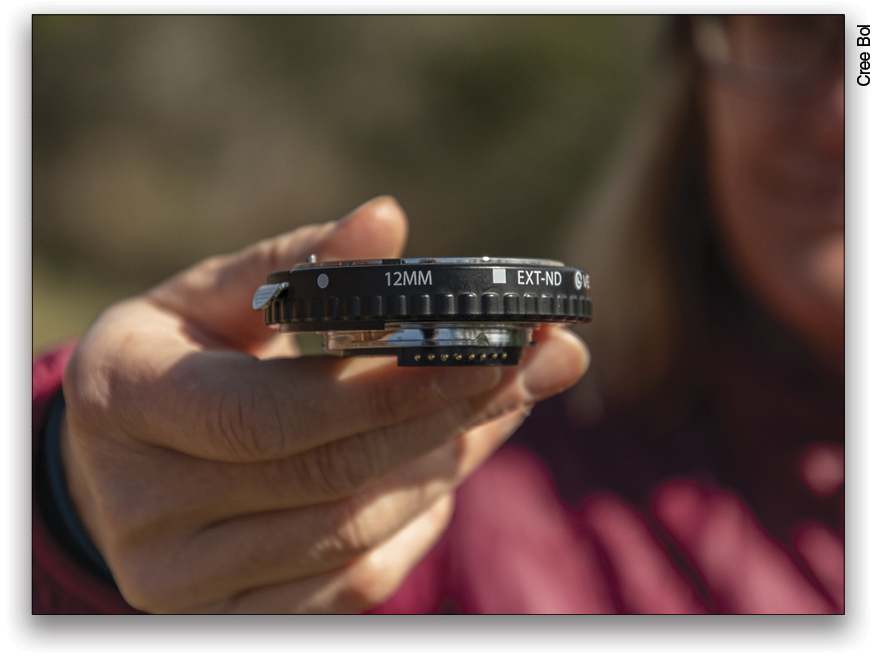
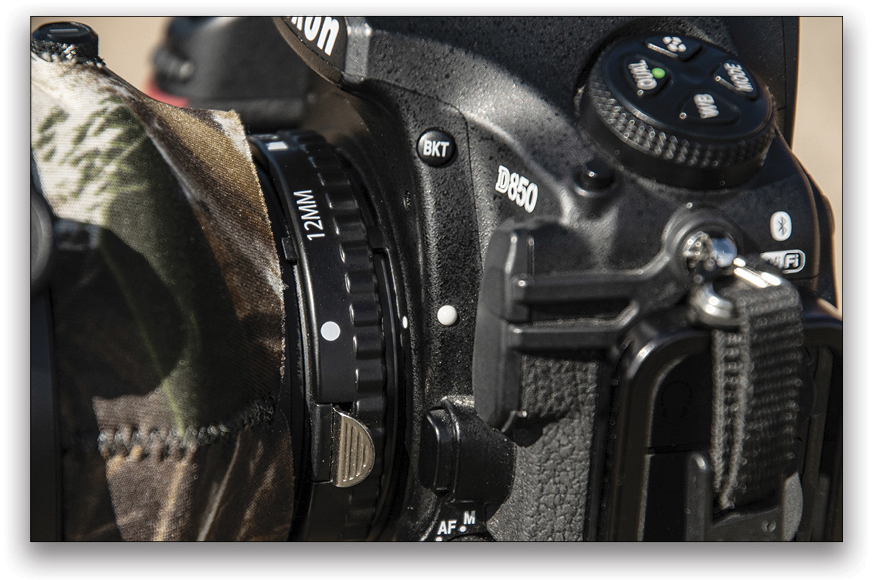
Another option is to use an extension tube. Extension tubes don’t contain optical elements. They’re placed between your camera body and lens, moving the lens further away from the film plane, which allows you to focus closer to your subject. Modern extension tubes allow full autofocus and metering while in use.
Depth of field is critical with wildlife photography, and this is where a fast prime lens offers advantages. Shooting at f/2.8 or f/4 allows you to create soft, “creamy” backgrounds and isolate your subject. At whatever aperture you’re shooting, pay particular attention to your background. You want non-competing elements that are out of focus. Green shrubs 50′ behind your subject will render a nice soft background when using a 600mm at f/4. If you have a busy background right behind your subject, then no aperture will render it soft enough.
Shutter speed is also critical. Birds can land on a perch and be gone the next second. I like to use 1/1000 at a minimum, and ideally faster if I have enough light. Increase your ISO in low light to use high shutter speeds. It’s better to have a sharp photo with high ISO rather than a blurry photo with low ISO. Noise can be easily reduced in Lightroom and Photoshop.
Shooting mode is another consideration. There are a lot of different approaches among wildlife photographers. When it comes to birds, many photographers like to use manual mode and auto ISO. You set your ideal aperture and shutter speed, and let the camera choose ISO based on the amount of light. Other photographers use manual mode, especially if the light is consistent. Once you have the exposure dialed in, you don’t have to worry about the camera meter being fooled by a white sky or dark background.
Autofocus is also critical for fast-moving subjects. I toggle between two modes for bird photography. For focusing on perches and static subjects, I use back-button focusing with single-point autofocus. Back-button focusing separates shutter release and autofocus; once I’m focused on the perch, I don’t need to keep engaging autofocus every time a bird lands there. Single-point autofocus allows me to put the focus point right on the eye of my subject. This is critical for getting a sharp eye when you’re using a long telephoto with minimal depth of field. If my subject is moving, then I switch to group-area autofocus. This gives me a wider focusing area to acquire fast-moving subjects.
What about flash? I don’t use flash unless conditions warrant it. You want catchlights in your subject’s eyes, and these will occur in most situations. Wait for the subject to angle its head/eyes to pick up catchlights. If the light is really flat, or you need to add some fill flash in high-contrast situations, then consider using flash. First, make sure you can use flash at your blind, as some blinds may have restrictions on flash use. Your goal with flash is to add just a touch of light, not overpower the subject with flash. Ideally, it should be hard for viewers to even know you used flash in your image.
If you’re photographing birds at a fixed point, then you can use manual flash dialed down to add catchlights and a little pop to the colors. If your subject is moving and landing at different distances relative to you, then try a fill flash mode. On my Nikon SB5000 I use balanced fill flash mode, and dial the flash output down to around –2 stops. This adds a nice “kiss” of light without overpowering the image. I will also add a flash extender such as the Better Beamer to help project my flash onto distant subjects.
Some Incredible Bird Blinds
Maine: Imagine sitting in a blind a few feet away from hundreds of nesting puffins? Machias Seal Island is a 20-acre island located 10 miles off the coast of Maine. You’ll have to take a boat to get there, and the blinds may already be reserved a year in advance; but the photography is sublime and worth the effort.
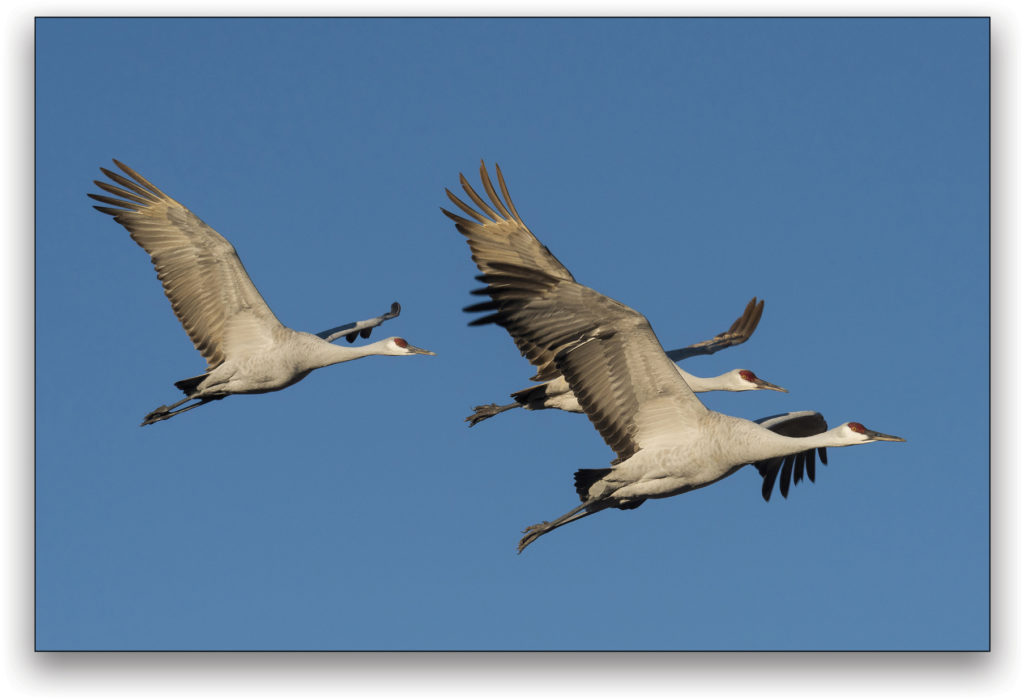
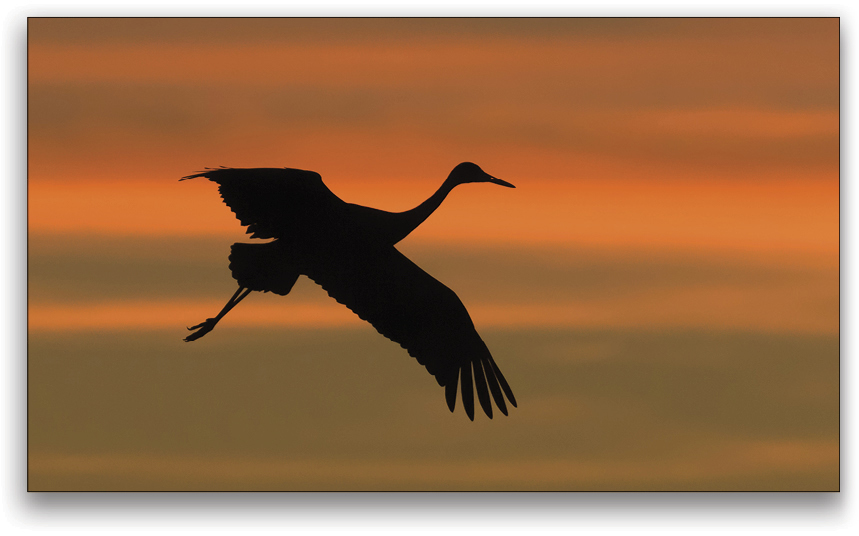
Nebraska: If you want to photograph sheer numbers of birds, try visiting one of the blinds at the Rowe Sanctuary located near Kearney, Nebraska. An estimated half million sandhill cranes come through this area in March. The sanctuary offers daily blinds visits, and for the diehard photographer, overnight blind stays. You enter the blind at 5 p.m. the night before, spend the night and wake to thousands of cranes roosting nearby.

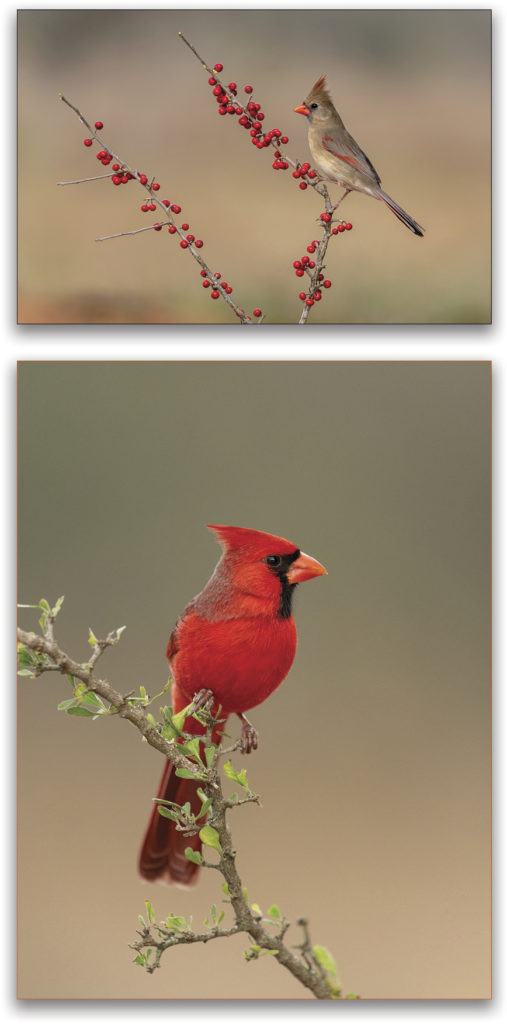
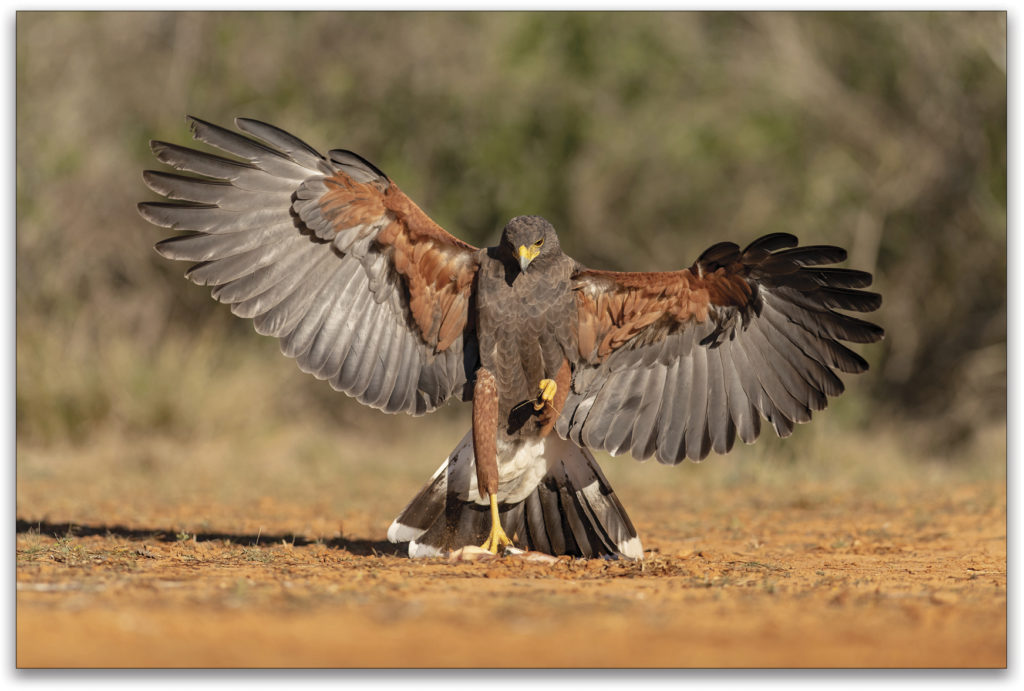
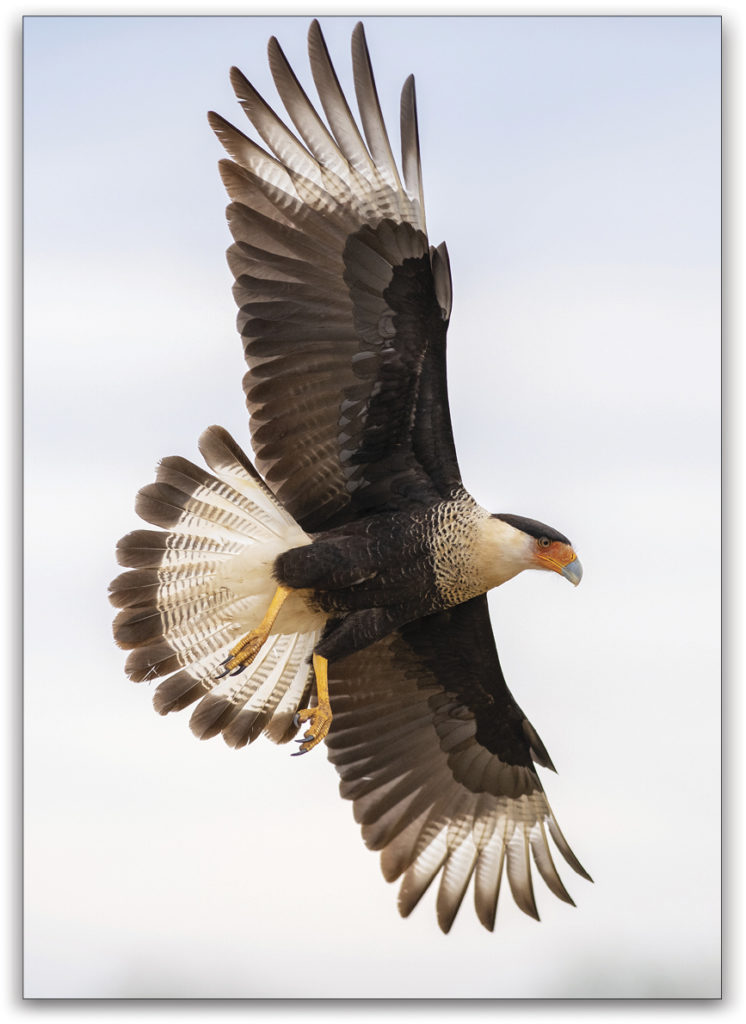
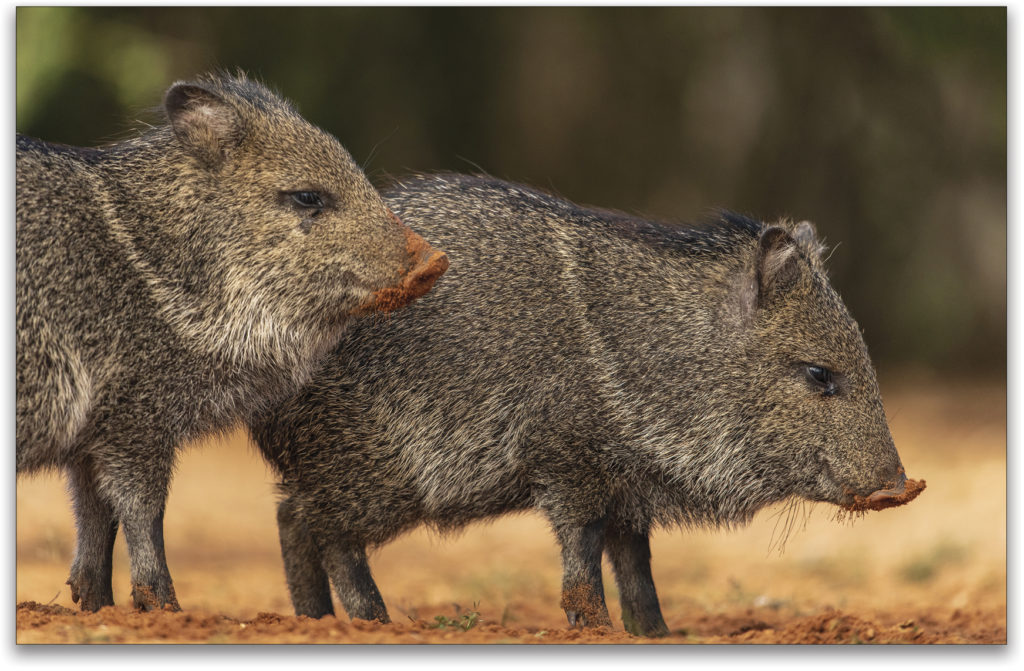
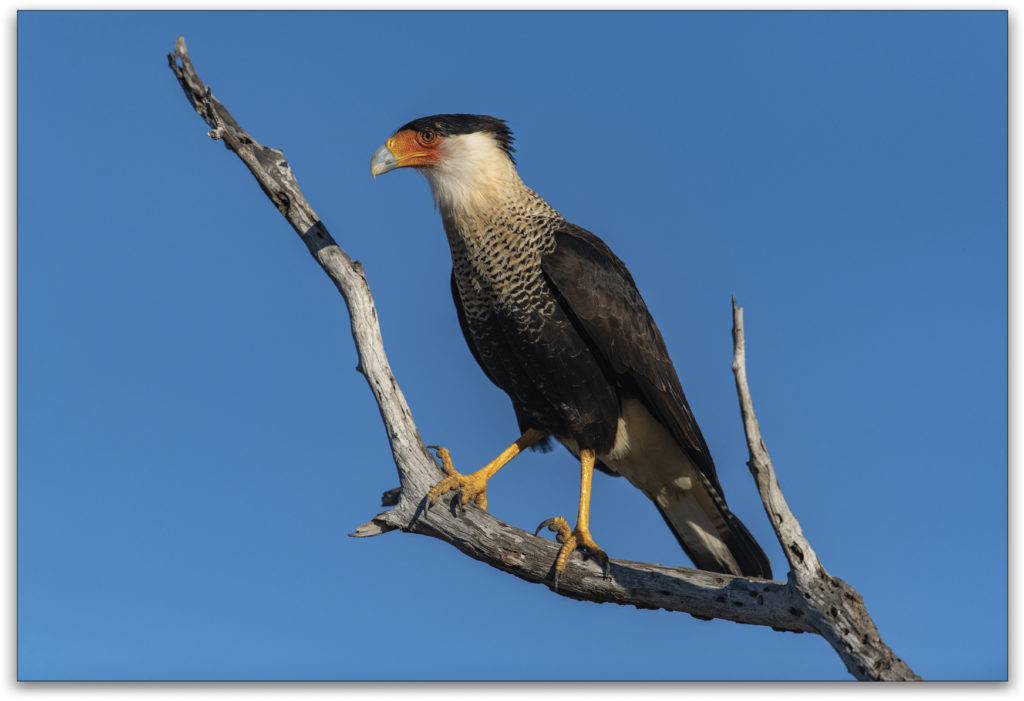
Texas: South Texas is home to two of the most famous private bird photography ranches in the country: Laguna Seca and Santa Clara. Both ranches offer exceptional bird photography from multiple different blinds. Exotic species such as green jays and crested caracara are common. And don’t be surprised when javelina and an occasional bobcat show up at the blind.
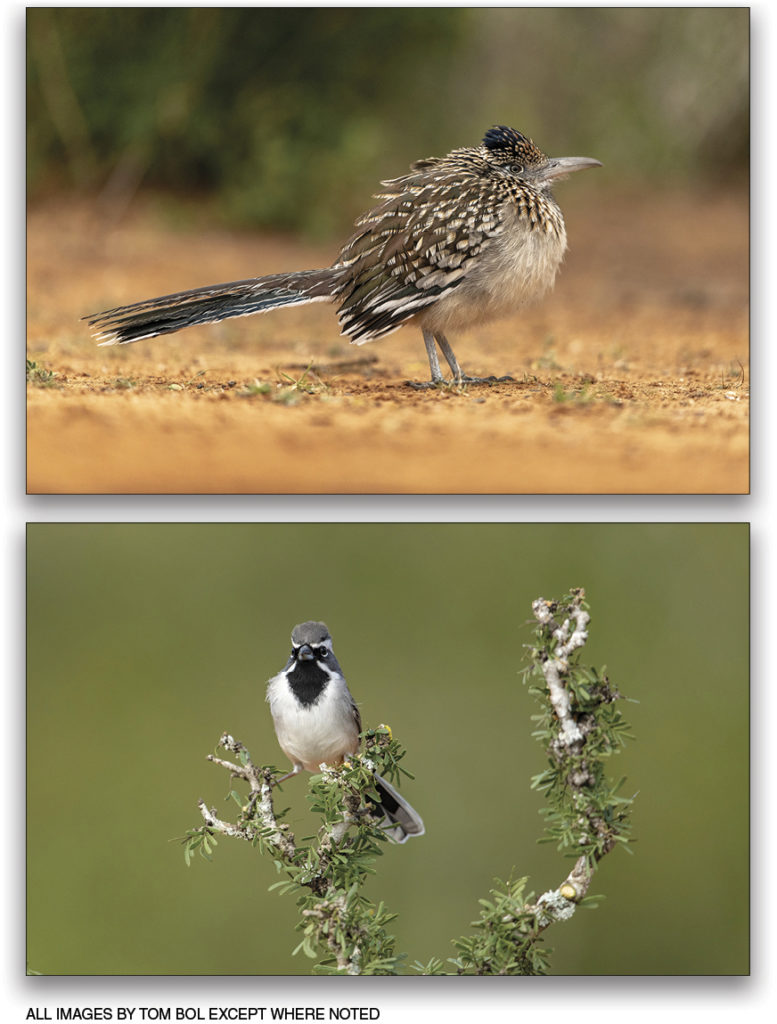
Arizona: If you want to photograph wildlife in the iconic Sonoran Desert, then head to the Desert Photo Retreat north of Tucson, Arizona. These blinds are situated amidst towering saguaro cactus, and offer excellent photography opportunities for desert birds and mammals. Gambel’s quail, phainopepla, and black-throated sparrows are common.
This article originally published in Issue 48 of Lightroom Magazine.


