Landscape photography, don’t we all wish it was as simple as going to the most beautiful locations on earth and clicking a button. But where’s the fun in that?! In order to truly understand landscape photography and craft your style, it’s going to take some work.
Landscape photographers like Rick Sammon, Karen Hutton, Scott Kelby, and Richard Bernabe have put in some serious time behind the camera.
Those rockstars we just mentioned? They will all be teaching at our upcoming Landscape Photography Conference. If you’re looking to fast-track your landscape photography and stop taking basic, flat images, sign up NOW!
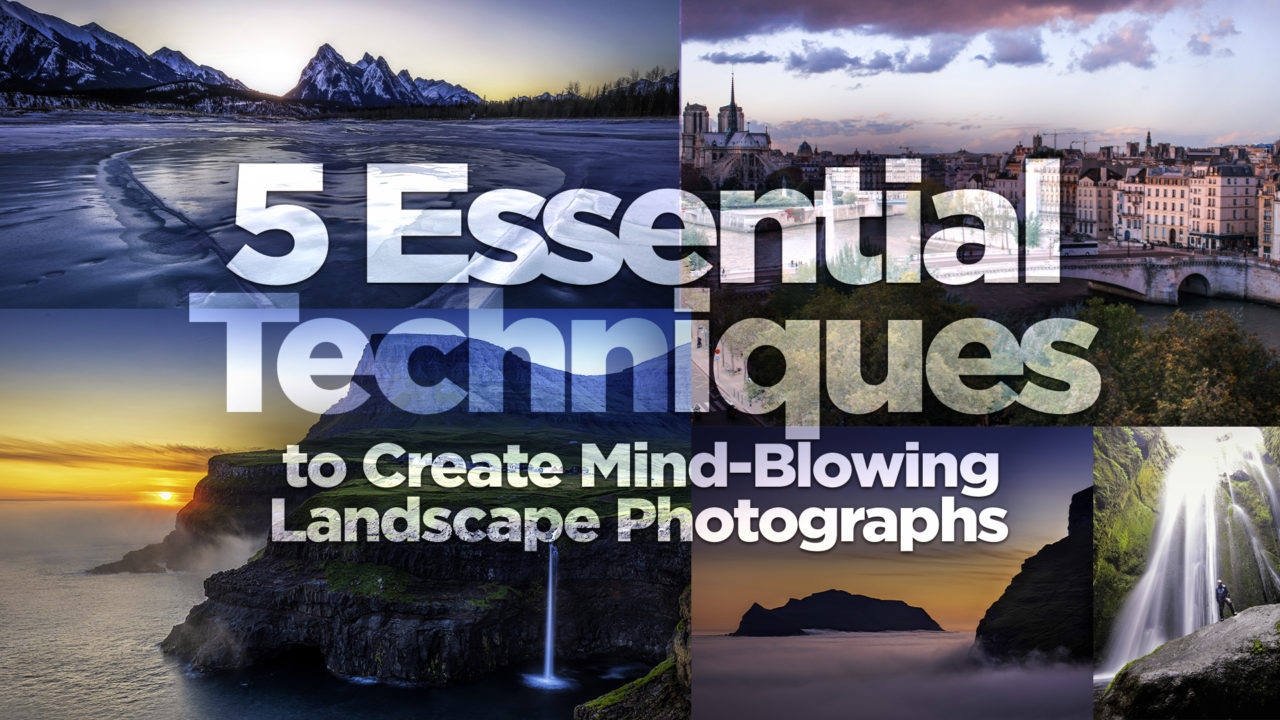
Let’s dive into 5 essential techniques that you can apply to your images.
1. Pick the Right Lens
Let’s start with what kind of lens you’re going to use. You can’t go wrong shooting a landscape ultra-wide, like really really wide. Here are some of Scott’s favorite picks to cover a sweeping range of shots!
- Full-frame or mirrorless: 16-35mm f4
- Crop Sensor: 10-22mm f3.5-f4.5
- Long Lens: 70-300mm f2.8L
At the end of the day, they always say ‘The best tool is the one you have’. But having these staple lenses doesn’t hurt either.
2. Make a Choice—JPEG or Raw?
To shoot in Raw or JPEG, that is the question.
In landscape photography, it really comes down to how comfortable you are using Photoshop, Lightroom, or post-processing apps. If you don’t like post-processing your images, you’ll get better-looking images if you shoot in JPEG. In JPEG mode, your camera aims to produce a finished image. It’s going to add sharpening, contrast, noise reduction.
When you switch your camera to RAW mode, here’s what you’re telling your camera—”Don’t worry about the sharpening, turn it off. Turn off the noise reduction. Turn off the contrast. Turn off all that color stuff. Just give me the RAW image. Straight out of the camera. I’ll add that stuff myself in Photoshop or in Lightroom.”
So when it comes to this decision, it’s important that you make a choice before you start shooting.
3. Stability is Key
Something to invest in is a really sturdy tripod. You’re always gonna be out in the elements on location and your stability is really important. You don’t want to risk your expensive gear and lenses on a cheap, flimsy tripod.
You’re going to want a Ball Head and not a pivot arm tripod (those are suited for video!). We love these two by Really Right Stuff, the BH-40 or BH-55, as well as our Platypod!
This 3 Legged Thing Tripod allows you to get low to the ground or stand up tall and straight. Versatility is key when it comes to landscape photography!
4. Aperture Priority, F-Stops, and ISO
When shooting landscapes, we like using Aperture Priority mode. Mostly because it’s very simple—you choose the F-stop, the camera takes care of the shutter speed for you.
We recommend that you set your F-stop at F11 or higher—F11 or F16. Some landscape photographers are die-hard fans of F22. It’s often referred to as the ‘storytelling F-stop’ for big sweeping landscapes where everything’s in focus as far as the eye can see.
Another tip is to place your ISO at the lowest native amount for your particular camera’s make and model.
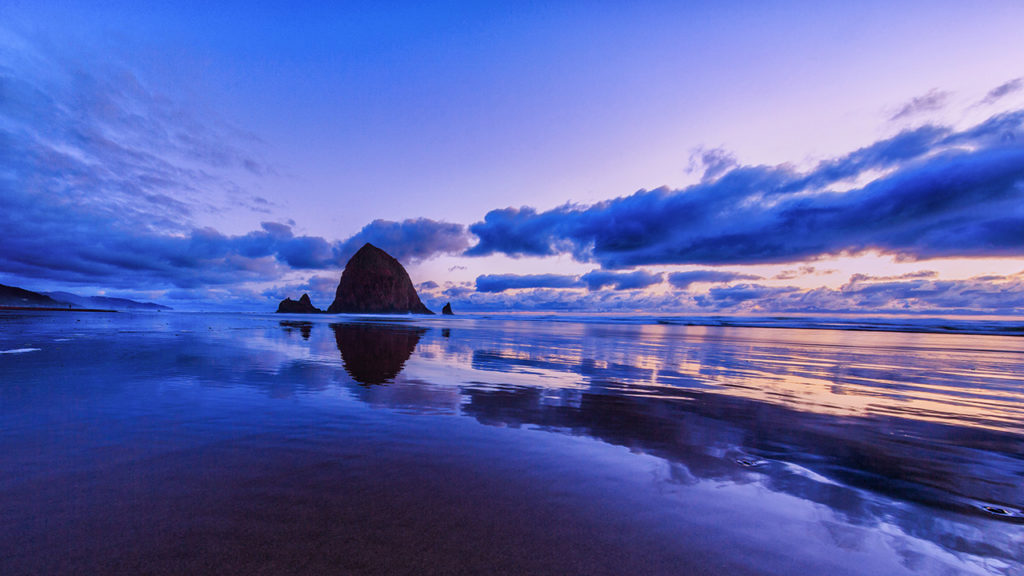
5. Composing with Intention
When you get to your location, don’t just plop your tripod down at the first clear path—scope out the scene! You’re making a big decision when you actually set the legs down.
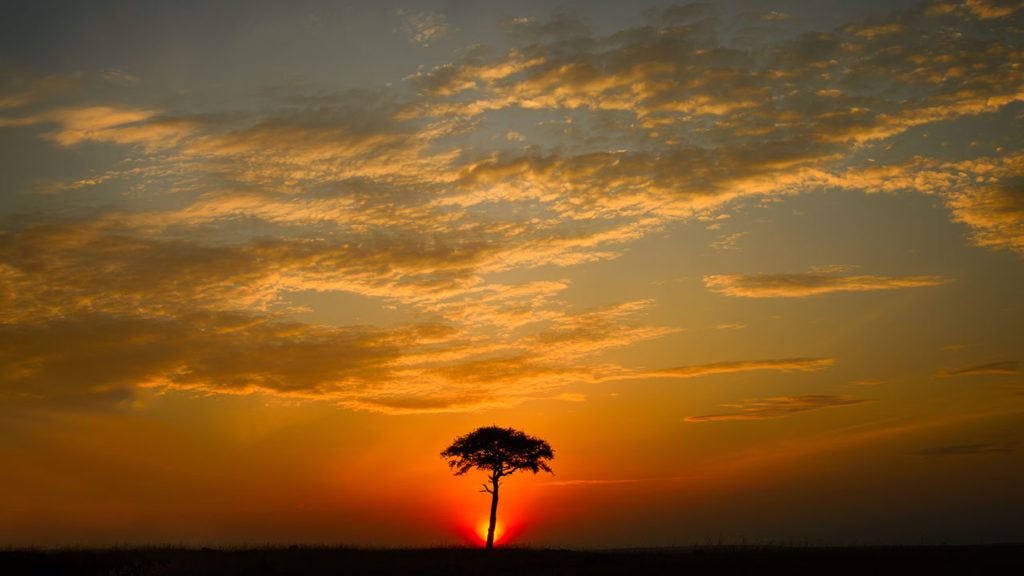
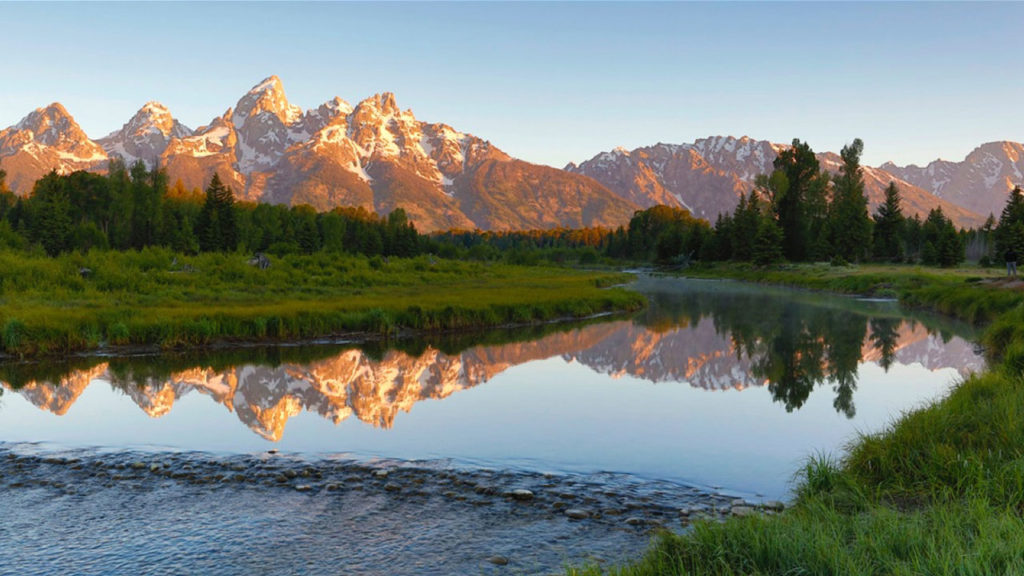
Decide on the star of your show. No landscape image is complete without a clear and defined focal point. Identifying a clear foreground, middle ground, and background is crucial. Whether you want to feature clouds, a sky, mountains, rock formations, a stream, flowers—whatever you find exciting. Without any of those strong elements, your landscape could fall flat.
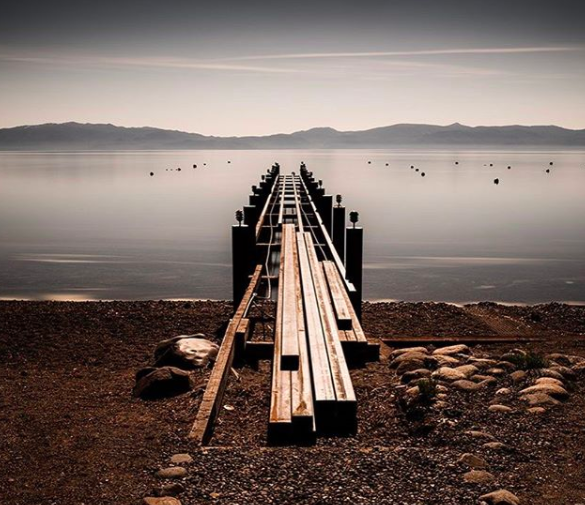
The next composition tip is shooting from the ground level. If you want more epic looking and a bigger feel to your images, get down low. Your foreground should expand and it makes the whole scene have more of an epic feel. Pro tip: a Platypod can help you achieve that ‘down-low’ look without compromising on stability!
Another thing to consider, is your horizon line straight? If your camera has a built-in level make sure you use it. A lot of tripods also have bubble levels included to make sure that the tripod is straight.
And finally, once you have the shot lined up, consider capturing the shot at different focal points, so that you can stack them into one tack sharp image in Photoshop.
Even more Landscapes Techniques!
Want even more landscape techniques to practice? We’re hosting the most EPIC Landscape Photography Conference right here on KelbyOne Live. Be there or be square!