[This article is excerpted and adapted from Jefferson Graham’s KelbyOne conference class “The Art of the Photowalk.” Keep reading or click below to watch the video on our YouTube channel.]
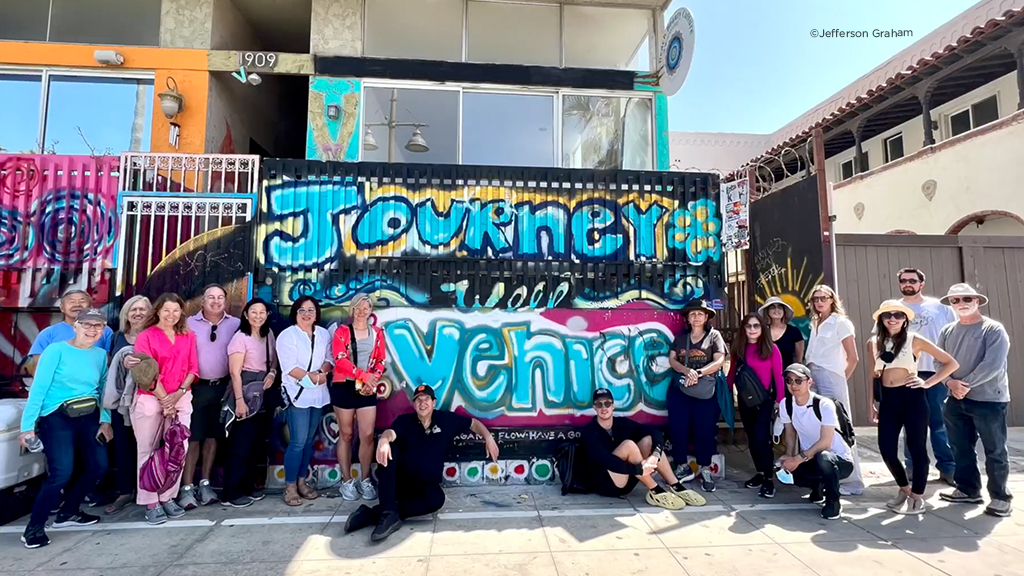
Hey everyone—Jefferson Graham here. I’m a Los Angeles-based photographer, former USA Today reporter, and the host of Photowalks TV on YouTube. I love travel photography, and I really love photowalks.
A photowalk is just what it sounds like: a bunch of like-minded folks get together to walk and take pictures. It’s social, it’s creative, and it’s one of my favorite ways to shoot. But here’s the twist—don’t just go on one. I want you to consider hosting one. Yep, you. Here’s why—and how to pull it off.
The DIY Photowalk
We need more photowalks. Period. There’s a real shortage, and people are hungry for them. So why not step up and lead one in your community?
You can make it social, educational, or both. Whether you’re walking with smartphones, mirrorless, or DSLRs, it’s all about coming together and creating something fun. And trust me, it’s easier than you think to get started.

Start By Choosing a Platform
Your best tool? Eventbrite. It’s free and the top platform for organizing local events. Just type in “photowalk” to see what’s happening around you.
Didn’t find anything nearby? Perfect—that’s your cue to start one.
Other options:
- Meetup: Good for recurring meetups
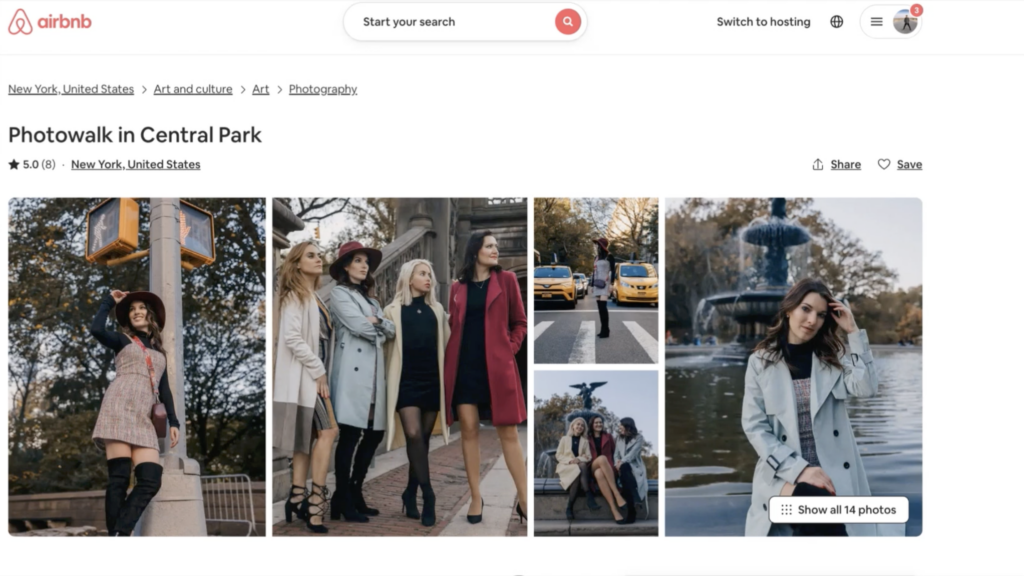
- Airbnb Experiences: Great for paid tours, but a bit more work (you’ll need reviews and a promo video)
- Local Camera Store or Club
- Your website, blog or social media

To Charge or Not to Charge?
Good question. Free events draw more sign-ups. But paid events? People actually show up.
Here’s the reality: If it’s free, maybe half of your RSVPs will appear. But charge $10, or even $2 and they’re far more likely to follow through.
I’d rather have 10 committed attendees than 50 maybes. That’s your sweet spot: 10–15 people who are excited to be there.
Timing Is Everything
The first photowalk I ever hosted started at 6:30 AM—because the light was beautiful. And people actually came! But over time, I’ve found that 10 AM on a Saturday or 11 AM on a Sunday works better for turnout. Evening walks are great too, especially if you want to show off the golden hour or transition into night.
Details Matter (A Lot)
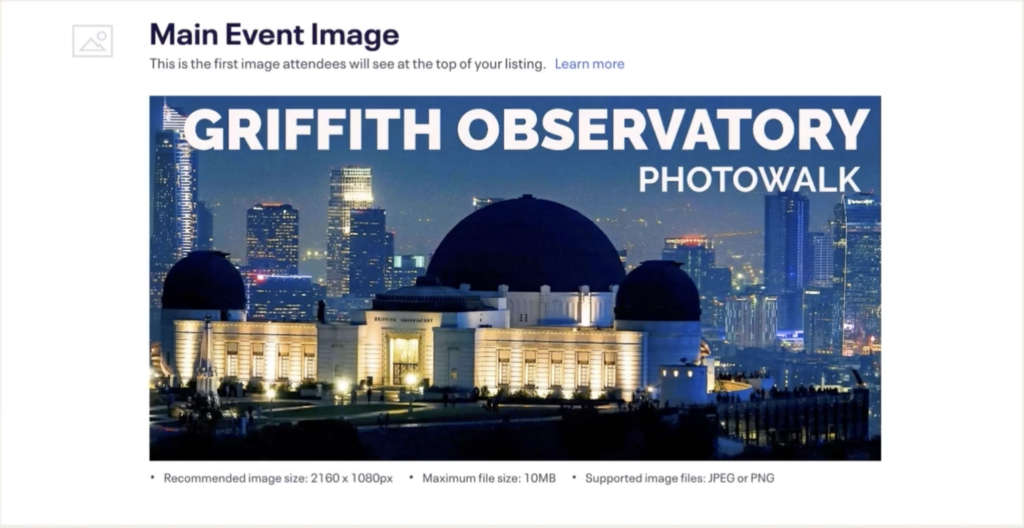
Be specific about the meeting spot. Saying “Griffith Observatory” isn’t enough—are we meeting out front? Near the parking lot? I learned this the hard way. One walk had 50 RSVPs… and 1 person showed up. The rest were waiting in a completely different area.
Tip: Include a photo of the exact meeting point. Then send reminder emails with the details—twice, or even three times. It makes a difference.
Choosing a Route
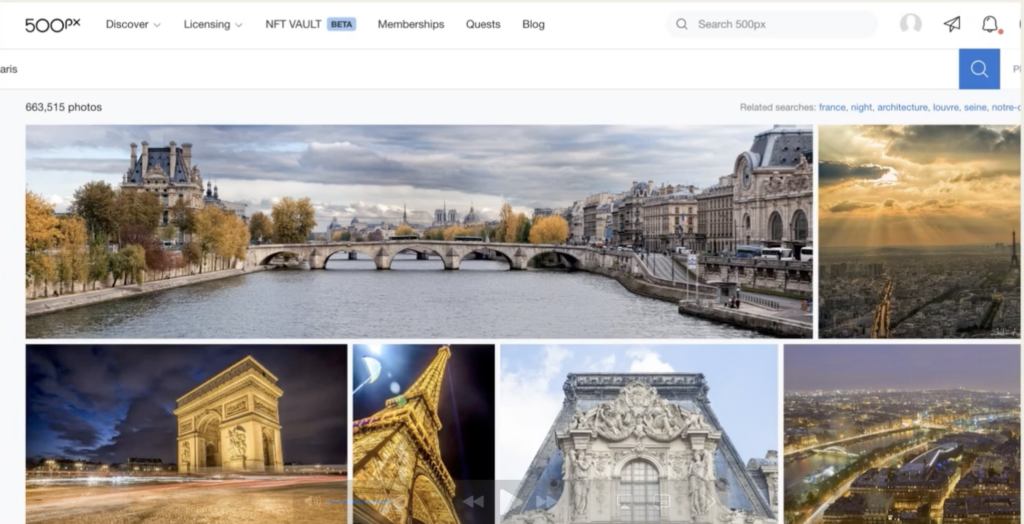
Plan your route in advance. Use sites like Flickr, Pinterest, Instagram, 500px, and photographer blogs to get inspired.
Scott Kelby and I are both big fans of Pinterest—it’s incredibly photo-centric and makes route planning much easier.
A great route doesn’t have to be long. One of my favorites is Balmy Alley in San Francisco’s Mission District—it’s packed with murals and stretches just one block. Start at one end, finish at the other. Easy.
Most photographers are happy walking from Point A to Point J. Portrait clients? They barely make it to Point C.
Also: if you’re tempted to bring a drone… maybe skip it. Some areas are strict, and if you post drone footage from a no-fly zone, they’ll find it and fine you. Don’t learn that lesson the expensive way.

How About Making Some Money?
Want to turn your walk into a side hustle? You can. Some people charge $90 a head. Personally, I’d go more modest—$10 or $20 per person is reasonable.
Do the math: 20 people at $20? That’s $400 for an hour. Not bad.
Your Welcome Email: What to Say
Your pre-walk email is key. Remind attendees to:
- Charge their phones and cameras
- Bring backup power (Anker makes a great $30 option)
- Clear memory cards or make space on their phones
- Pack light—one camera, one lens is all you need

Education vs. Shooting
If you’re leading, know that most people want about 15 minutes of instruction and 45 minutes to just shoot. So keep it light:
- Show the camera menu on their phones
- Explain the difference between 0.5x, 1x, and 3x
- Explain the basics of exposure
- Introduce portrait mode
- Do a quick group photo before people wander off

Tips I Always Share
- Shoot wide, medium, and close-up—give yourself options
- Shoot from eye level, ground level, and above
- Parking garage rooftops are great for a high vantage-point (check that you can access the roof beforehand)
- Don’t forget to plan the post-walk lunch spot
After the Walk: Plan Lunch
The high point of any photowalk—after the photos, of course—is grabbing a bite, sharing photos, getting to know one another, and chatting about the experience. So plan ahead.
Choose a restaurant that:
- Can accommodate your group size
- Is walking distance from your endpoint
- Takes reservations or allows large tables
Let attendees know the lunch plan in advance so no one’s left scrambling.
After the Walk: Share the Work
Sharing is half the fun. Here’s how to get everyone involved:
- Ask for photo submissions during lunch
- Create a Flipboard magazine or Flickr group
- Or—best bet—set up a private Facebook group
Facebook gets a lot of knocks, but it actually does private groups really well.


A Quick Recap
You’ll make new friends, get inspired, and learn from fellow photographers—just by being around them. Whether you’re leading or just joining, photowalks get you out in the world and behind the lens where you belong.
And hey, you might even make a little money. Or, you could just volunteer and be the community rockstar. Either way, I promise you—people will thank you for it.
Capture the World. Perfect the Edit.
Join us online for the ON1 Travel Photography Conference, July 15–16, 2025! Learn how to plan, shoot, and edit like a pro using ON1’s powerful tools.
👉 Get your ticket now and save $150 with Early Bird pricing.

*Early Bird Price Expires July 15, 2025, 11:00 am EST
