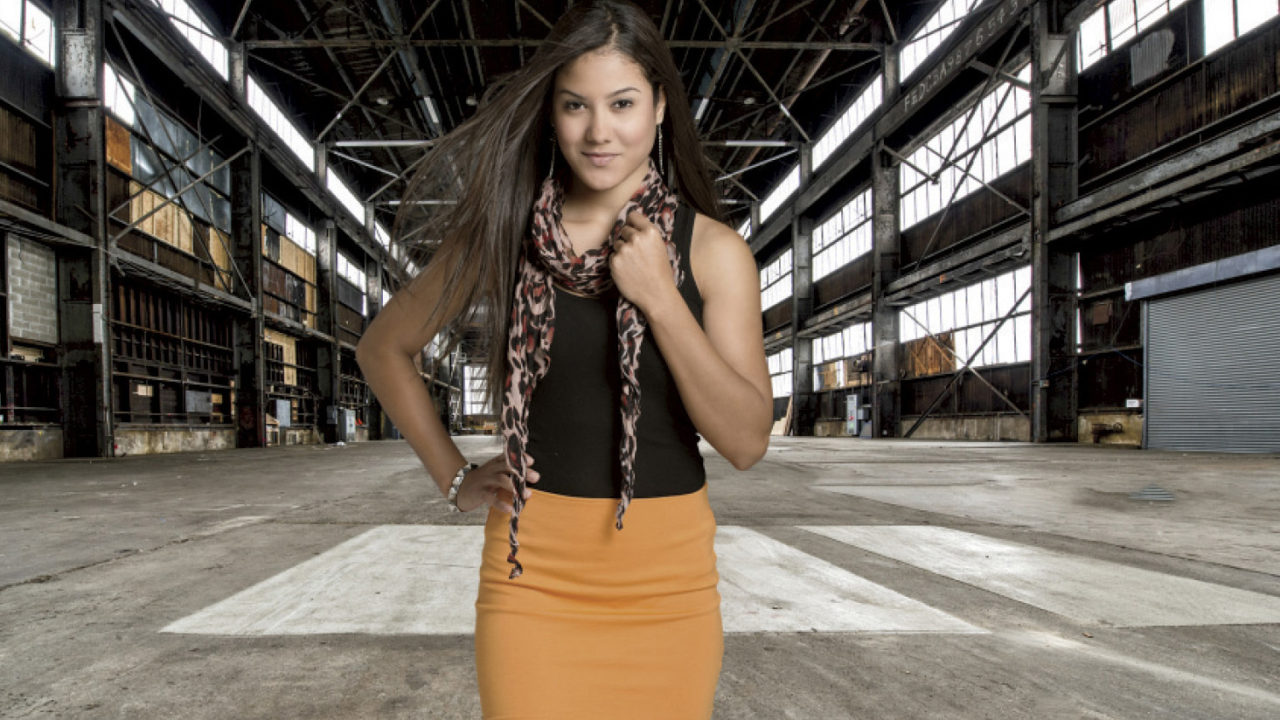
One of the biggest “tells” that an image has been composited onto a new background in Photoshop is when the hue/color of the subject does not match the new environment they were supposedly shot in. Here’s an easy way to help them blend better!
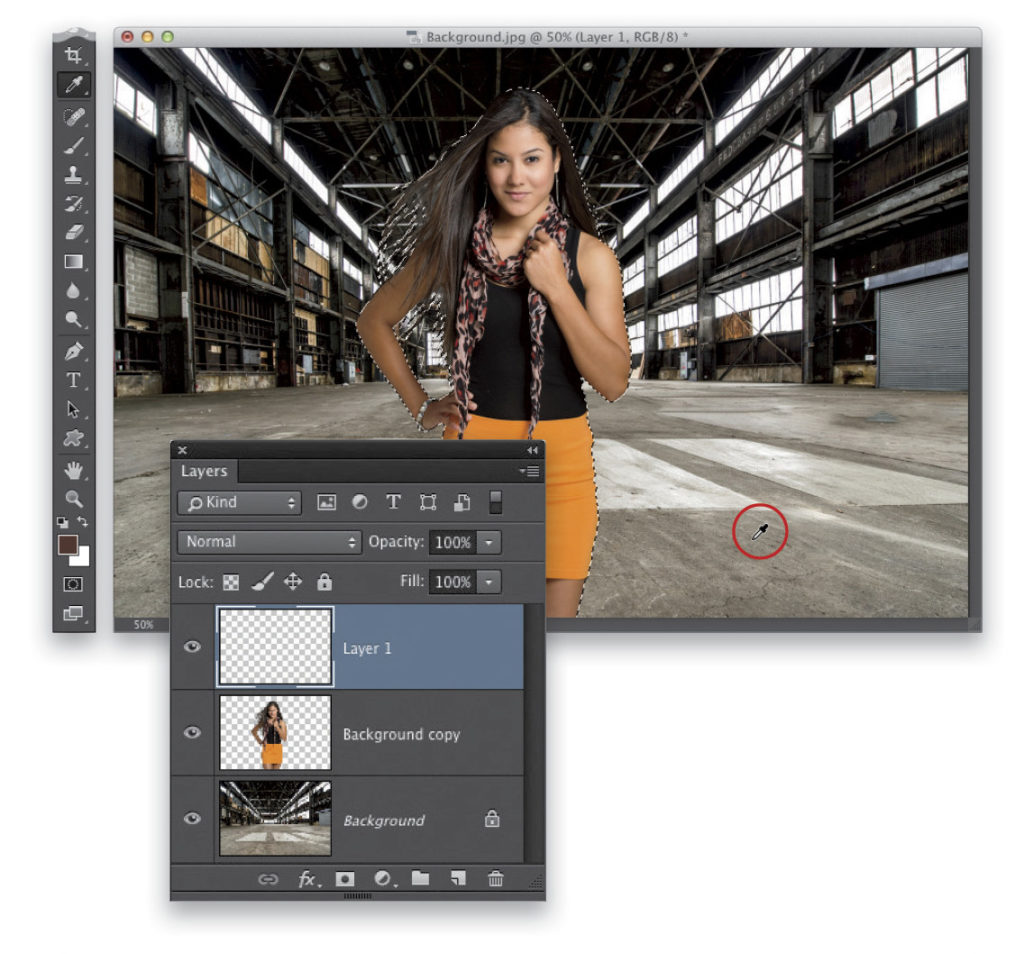
We need a selection around our subject layer, so Command-click (PC: Ctrl-click) on your subject layer’s thumbnail to load it as a selection. Once the selection is in place (as seen here), add a new blank layer by clicking on the Create a New Layer icon at the bottom of the Layers panel. Now, look at your image and ask yourself, “Which color really stands out to me in this background?” Here, I see brown, gray, and white, but the color that’s really jumping out to me is the brownish gray in the floor. So, get the Eyedropper tool (I) from the Toolbox and click it once on an area of brownish gray in the photo to make that exact brownish gray your Foreground color (as shown here, where I’m clicking on the floor in the foreground).
Now, fill the selection (on your empty layer) with this brownish gray color by pressing Option-Delete (PC: Alt-Backspace). Then, deselect by pressing Command-D (PC: Ctrl-D).

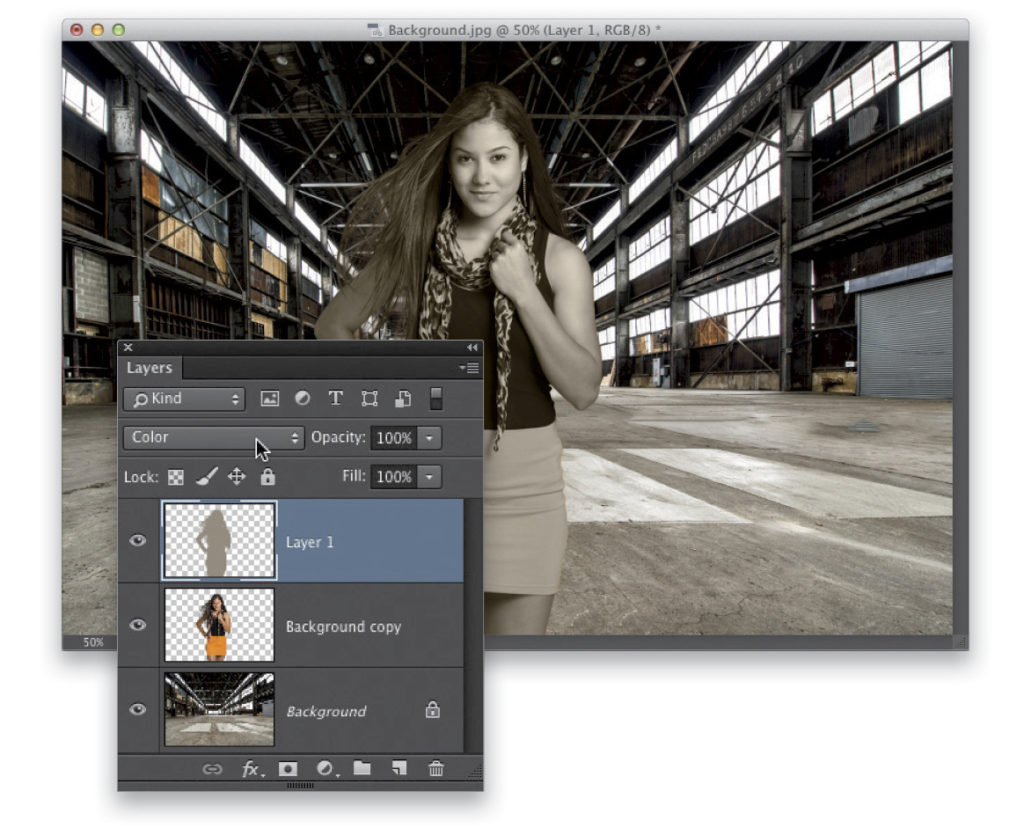
To make this brownish gray area blend in: (1) change the layer’s blend mode from Normal to Color (as shown here), so just the color shows through, instead of being solid. Then, (2) lower the Opacity to the point where you see the color image start to emerge, but it has enough of the brownish gray tint to it that it really looks like she was photographed there on location at least color-wise, anyway. For this image, I lowered the Opacity of the brownish gray layer to 30%, which ties the color of the two together (as seen in the final image below, where her overall color is more muted, like the background colors, but with a hint of that brownish gray). Now, press Command-E (PC: Ctrl-E) once more to merge this brownish gray layer with the subject’s layer below it.

Excerpted from The Adobe Photoshop CC Book for Digital Photographers (2014 Release) by Scott Kelby


