Image quality is made up of several factors: brightness, tonality, dynamic range, contrast, and sharpness. Out of this list, taking sharp photos is a high priority for all photographers. Achieving what has come to be known as “tack-sharp” photos involves using quality gear and doing lots of small things to the best of our ability. Tack sharp describes a photo that’s clean and crisp, with the main subject clearly in focus and no blurring. Some of these “small things” will apply to certain situations and some won’t, but the more of them we use, the sharper our images will be.
Lenses
When it comes to capturing sharp photos, the situation will dictate your tactics, which can make a huge difference to any photograph you take. At the top of the list are the lenses that you use. When shopping for a lens, consider the question, “Is it sharp?” It seems silly, after all, to spend a lot of money on a camera body only to stick an inferior quality lens on the front of it. Cheaper lenses often contain plastic elements, which are never as good as glass elements. They’re not formed as well and can easily distort images, as well produce images that aren’t sharp. Let’s reel through what it is about a lens that makes our images as sharp as they can be.
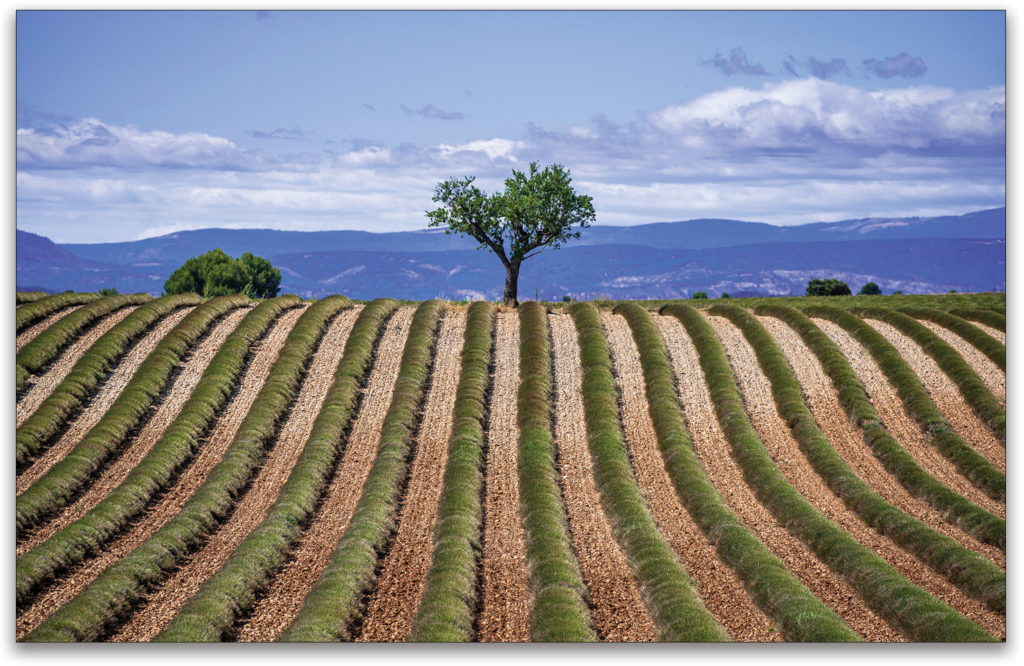
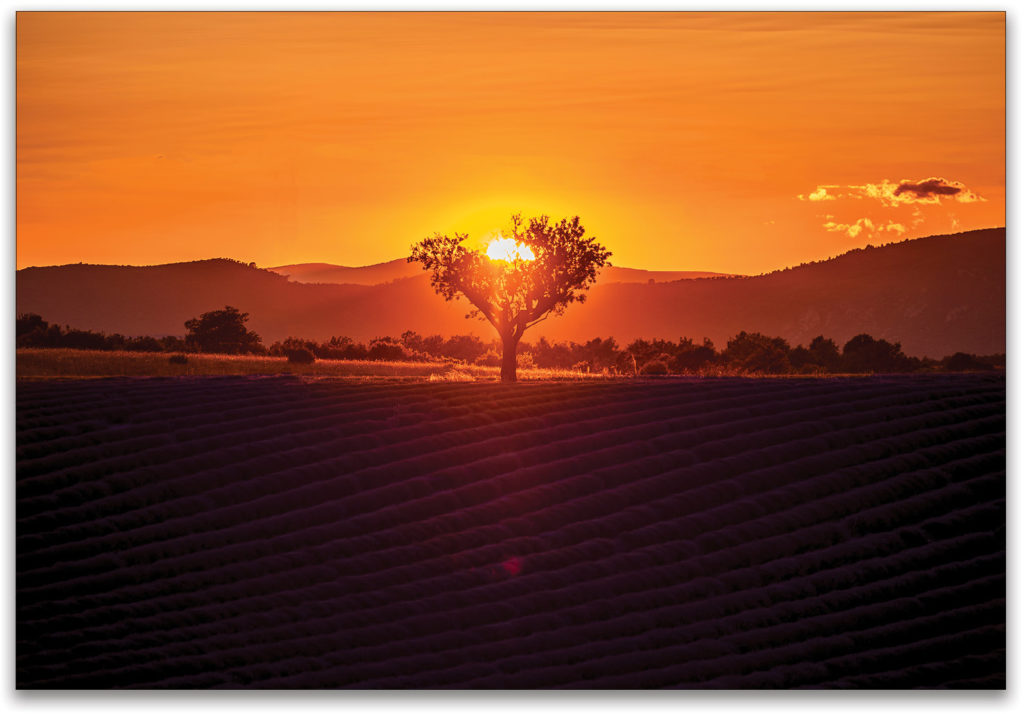
Something often overlooked by newbies and pros alike is that zoom lenses aren’t uniformly sharp throughout their range, including aperture and focusing distance. Every lens has a sweet spot at a certain aperture, and you should know what that is for all your lenses. While we should primarily select our aperture based on such things as shutter speed and depth of field, we should also give consideration to which aperture produces the maximum sharpness in a particular lens.

This optimum aperture varies from one lens to the next, but it typically sits between two and three stops down from the maximum aperture. This is an old photographers’ rule of thumb, but it’s still fairly accurate. In practice it means that a lens with a maximum aperture of f/2.8 will have the sharpest aperture at around f/8. Without testing it yourself, you can safely assume, for most lenses, that the sharpest aperture will be between f/8 and f/11 rather than at the wide end (f/2.8 or f/4) or at the narrow end (f/22 or f/32.) If you don’t have a specific requirement for depth of field, shooting in this region will deliver the sharpest image.
You can test a lens to find its sharpest aperture by simply shooting at some text on a page—a newspaper with lots of small text is best for this test. You could use a resolution chart, but a newspaper will give you the same result at a reduced cost. While we explain how to perform this test, we’ll cover other methods of shooting that help ensure maximum image sharpness, which are important for the test itself.
First, mount your camera on a tripod. This is something you should do as much as possible to keep your camera stable, particularly when operating at slower shutter speeds. Shooting handheld is quick and convenient, but with it comes a slight amount of movement. Any slight shake caused by our hands, or even breathing, is reflected in the sharpness of our final image, so taking steps to alleviate any movement will help produce better results.
It’s also worth noting that simply pressing the shutter button can cause camera shake. To avoid this, you can use a remote shutter release or a cable shutter release, which completely removes any shake caused by pressing the shutter button. Further, if you’re using a DSLR, every time the shutter is pressed, the mirror moves to reveal the sensor. Most DSLRs have a feature that locks the mirror in the up position prior to taking the photo. You won’t see the image preview on the screen or through the viewfinder, but if you need to ensure your camera is rock-steady when taking a photo, then this feature will help.
You’re now ready to take a series of photos of the newspaper. Make sure the camera is on a level plane with the newspaper, switch to aperture priority mode, and take a photo at every aperture setting. When finished, open the images in Lightroom or Photoshop and examine them at 100%. As you move through the images, you should be able to notice the differences. At either end of the range the images will most likely be notably blurrier, but as you approach the middle of the range, each image becomes progressively sharper until you reach that sweet spot. As well as sharpness, pay attention to things such as edge distortion and vignetting. This process will give you a fairly in-depth glimpse into your lens.
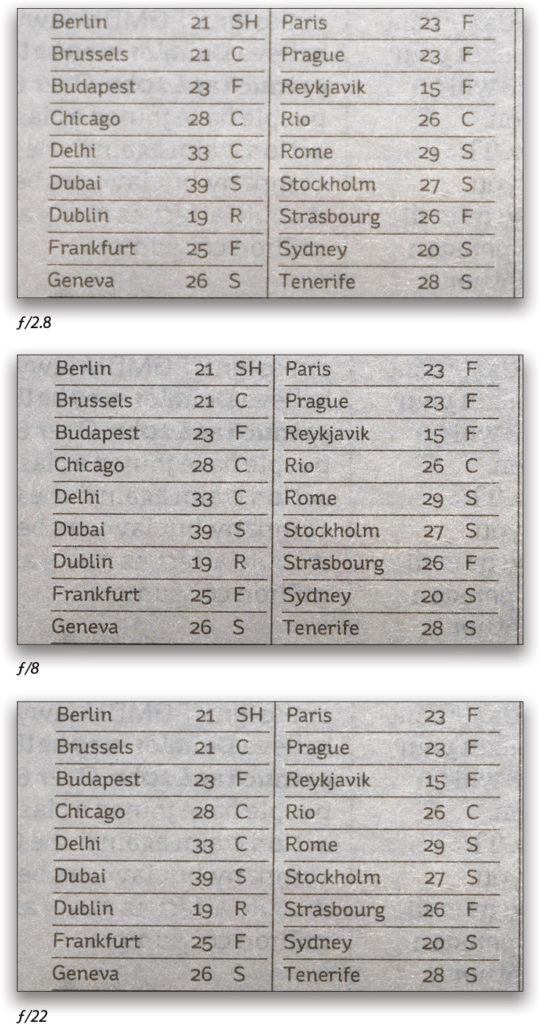
Because the differences between images can be subtle as you approach the sharpest aperture, it can be difficult to spot which one is best, but if you take your time and look closely, the differences will stand out. For many of us, it may only be necessary to know an approximation of which aperture is sharpest, but knowing this information will pay off in your photography, and help you produce some spectacularly sharp photos to show off in your portfolio. You can now use this as your default aperture, unless you want a specific depth of field. If not, why wouldn’t you use your lenses’ sharpest aperture?
ISO
Knowing the sharpest aperture of your lens is only the first—and the most important—consideration in creating tack-sharp images; but there are other factors (besides using a tripod and a remote shutter release) that can negatively impact all the work you put into finding the sweet spot of your lenses. ISO is one of those factors.
We all know that shooting at high ISOs results in noisy images, but another reason to keep the ISO as low as possible is that noise can have an adverse effect on image sharpness. Digital noise can cause a fuzziness that can make a sharp image appear as if it isn’t sharp. So always shoot at the lowest possible ISO.
Filters
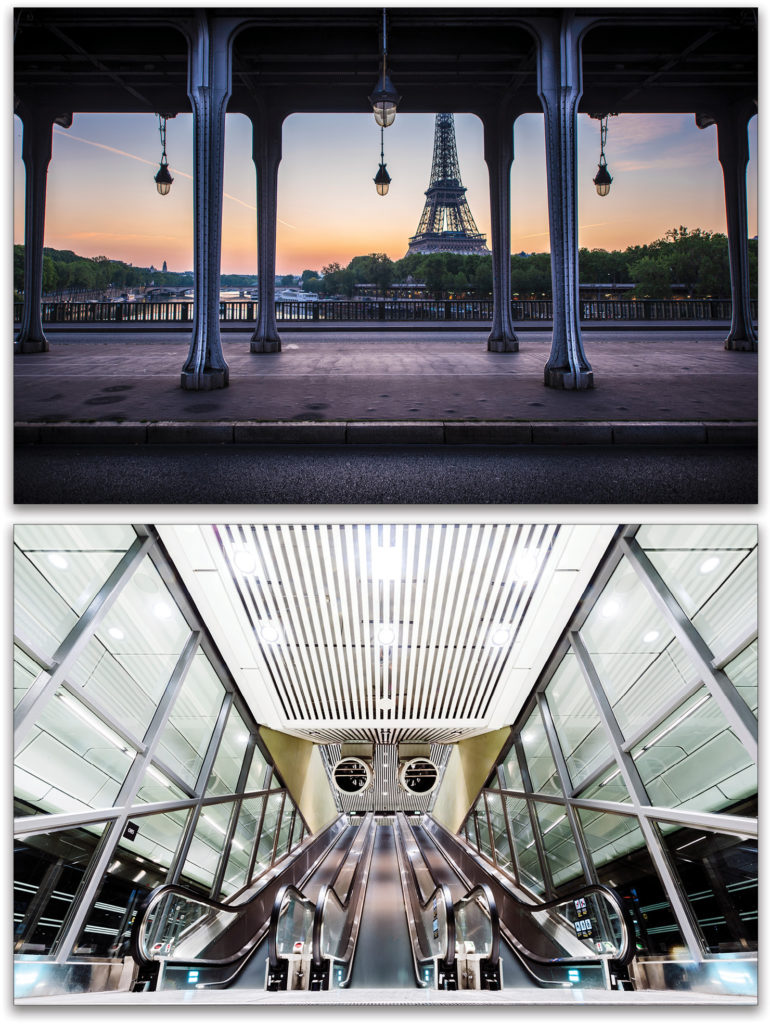
The lens filters we use in our photography can also adversely affect sharpness. Just as with a cheap lens, a cheap lens filter made of plastic rather than glass can have devastating results, and I don’t use that word lightly! If you’ve put all the time and effort into producing a fantastic photo, you mustn’t undo that by using plastic filters, or by using unnecessary filters. Every filter is another layer through which the light gets distorted, so if you have a filter attached to your lens that you don’t need, unscrew it and put it away.
Autofocus
Autofocus is also something worth considering. If you have a clear subject in your photo, using single-point autofocus to select that subject ensures that you convey this to the viewer in the final image. Using a scene autofocus mode will relinquish control to the camera, which will try to focus on as much of the scene as possible, and therefore may not afford the best focus for your subject.
Lens Stabilization
If you find yourself in a position where you can’t use a tripod, you can use image stabilization, which is available in many lenses. Keeping a steady grip and posture, use burst mode to take a series of shots while maintaining a lock on the subject. In conjunction with image stabilization, this gives you a better chance of capturing a sharp image. While using a tripod is the guaranteed method for success, it isn’t always an option. If you consider what a tripod does, and try to implement that in other ways, you stand a much better chance of nailing that sharp shot.
Postprocessing
Using all these techniques, including finding your lenses’ sweet spots, will help you produce the sharpest images possible. Capturing the best image in-camera negates the need to go through any major sharpening processes in postproduction, and affords you more time to focus on other aspects of retouching. You can then use a simple method, such as Unsharp Mask, to finesse the sharpness of the final image.
Sharpness is huge! It’s a make-or-break aspect of photography. Dealing with disappointment and frustration after downloading a memory card and discovering blurry or soft images is easily prevented by following these techniques. So take the time to understand and resolve any issues before they even present themselves.


All images by Dave Williams. This article originally published in Issue 64 of Lightroom Magazine.


