
Excerpted and Summarized from Night Mode Masterclass with Erik Kuna. To watch the whole clip, check out the video below!
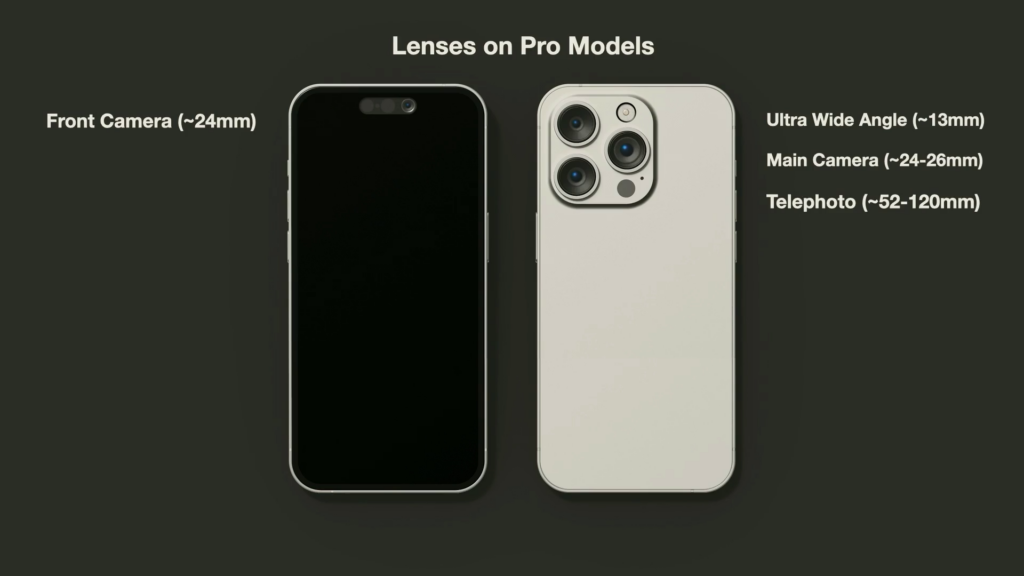
So, remember when Apple started using that “Pro” label? Well, for photographers (and videographers!), that basically meant the iPhone was about to get serious. We’re talking all the tools you need – like interchangeable lenses and bigger sensors – to capture professional-level images right from your phone!
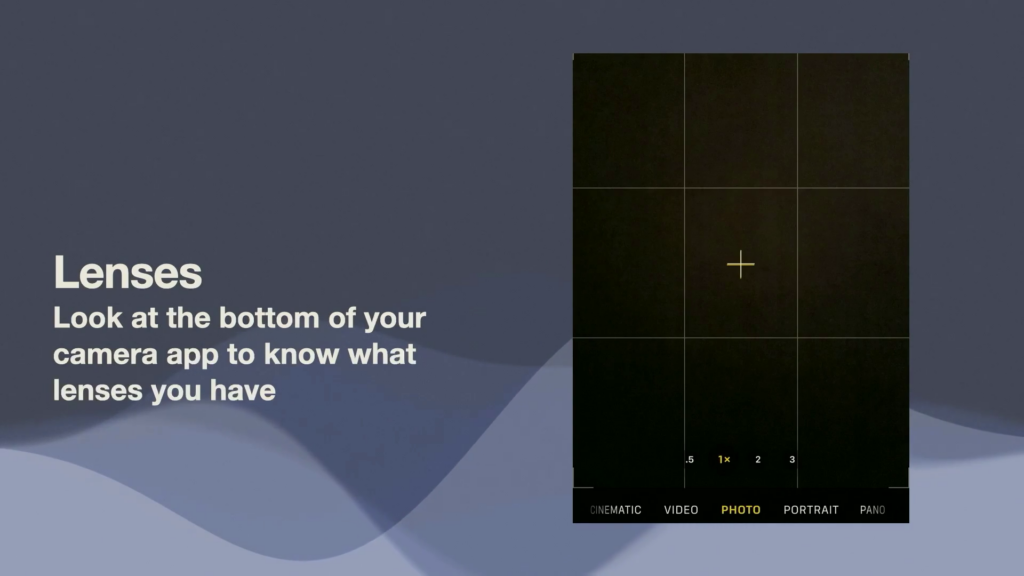
Now, when it comes to cameras and settings, things get way easier compared to a DSLR or mirrorless. Why? Because the lens selection is pretty much done for you! Check out the bottom of your screen – you’ll see those buttons like 0.5x, 1x, 2x, 3x, or even 5x. Most Pro models have three lenses on the back and one up front. You’ve got your ultra-wide (that’s the 0.5x – perfect for those expansive star trail shots), your main camera (usually the 1x), and your telephoto.
Pro Tip: The main camera (1x) is your best friend for night shots!
If you can nail your composition with it, you’ll get the best results.
One thing to keep in mind with iPhones is that they usually have a fixed aperture. That’s why it’s worth upgrading to the newer models, as they tend to have better aperture numbers. Now, if you’re used to thinking about photography in terms of 35mm equivalents, the ultra-wide lens is around 13mm, while the main camera sits around 24-26mm.
Pro Tip: The main camera (1x) is your best friend for night shots! If you can nail your composition with it, you’ll get the best results. If you have to switch to the ultra-wide or telephoto, just be aware that you might have to make some compromises in terms of performance.
Don’t sweat the aperture too much! Because the sensors are smaller, everything stays pretty much in focus, even with that wider, fixed aperture. That’s also where features like Portrait Mode come in – they simulate that shallow depth of field and background blur you’d get with a larger sensor.

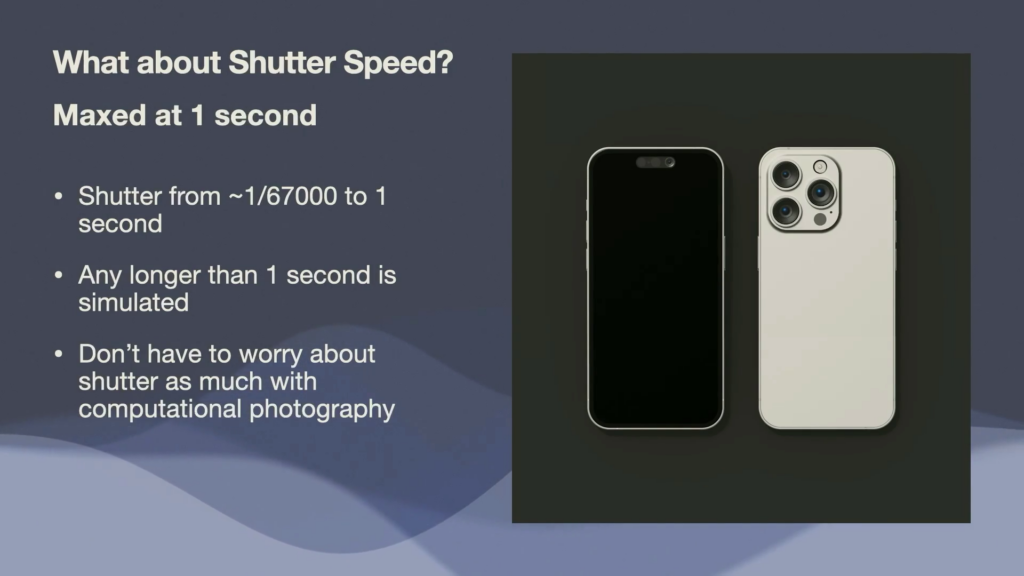
Shutter speed is another interesting one. While DSLRs and mirrorless cameras give you a huge range, iPhones max out at one second. Anything longer is simulated, but hey, it works! And when it comes to ISO, the iPhone will automatically adjust it for you, especially in Night Mode. It might raise it higher than you’re used to, but don’t worry – it’s stacking shots and averaging out the noise, just like you could do manually in Photoshop. Pretty cool, right?
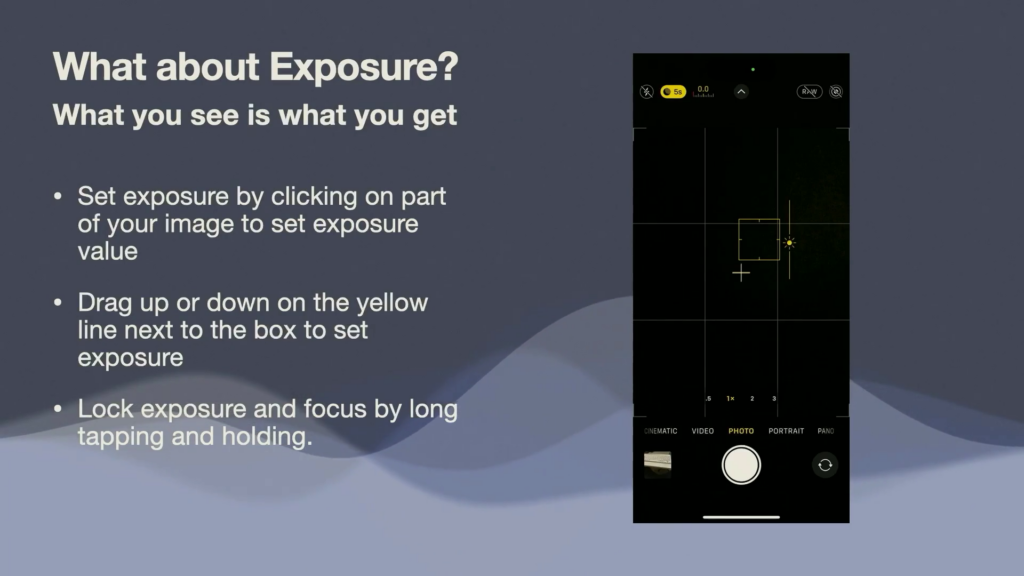
Setting the exposure is super simple: just tap on the screen and drag up or down to brighten or darken the image. Want to lock it in? Just long-tap!
Now, let’s talk Night Mode. The awesome thing is that it usually turns on automatically, unless you’ve disabled it. Just make sure that little icon is yellow. To really take control, tap the arrow at the top of the screen and adjust the slider at the bottom. You can set it to “Auto” (let the iPhone decide) or crank it up to the max (30 seconds for the native Phone app) for those Milky Way shots. Just remember, for those longer exposures, you’ll need to use a tripod to keep things steady! Your iPhone will automatically detect if it’s on a tripod. Without a tripod, you won’t be able to go over a few seconds exposure.
That’s it! Seriously, using Night Mode is that easy. Just compose your scene, work with the available light, and let the iPhone do its magic.
Join us for iPhone Photography Conference, happening online on March 4th & 5th. Our industry experts will teach you how to master lighting, composition, editing, and more—all with the device already in your pocket. You’ll discover how to transform everyday photos into works of art, and learn insider tricks that’ll change the way you shoot forever. This is your chance to learn from the best, hone your skills, and start creating the kind of work you’ve always admired. Reserve your spot today! Get your ticket for only $149* during Early Bird Pricing (a savings of $150)!

*Early Bird Price Expires March 4, 2025, 11:00 am EST


