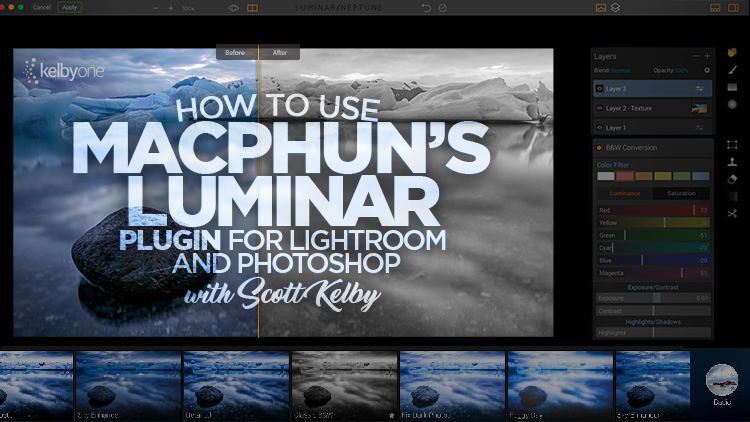
Learn how to add Luminar to your Lightroom and Photoshop workflow! Join Scott Kelby as he introduces you to exactly how he uses Luminar. Macphun’s Luminar is a plugin for Lightroom and Photoshop, as well as being a standalone image editor, which means there are lot’s of ways you can add this tool to your existing workflow. You can think of Luminar as special effects plug-in that can be used for creating quick looks, finishing touches, or even serving as a substitute for Photoshop if you are a Lightroom-only user. Luminar is currently a Mac-only product, but a Windows version is scheduled to be released soon. In this class Scott shows you how to access Luminar, gets you oriented to its interface, and then shows you how he uses its filters, presets, and features to give his images that extra finishing touch through several start to finish projects.
Here’s what you can expect to learn:
- Accessing Luminar from Photoshop and/or Lightroom
- Navigating Luminar’s Interface
- A New Way of Thinking About “Workspaces” and Using Filters
- Working with Filters
- Digging in Deeper and Filter Combinations
- Using the Powerful Texture Overlay Filters
- Working with Presets
- Working with Luminar’s Layers
- Luminar’s Noise Reduction Filter
- Batch Processing and the Stand-Alone Version of Luminar
- Start to Finish Projects
 Scott Kelby
Scott is the President and CEO of KelbyOne, is also the original “Photoshop Guy”, is the editor and publisher of Photoshop User Magazine, Conference Technical Chair for the Photoshop World Conference, Training Director and instructor for KelbyOne Live Seminars, and author of a string of bestselling technology and photography books.
To see more of Scott’s work and to keep up with his antics, you should follow him on Facebook, Twitter, and Instagram. Otherwise, check out his blog—he updates it regularly with tips and tricks, industry news, special deals, and more!


