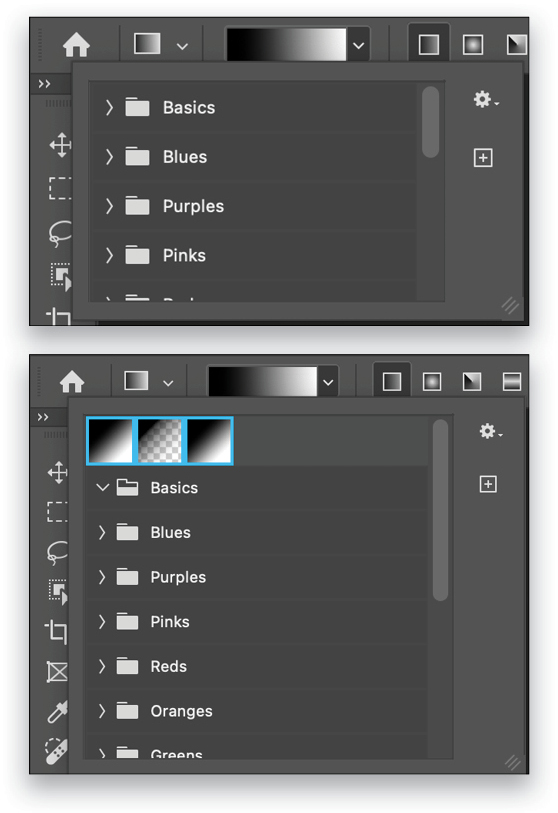
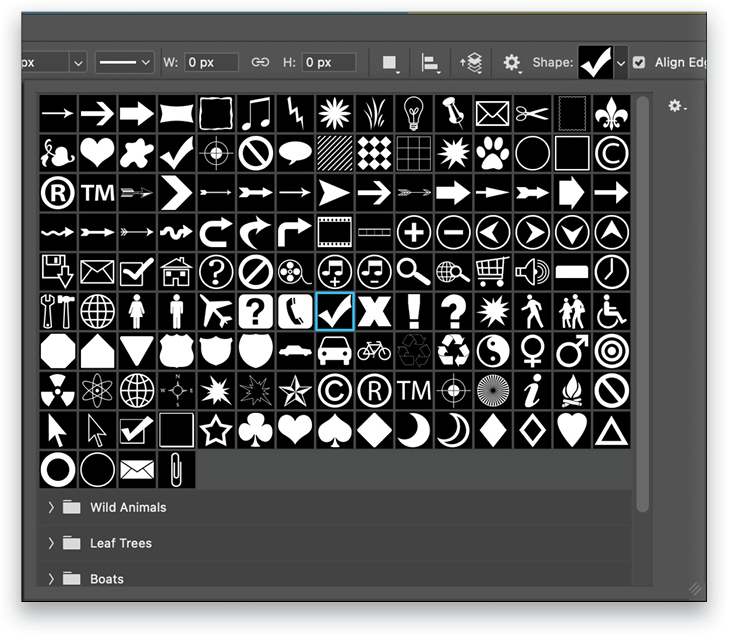
A few Photoshop versions ago, Adobe decided to update the presets. This was good and bad. It was good because they added some more useful ones, rather than the bubble texture; however, I wish they’d added even more useful ones such as social branding, better arrows and shapes, etc. But hey, who doesn’t need more hippos and gazelles? My big beef (and I’m not alone) is that all the presets were put into subfolders. This includes shapes, textures, styles, brushes, gradients, etc. The problem is, when you open these tools, all you see is a column of folders, instead of, say, the urgently needed Foreground to Background gradient.
I have a useful fix. This is going to require five minutes or more, but this will be one of the best investments of time you could make in Photoshop, and you’ll get your time back quickly. Open one of the presets panels, say the Gradients panel (Window>Gradients), and then expand the Basics folder at the top; you know, the stuff you use all the time.

Click on the first preset, hold down Shift, and click on the last one. They’ll all be selected. Now drag them to the very top of the panel, above the top folder until you see a blue line appear. Release and they’ll move out of the Basics folder. Now when you choose the Gradient tool (T) and open either the Gradient Presets in the Options Bar or the Gradients panel, you’ll see actual gradients that you can immediately use instead of searching through the folders. Do this with all your presets—brushes, shapes, patterns, styles, etc.—and move your most-used presets to the top of the panel and see how much easier life is.

This tip originally published in Colin Smith’s “Photoshop Tips” column in the June 2023 issue of Photoshop User magazine.


