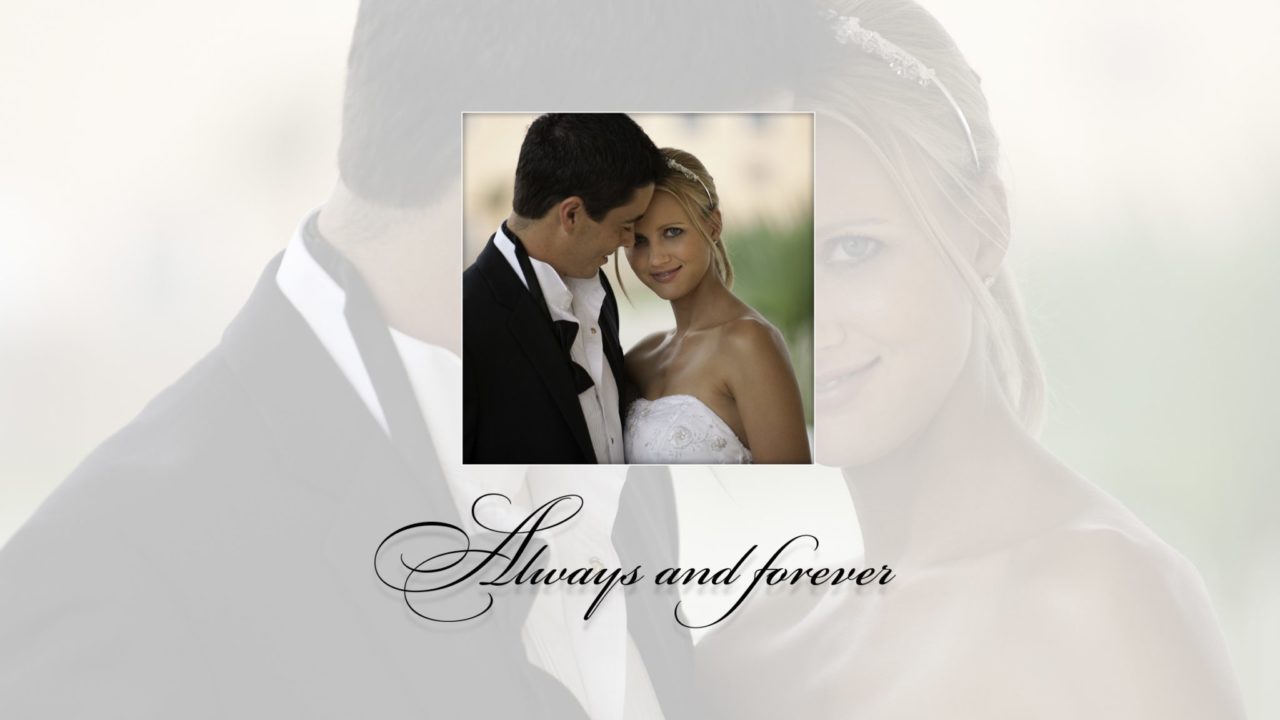
Backscreened photos are often seen in wedding albums, where an image appears faintly in the background, so you can put easily readable text over that image (usually other “full strength” images as well). Here’s how to get the effect in both Photoshop and Lightroom:
Photoshop
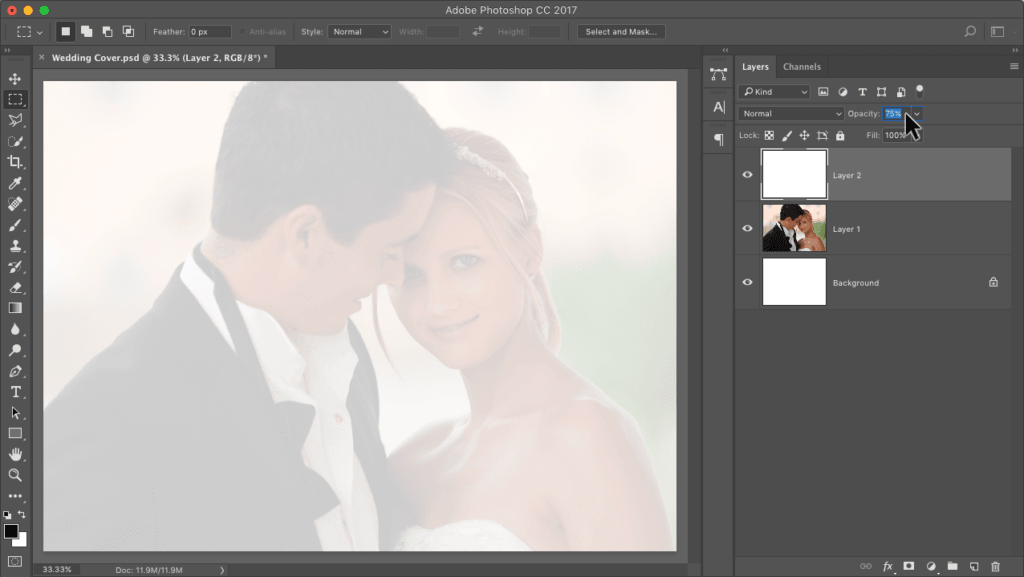
Creating a backscreened effect in Photoshop couldn’t be easier. Simply create a new layer above your photo layer and fill it with white, then reduce the opacity of that white layer to your desired percentage (the number will vary upon the image you’re using and the look you’re going for; here we’ve used 75%). The higher the opacity of the white layer, the more your image is backscreened.
Lightroom
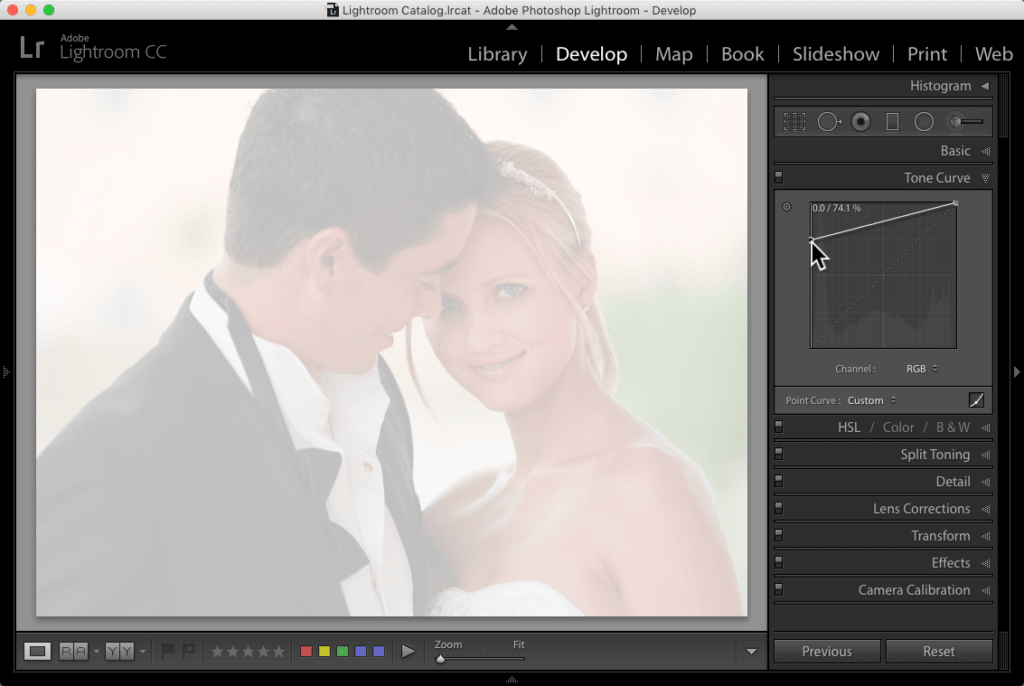
In Lightroom it’s not much more complicated. You’ll want to create a virtual copy of your photo by pressing Command-‘ (apostrophe; PC: Ctrl-‘). Go into the Develop module’s Tone Curve panel. Make sure the Point Curve is visible (if yours has sliders under it, and doesn’t look like the one you see here, just click the little Point Curve icon at the bottom-right of the panel). To create the backscreened effect, click-and-drag the bottom-left corner point straight up along the left edge until it’s 3/4 or so of the way up to the top. The higher you drag, the more your image is backscreened.
Adapted from Scott Kelby’s Photoshop for Lightroom Users.


