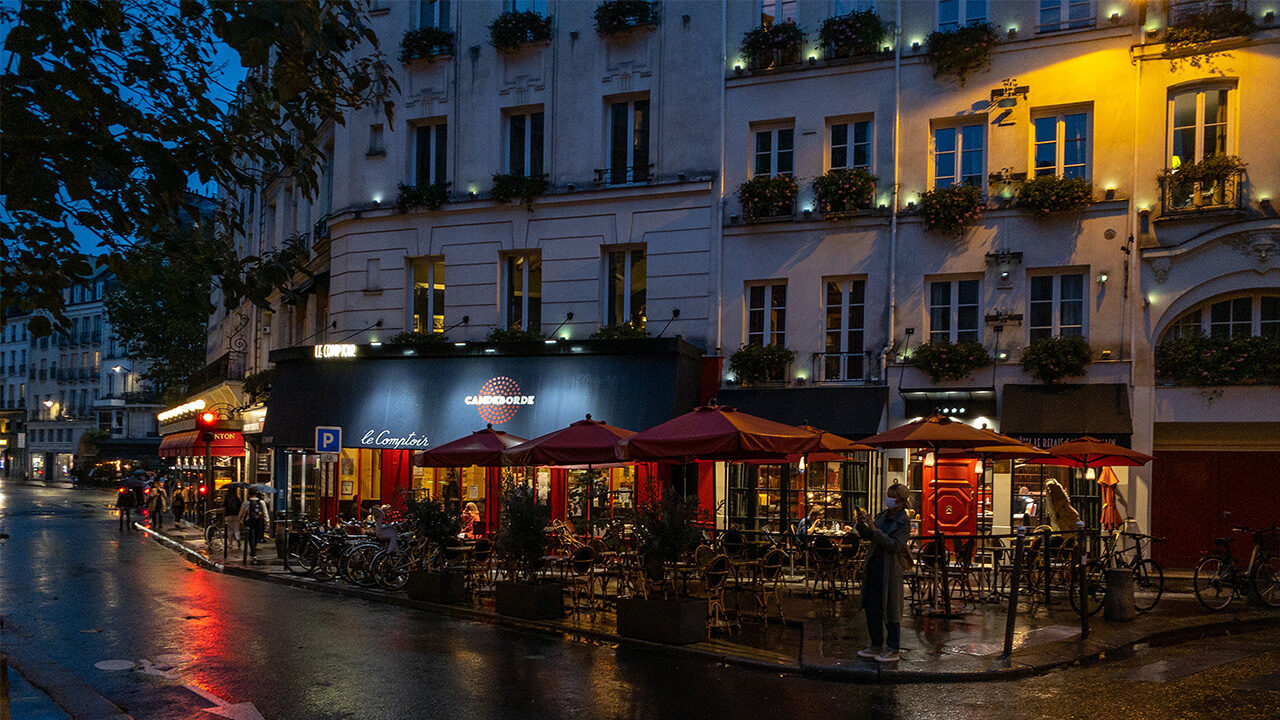
Mobile photography comes in handy when you’re walking around and you don’t have all your gear with you. But when you’re in low-light situations, you know that you won’t always get a nice quality photo with a phone. So in this article, I’ll show you how you can shoot in RAW and develop directly in Lightroom mobile to get some great photos at any moment, even at night!
Step One: Set Lightroom Camera to Pro
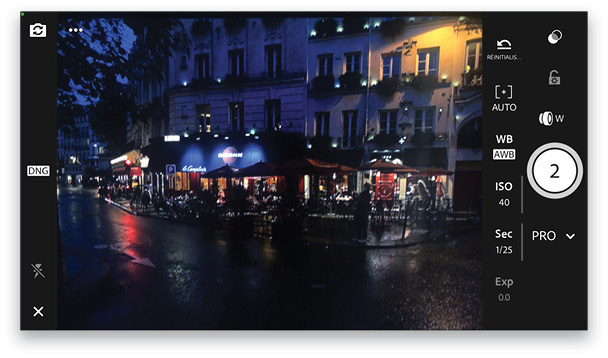
First, open the Lightroom mobile app, and you’ll see a camera icon at the bottom right of the screen. Tap that icon to switch to the Lightroom camera, tap on the pop-up menu to the left of the shutter button, and select Professional mode before taking any photos. Now let’s go into the basic settings for shooting in a low-light situation.
Step Two: ISO and Shutter Speed
Even when you’re in low light, you want the lowest ISO possible, so try to stay at 32 or 40. You also need to have a slow shutter speed, so around 1/25 will work well.
Step Three: Shoot RAW!
You’ve probably heard many times before that you should shoot in RAW with your DSLR but, even in mobile photography, it’s a must if you want more freedom in the development of your photos. You need to select DNG to capture RAW files. So look at the top of your screen (or to the left if you’re shooting horizontally) to see if it says either DNG or JPG. If it’s set to JPG, click on “JPG” and flip the File Format switch over to DNG.
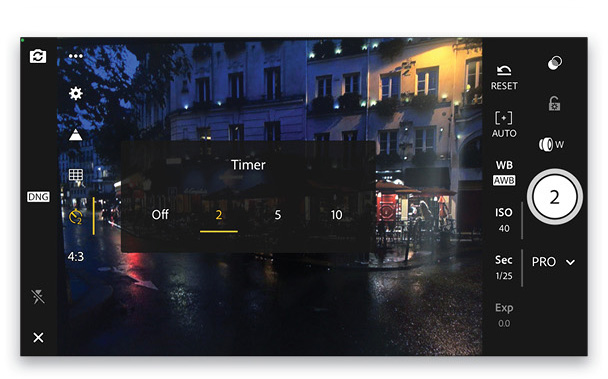
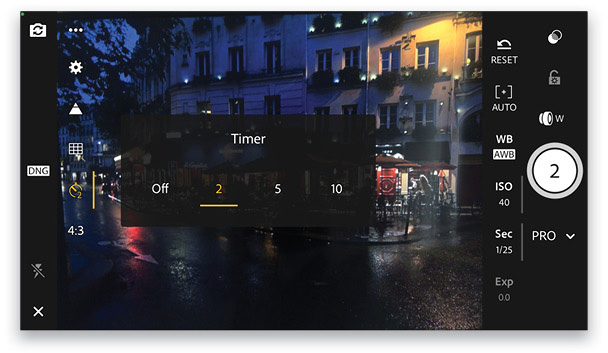
Now because you’re shooting in low light with a slow shutter speed, you should also use the timer; setting it to 2 seconds should be enough. To set the timer, click on the three dots at the top right of the screen (or top left if you’re shooting horizontally), and click on the Timer icon (clock).
Step Four: Pick a White Balance
This step is optional because you can always modify the white balance in post, but I like to see what the result will look like on the phone. At night, you can tap on WB and go for the Tungsten setting (it’s the light bulb icon) because it usually works nicely with city lights. Another key point (that’s not optional) is to find the right composition! Now you can walk around and capture some nice frames.
Retouching in Lightroom Mobile
Step One: Basic Development
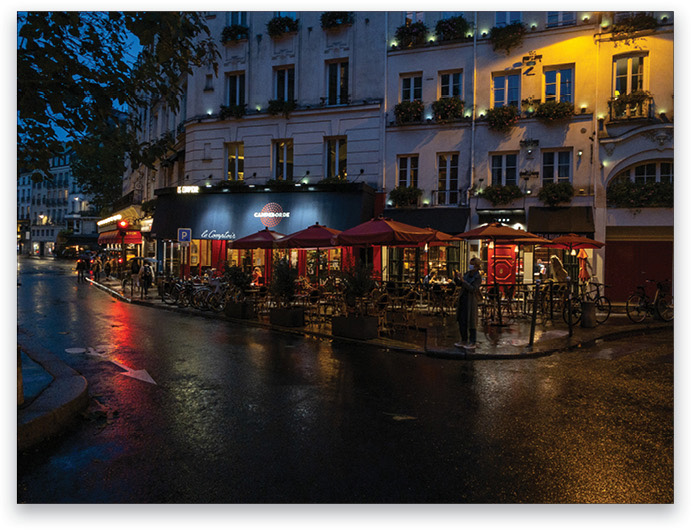
This is a very simple retouch just to show you some basic Lightroom mobile tools you can use on the spot. Nothing crazy, but a nice RAW development.

Back in the Library, tap on Lr Camera Photos, and tap the image you wish to edit. Go to the Light tab (icon of a sun), then boost the Whites to +39, and lower the Blacks to –6. Increase the Exposure to +1.10, lower the Highlights to –56, and drag the Shadows all the way to the right to +100.
Cool Tip: If you keep your finger on your image, the Before photo will appear.
Step Two: Adjust the Tint
To make the overall photo even better you can add some magenta! Click on the Color tab (thermometer icon), and set the Tint to +16. Here’s the final photo.
Use Presets
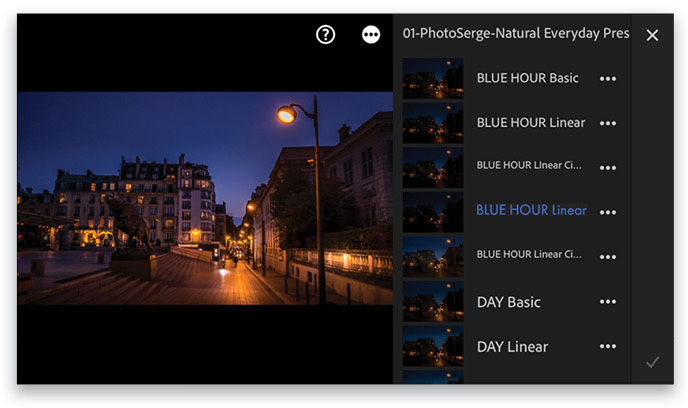
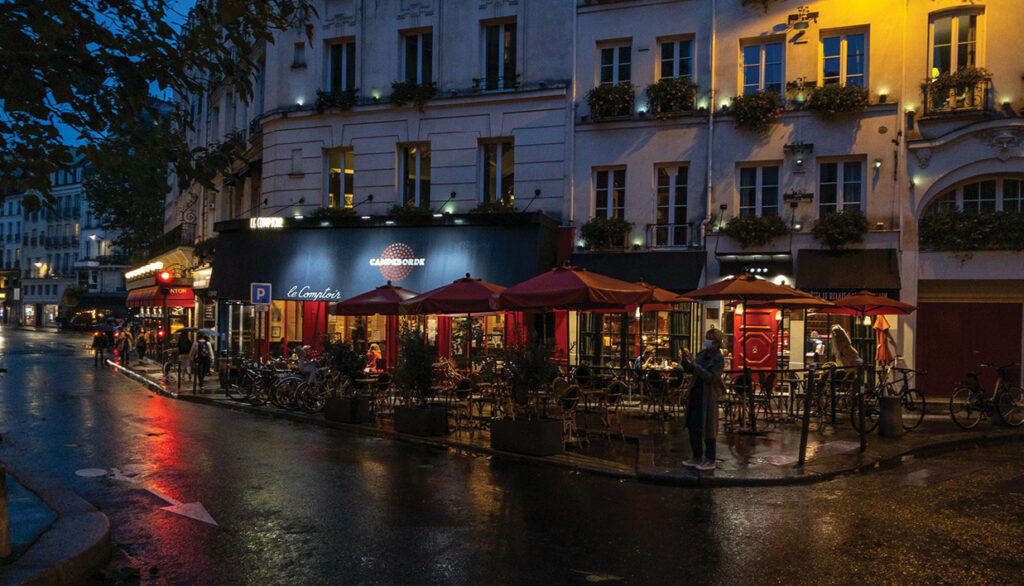
Yes, even in Lightroom mobile you can use presets. It’s very cool and a great way to get good results in a short amount of time! Here I went to the Presets tab, selected one of my custom presets that I call “Blue Hour Linear,” and it gave this photo a cool look in just one click.
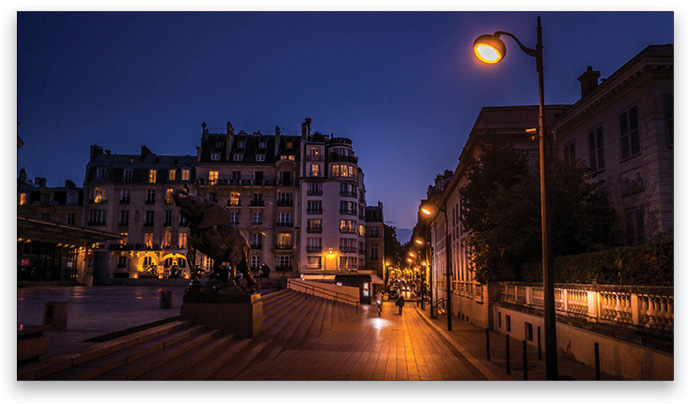
Here’s the result:
Copy-and-Paste Settings
If you don’t have any custom presets but you like one of your retouches, you can simply copy its settings and then paste it to another photo.
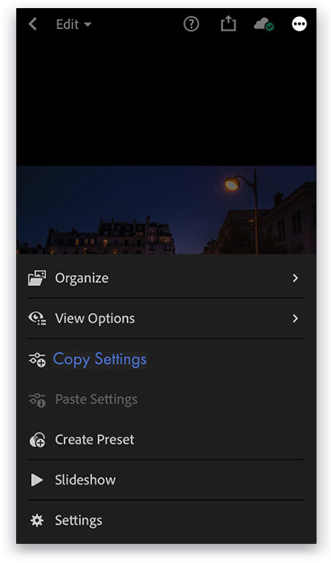
Step One: Copy Settings
Tap on the three dots at the top right of the screen and tap Copy Settings.
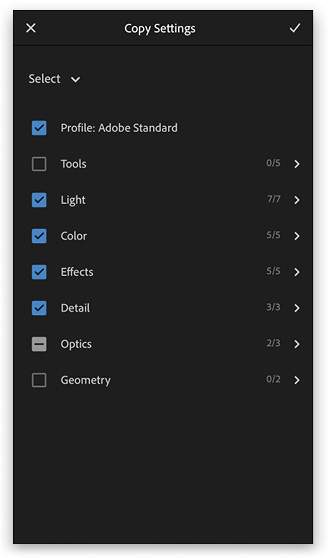
Step Two: Select the Settings to Copy
Make sure to check on all the boxes for the effect that you want to copy-and-paste to another photo.
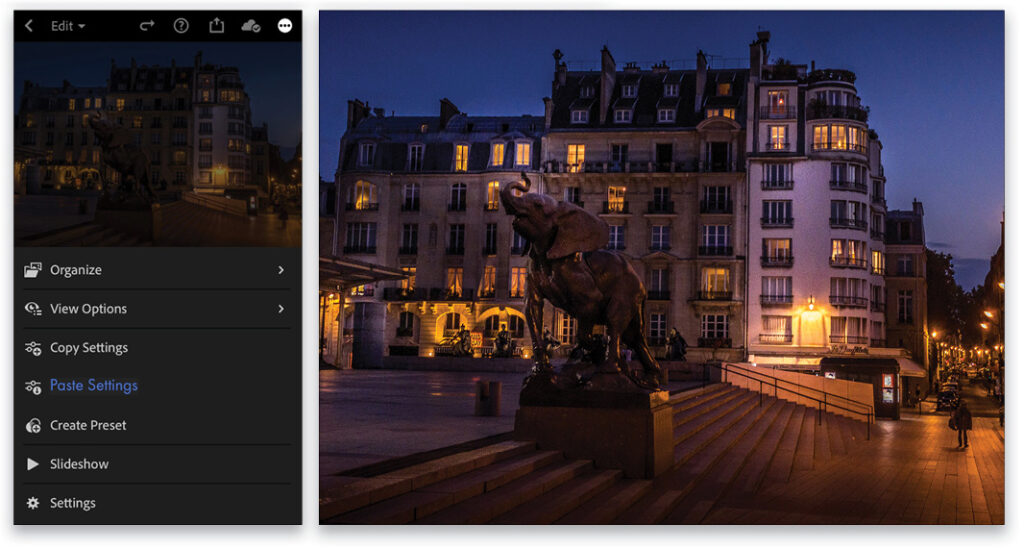
Step Three: Paste Settings
Now select a new photo that you want to retouch, go into the same three-dot menu, and select Paste Settings. You’ll see the same retouch applied to your new photo.
I really hope these tips will be useful to you and that you learned a couple of things about Lightroom mobile. It’s such a great tool and very accessible to anyone who is passionate about photography!
About Photoshop User and KelbyOne
Photoshop User magazine comes out digitally 12 times a year and is part of KelbyOne, the leading educational resource for Photoshop, Lightroom, and photography. Pro members have access to more than 900 video courses and 100 back issues of Photoshop User. To learn more about KelbyOne, click here.


