“Work smarter, not harder.” Anyone who has watched my KelbyOne courses knows this is my mantra, and I honestly live by these words. It’s important to not only keep up with the latest gear but it’s also just as important to spend time growing your knowledge of the software that you already subscribe to and use on a daily basis. The better you know the software (or hardware) you already own, the easier you’ll work, and the more proficient you’ll become. You can have all of the newest gear in the world, but if you don’t know how to use it, you won’t be a good photographer. (Sorry to all those gear heads out there whose bubble I just busted.)
That’s why I’m so thrilled about my article this issue. It’s about my all-time favorite tool in Photoshop: Color Range. I’ve said it before and I’ll say it again, I’m a lazy Photoshop user, especially when it comes to masking. I hate creating masks by hand. It just takes way too long. You have to create a mask, make sure you’re painting with the right color, and then take the time to ensure your mask edges match up with whatever you’re masking in the photograph. You also need to make sure that the brushstrokes you created while painting the mask aren’t visible, etc. Is anyone else exhausted yet? I know I am. I’ve already lost count of how many steps that would take.
What if there was a tool that literally eliminates the need to create freehand masks? Wouldn’t that save us loads of time? Thankfully, the folks over at Adobe agree, and they gave us a miracle tool that does just this.
Color Range is an incredibly powerful tool that will make intricate selections based on many different factors. You can choose to have it create a mask based on a specific color, highlights, shadows, or midtones. But my favorite way to use Color Range is to tell it to select skin tones (more on that later).
At this point, your ears should be perking up and you should be sitting a little straighter in your chair to read on through the rest of this article, because I’m about to teach you something that has the potential to decrease (by about 90%) your need to create hand-drawn masks. Here we go.
TOUR OF THE COLOR RANGE DIALOG
To access this awesome tool, go to the Select menu at the top of Photoshop, then scroll down and choose Color Range from the menu. This will bring up the Color Range dialog as shown here. Let’s take a minute to explore this window a little.
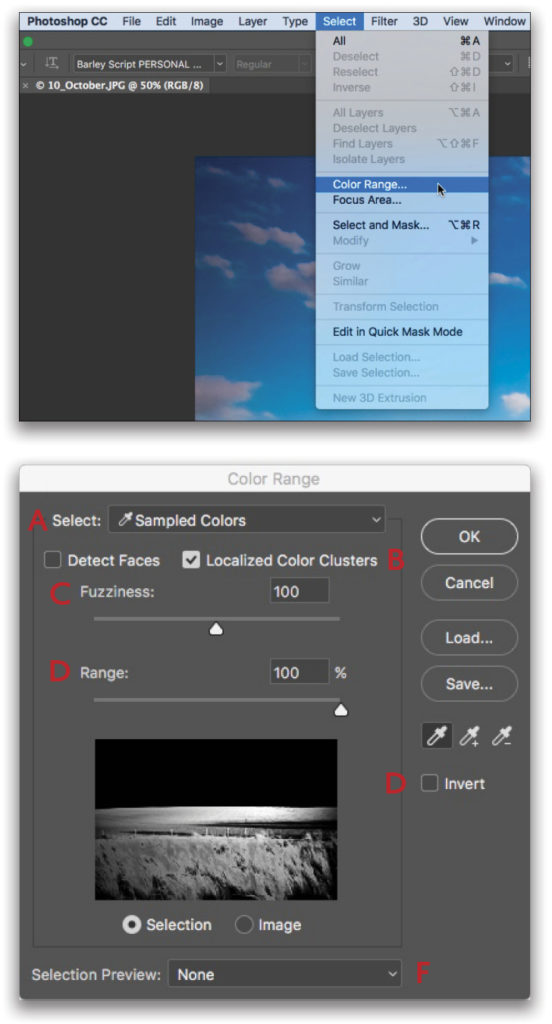
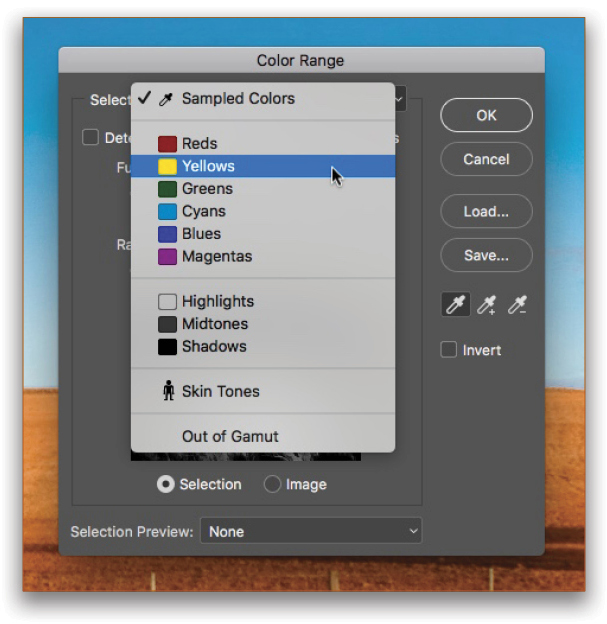
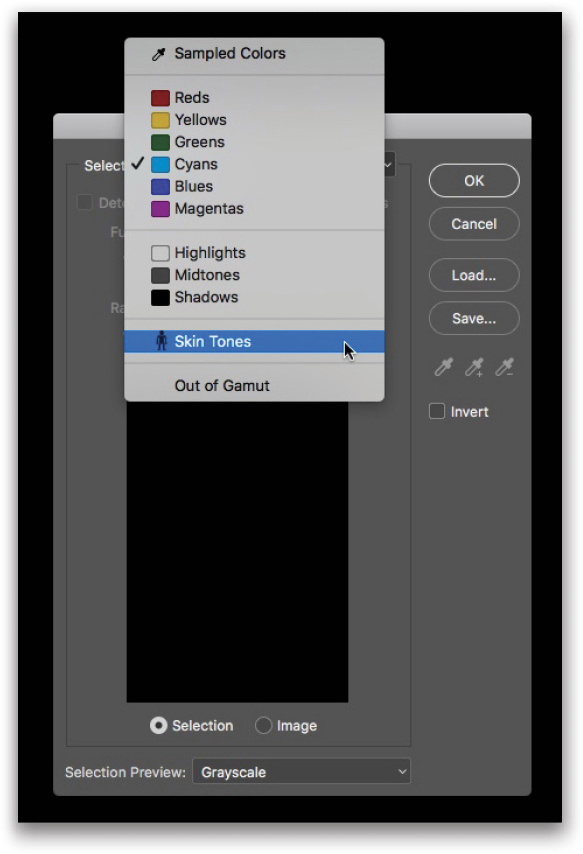
A. The Select drop-down menu: This allows you to choose from a wide variety of options as to how to make your selection.
- Generate a selection by using the Eyedropper to click on the color you want to select.
- Generate a selection by specific colors: Reds, Yellows, Greens, Cyans, Blues, or Magentas.
- Generate a selection by tonal value (i.e., Highlights, Midtones, or Shadows).
- Generate a selection by the Skin Tones in the image.
- Or select the colors that are Out of Gamut.
B. Localized Color Clusters: If you’re using Sampled Colors (the Eyedropper tool) to make your color selection, having the Localized Color Clusters checkbox turned on means Photoshop will only select the colors close to the color on which you clicked in the general vicinity of where you clicked. If Localized Color Clusters is unchecked, it will select the color on which you clicked throughout the entire image.
C. Fuzziness: The higher the Fuzziness number, the more lenient Photoshop becomes in adding the colors that aren’t quite the exact color you chose, but still a close color relative.
D. Range: This slider isn’t always active. If you choose to use Sampled Colors with Localized Color Clusters turned on to make your selection, or you choose to select the Highlights/Midtones/Shadows, this slider will become active. It does different things depending on which option you’ve chosen, so you really need to play around with this slider to see what it does.
E. Invert: Once you’re happy with the selection that Color Range has created for you, you’ll need to click OK. This will create a bunch of marching ants around the area that Photoshop has automatically selected for you. When you create a mask, the selected areas will be white in the mask and the non-selected areas will be black. Anything that’s white in a mask will reveal that area of the layer, and anything black hides areas. There will be some instances when you want to have the opposite pixels selected in order to turn them white in the mask you’re working on. In that case, make sure the Invert checkbox is turned on.
F. Selection Preview: If you want to see the selection on which you’re currently working on the entire image instead of just the little preview window inside the Color Range dialog, you can turn on one of the Selection Preview options in the drop-down menu at the bottom of the dialog. This will turn your whole image into a preview of what the selection will include/exclude as you work to perfect it.
LET’S CREATE A MASK USING COLOR RANGE
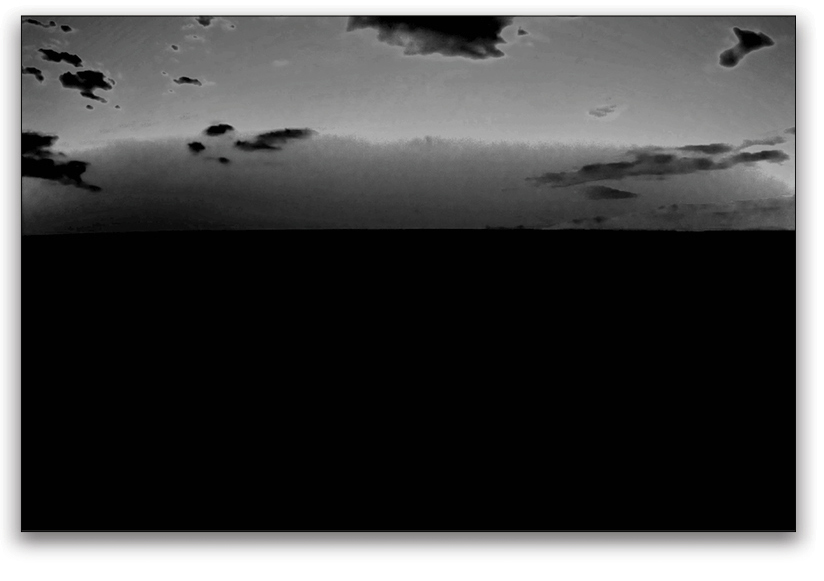
Are you starting to see the mighty power behind this tiny little dialog? It’s truly awesome! But let’s get into a real-life example. Here’s an image I took on one of my trips to South Africa.
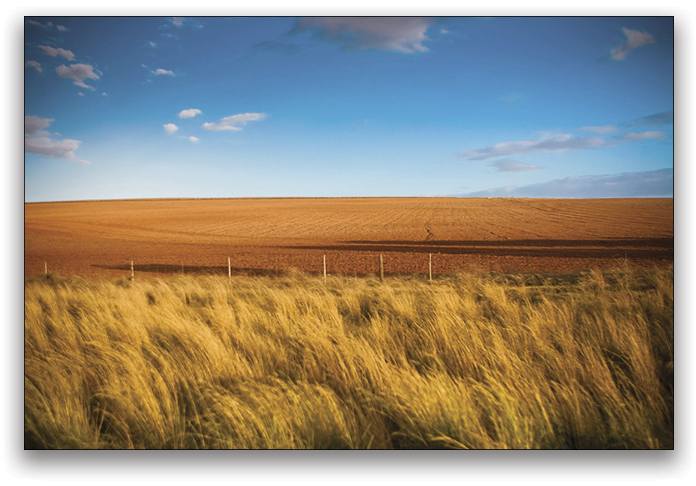
I want to make the sky slightly bluer, so I’ll start by choosing the Color Range option from the Select menu. Once inside the dialog, I’ll choose Cyans from the Select drop-down menu, and click OK. This gives me a bunch of marching ants around the sky area.
Now that Photoshop has done the hard work of creating the intricate selection for me, I can easily turn it into a mask with only one click. I want to add a Hue/Saturation adjustment layer from my Adjustments panel (Window>Adjustments). Hue/Saturation automatically comes with a mask, which will automatically use the selection in the image to generate the mask. Here’s the mask that was immediately created for me.
Can I just take a moment to point out that we’ve created a detailed mask with only a mouse click and no free-hand painting? Yeah, we just did that!
POWER USER TIP— POLARIZING YOUR MASK
Sometimes the mask I get when I use Color Range is really detailed, but I need the mask to be more extreme, so I need to tweak the mask that I currently have. To do this, hold down Option (PC: Alt) and click on the layer mask thumbnail to preview the mask on the whole image. Then press Command-L (PC: Ctrl-L) to bring up the Levels dialog. In the Input Levels section, pull the highlight and midtone sliders to the left to make the mask more “polarized” or more black-and-white (with less grey). Take a look at the two screen grabs below and look at the different positions of the sliders and see how it changes the areas that are white, gray, and black in the mask.

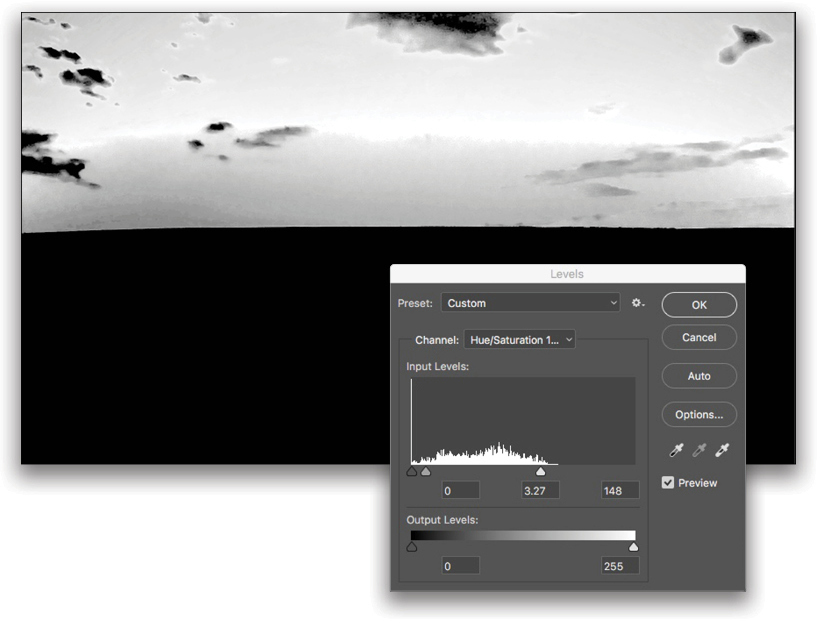
Click OK in the Levels dialog, and then hold Option (PC: Alt) again while clicking on the layer mask thumbnail once more to turn the mask preview off and go back to looking at the actual image and not the mask.
Now that I’ve polarized my mask, I can back on the layer thumbnail of the Hue/Saturation adjustment layer and modify the settings to make the sky bluer. In the Properties panel, I’ll increase the Saturation to +27.
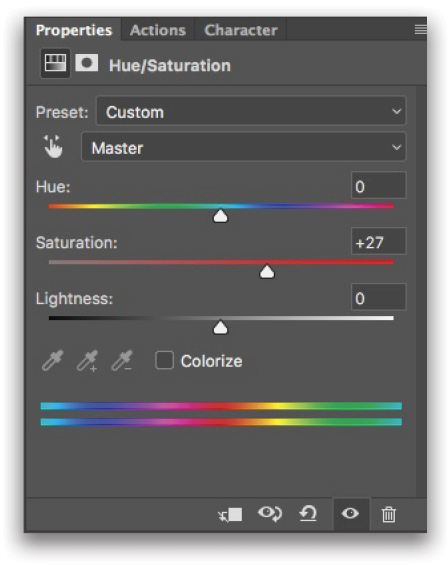
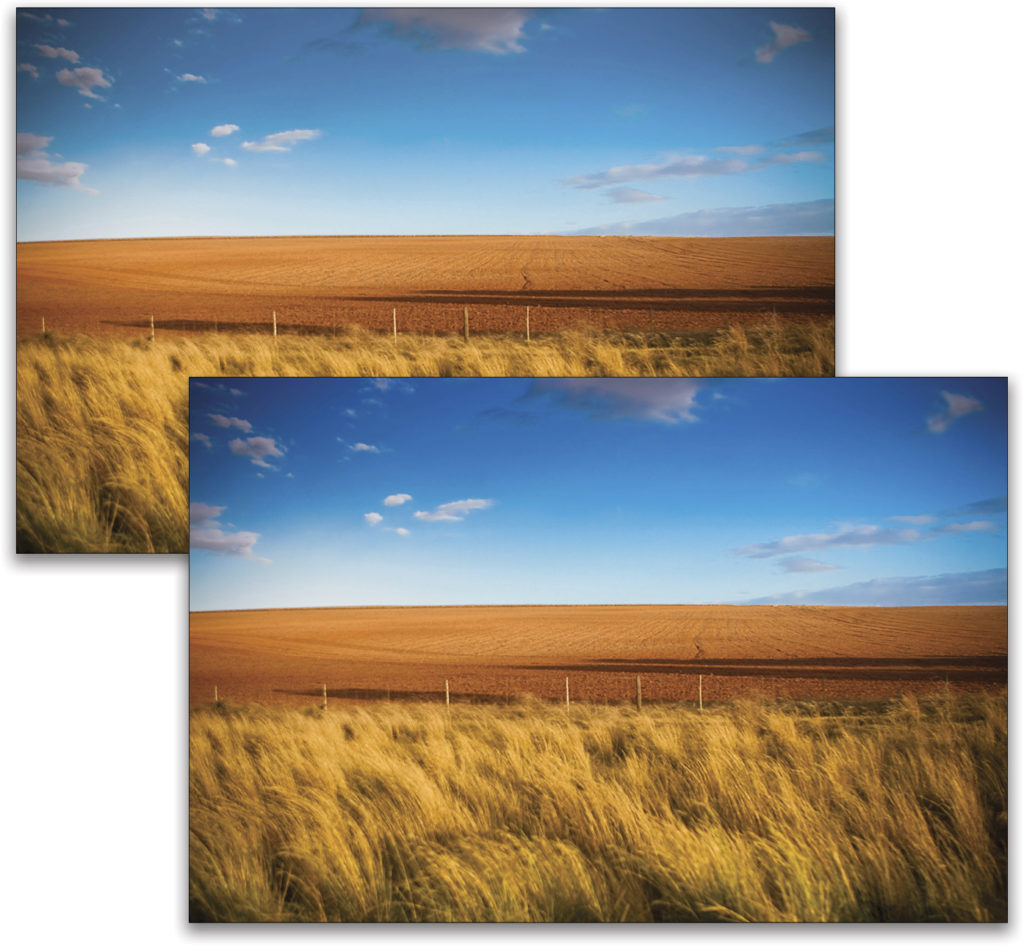
Since I’ve already created the mask to reveal only the adjustment on the blue sky, it’s safe to increase the Saturation of all the colors (the Master channel) instead of just focusing on the Cyans/Blues, because I know the mask will only allow the increased Saturation to affect the areas I want! Nifty, right? Here’s the before and after of the image with the better sky.
SKIN TONES
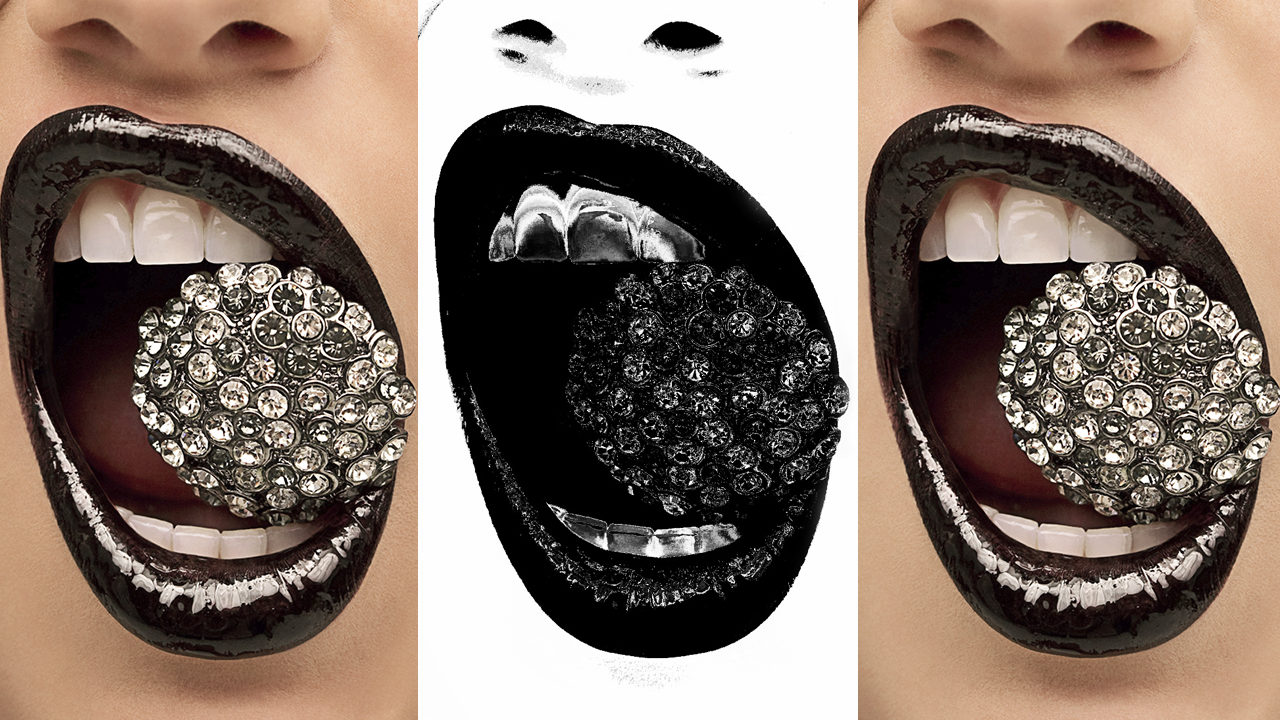
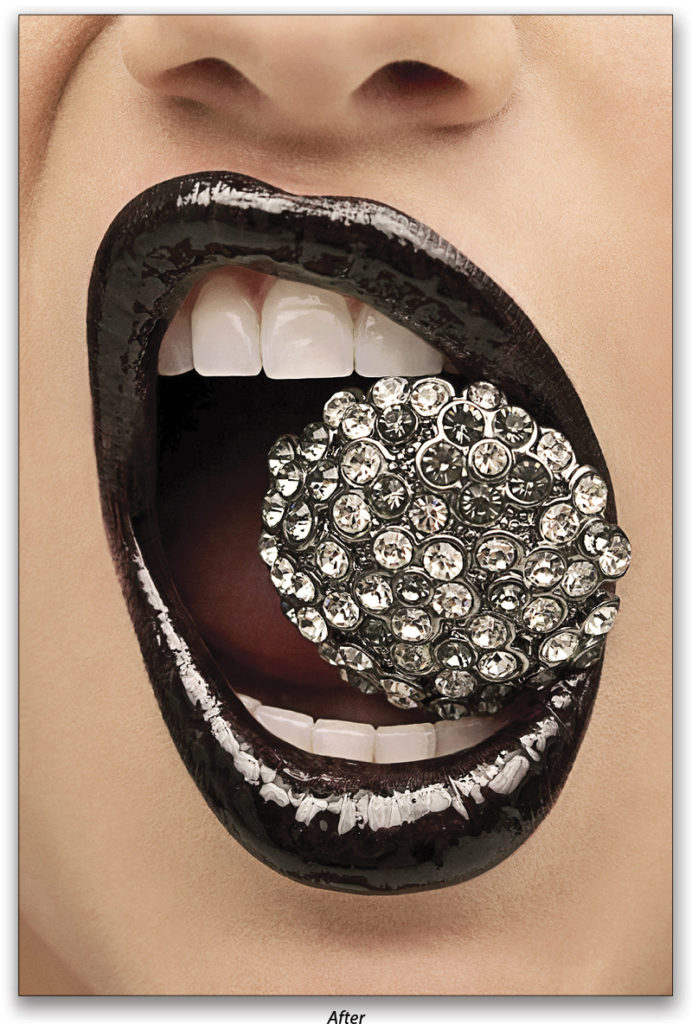
Lastly, let’s talk about my favorite way to use this tool. As I mentioned previously, Color Range has the option to isolate only skin tones in an image. Here’s one of my signature shots that I’ll use for this example. I’d like to increase the lightness of the skin tones just slightly.
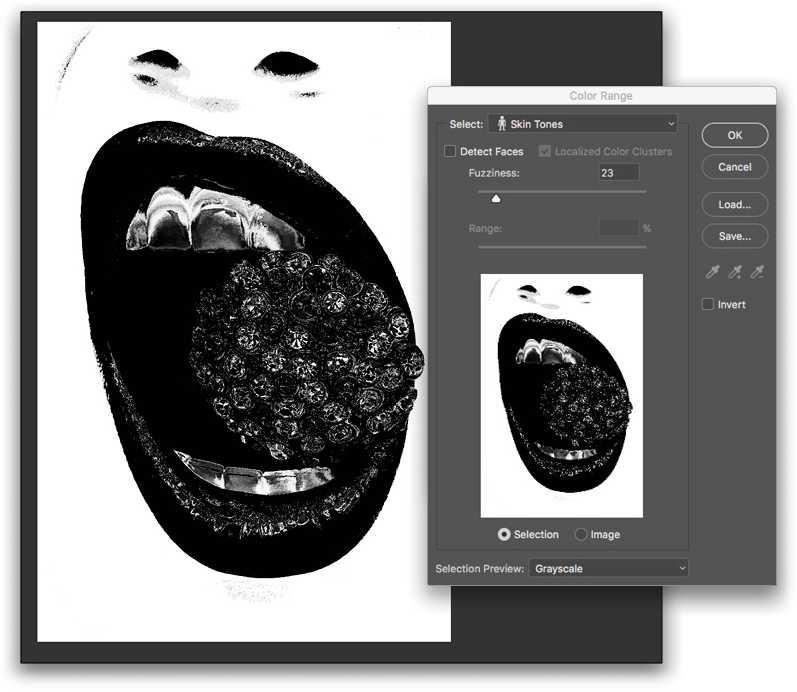
Let’s see how easily Photoshop can create a mask of the skin tones in this photo. We’ll start again by selecting Color Range from the Select menu, and then I’ll choose Skin Tones from the Select drop-down menu.

Wow, check out this exceptionally detailed mask I was able to create in all of 2.2 seconds with the help of this dialog.
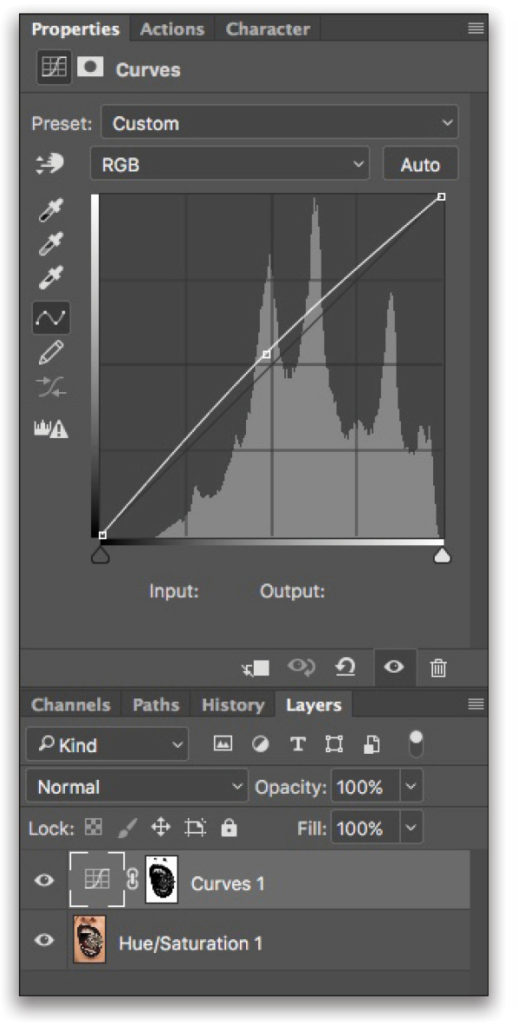
Once we click OK, the marching ants will appear on the image showing us where Photoshop has made its selection. All we have left to do is save it to a mask by clicking the Curves adjustment icon in the Adjustments panel. Then, we can very slightly increase the lightness of the skin tones by modifying the curve in the Properties panel.
And, here’s what the final image looks like.
In this article, I purposefully didn’t do a ton of modifications to each of the images because this tutorial is about the Color Range tool and teaching you how to use it to create detailed, super-charged masks without any freehand masking at all. So get in there and start experimenting with this fantastic, and oftentimes totally underrated tool. I guarantee it will save you loads of time on your future retouching projects!
This article originally published in the July, 2017 issue of Photoshop User magazine.


