Color grading can feel like a guessing game—especially when you’re trying to recreate the mood of an image you love. In this excerpt from Dennis Dunbar’s course “Color That Connects: Color Grading & Correction with Purpose,” Dennis shares a fast, practical method for matching the look of a reference photo using Curves. It’s a smart, intentional way to get your edit into the right color “neighborhood” without endless trial and error.
One of the things I love about color grading is how many different approaches you can take — but sometimes you just want a fast, practical way to get in the right neighborhood when you’re trying to match a look. This technique is something my friend Lisa Carney showed me, and it’s one I come back to often when I want to mimic the palette of an image I admire but don’t want to spend half the day experimenting.
For this demo, I’m working from a Jacques Olivar photograph. I love his fashion work, and this particular shot has a warm–teal palette that’s really striking. The idea is to use that image as a guide and quickly build a curve that pushes our photo in the same direction.

Step 1: Set Up the Reference
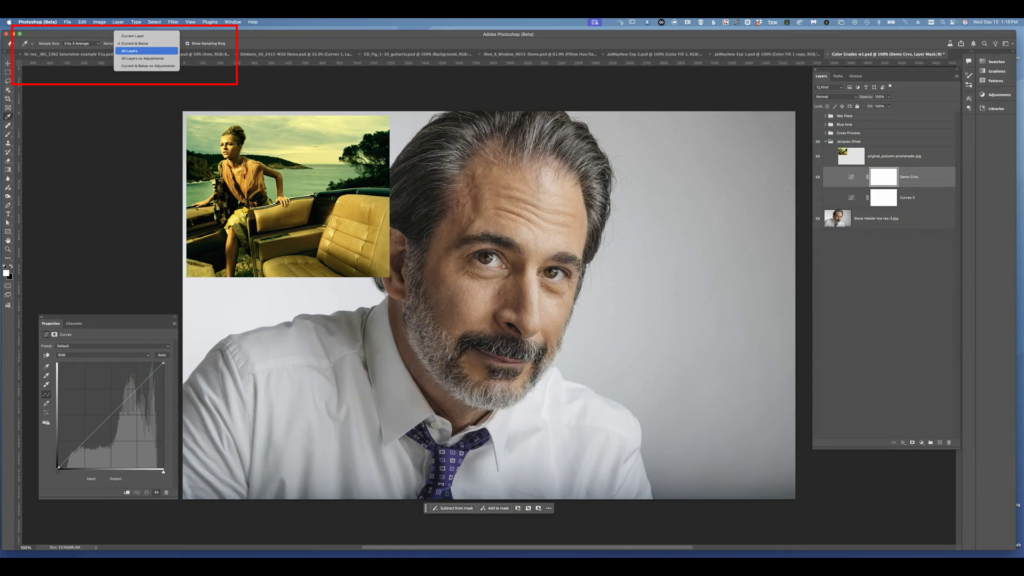
The first move is simple: bring the inspiration image into your Photoshop document and place it above everything else in your layer stack. I want it on top so that when I sample color, I’m sampling directly from that reference. Then I add a Curves Adjustment Layer underneath it — that’s the layer that will actually create our color shift.
Before you start sampling, you need to tell Photoshop where to look. Over in the Eyedropper settings, set Sample Size to All Layers. Since the reference is sitting above the Curves layer, “All Layers” ensures Photoshop reads the colors correctly when we sample them.
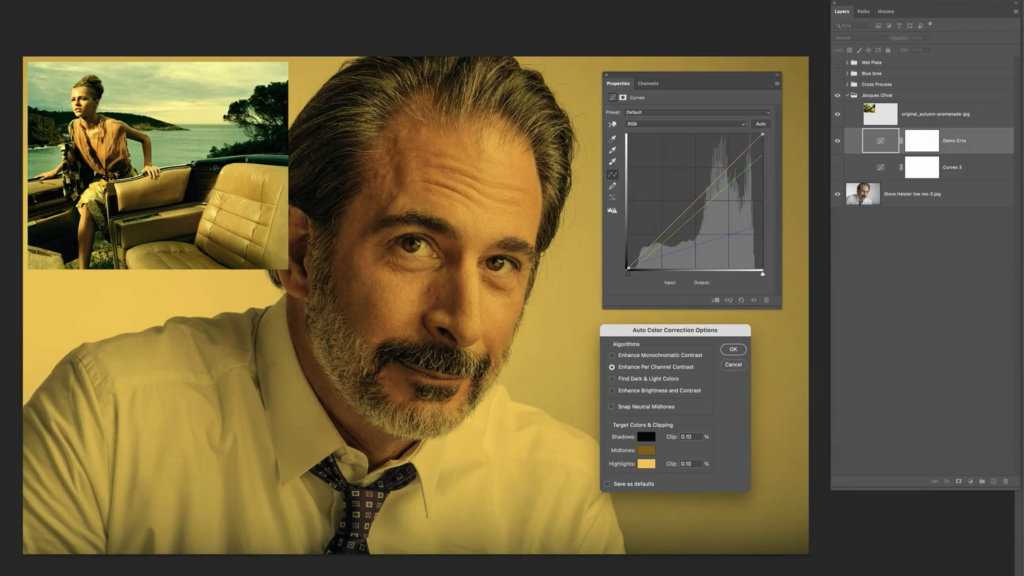
Step 2: Use Auto Options to Capture the Color DNA
Now here’s the part most people overlook: the Auto Options inside Curves.
Click the little Options button, and you’ll see you can define custom colors for Shadows, Midtones, and Highlights.
This is where we borrow from the Olivar shot.
- For Shadows, I’ll click around until I find a darker tone in the reference that sets the right hue direction.
- For Highlights, I’ll pick a warm, lighter spot and adjust brightness if needed.
- For Midtones, I’m looking for something that’s close to 50% brightness — that way I’m adjusting the color relationship, not the contrast. If I can’t find a perfect midtone in the reference, I’ll simply sample a hue I like and manually set the Brightness value to 50%.
Each time I confirm a choice, the curve updates. You can actually watch the RGB curves bend themselves into shapes you would probably never imagine on your own.
Step 3: Fine-Tune — or Don’t
Once I click OK, Photoshop builds a curve that starts to push my image into the same warm, cinematic zone as the Olivar photo. And honestly, that’s the beauty of this technique: it gets you very close with almost no effort.
You’ll notice the resulting curve can look a little wild (Lisa would say “crackers”), with the red, green, and blue channels each doing their own dance. But that’s fine — you didn’t have to build it by hand. The curve is doing exactly what you asked: shifting the tonal relationships to echo the reference image.
At this point, I can fine-tune if I want, maybe lighten a highlight or nudge saturation, but more often than not this gets me right into the creative zone I was aiming for. From here, it’s just about refining the image based on your intent.

Unlock the Ultimate Lightroom Collection when you join KelbyOne
Have you been waiting for the perfect time to join KelbyOne? Our best deal of the year is happening right now. Join KelbyOne and get immediate access to The Complete Lightroom Learning System, a brand-new, no-nonsense learning track that will transform every part of your photography workflow. Along with full annual membership benefits, you’ll receive forever-access to the Freebies in our Cyber Bundle. This is your chance to unlock the tools and training you need to level up your photography and keep the momentum going all year. Click below to see the full details and get started.