As a portrait photographer, the biggest mistake you can make is to show up unprepared, especially at your own studio! The gear required for portrait photography can start to add up quickly, but by investing in some of these basic pieces, it will be enough to get you started.
Once your model arrives on set, don’t stand around twiddling your thumbs or fumbling with gear. Get to work. You want to show confidence so that your subject can feel comfortable. That ease will naturally show through in your shots!
This list is not about acquiring a particular brand of gear, but it will give you a place to start. The next step to learning portrait photography is to actually get out there and practice.
Camera/Lens
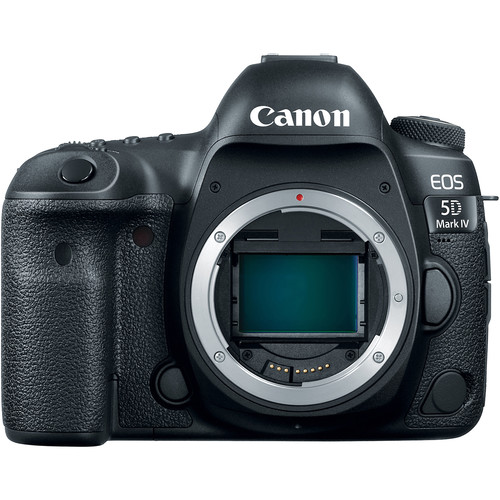
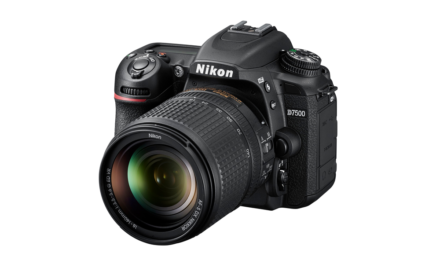
What camera should you use? If we were having that conversation, we could be here forever. But you know what they say—the best camera is the one you’ve got! For the purpose of creating portraits, we like the Canon EOS 5D Mark IV.
The lens is where it really matters! These are perfect for portrait, due to their long length. You want the tip of their nose, cheeks, ears, and everything to be in focus. You want to use a high numbered F stop—F/8 or F/11 often turns out beautiful results!
Accessories
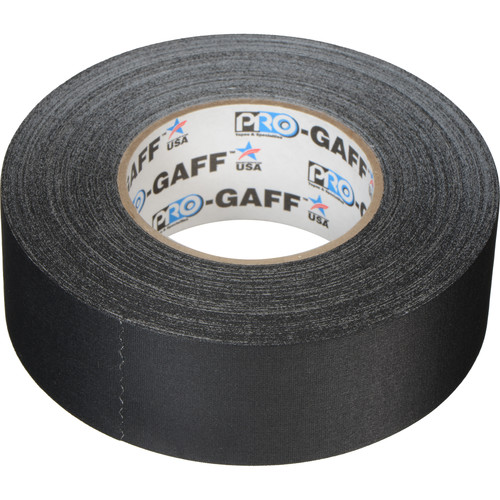
Gaffer tape. Gaffer tape, gaffer tape. There’s a reason it’s a favorite across so many photographers. You can tear it with your hands and it’s so practical! Use it to hold down cables, secure a backdrop, patch up your softbox, label your equipment, keep props in place—the uses are endless! The same idea goes for sandbags, they’re great to have on hand.
You’re gonna need some kind of a backdrop for your studio. The most inexpensive backdrop you can get is called seamless paper. Savage Seamless Paper is inexpensive and you want to get at least a nine or an eleven-foot roll.
- Gaffer Tape
- Sandbags
- Savage Seamless background paper
- Blow It fans
- Lastolite EzyBalance Gray Card
- Tether Tools
Instead of viewing your photos on a tiny screen—wouldn’t you love to see them full size? That’s where a tethering cable comes in! You can check the focus, you can check the shadows, you can check the expression of your subject. A tethering cable, like this one from Tether Tools, is a must-have item.
Software/Apps
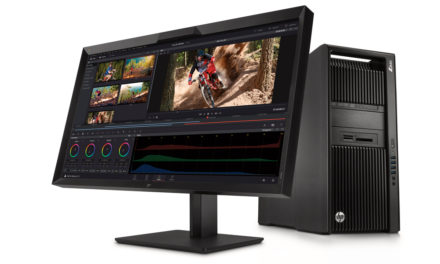
Once your shoot is over, you’re going to want to take it into post-processing! Whether you’re retouching, correcting highlights and shadows, or making big edits—start here!
Flashes/Strobes
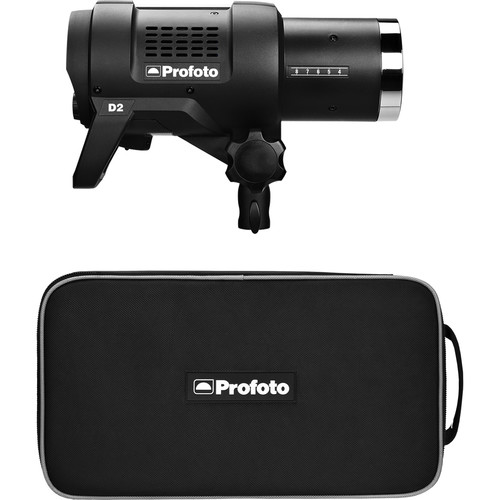
We love this flash and remote set by Profoto because it’s powerful and gets the job done! This light is fast and you can adjust the strength and energy of the light to give it an extra boost!
Supports and Tripods
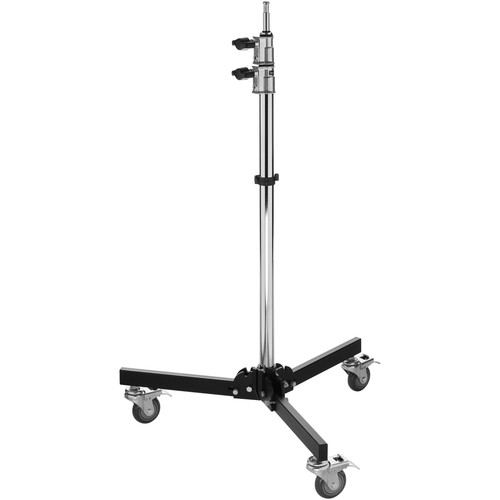
Your camera and lights aren’t going to do you much good just sitting around on the ground. Or even worse, if they fall over onto your subject! Don’t take any chances, you’ll want to get sturdy and reliable equipment.
A rolling stand is just a gamechanger. If you are constantly moving lights around to different looks, you will save yourself a lot of work by using wheels. Just trust us…
- Gitzo Tripods
- Really Right Stuff Ball Heads
- Rolling light stands
- Impact Backlight Stand Base
- Impact Adjustable Pole with Socket and Fixed Ends
Modifiers
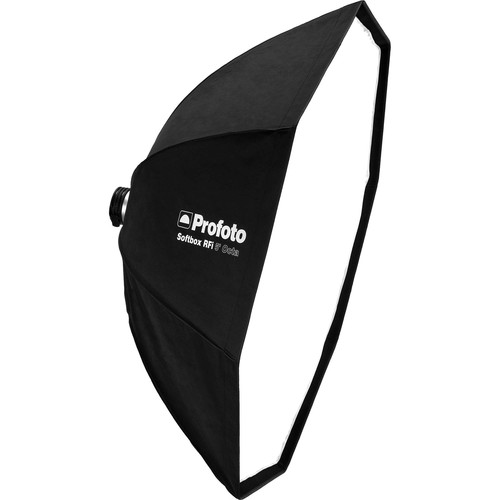
If you’re starting out with modifiers, a good-sized Octa Softbox is what we’d recommend. The Profoto 5′ RFi Octa Softbox is a big beautiful light that will cover a model, small groups, headshots, a wedding party, full-length shots—whatever you need.
A great second light, to focus on hair, or backgrounds is Profoto’s RFi 1.0 x 4.0′ Softbox. If you’re hesitant to buy a second light, you can always pick up a very inexpensive reflector to help redirect your light.
Beauty dishes, diffusers, and V-Flats can all help tell a story and sculpt your light where you want to draw attention.
- Profoto 5′ RFi Octa Softbox
- Profoto RFi 1.0 x 4.0′ Softbox
- Profoto 50° Softgrid for 1.0 x 4.0′ RFi Softbox
- Profoto zoom reflectors and grids
- Profoto Beauty Dishes
- Profoto 1/3 Stop Diffuser
- Collapsible Reflectors
- V-FLAT WORLD Foldable V-Flat (Black/White)
- Matthews 24×36″ Flag
It may seem like a long list of things to buy—no one ever said photography was a cheap hobby! Start to build your setup slowly, and you’ll start to understand what tools are right for you.
All of this studio gear can be seen in action with Scott Kelby’s class: ’10 Essential Studio Techniques Every Photographer Needs to Know’. Whether you’re looking to start your own home studio or if you’re going on set with clients—this is what you need to know!
Did we miss anything?
What are your gear must-haves? We want to know—tweet us at @KelbyOne with a picture of the gear you use most!


I have a question, you stated “Once your model arrives on set, don’t stand around twiddling your thumbs or fumbling with gear. Get to work. You want to show confidence so that your subject can feel comfortable. ” Are you saying, you start to setup your shot when the model arrives? Or is your gear already setup for the shot, and to get started shooting?
Thanks.