This tip comes straight from Scott Kelby’s “iPhone Tips & Tricks” session at last year’s iPhone Photography Conference, where he broke down exactly when it makes sense to shoot RAW on your iPhone—and when it absolutely does not. If you’ve ever wondered whether those massive file sizes are actually worth it, Scott lays it out in classic no-nonsense fashion.
RAW Reality Check
First off, it’s important to note that there are two types of RAW files, right? You’ve probably heard of ProRAW. If you’ve got one of the newer cameras, like the iPhone 15 Pro or newer—basically anything from the last couple of years—you’ve got this ProRAW format. It shoots in RAW, but the file sizes are huge. Every time you press the button, it’s 75 megabytes. SEVENTY-FIVE MEGABYTES.
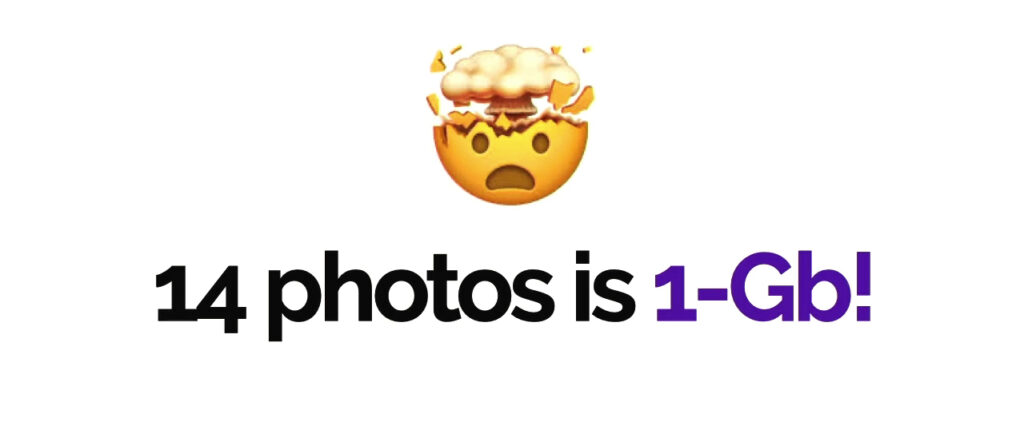
A JPEG is usually around one megabyte. Or Apple uses HEIF compression, which is about one megabyte. That’s nothing. A RAW file is 75 megs. So when in the world would I use that? If I press the button 14 times, that’s a gig. That’s a gig of data for only 14 photos. What if I do a burst and hold it down? Boom—gig. So what I do is I leave my camera set all the time to JPEG.
JPEG looks great. Files look fine. It’s what we’ve been using on our iPhones forever. There’s no real downside. Sure, if you want to edit in Lightroom it’s nice to have the extra data from RAW. There are advantages. But I don’t know if 75 megabytes per click is enough advantage for me.
My Rule for RAW
So I only turn on RAW when I’m somewhere, taking pictures, and I look and go, “Oh man, this looks really, really good.” I might want at least one image at that 75-megabyte, 48-megapixel level. So I switch it to RAW, take the shot, and I’m good. Then I turn it right back off. That’s it. I turn it on for one shot, then turn it off.
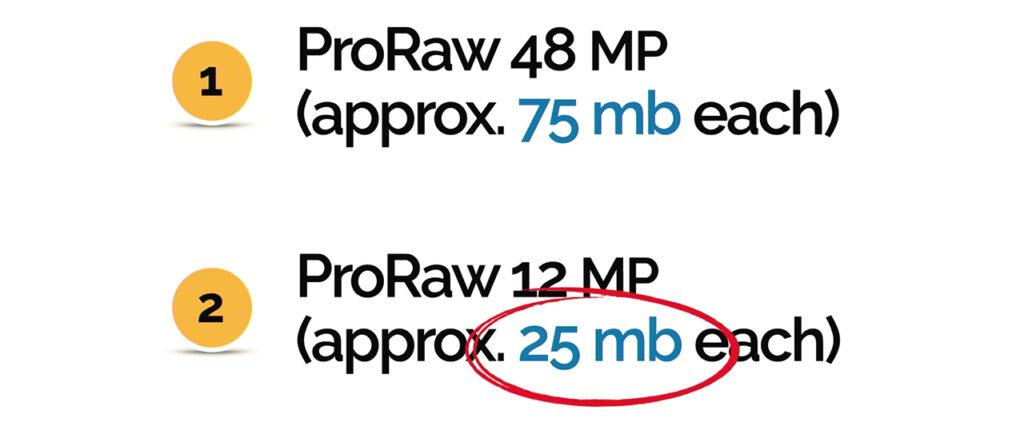
Now here’s the second thing you might want to consider. You don’t have to shoot 48-megapixel RAW. You can do 12-megapixel RAW. It’s a third of the size. It’s still RAW. It’s still ProRAW. But now it’s about 25 megabytes each.
12 Megapixels Is Actually Plenty
I know some people are like, “I don’t know, Scott…12 megapixels? Is that enough?”
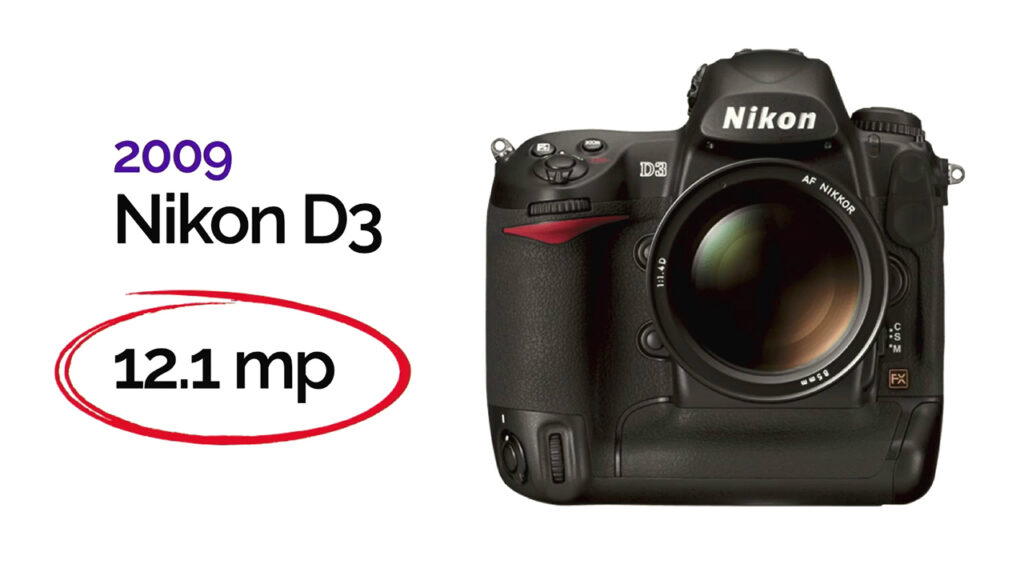
Let me put it this way. In 2009, Nikon came out with a groundbreaking camera. I was shooting Nikon then and I went out and bought the Nikon D3. Revolutionary camera. Incredible quality. Best low noise of any camera at that point in history. Killer camera.
It was 12.1 megapixels.
What were people paying? Five thousand dollars. Body only. No lens. Five grand for a 12-megapixel camera. And today we’re like, “Is 12 megs enough?”
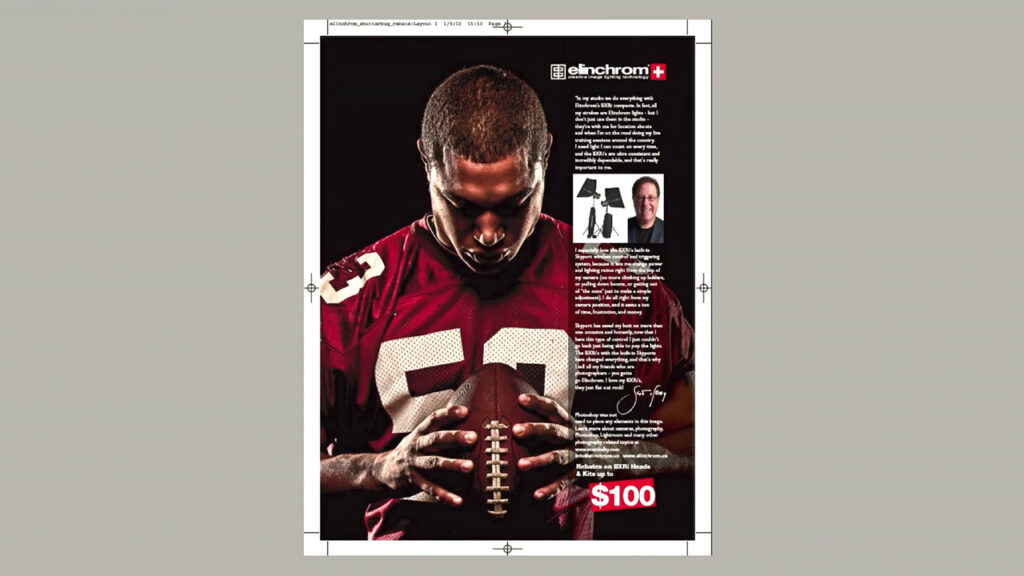
I took an image with that D3 that ended up being used in a campaign for Elinchrom lighting. It was also on the entire side of their booth as a giant print.
Then Nikon licensed the image from me. Here I am speaking at Nikon’s booth in New York, and right under the word “Nikon,” there’s the image as a massive framed print.
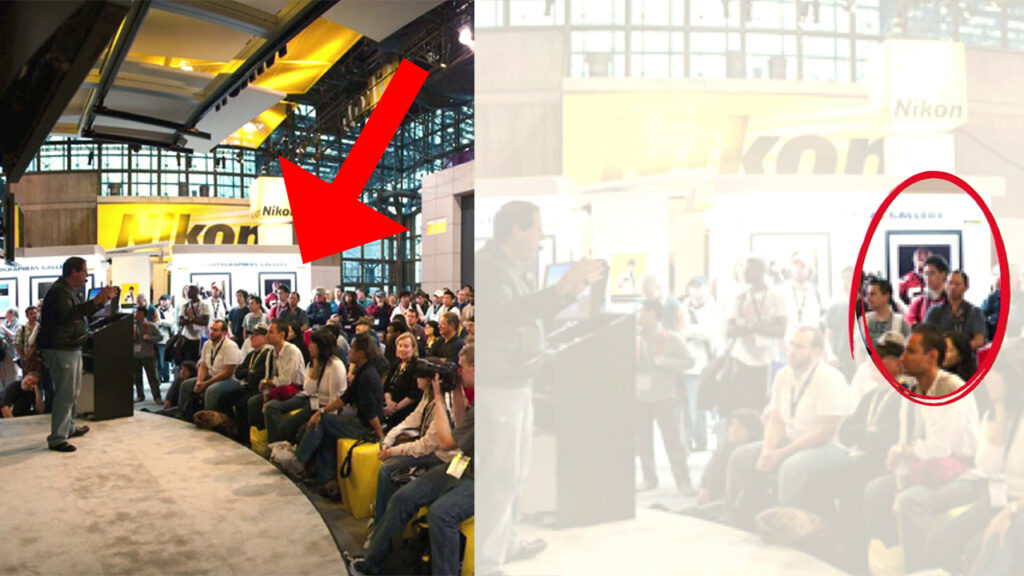
That was a 12-megapixel image. How big are you planning to print that you need more than 12? Trust me. Twelve megapixels is plenty.
Change It up on the Fly
Here’s how you set it up so you can toggle RAW on and off when you need it.
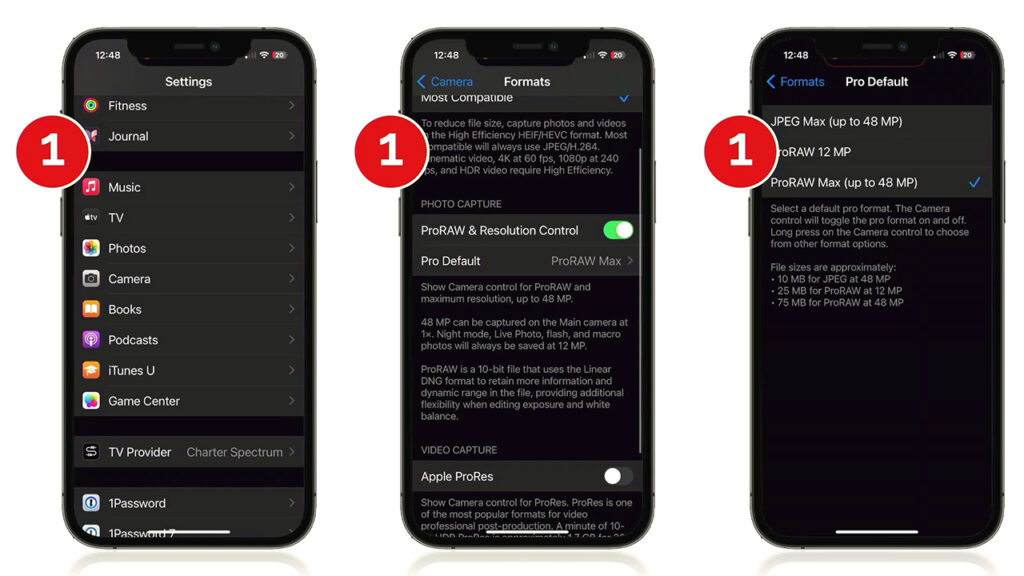
Step one: Go to Settings. Then go to Camera. Then go to Formats.
The default is ProRAW Max. Make sure ProRAW is turned on. This is where you decide—do you really need 48 megapixels, or can you get away with ProRAW 12 megapixel?
Now here’s the interesting thing. You’ve chosen 12 RAW, right? But you’re not actually shooting RAW yet. You’ve just told your camera, “I might shoot RAW in the future. Be ready.”
So when you’re ready to shoot RAW, look at the top right corner of your camera screen. You’ll see it says RAW and it says 12. But there’s a line through it. That means you’re still shooting JPEG.
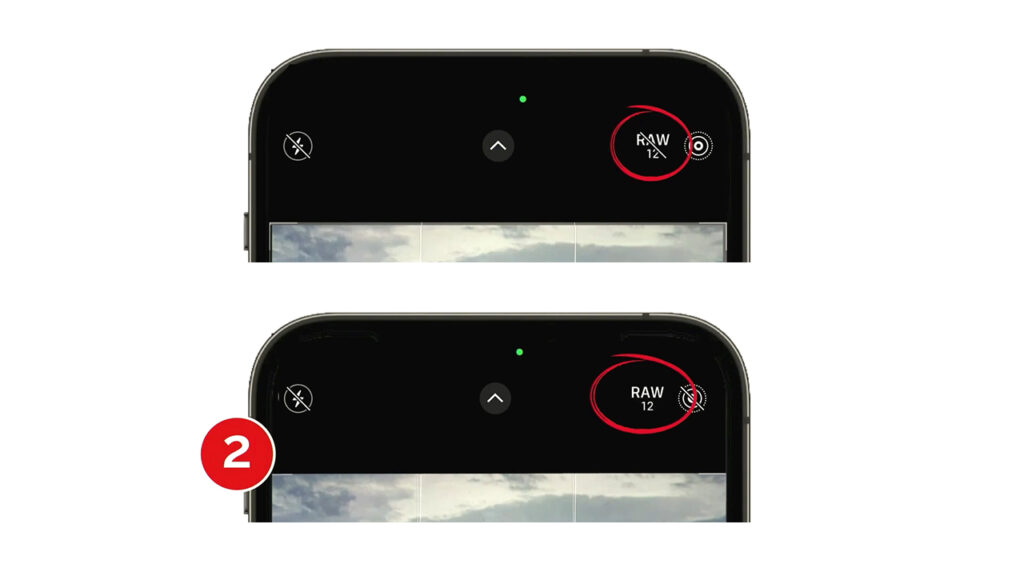
Tap it. Line goes away. Now you’re shooting RAW.
When you’re done? Tap it again. Back to JPEG.
If you tap and hold, you can change it. Like if you suddenly decide, “This image is about to change people’s lives. I need 48 megapixels.” Tap and hold. The pop-up menu appears. You’re good.
There’s also JPEG Max. That’s a 48-megapixel JPEG. Much smaller than RAW, but still high resolution.
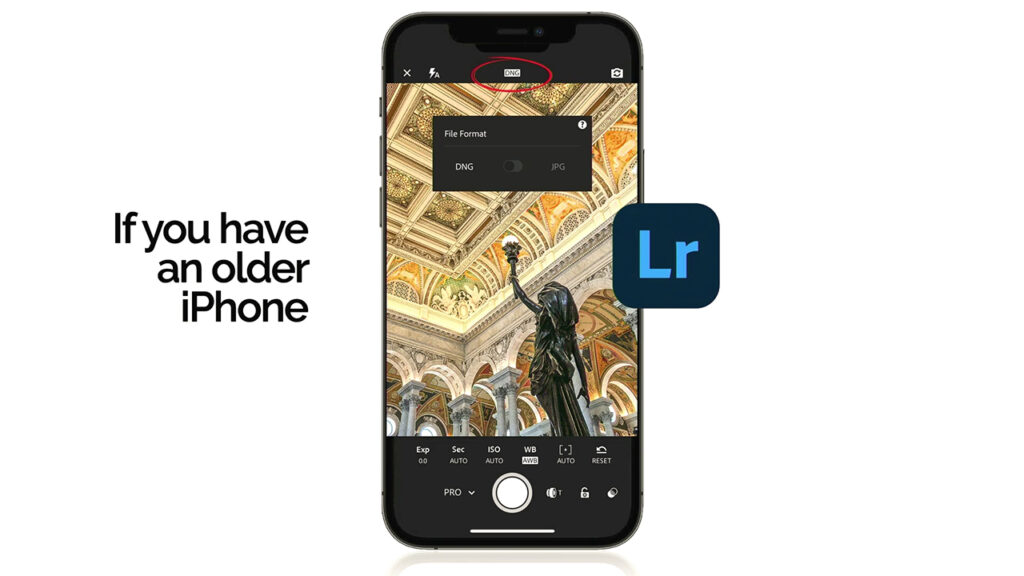
No RAW on Your iPhone? Here’s the Workaround
Most iPhones today shoot in RAW. But if you’ve got a model that doesn’t, download Lightroom Mobile. Lightroom Mobile lets you shoot RAW. Just tap up top where it says JPEG. A little file format window pops up. Choose DNG, which is Adobe’s open-source RAW format. Now you’re shooting RAW.
Make Every Shot Count
The iPhone Photography Conference is back March 9–11, 2026, featuring three days of hands-on tips, creative approaches, and editing techniques from top industry pros. You’ll walk away ready to capture images you’re truly proud of—anytime, anywhere.