Advanced Editing in Lightroom & Photoshop
This tutorial comes straight from photographer Ramtin Kazemi’s class “Capturing Landscapes: Post-Processing with Style” from last year’s iPhone Photography Conference. In this excerpt, he digs into just how far today’s iPhone files can be pushed in post — and spoiler alert: it’s way further than most people think. If you’ve ever wondered whether your mobile images have real editing potential, this one’s for you.
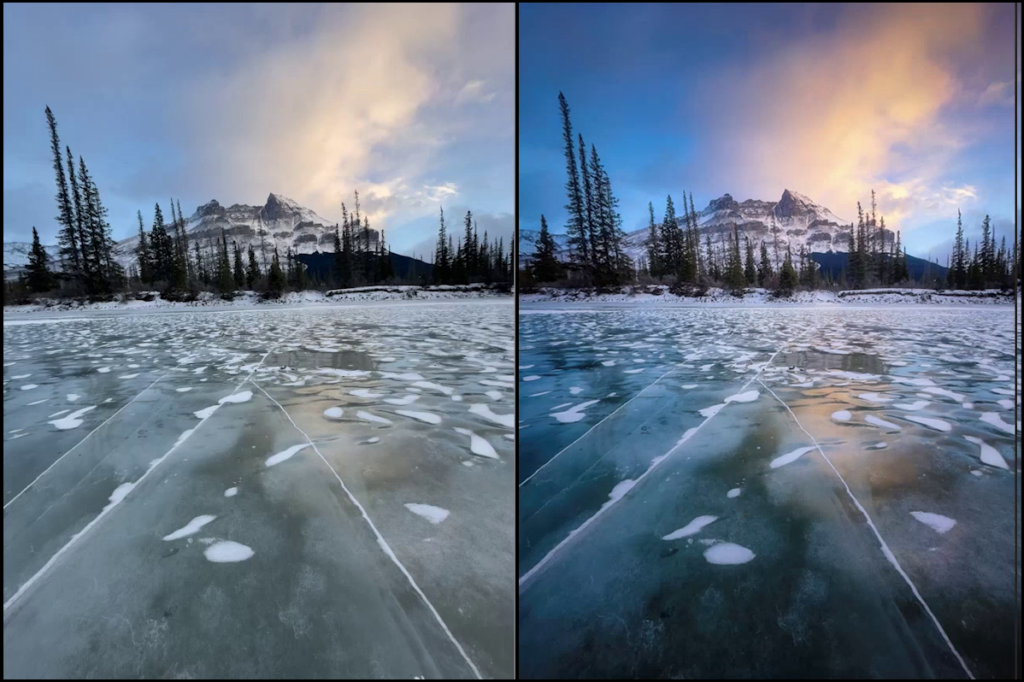
Before we even start, I want you to know this was the first time I purposely left my Z8 in the bag and shot only on my iPhone—and honestly, it shocked me. These are real RAW files straight from the phone, and I want to show you how much flexibility is actually in there. And since we’re photographers, chances are you’re already living in Lightroom, so that’s where we’ll begin this edit together.
This Edit Starts in the Calibration Panel
The first place I go is Calibration. I’m going to increase the red primary saturation. Watch what happens right here in the reflection on the ice. See that little bit of warmth? That’s what I’m looking for. It’s subtle, but it makes a difference.
This is why when you’re shooting, you want to pay attention to small color details. If there’s even a little bit of color in your scene, you can bring it out later. But if it’s not there at all, you can’t really add it convincingly in post.

This is also why I always recommend shooting RAW on your phone. These files hold way more information than you think.
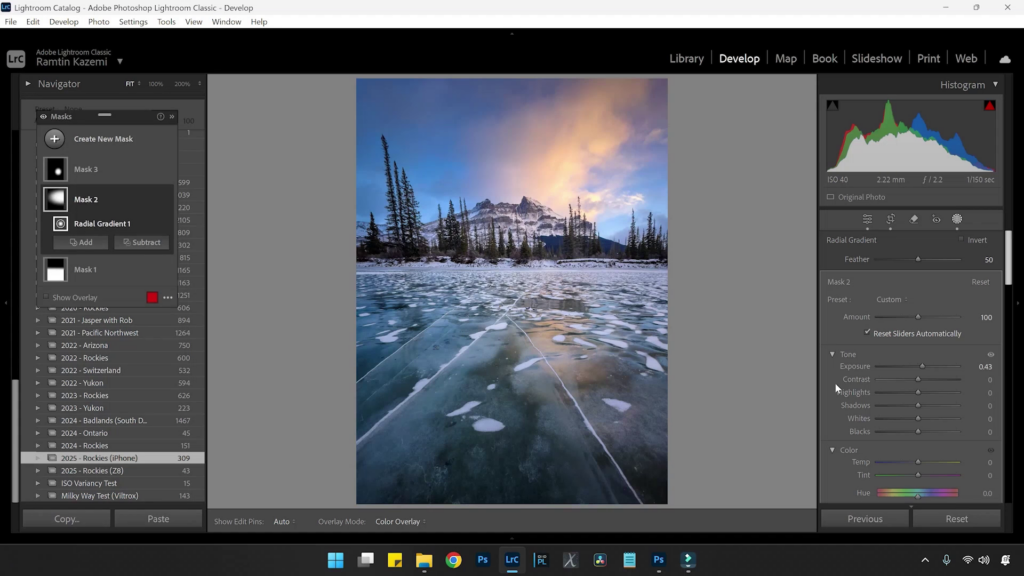
Lifting Shadows and Shaping Contrast
Now I’m going to warm up the image slightly and adjust the tint. Then I’ll lift the shadows to bring out detail in the trees. A few years ago, you couldn’t really do this with phone files. They’d fall apart. But now? You can pull a lot out of them.
The thing is, when you lift shadows, you lose contrast. So what I’ll do is add a linear gradient to the foreground and bring the exposure down a bit to add depth back in.

It’s always a push and pull. You open things up, then you shape them again.
Using Light to Guide the Viewer
Next, I’ll add a radial gradient where the sun was coming from and increase exposure slightly. I’m not trying to fake light here — I’m just enhancing what was already there.
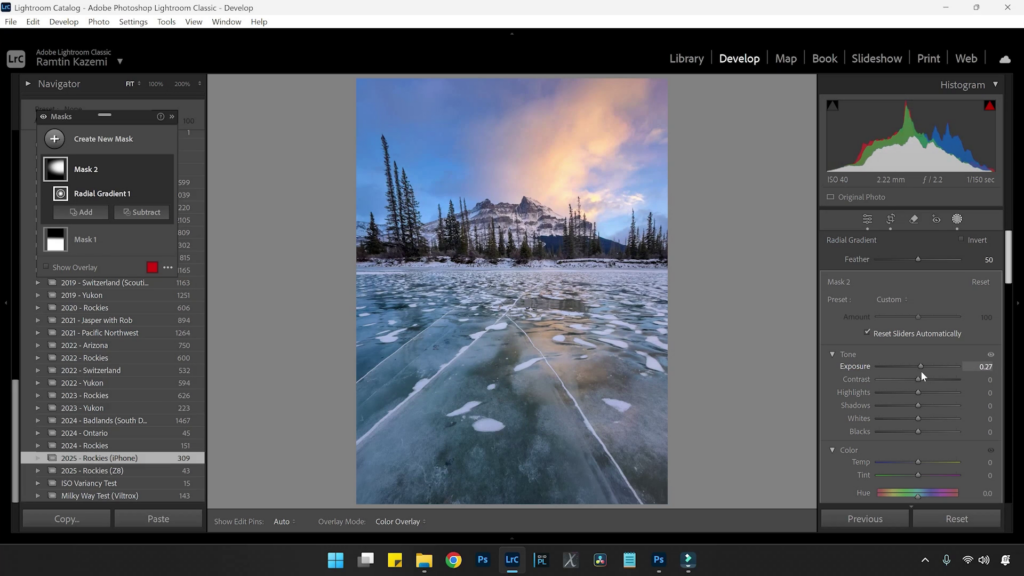
Then I’ll add another radial over the warm reflection in the ice and bump up saturation just a little. Now that reflection becomes a focal point.
For me, it’s always about light first. Color comes second.
Finishing in Lightroom
I’ll add a subtle vignette in Lens Corrections. Nothing heavy. Just enough to pull your eye toward the center.
Then I’ll go back and check my masks again. I’m constantly toggling before and after. I want to make sure I’m actually improving the image, not just changing it.
Add a Photoshop Finishing Move
Now I’ll bring this into Photoshop and add a soft Orton effect. I duplicate the layer, apply a Gaussian blur, and then lower the opacity to around 10 or 11 percent. After that, I add a Levels adjustment to bring contrast back.
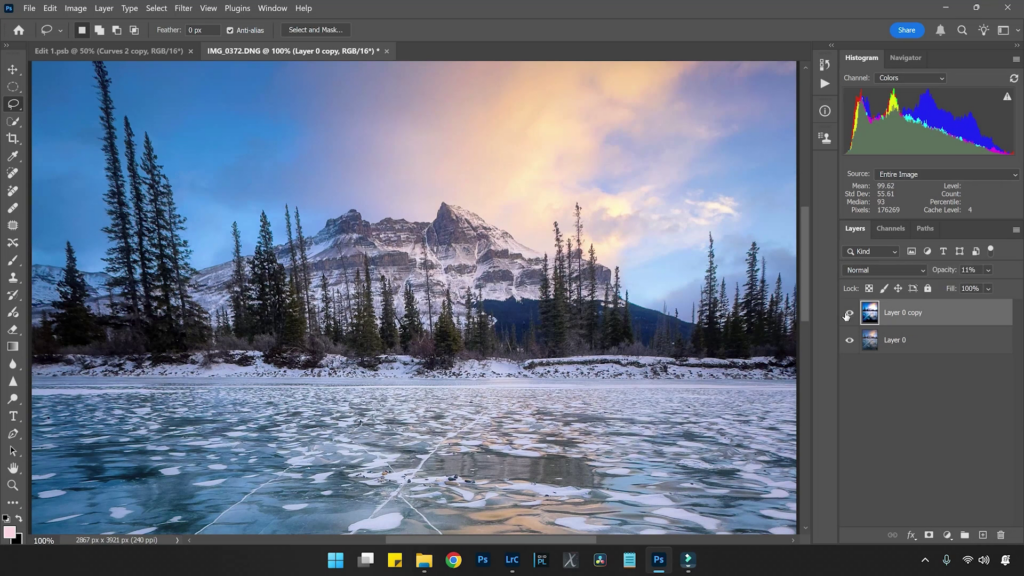
It gives a nice glow, especially in the highlights and trees. If you want to learn this technique in more detail, I cover it step-by-step in my other KelbyOne courses where I go deeper into my Photoshop workflow.
Portfolio-worthy post from an iPhone
At this point, I ask myself: would I put this in my portfolio? And yeah, I would. This was shot on an iPhone 14 Pro. Not even the newest phone. So if you’re on a newer iPhone, you’ve got even more room to work. Modern iPhones are absolutely capable of creating portfolio-quality images. You just have to be intentional — in the field and in post.
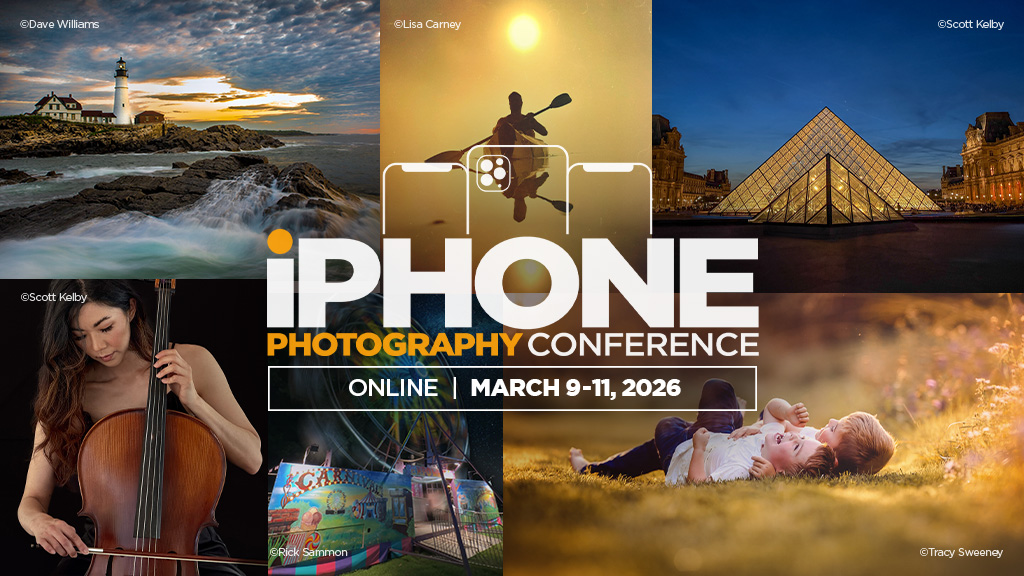
Make Every Shot Count
The iPhone Photography Conference is back March 9–11, 2026, featuring three days of hands-on tips, creative approaches, and editing techniques from top industry pros. You’ll walk away ready to capture images you’re truly proud of—anytime, anywhere.