In this project, we’ll overcome an obstacle that photographers face all too often. In landscape photography, we’re told time and time again that there are only two times each day when we can successfully shoot a landscape: the golden hour (often referred to as the “magic” hour), which is early in the morning and again late in the evening. But when we’re out on the road desperately trying to cram so many awesome locations into our tight schedules, it’s not always practical, and we have to carefully choose where we are for sunrise and sunset.
Our well-planned golden hour shoots can easily be cancelled because of weather or something else in the environment that gets in our way. And then there are those times when we chance upon an awesome location that would have been great at sunrise but it’s now the middle of the day and we don’t have the opportunity to go back.
I’m a firm believer that it’s important to know what the rules are so that we can best break them! So with all that in mind, here’s my tutorial on faking a golden-hour landscape, breaking the rules appropriately to achieve the best shot and overcome whatever obstacle prevented the shot in the first place. Some purists will call me a cheat; however, I live photographically by the phrase, “Lend me your eyes and I’ll show you what I see.” What I do in post is show you what was in my mind’s eye at the time I took the photo. I’ve spent years working on this technique through trial and error, patience and practice.
We’ll take a look at what makes a golden hour shot versus a shot taken in the middle of the day, then use that information to emulate the golden hour look using Adobe Camera Raw’s powerful processing and manipulation abilities.
Step One:
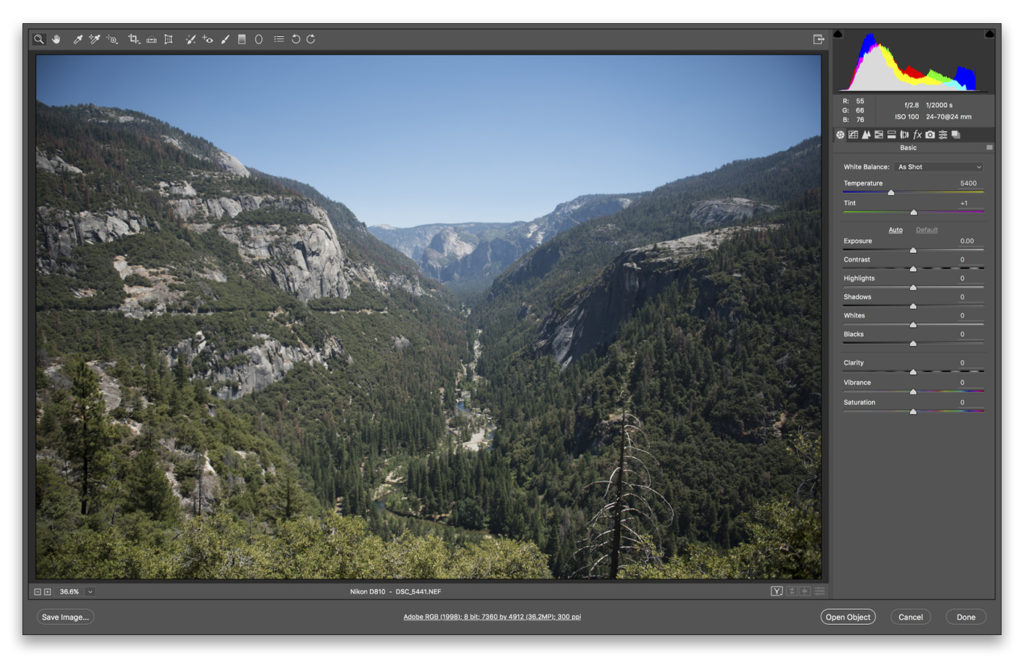
Load your image into Adobe Camera Raw. The image I’m using for this tutorial is one from Olmsted Point in Yosemite National Park. It was taken about 1 p.m., which is as far away from the golden hour as you can get, but we’ll make it look as if the early-morning sun is bathing the scene in golden light. I took this shot in July 2016 while driving from San Francisco to Las Vegas on my way to Photoshop World, having been shooting for a travel assignment in California. I wasn’t able to be there at the golden hour, so I only had this one option.
The golden hour gives your image characteristics that are vastly different from the flat and cold midday light we see in this image. The main consideration to keep in mind when using this technique is the sun; so don’t let that out of your thoughts here. There’s usually wild contrast and warmth, so that’s what we’ll try to emulate in Adobe Camera Raw. The first step is to open your image and leave all the sliders alone. All of them!
Step Two:
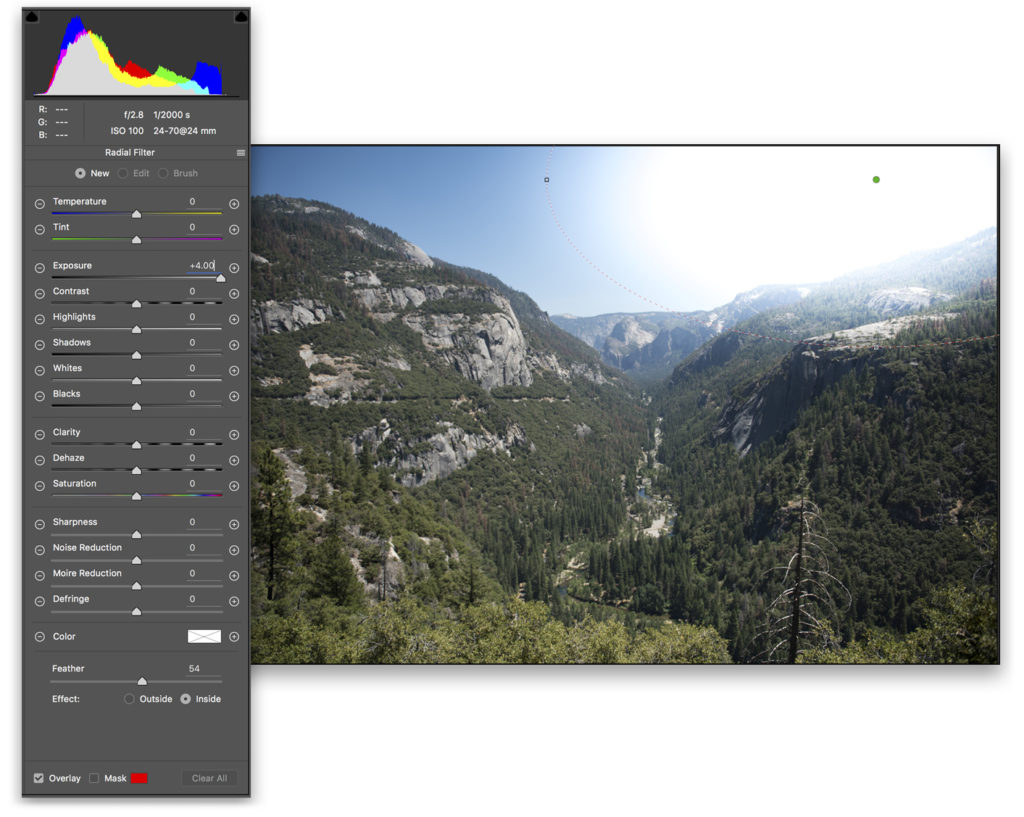
First, we need to get that sky looking more like the golden hour. That, for me, is warm and radiant, and with a bit of sun. We’ll put the sun in there using the Radial Filter (J). The settings to use are the maximum Exposure, which is +4 stops over, and drag the White Balance Temperature slider to a nice, warm yellow or orange tone. When selecting the color temperature, we need to gauge it by eye, adjusting the look and feel of the difference between the result and the original image. We also need to select the Inside radial button at the bottom of the Radial Filter panel to have the brightness radiate from the circle, rather than into it.
Make a very large circle in the sky with the Radial Filter and let it overexpose the scene like I have in this picture, ensuring you have Feather up around 50 to keep it looking as natural as possible and without any defined edges. When you’re done with the Radial Filter, you can exit the tool by clicking the Hand tool icon or pressing H. Now you can start looking at other aspects of your scene.
Step Three:
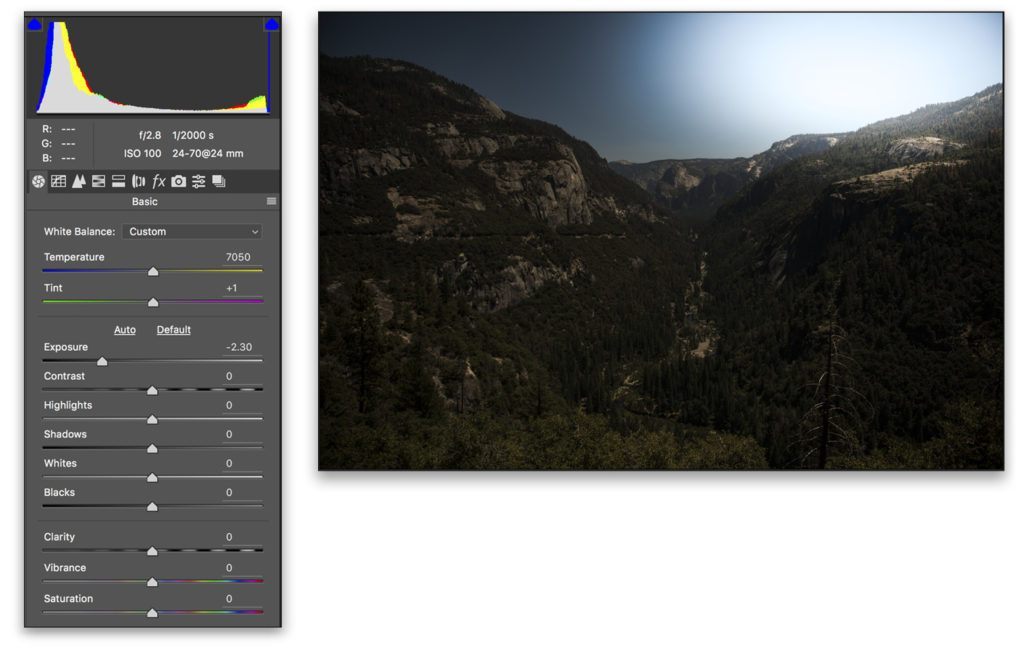
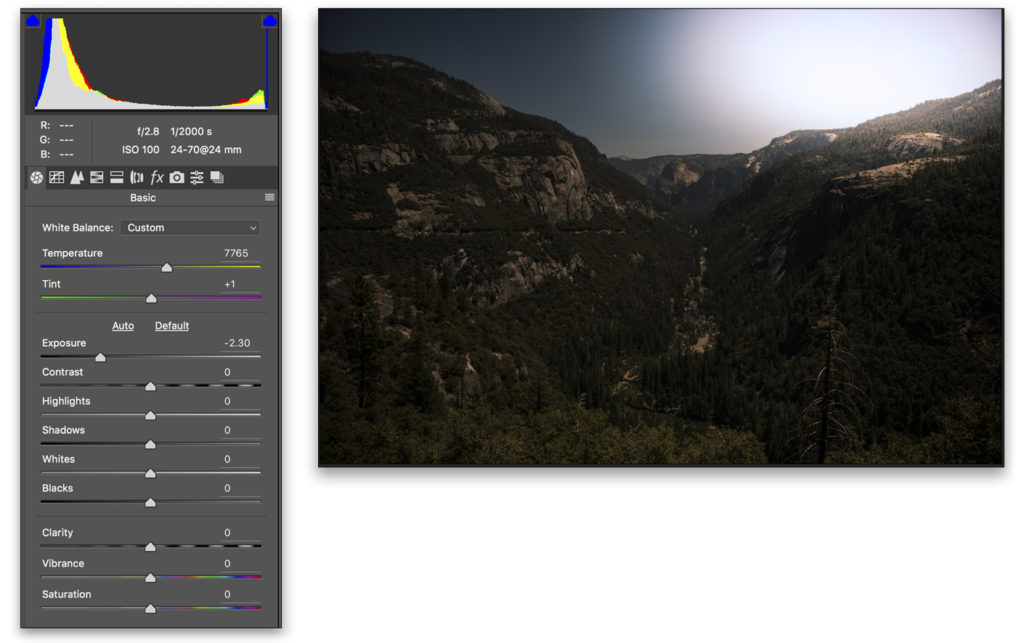
Next up is to balance the rest of the image with the massive amount of light we’ve just put into the overall scene. To do this we need to use the Exposure slider to darken things a bit, matching the relative darkness of golden hour on the landscape. I’ve pulled the slider down to –2.3 to really let the scene go into shadow, much like you’d expect to see in early morning light.
Step Four:
The next golden hour attribute we need to simulate is a warmer ambience. When the sun is low in the sky, the light has to travel laterally through a far greater depth of our atmosphere than if it were shining straight down at midday, and this causes the bluer end of the light spectrum to scatter, leaving the more reddish tones. We need to replicate this effect in our image. To warm up the tones, we need to raise the Temperature slider to a nice, natural-looking, warm position. I’ve gone for 7765K in this case. As with all retouching, bear in mind that the sliders should normally be used conservatively. Take it up and down little by little until you reach the best look for the image.
Step Five:
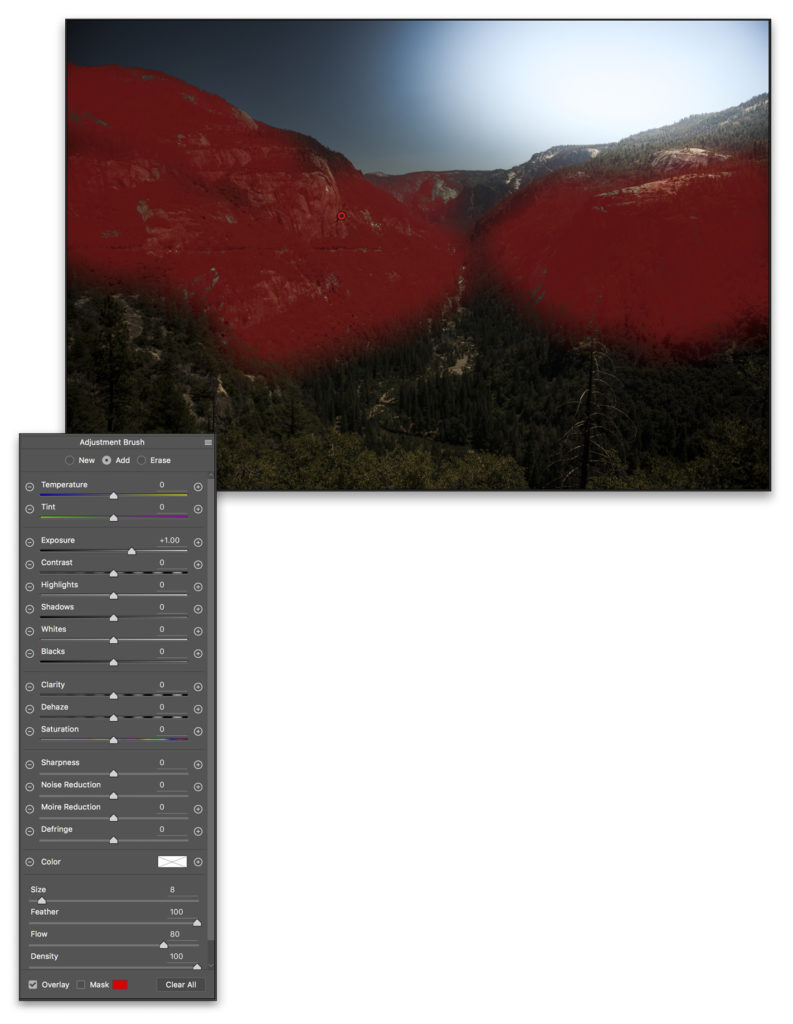
Next up, we can give the scenery a sun-kissed feel with some creative use of the Adjustment Brush (K). We’ll paint in some light to gently bathe the landscape in the way we’d expect to see from light during the golden hour. Because the contrast during golden hour is less than that caused by an overhead sun, the highlights are less likely to be overexposed, but this doesn’t remove much from the overall darker tones of contrast. This warm-colored light hitting our scene enhances the colors and texture of our shot, and it’s this that we’re addressing with this point. Have all the sliders set to zero except for Exposure, which we’ll put at around +1 stop over. With the Adjustment Brush, just click on select spots or paint areas to add light. Employ your intuition to paint areas where you feel the light from the rising sun would fall, depending on where you placed your sun in the sky. This fantastic effect gives the impression that the light is cast on the scene just like in real life.
Step Six:
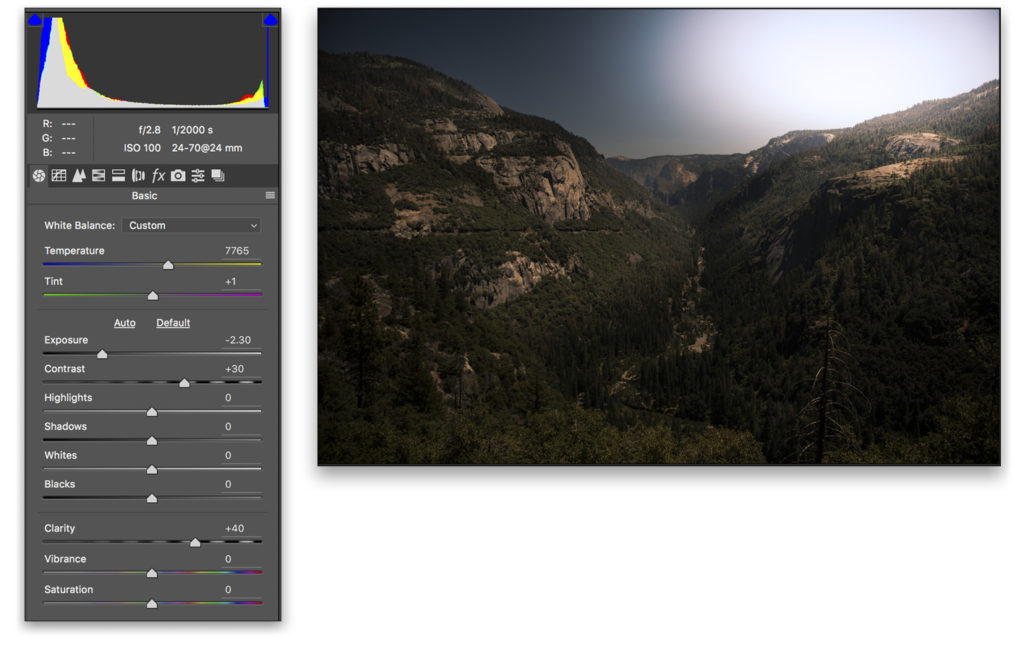
The next step for this technique is to adjust the Clarity and Contrast to create an even more convincing look for our fake golden hour. This Contrast is something matched in a real golden hour shot, and the Clarity further adds to its definition. In the middle of the day, we can all too often end up with harsh shadows and extreme contrast. If we start this technique with a well-balanced and well-exposed shot, we can address the fact that there still needs to be contrast, albeit quite specific, to match the atmosphere we want to create. The low sun causes long shadows, which we’re enhancing in both difference and definition with the Contrast and Clarity sliders. Adjust these sliders upward to complement the overall look and feel of the image. In this case, I’ve moved the Contrast slider to +30 and the Clarity slider to +40. With careful adjustments, we can add to the realism and enchantment of the scene.
Step Seven:
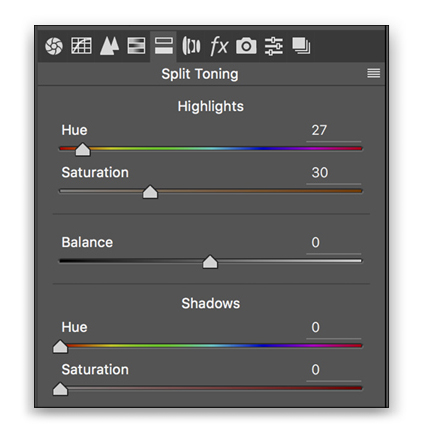
Now for the finishing touch, we’ll warm up the overall scene further, specifically attacking the highlights. The warm glow of a golden hour shot adds a pleasing and inviting feel to the image, and that’s what we’ll enhance here. To do this we’ll use the Split Toning panel. With the Highlights adjustment in Split Toning, select a nice warm color from the Hue slider; in this case I’ve moved the slider slightly away from the red end to 27. Gradually increase the Saturation slider until you’ve added a nice extra bit of warmth, replicating the warmth I described earlier, which is caused by the sun shining through a denser atmosphere than at midday. Judge this by eye and keep it as real as possible.
Tip: When you make changes to things such as Clarity, Saturation, and Vibrance, it’s easy to over-egg it and push your adjustments beyond a realistic look. If you reach this point, simply halve the adjustment and you’ll have a much more realistic look.
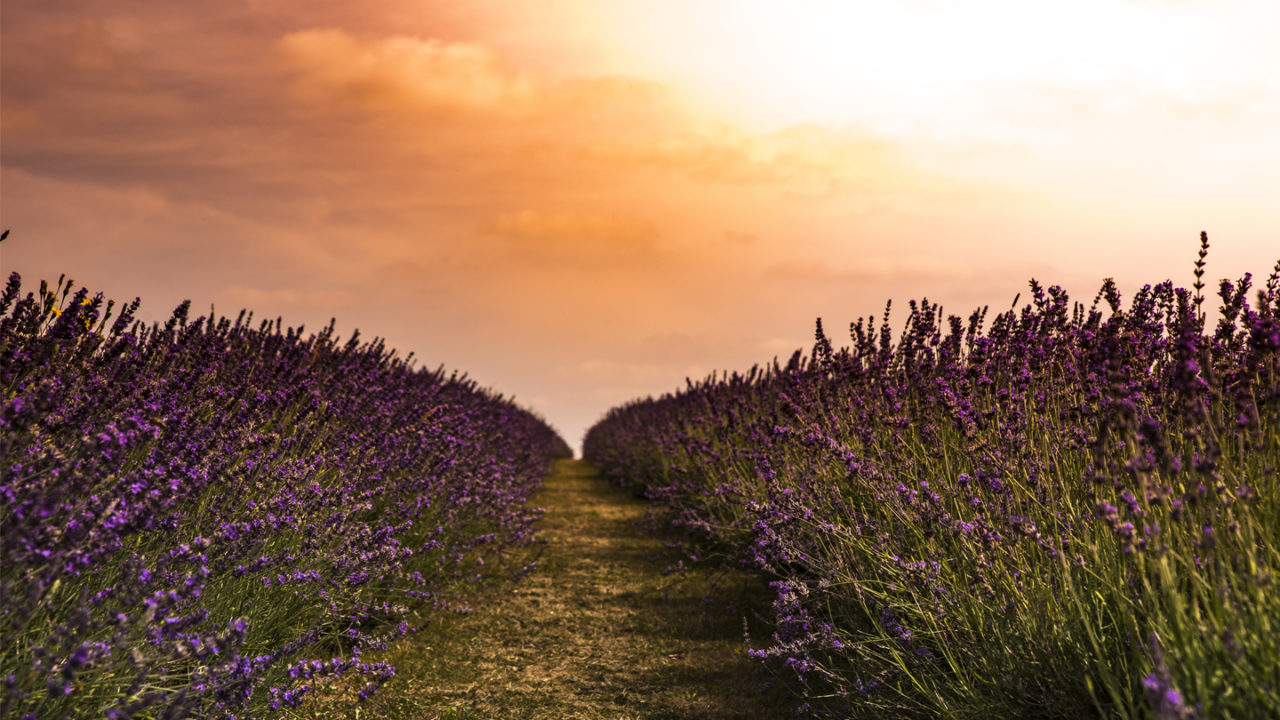
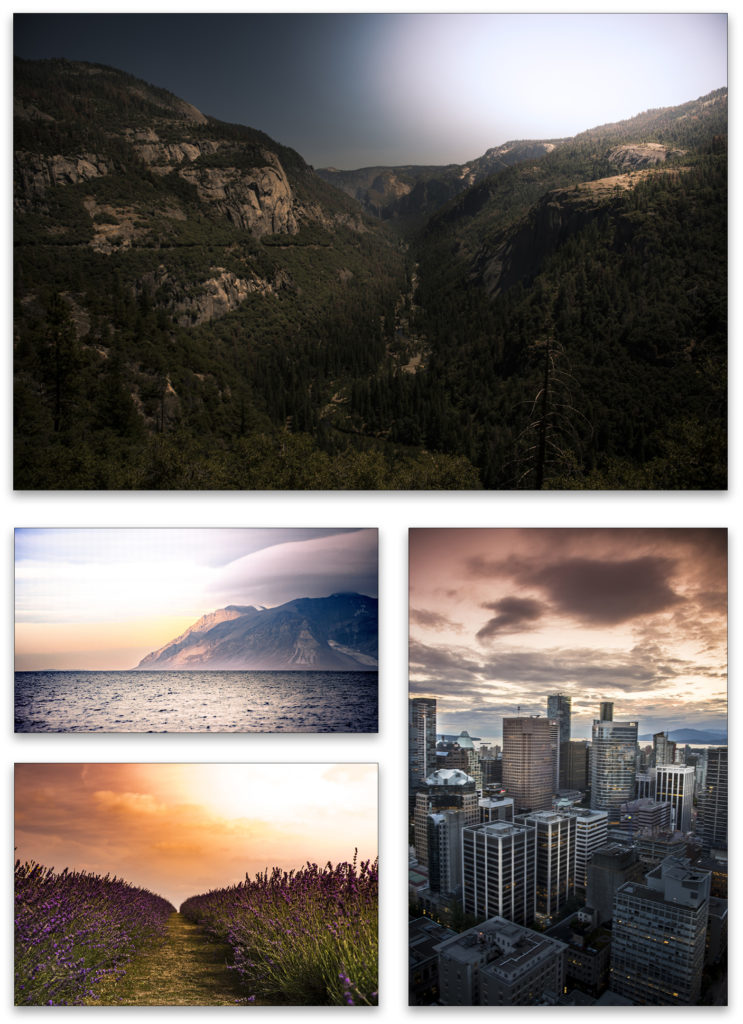
That’s it! Our landscape scene that we shot in the middle of the day has been transformed into a work of golden-hour art, thanks to Adobe Camera Raw. Here are a few other scenes with a fake golden hour—promise you won’t tell anyone! This technique is dynamic and has so many options and applications, but once you get the hang of it, you can make any midday scene look like it was shot with the early-morning rays of the sun kissing the landscape.
This article originally published in the January, 2017 issue of Photoshop User magazine.


