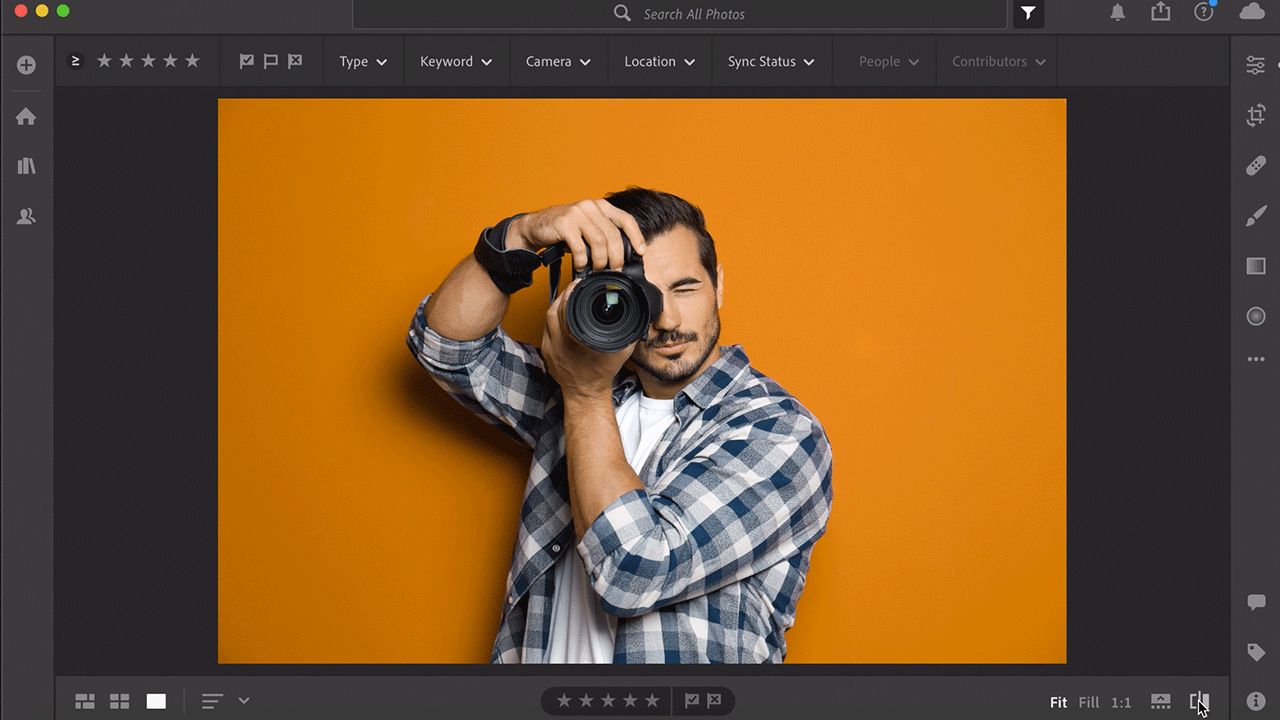
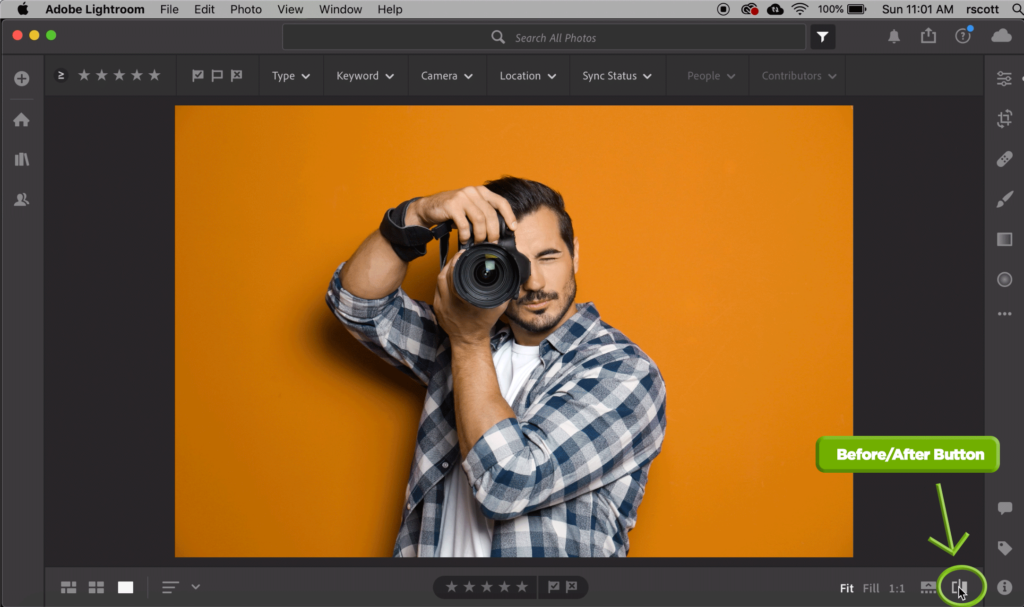
I’ve got a quick Lightroom tip coming your way. This one is for when you want to see the difference between what you’ve created and the original photo. Sure, you can use the office Before/After buttons in the bottom right corner of Lightroom… which you can see in the screenshot below.
But I’ve got an even quicker way—a Lightroom keyboard shortcut!
To use the keyboard shortcut, all you have to do is press the backslash key “\”. Press it once and you’ll see the original image, press it again, and you see your current image with edits.
Watch this super short video (less than 10 seconds) to see how you can use either the button that’s shown above or the “\” key on your keyboard to switch back and forth between your before and after images.
The reason I prefer the “\” keyboard shortcut is because it’s much quicker, but do what feels right for you and your Lightroom workflow!
Want to learn more about Lightroom? You’re in luck. You can find online Lightroom classes on KelbyOne or more step-by-step tutorials here on the KelbyOne Insider!