Earlier this year, I did a talk at a photo club where I presented images from my world travels. Who wouldn’t like seeing those exotic, colorful landscapes and dramatic wildlife images? As I often say to workshop participants, a big step in creating great images is just getting out and taking pictures: you create your own luck. During my presentation, an audience member asked, “Without traveling to the far ends of the planet, what photo opportunities can I pursue at home?” Great question! And my answer was simple: Create your own backyard bird photography station.
Feeding birds is a staple of many American households. People enjoy watching birds and getting close to wildlife. My parents had numerous bird feeders when I was growing up and, because of this, two things happened: First, I became fascinated with birds and exploring the outdoors; and second, I discovered photography, which became my career. Now that many of us are stuck at home looking for creative photography options, it’s the perfect time to set up your own backyard bird feeding station, and start photographing wildlife in your own backyard.
The Location
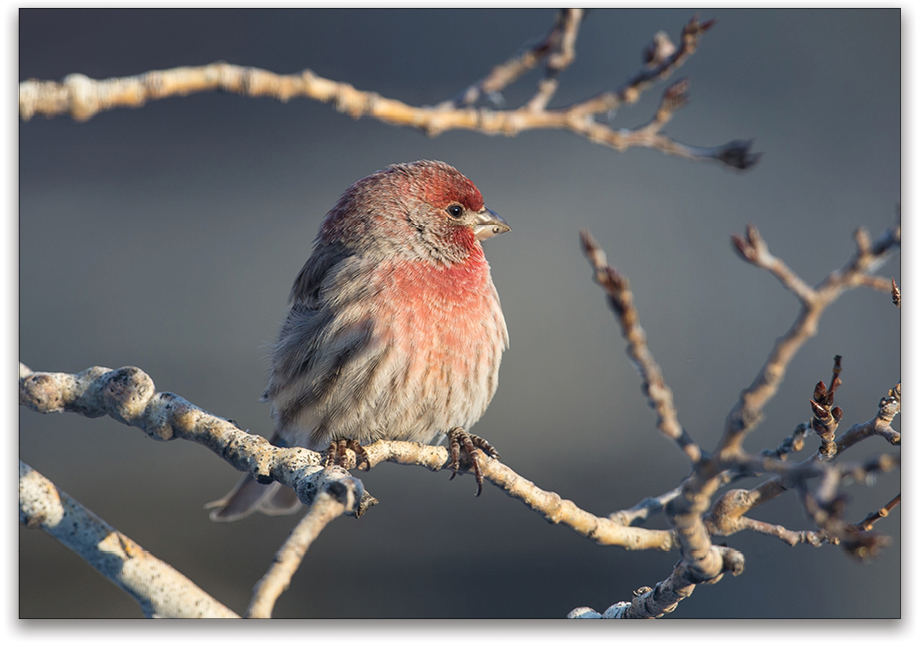
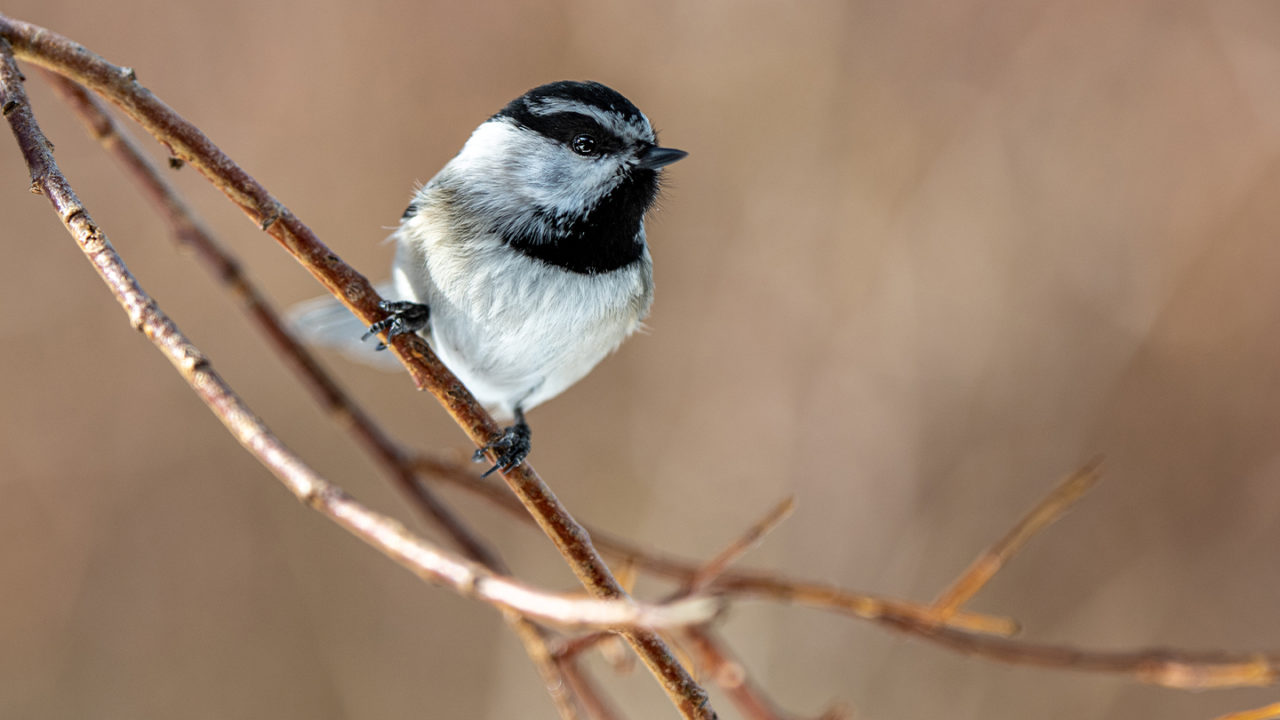
Creating a successful backyard bird feeding station requires some planning. Small perching birds, the species that will frequent your feeder, need nearby cover to feel safe. If you put your feeder in the middle of your yard, you won’t get many birds. Raptors actively hunt small birds, so species like finches and chickadees need cover nearby or they won’t show up.
Place your feeders near some trees, and pay special attention to the background. Look for camera positions that allow you to photograph birds in trees and with distant backgrounds. I placed our feeder near a beautiful spruce tree that looks great in photos. After photographing from this spot, I moved my position so the background was distant trees, which created nice soft bokeh behind the birds. The good news is you can change your camera angle and background anytime you want.
Bird Feeders
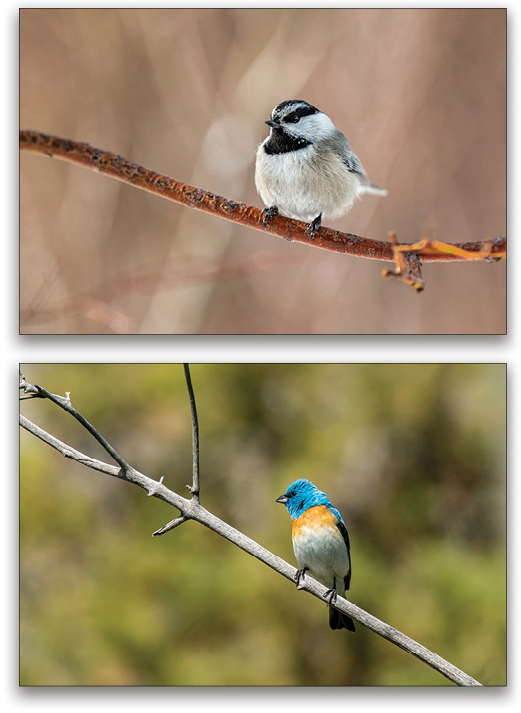
Many stores sell bird feeders and bird food, so you have many options for feeder types and styles. Before going out to buy a feeder and food, figure out what birds are in your area. I rely on the BirdsEye Bird Finding Guide app. This app will tell you what birds are in your area, and where they’re being seen. Another great resource is visiting a specialty bird feeding store; they’ll have great local advice.
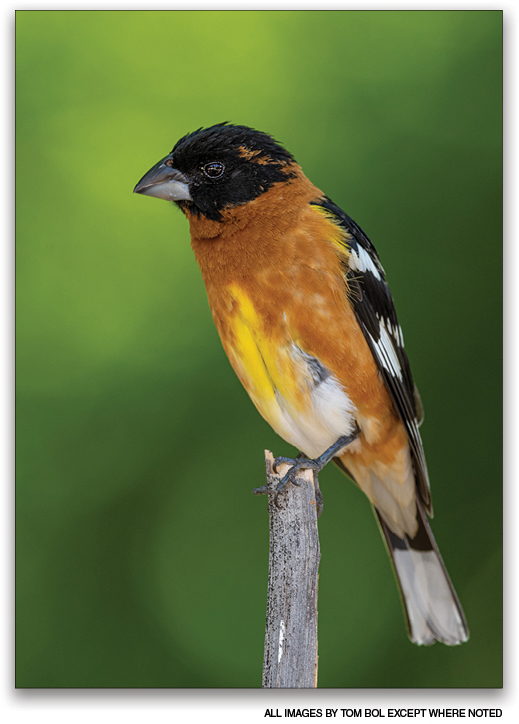
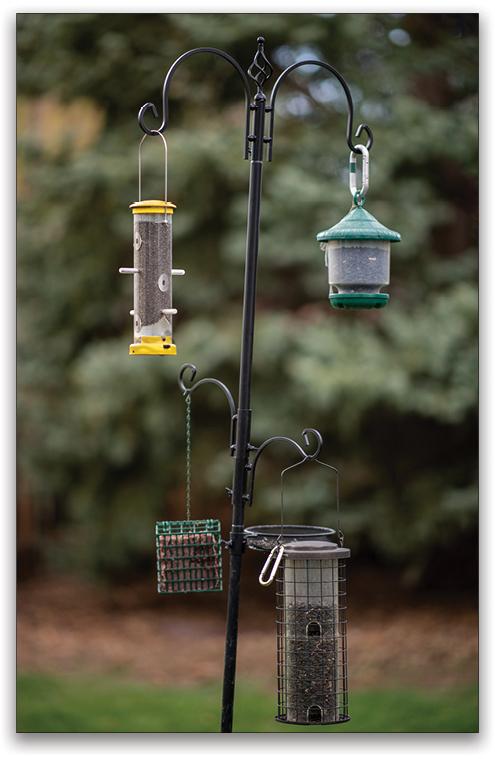
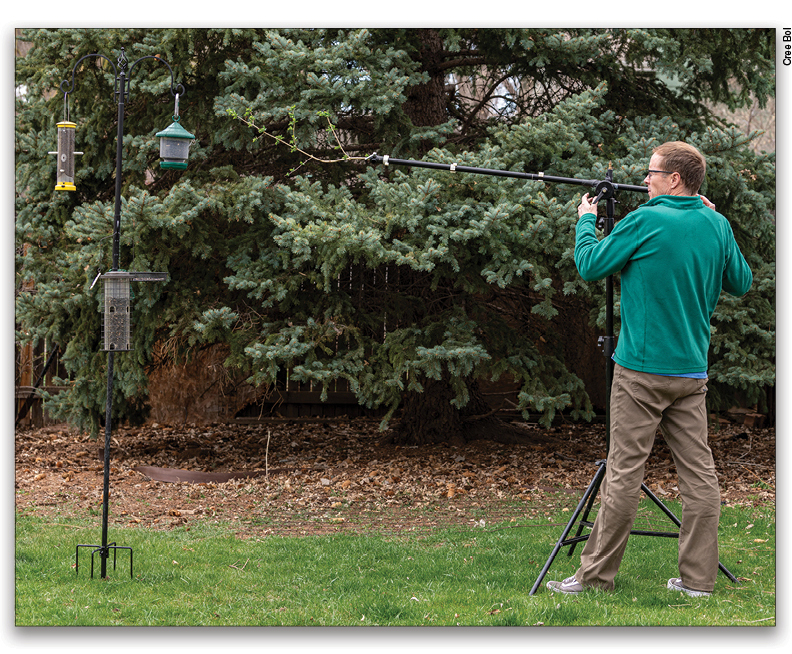
When buying feeders, remember that you don’t just want to feed the birds, you want to photograph them too. I’ve found the best system is buying or building a pole system that can easily be moved around. This way, if you want to change locations and backgrounds, you can easily do this by moving the feeder stand. You can hang feeders in the trees, but make sure you have a clean shot. I purchased an inexpensive pole system online, and it can hold 3–4 feeders easily. I use simple tube feeders that hang on the pole. Since the feeders are close together, finches and other birds often mob the station, which creates more photo opportunities.
Bird food is also important. Sunflower seeds work great at attracting a number of different species including cardinals, finches, chickadees, and nuthatches. Goldfinches prefer thistle seed, woodpeckers prefer suet or peanut butter, and orioles really like sliced oranges. If you want to attract doves and juncos, you’ll need to put seed such as millet on the ground. And don’t forget about hummingbirds. A simple sugar water feeder might attract hummingbirds you didn’t even know lived in your neighborhood.
You can feed birds all year round, and each season has different highlights. Winter generally has the most birds since natural food is scarce. Spring and fall will have uncommon migrants passing through. And summer will see birds coming to your feeders while they’re feeding their young in nests.
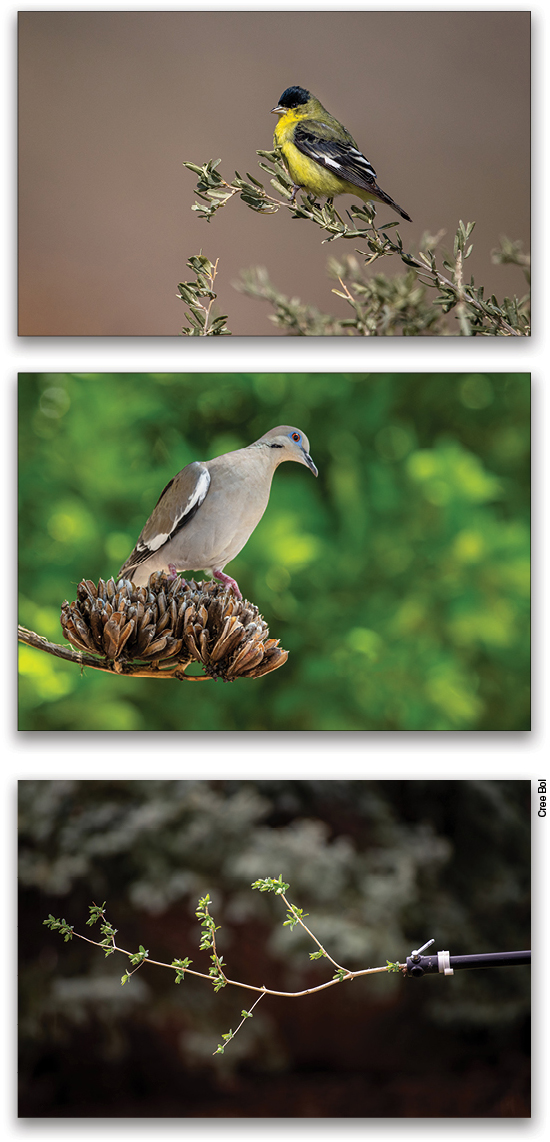
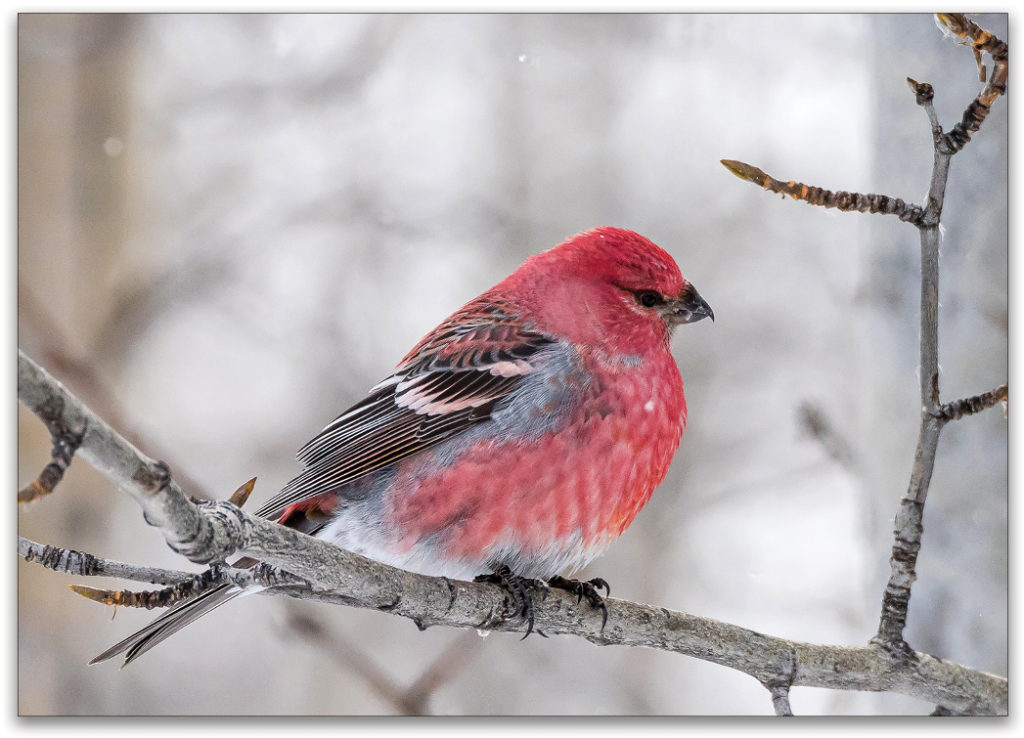
I like to create landing perches for the birds when they approach the feeder. I use a boom arm on a light stand, and attach different branches into the end of the boom. I might use a pine branch for some images, and then switch it out to a flowering crabapple for another perch. Prune the branch so the birds have a photogenic spot to land. You control where the birds perch, what they land on, and what the background looks like. Remember, always consider the direction of the sun and how it will illuminate your feeders. Nothing beats warm morning light illuminating every feather detail on a purple finch.
If you really want to take backyard bird photography to the next level, consider planting natural food sources for birds. Plants such as sunflower, thistle, and crab apple trees will attract birds to your yard. Also, adding a water feature like a bird bath or recirculating pond really does the trick. There’s something about the sound of running water that birds can’t resist.
Bird Blinds
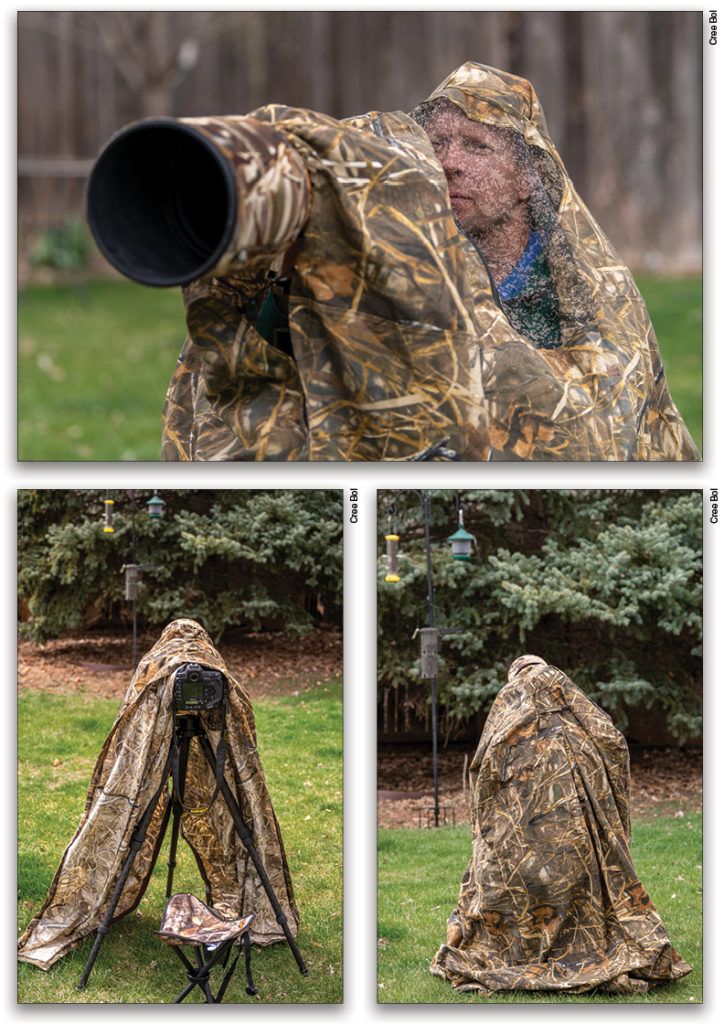
Some birds may be wary of landing on a feeder when you’re standing nearby. Birds will key into shapes and movement, so you need to create a bird blind. The good news is you can easily create your own bird blind. One simple approach is buying some camo fabric and cutting a big enough piece to drape over you and your camera.
Most outdoor stores sell a variety of portable blinds. I use the LensCoat LensHide. This lightweight blind attaches to the front of your lens and covers you and your tripod. A mesh hat at the top allows you to see out. I really like how lightweight and portable this blind is. It folds down into a small pouch that easily fits into your photo backpack. My normal blind setup is sitting on a small collapsible chair with my camera on a tripod. I have been known to stake out birds in local parks using my portable blind, but be careful, because you might scare people away!
Shooting Technique
Now you’re set up and ready to go. Birds might come to your feeders very quickly, or you might have to wait a few days until they find the food. Make notes of when they’re the most active, generally in the morning. Also watch how the light plays out on your feeders during the day. Decide what light works best for your feeding station.
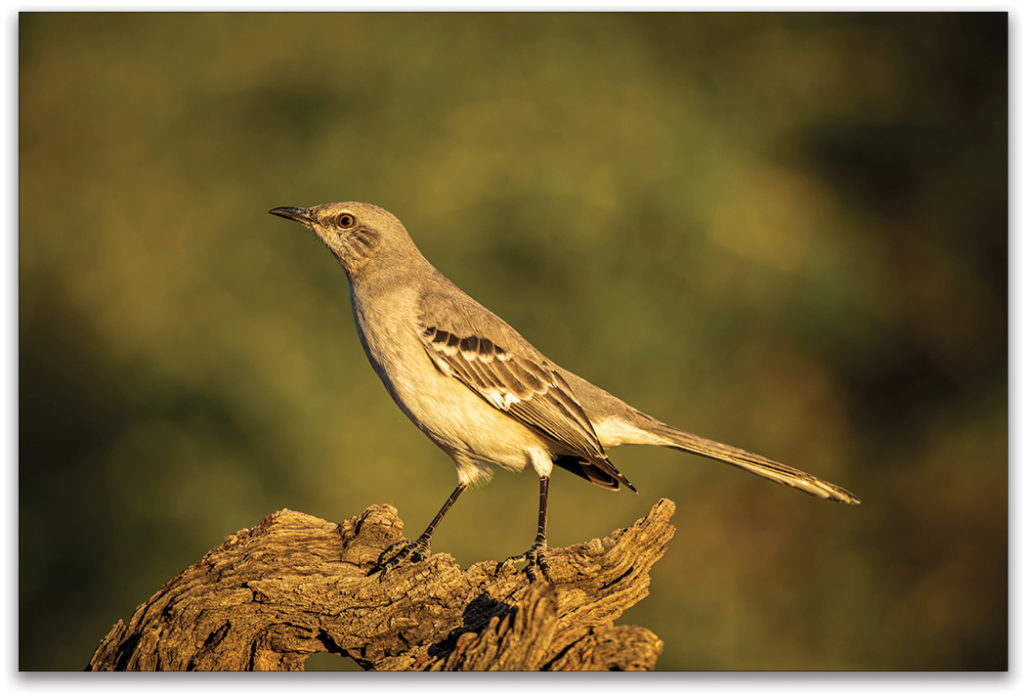
My preferred method for photographing birds is Manual Mode using Auto ISO. Since birds are quick and move a lot, a fast shutter speed is needed. I normally start at 1/1000 at f/4 using my 600mm lens. My Auto ISO is set to top out at ISO 6400. The advantage of using Auto ISO is that, if your bird flies into different lighting in your shot, your shutter speed and aperture stay the same, ensuring a sharp photo. Your ISO may go up depending on the scene, but it’s always better to have a high ISO image with some noise versus a slow shutter speed and a blurry photo that can’t be saved. On Nikon and many other camera systems you can still use exposure compensation if needed.
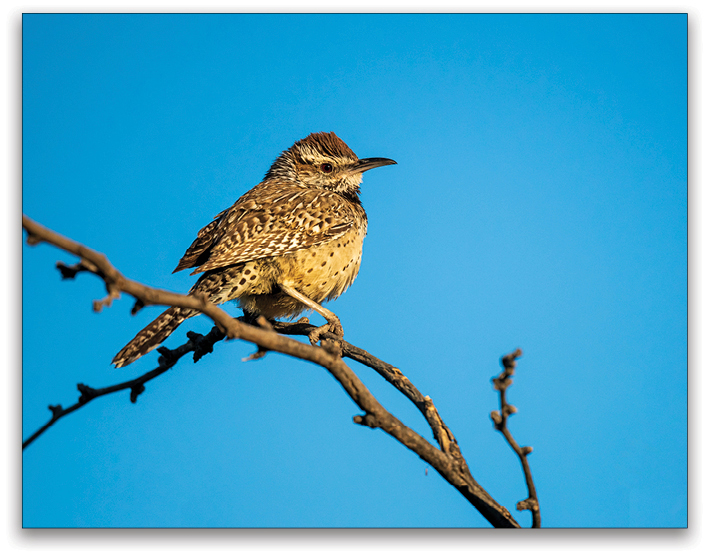
Your best option for bird photography is a fast lens and a camera with a quick frame rate. My go-to gear is a Nikon D5 with a 600mm f/4 lens. Fast lenses like f/2.8 and f/4 focus better in low light, and produce softer bokeh. Imagine this scenario: If the exposure is f/5.6 at 1/1000 at ISO 1600, I could switch to f/4 and lower my ISO to 800, which produces less noise in the image.
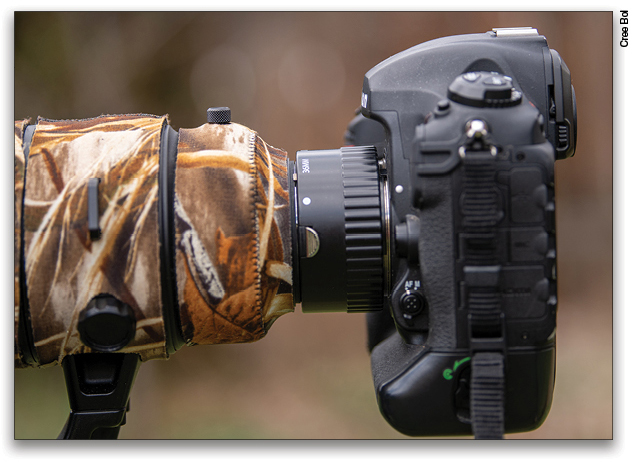
Another thing to consider is the minimum focus distance of your lens. Since you can set up your blind very near your feeder, your lens might not even be able to focus that close. My 600mm f/4 has a minimum focus distance of approximately 14′. But if I want to fill the frame with a small bird, I need to get closer. To solve this problem I add an extension tube to my lens, which allows me to focus closer to my subject. Just remember you lose light when you add an extension tube.
Try these tips to help autofocus faster: First, pre-focus on the perch where the bird will land. Next, use back button focus, which eliminates your camera from attempting to focus every time you hit the shutter button. You don’t want your autofocus searching back and forth when you know where the bird will land. Back button focus separates focus from the shutter button and eliminates this problem. And finally, many prime lenses have customizable buttons on the lens. One option is Memory Focus Recall. This function allows you to set a specific focus point and store it in the camera memory. Any time you want to quickly refocus to your established perch, just hit the memory recall button on your lens.
Backyard bird photography is a great way to keep shooting while at home. With a little setup and some bird feeders, you can soon be photographing wildlife right in your own backyard.
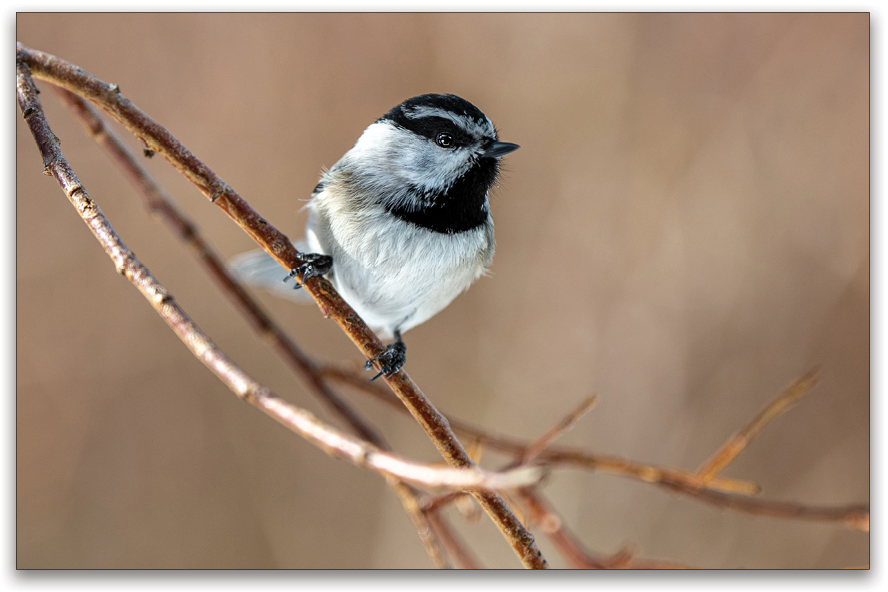
This article originally published in Issue 61 of Lightroom Magazine.



Love your ideas about the branches and focusing tips-Thank You!