Look, ma, no studio! That’s right. You don’t necessarily need a $5,000-a-month professional photo studio to get professional-quality results. To illustrate that concept, I thought I’d spend a weekend in January turning my den (my music room) into a studio.
The key is to use affordable, easy-to-use, and relatively compact lighting gear that can be set up quickly and easily. A portable background stand and both black and white backdrops are also important.
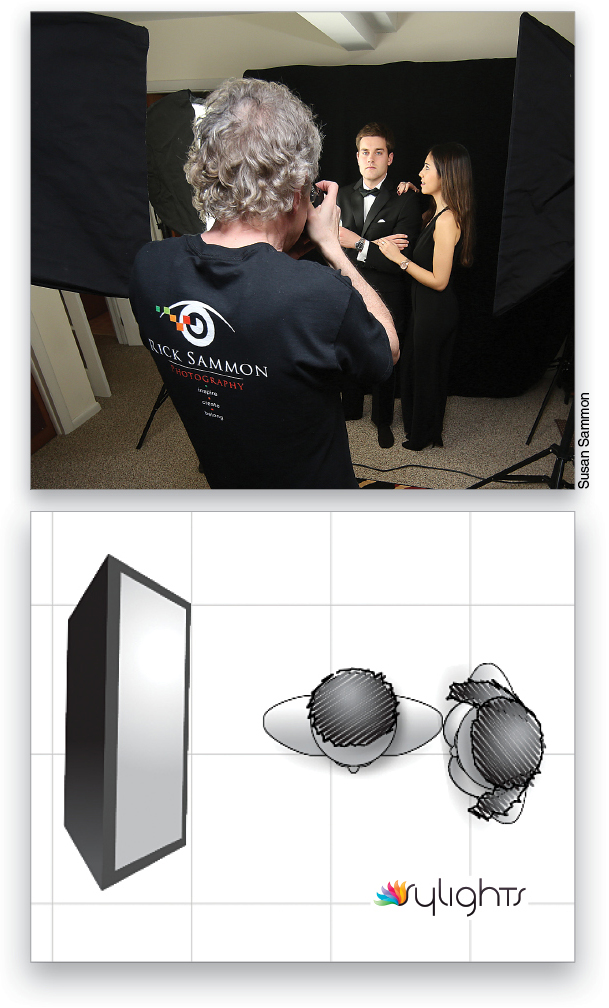
This image shows the behind-the-scenes setup for my weekend studio. It includes three Westcott Spiderlites (constant lights) that I used to light my model. To fill in shadows under her chin, I used a Westcott Eyelighter. Draped on my background stand is a Westcott soft cloth white background.
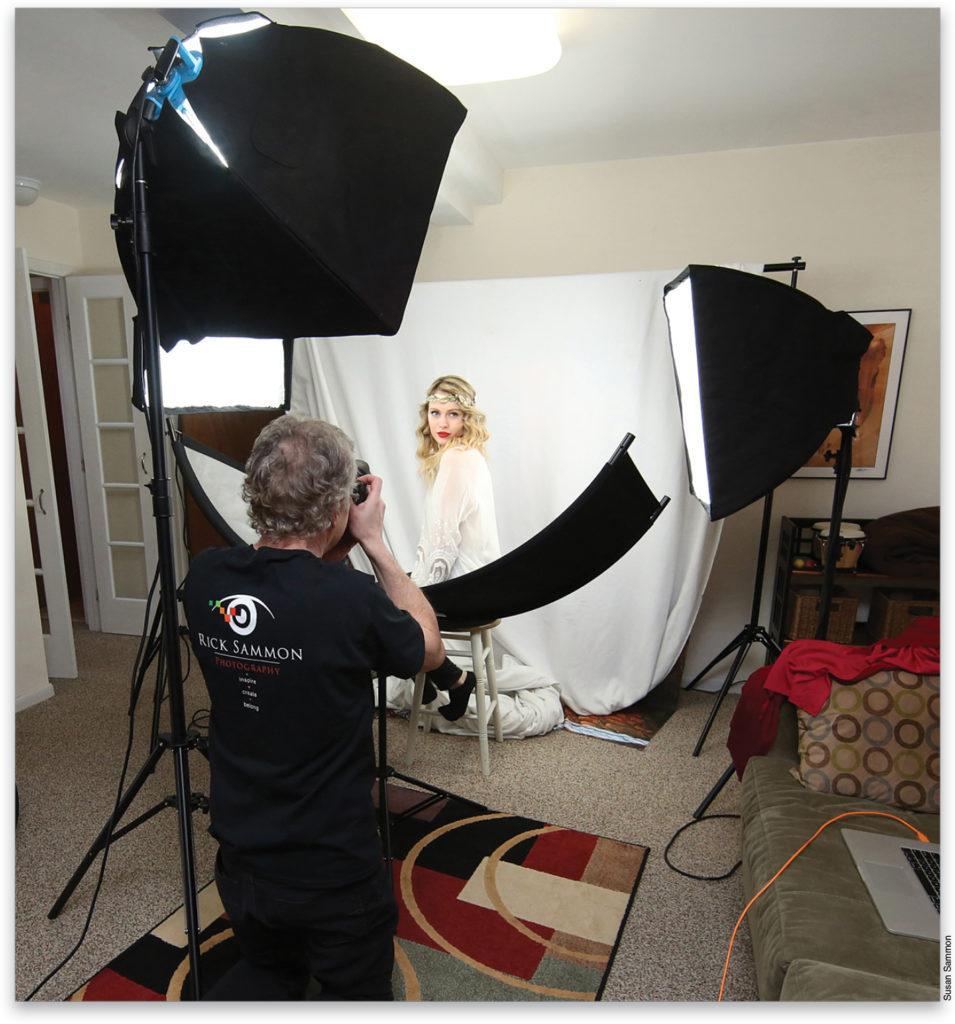
You’ll notice that I shot tethered to my MacBook Pro. I shoot into Lightroom so that my model and I can see the pictures on the screen during the shoot. The large image makes checking details easy. It also makes the session more fun and interactive, because we can both see what we’re doing right—and wrong. Tether Tools makes the cable and extension I’m using.
The Key to Lighting
Before going on, here are two very important lighting basics:
- The larger the light, the softer the light.
- The closer the light, the softer the light.
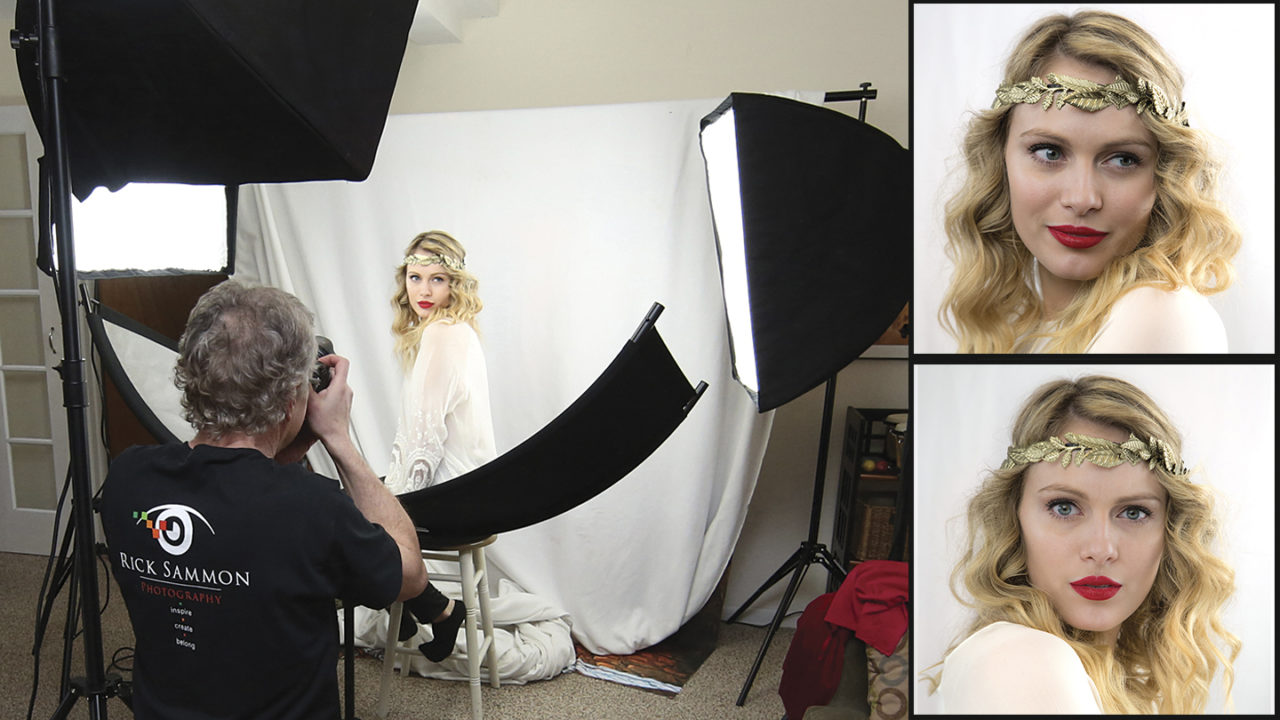
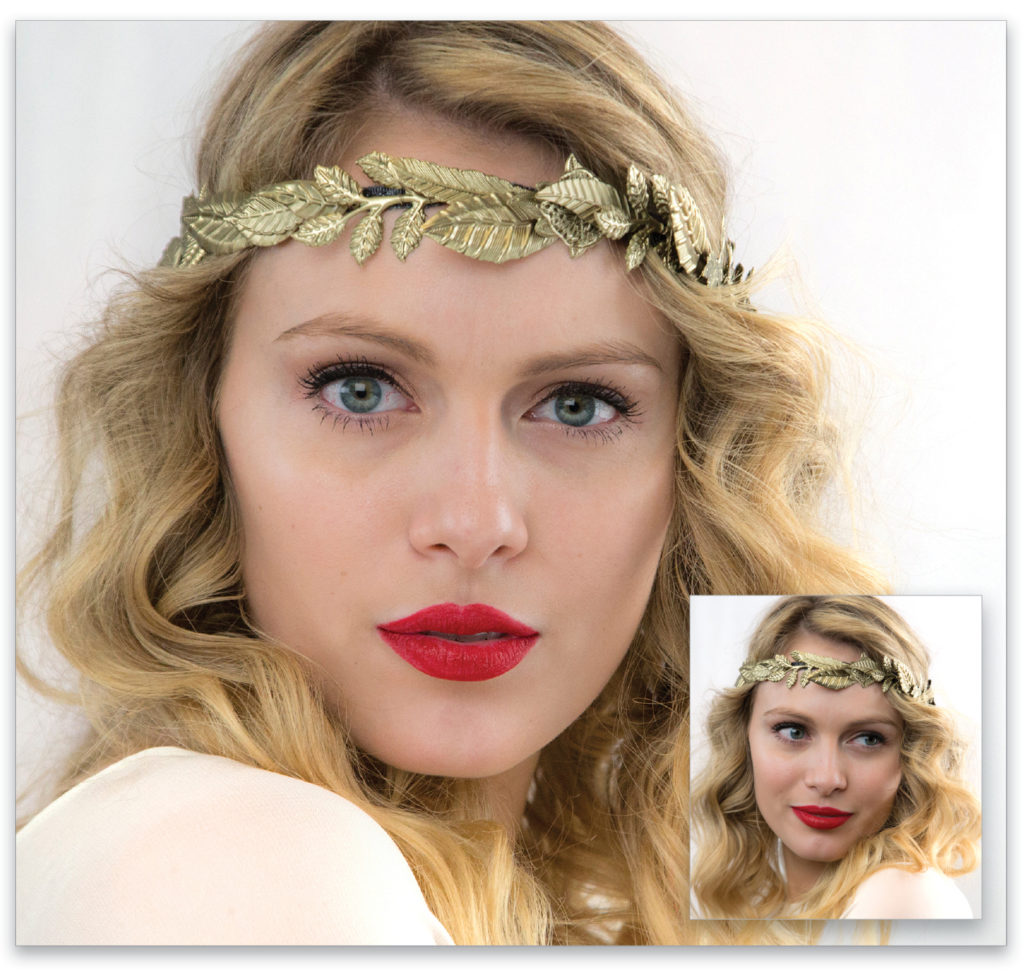
So if you want soft light, use large lights and move them closer. Here’s my favorite image from the shoot. The soft and even lighting was created by the three Spiderlites and the Eyelighter. Tip: If you get the Eyelighter, read the directions very carefully. The key is to place the Eyelighter 30” from the subject’s face at a 45° angle. In addition, the subject should be positioned in the middle of the Eyelighter (to get the semicircle of light in the bottom of the subject’s irises).
The inset shot of my model is without the Eyelighter. It shows soft shadows on the subject’s face, which some of you may prefer because the photograph may look more natural. It has a different look and feel than my evenly lit portrait.
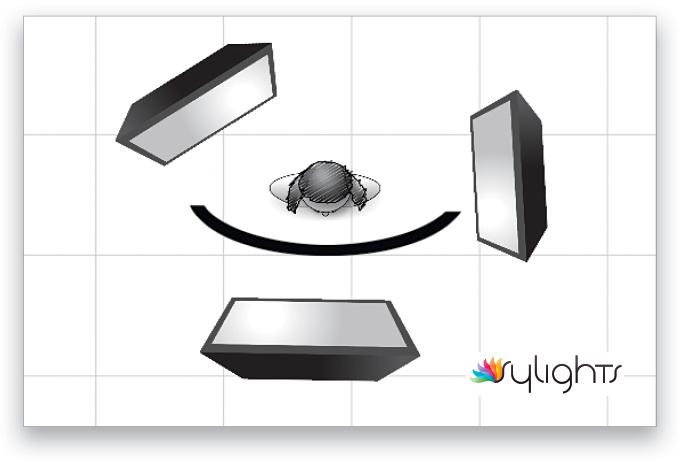
Here’s my basic lighting setup (not to scale). I created the lighting diagram in www.sylights.com.
A Change in Mood
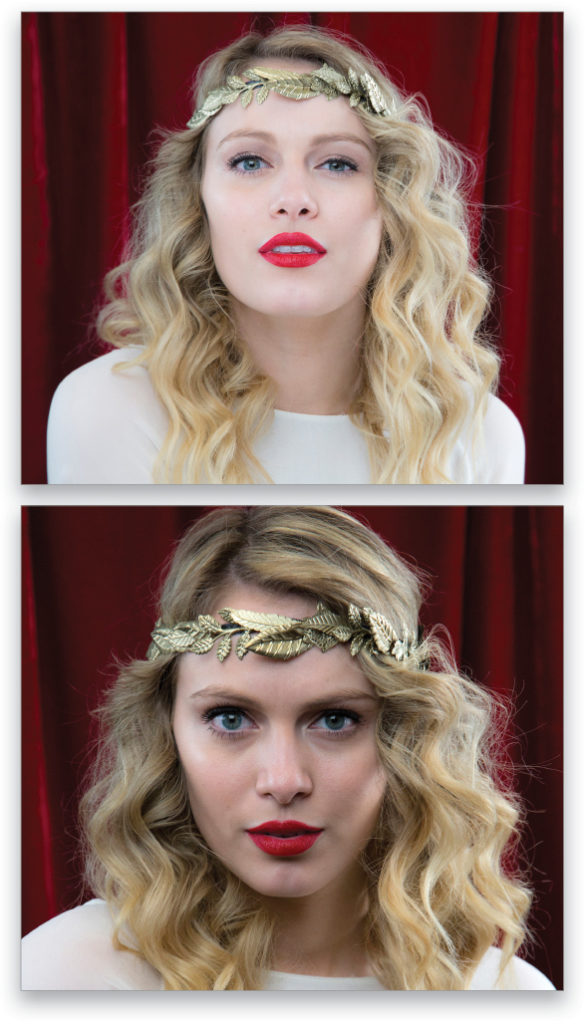
These two photographs also illustrate how the Eyelighter can fill in the shadows. In the non-Eyelighter, unflattering photograph, the model leaned a little closer to the camera than in the opening image. The point is that moving (the model or the light) even a few inches can make a big difference in how the light (shadows and highlights) affects your subject.
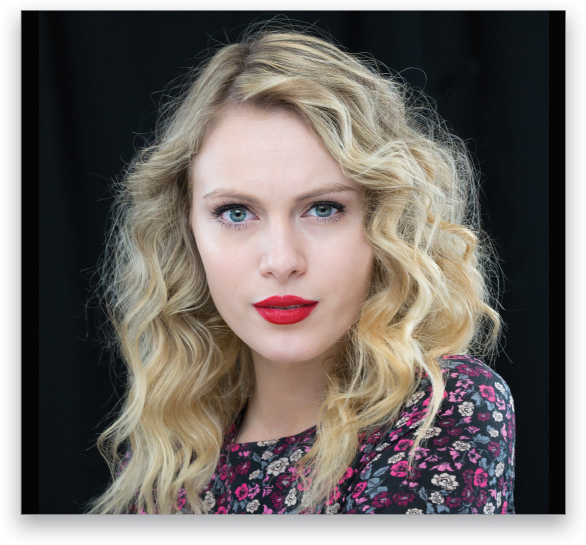
Here’s another image from the shoot that illustrates how the background, and the model’s outfit, affects the mood of the photograph.
Creating Shadows for Drama
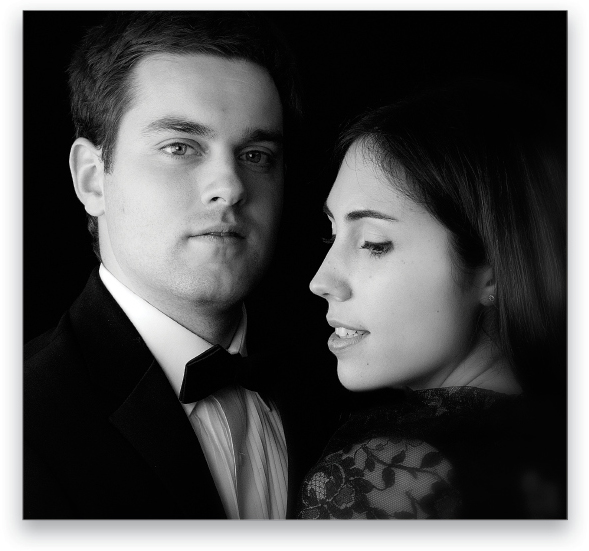
While my model was taking a break, I invited my nephew, Emilio, and his girlfriend, Mercedes, over for a fun photo session.
To create a more dramatic image, one with stronger shadows, I used only one Spiderlite positioned on camera left. I converted my color file to black and white using Tonality Pro from Macphun Software.
Here’s my favorite image from this shoot. Remember: Shadows are your friend, and shadows are the soul of the photograph. As my fellow KelbyOne instructor Joe McNally says, “If you want an interesting portrait, don’t light the entire subject.”
Turn Your Off-Camera Flash into a Studio Strobe
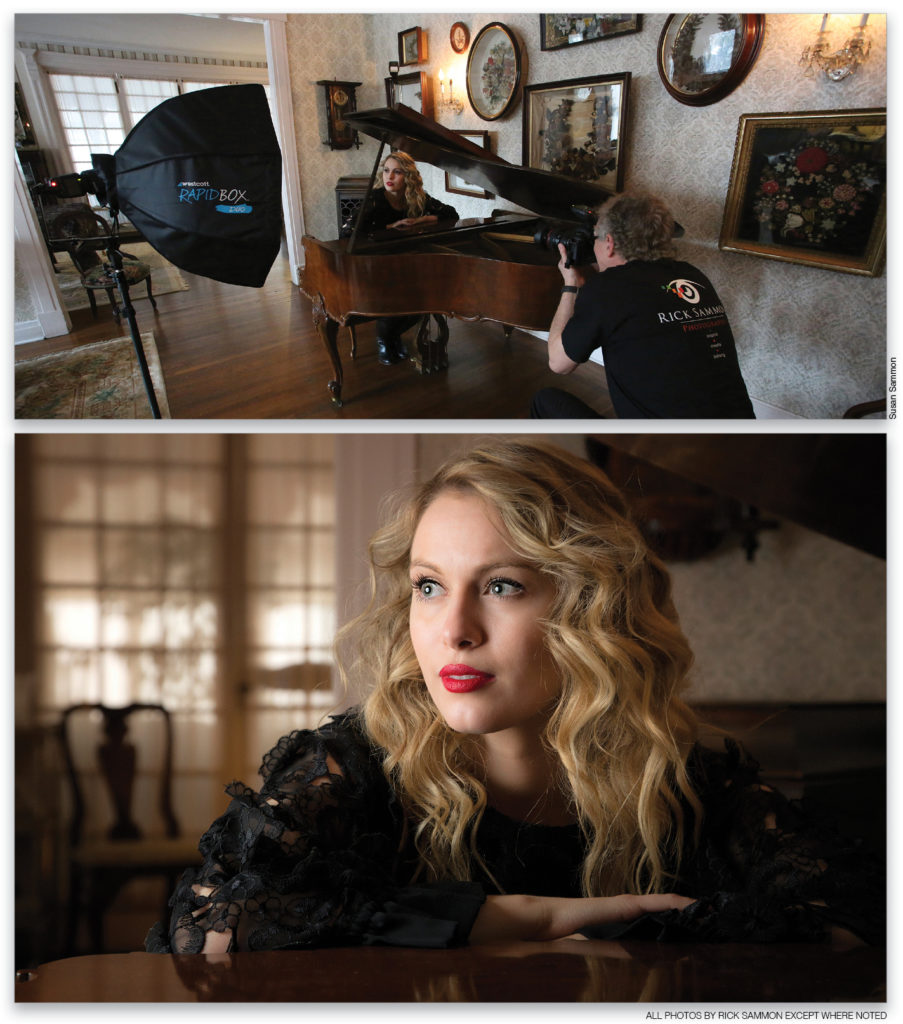
Got an off-camera flash? Get a Westcott Rapid Box and turn your flash into a studio strobe. That’s what I did when turning my living room into a studio.
After positioning my model at the piano, I set up my Canon 600EX-RT Speedlite in a Rapid Box. I fired it with my Canon ST-E3-RT remote (radio) transmitter. My goal was to include some of the ambient light in the scene, so I set my camera on manual, metered the scene, underexposed by two stops, and set my speedlite on E-TTL. After a few test shots, I got the shot I needed.
My model shots in this article were taken with my Canon EOS 5D Mark III and a Canon EF 24–105mm f/4 IS USM lens.
Have fun, and save some money, by turning your den or living room into a pro studio.
This article originally published in the May/June, 2015 issue of Photoshop User magazine.