Blind Photo Critiques: Perfecting Portraits
From Episode 574 of Our Weekly Photography Talk Show, The Grid Dive into a detailed photo critique...
Read More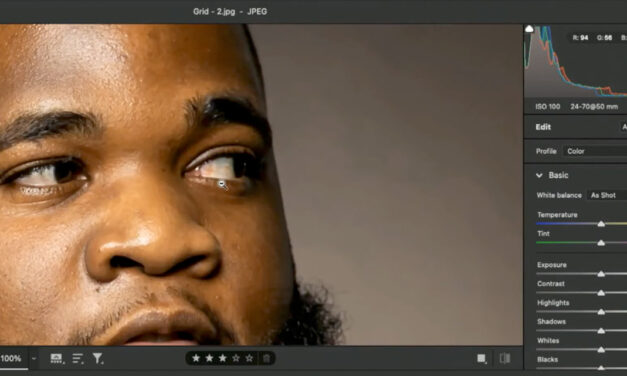
From Episode 574 of Our Weekly Photography Talk Show, The Grid Dive into a detailed photo critique...
Read More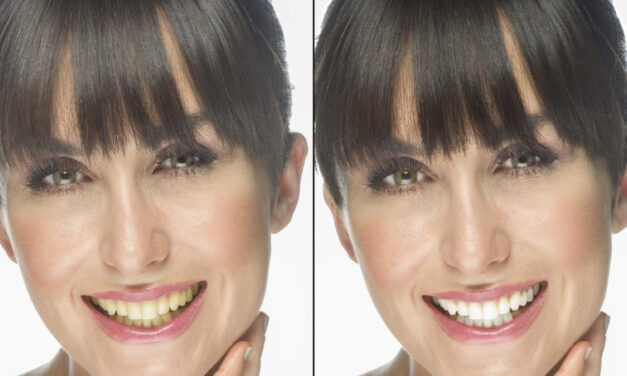
In an earlier post, we looked at using a skin-smoothing technique and how we could use that to...
Read More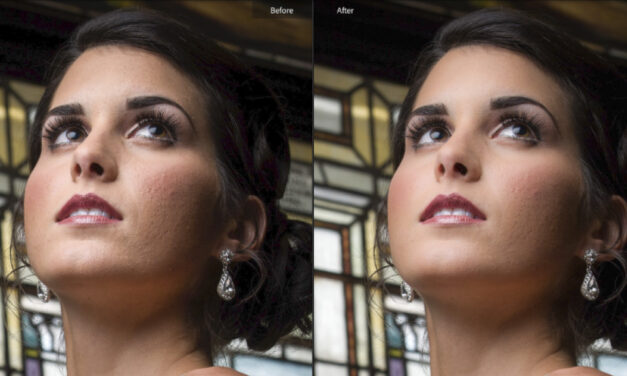
Previously, I talked about how to remove blemishes in Lightroom, which is a perfect lead-up to...
Read More
With all the new masking tools and greatly improved “healing brush” in Lightroom, I wanted to kick...
Read MoreWatch this week’s Photo Tip Friday for a trick on how to enhance your portraits from Scott Kelby!
Read More