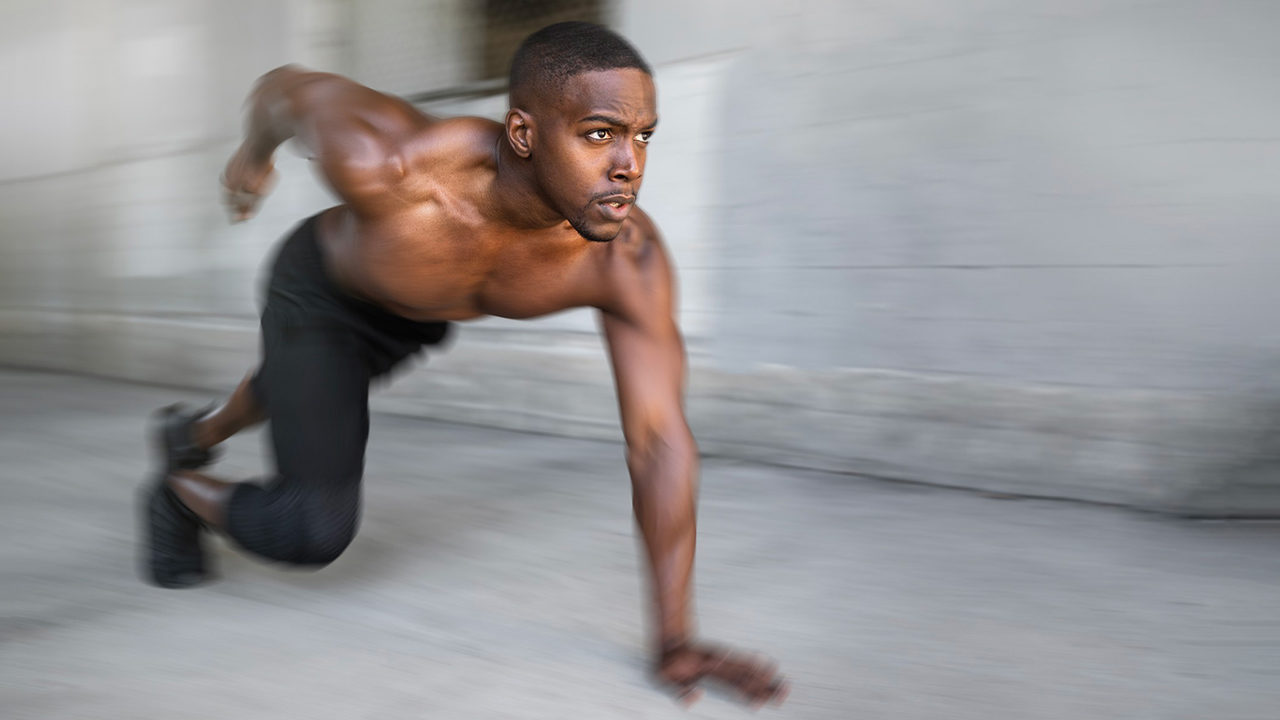
While photography typically celebrates sharp images frozen in time, it’s fun to get creative with motion and movement. Let’s add dynamic visual interest by blending sharp and blurry regions with Path Blur!
In case you’ve not used Path Blur before, here’s what it does. Path Blur lets you draw directional blur, giving you control to create more natural-looking movement, or to go completely crazy and abstract with impossible motion.
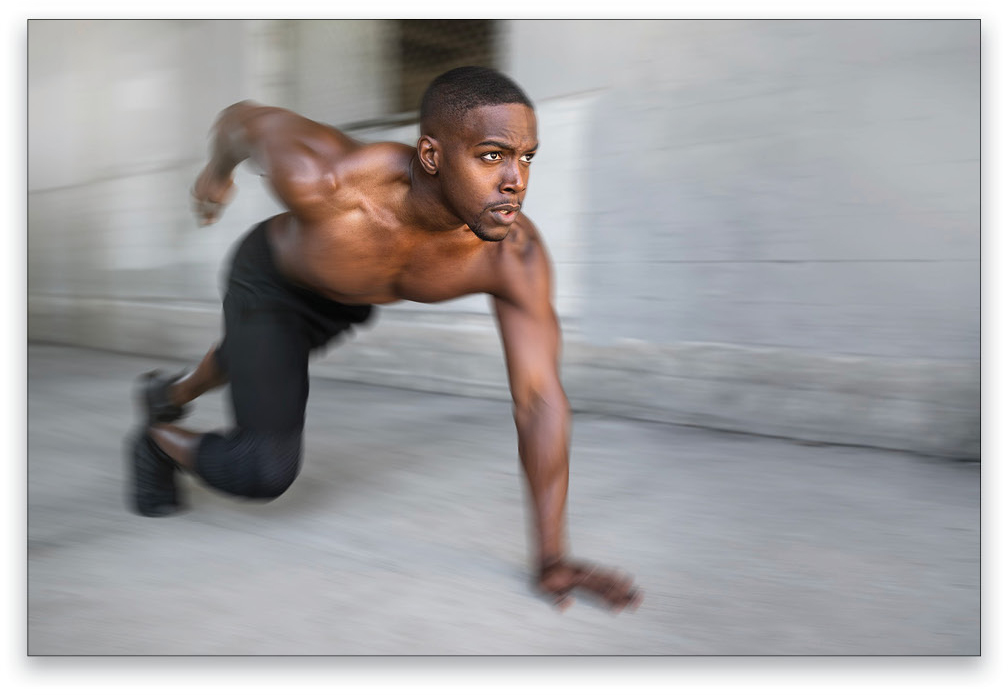
Step One: For a simple example, open in Photoshop a good candidate image like this sprinter. (You can find this image on Adobe Stock by clicking here. Log in with your Adobe ID, and then click Save to Library to download a low-res preview to your Libraries panel [Window>Libraries] to follow along.)

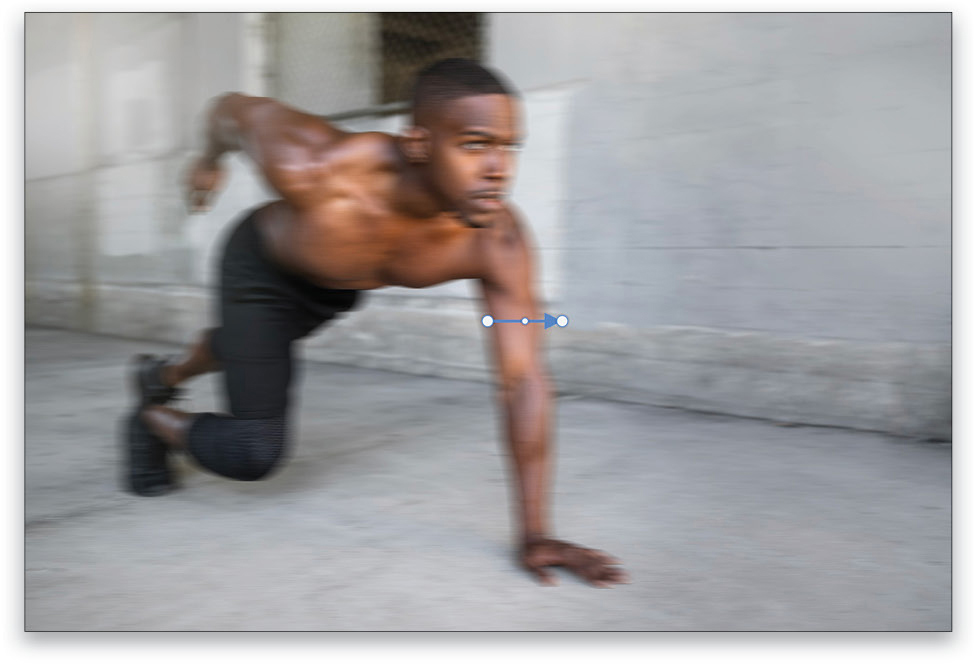
Step Two: Go to Filter>Blur Gallery>Path Blur, and you’re presented with a single default path on your image that looks a lot like the classic Motion Blur filter.
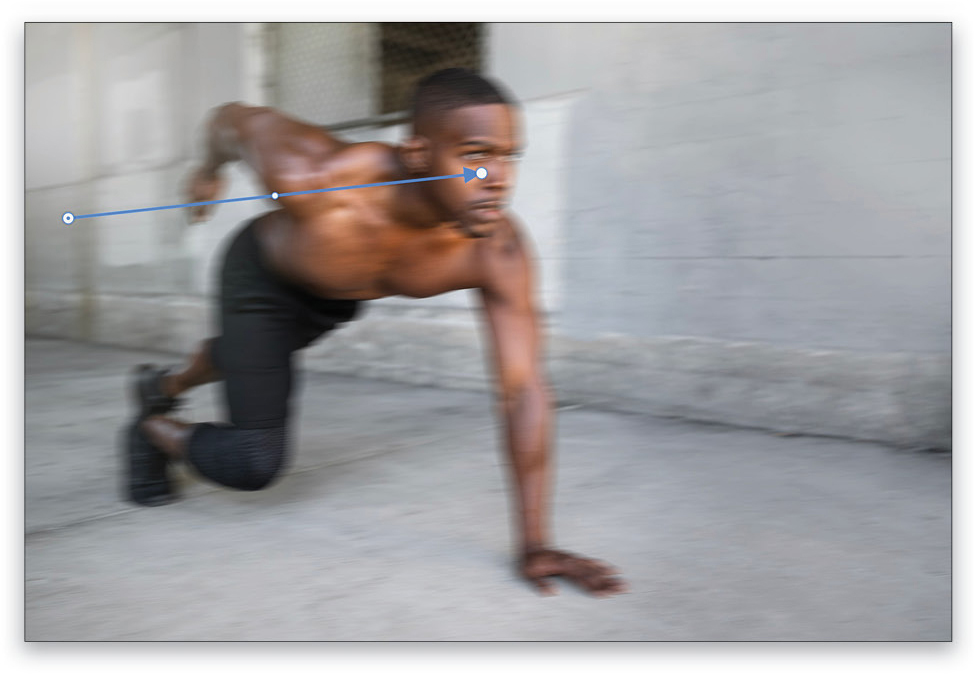
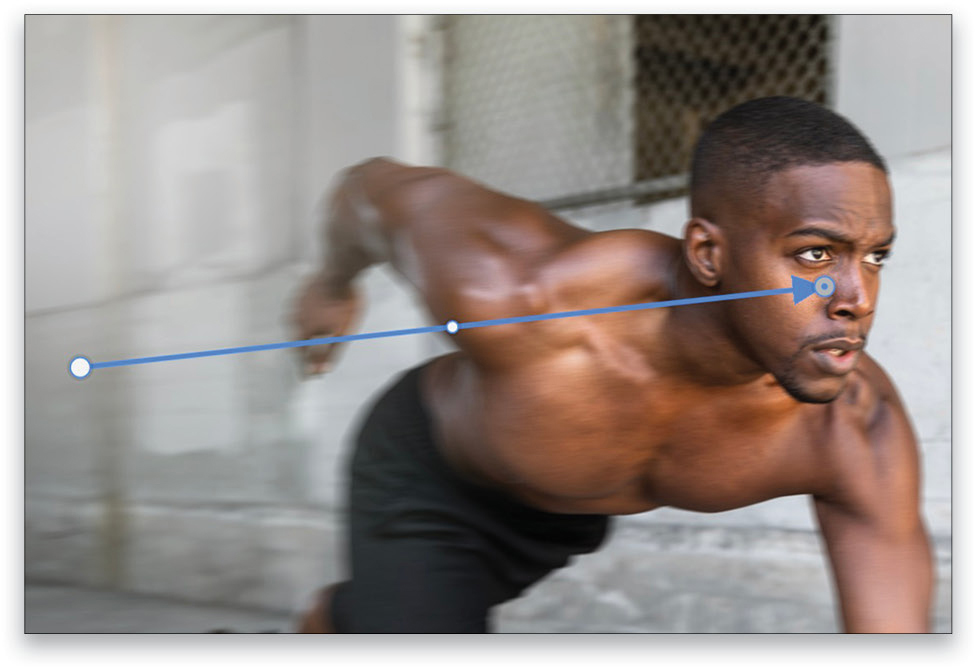
Step Three: Drag the left control point behind the runner, and the right point about to his eye. Your path should follow the line of motion and end up looking something like the image shown here.
Step Four: With the right point near his eye still selected, find the End Point Speed slider in the Blur Tools panel, and drag it to zero. This causes the blur to fade in intensity from left to right, so that his face is in focus while his arm and legs are blurred. Click OK to finalize and commit the filter.
Path Blur sets direction and intensity of motion blur using controllable paths. As we’ll see in a moment, the paths are not limited to straight lines.
Applying Multiple Blurs
While this is a very basic result, I want to point out something before we move on. Notice that the blur applies to both the runner and the background. This is fine if both things are moving together, but that’s not the case here; if everything is blurred the same way, it usually means the camera or environment is moving instead of just the subject. In order to add some pizzazz, let’s apply different blurs to the subject and scene. Our strategy is to isolate the runner from the background and treat them separately.
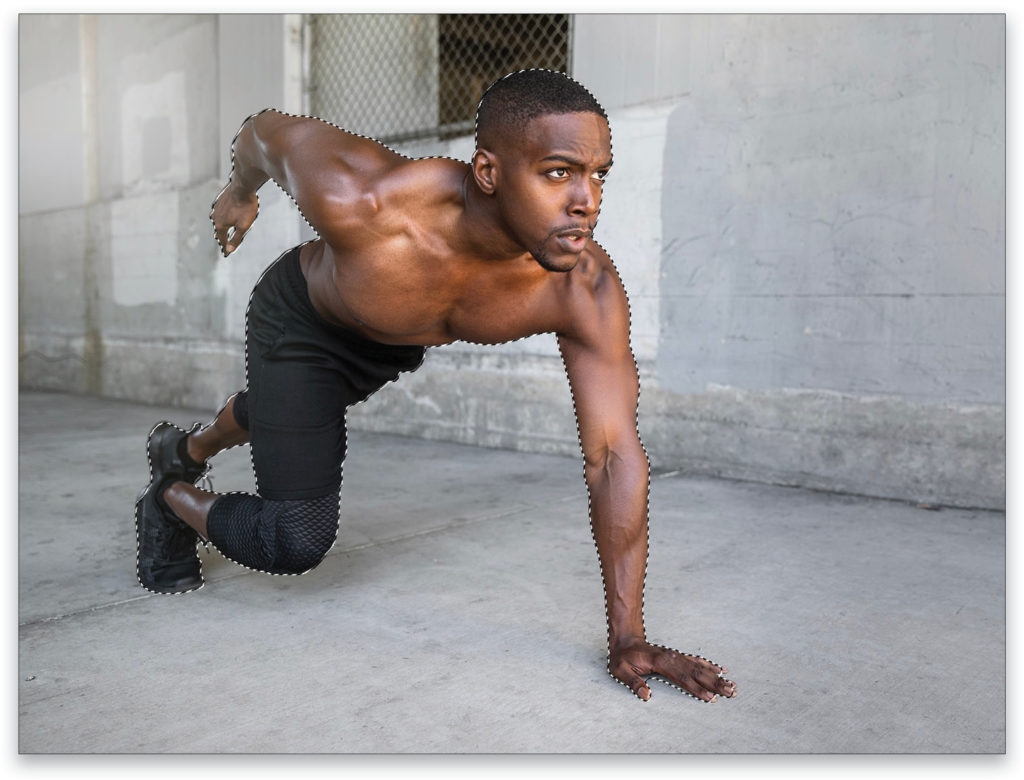
Step One: Starting from an unedited copy of your image, press Command-J (PC: Ctrl-J) to duplicate the Background layer. Use the Object Select tool (W) to isolate the runner (to get up to speed on the Object Select tool, check out Lesson 1 of Scott Kelby’s Get Up to Speed Fast on the New Photoshop 2020 course).
When making your selection, be sure to pay attention to and remove areas that may have parts of the background. To remove areas of a selection, hold the Option (PC: Alt) while using a selection tool. Also make sure everything around the edges is selected. In this case, I had to clean up around his hands, his legs, and a little behind his neck.
Press Command-J (PC: Ctrl-J) again to copy the selected runner to a new layer. Double-click the name of the new copied layer and rename it “Runner.”
Step Two: Turn off the Runner layer’s visibility by clicking its Eye icon in the Layers panel, and then Command-click (PC: Ctrl-click) on its layer thumbnail to load the pixel information as a selection. Make the selection a little larger by going to Select>Modify>Expand and adding a few pixels: 5 to 10 should work in most cases. We’ll need the extra room to avoid edge artifacts when filling with Content-Aware in the next step.
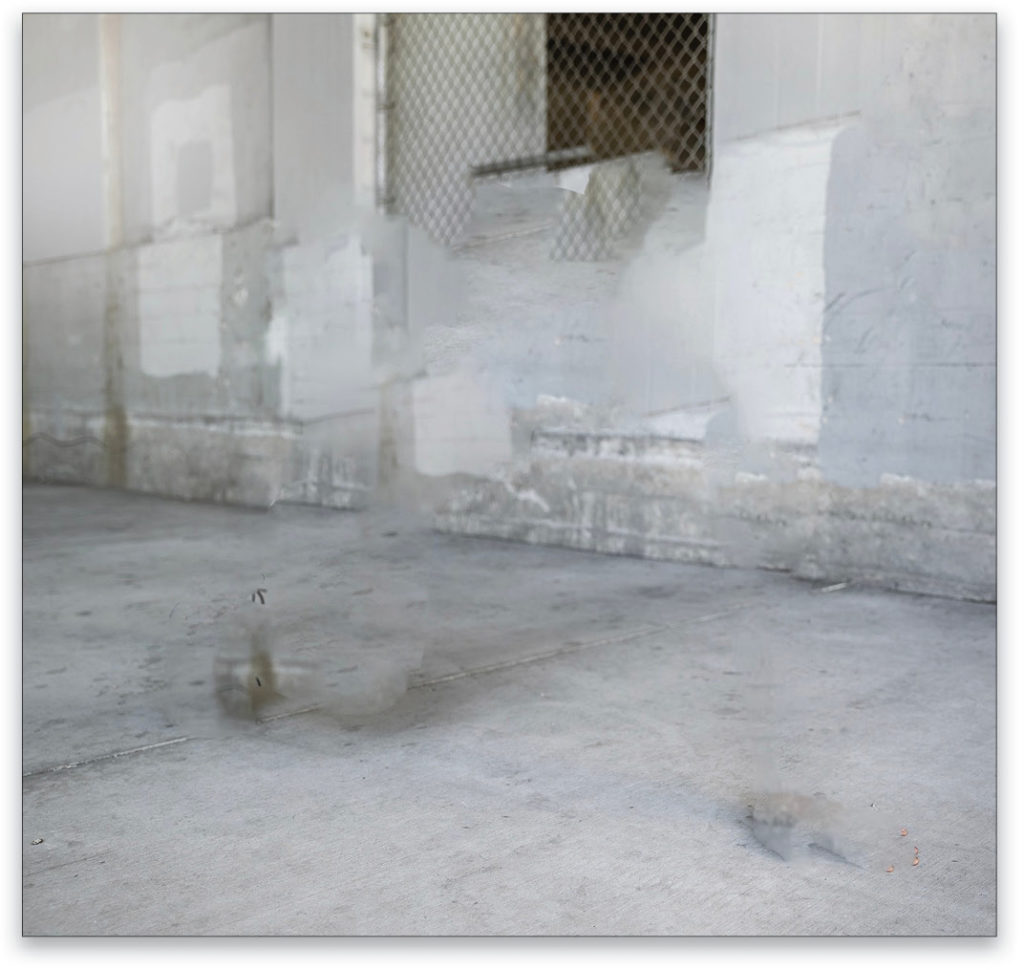
Step Three: With the selection still active, click on the duplicated photo layer in the Layers panel to make it active. Then, go to Edit>Content-Aware Fill and allow the selection to be filled in with the background. This does not have to be perfect! The goal here is simply to avoid having any of the runner included when we apply blur to the background. If any edges of the runner are left, they will be blurred and ruin the effect of the subject moving against the background. In the Content-Aware Fill panel, ensure the Output To option is set to Current Layer. Click OK to accept the fill result. Press Command-D (PC: Ctrl-D) to Deselect.
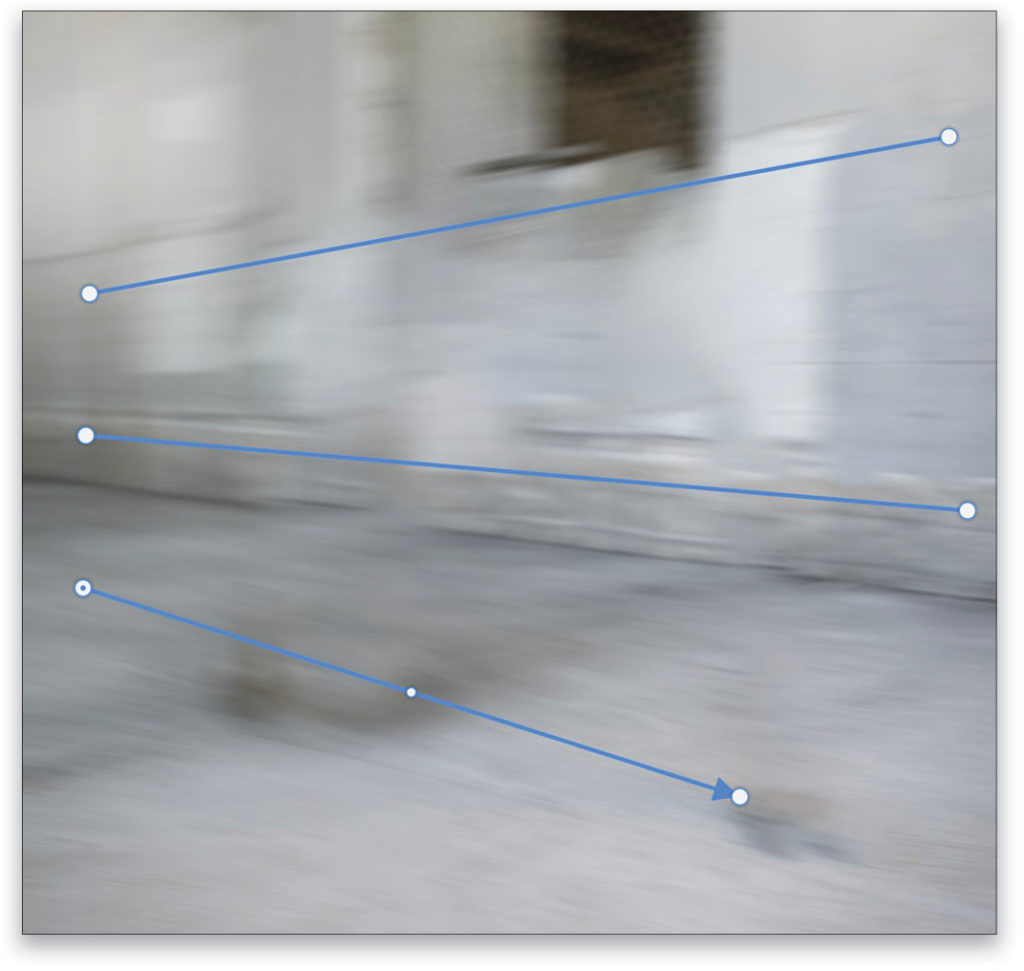
Step Four: With the filled layer still active in the Layers panel, go back to the Path Blur filter. This time you can add a few different paths that diverge. Because this image has an interesting vanishing point, I chose to simulate the motion as if the scene were expanding. Move the default path into place by click-and-dragging its end points. Then click in the scene to add the left end point of the next path. Move your cursor to where you want the right end point for this path, and click to add the point. Press Enter to stop adding points to this path and instead edit the path. Now you can click to add a third blur control path. After clicking to add the right control point for the third path, press Enter.
Since you can control the apparent speed (or intensity) of blur on paths independently, click on the left point of each path and set the End Point Speed slider to about 200 (if you’re using the low-res preview of this image, try a lower setting). Set the right points to about 80. This creates more movement further away from the camera and gives the background more depth. Click OK when you’re happy with the placement.
Step Five: Next up, duplicate the Runner layer by selecting it in the Layers panel and pressing Command-J (PC: Ctrl-J). Turn on the visibility of the original Runner layer, and click on it in the Layers panel to work with it (the Runner copy should be hidden). Once again, go in the Path Blur filter. This time, you’ll add curves to some of the paths.
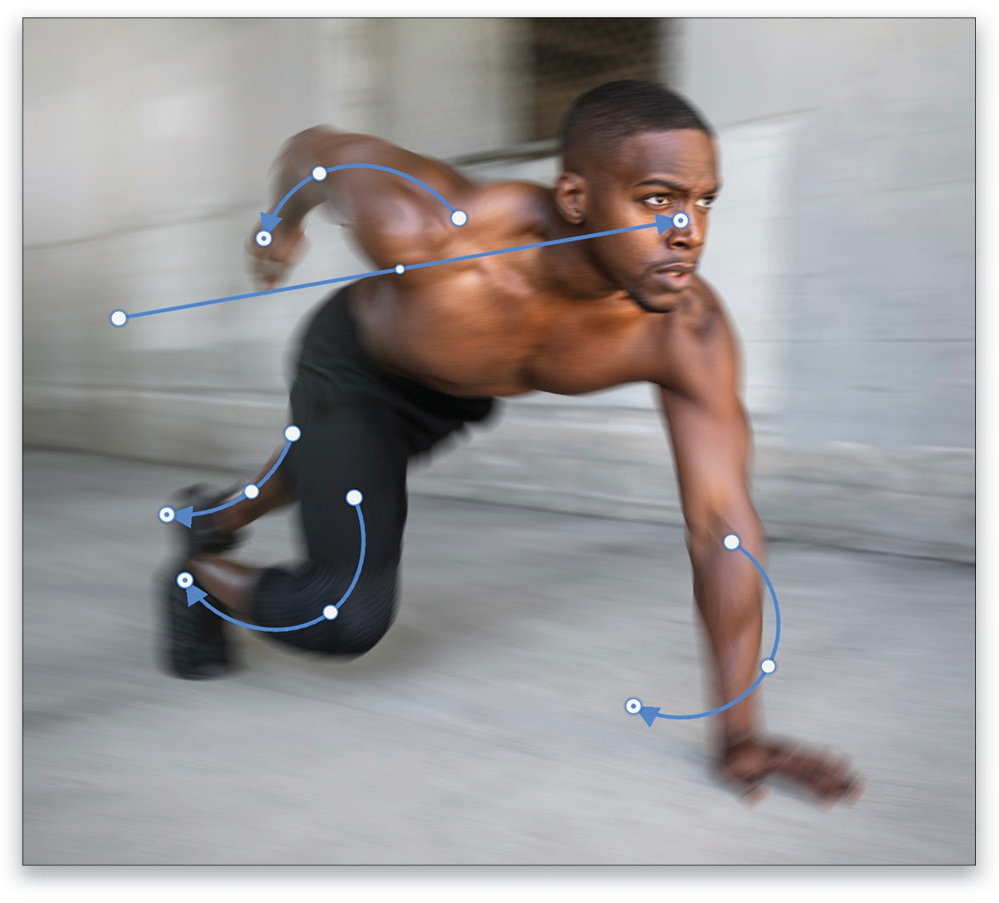
Step Six: I started with the same basic linear blur path we used to blur the runner above: setting the left end behind the runner with the End Point Speed set to 80 and the right end under his eye with the End Point Speed set to zero. This establishes an overall change in blur and draws focus to his gaze.
The additional paths are created by clicking three times to add three points. After adding the second point, the path will curve to follow your cursor. After clicking to add the third point, press Enter to commit the path so you can draw your next path. Alternatively, you can click to add the two end points, and then click-and-drag the middle of the path to create a curve. Either way you choose to create your curves, you can drag any of the three points on any curve to complete your path shapes as you like.
Note: Direction matters! When you add the curves, start where you feel the beginning of the motion should be, then finish in the direction the motion is going. For this runner, I added the points starting closer to his body, finishing with the extremities.
I set all of the End Point Speed settings on the curved paths to 80 since they’re relatively close to each other. The image at top right is a composite of each path being selected to show its direction; as you work, only the currently selected path will show its direction arrow.
After adding paths to both legs and arms, using your best judgement as to how the motion there may look, click OK.
Step Seven: If necessary, use the duplicated layer of the runner with a mask to sharpen his face. Even with the End Point Blur Speed set to zero, there will be some softness in that area. To do that, turn on the visibility of the layer, click on it to make it active, and then Option-click (PC: Alt-click) the Add Layer Mask icon (circle in a square) at the bottom of the Layers panel to add a mask filled with black, which hides the entire layer. With the Brush tool (B), press D to set the Foreground color to white, and then paint over the face to reveal the sharper face on this layer. The final result (see above) should give the impression of everything being in motion except the focal point.
Creating Unique Blurs
While this is a pretty straightforward use of Path Blur, it demonstrates some key elements that you can use as a foundation for many other approaches. Isolating the subject from the background gives you a lot of flexibility for creating unique and unusual effects that are either extremely difficult or just not possible in the real world. Here’s an example of using the same technique with the curved paths being applied only to the background and not the subject.
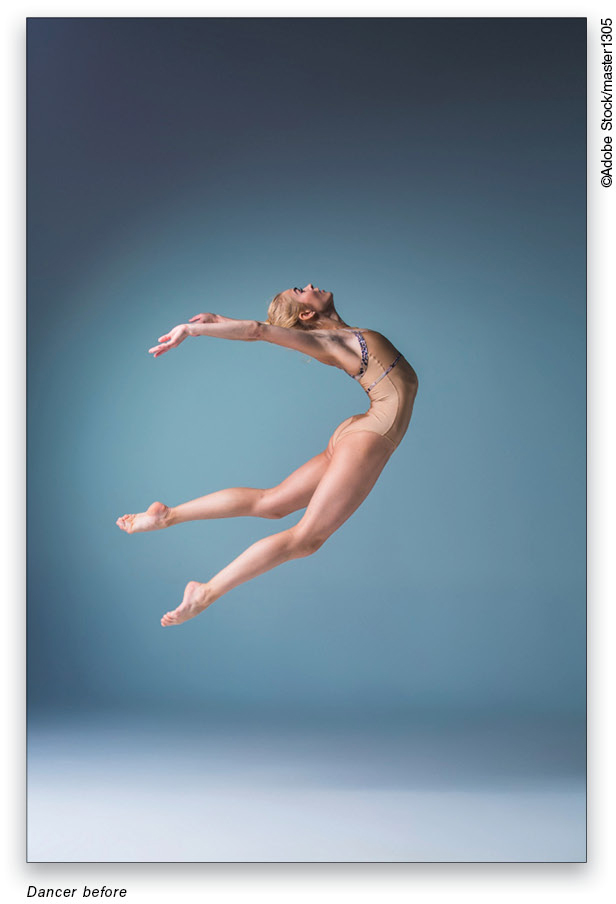
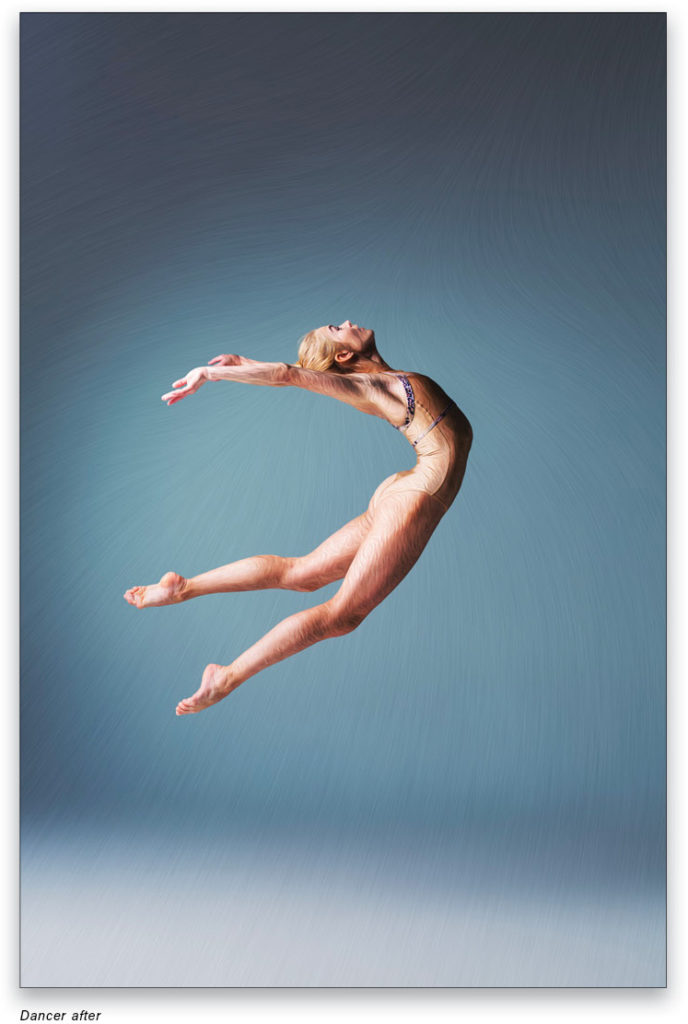
After duplicating the background and isolating it by filling the selected dancer with Content-Aware Fill, I added some noise to give it texture. In Path Blur, I enabled the Edit Blur Shapes option in the Blur Tools panel. The red arrows you see below are those end point controls: Drag the ends of the red arrows to position them (and you can bend them for funky distortions!).
While there are only two paths, the blur “field” interacts and creates a nifty convergence line along where she appears to be moving. The dancer was treated to the Oil Paint filter (Filter>Stylize>Oil Paint) for her own texture.
Strobe Effect
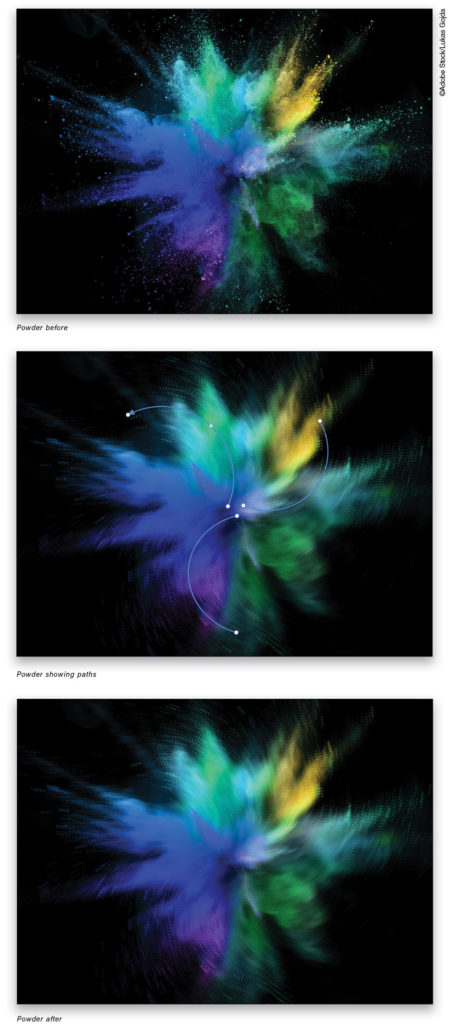
And for fun, here’s a powder burst (not separated from the background) that uses three curved paths, and the Strobe options in the Motion Effects panel. Strobe divides up the blur length into however many segments you set with the Strobe Flashes slider. Set the Strobe Strength to 100% for best effect.
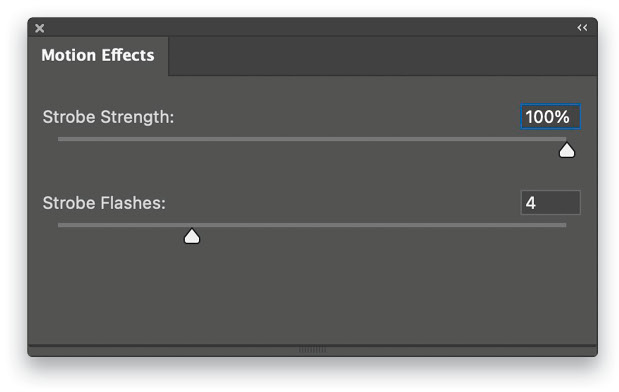
The Strobe option is great for adding more texture where there are small visible details. It doesn’t work as well with subjects like our sprinter above, but it’s great for adding little artifacts to abstract subjects.
This article originally published in the March, 2021 issue of Photoshop User magazine.


