
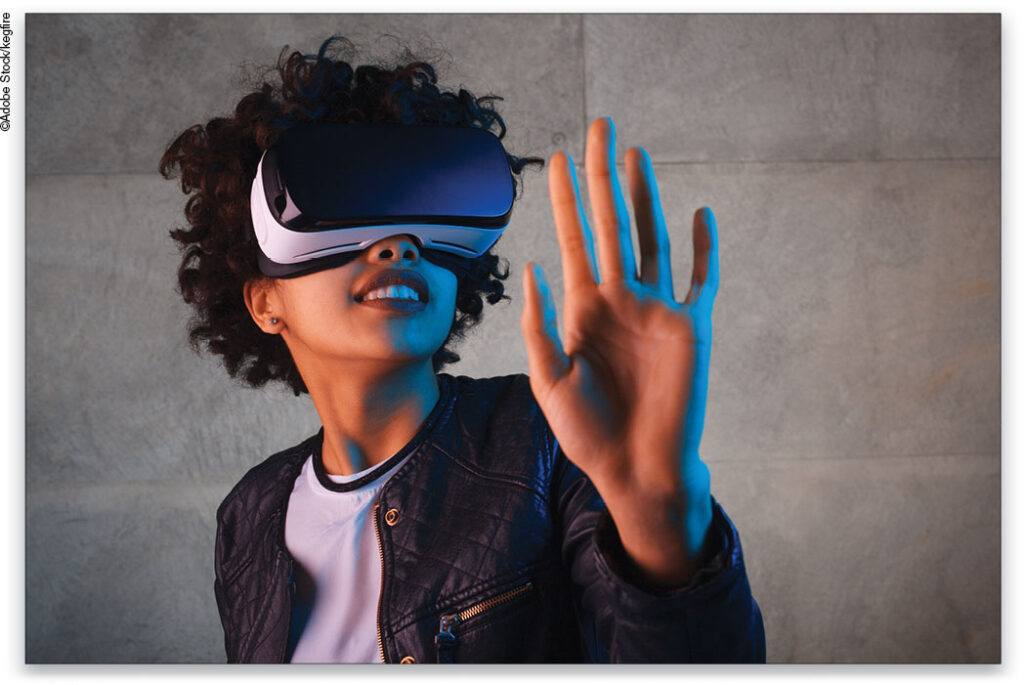
Virtual reality environments are now so realistic that unplugging feels like you’re exiting a real, yet digital world. In this column, you’ll learn how to apply a digital glitch effect to a photo that conveys how someone may look when deeply immersed in VR. Read on for some serious, sci-fi themed Photoshop fun!
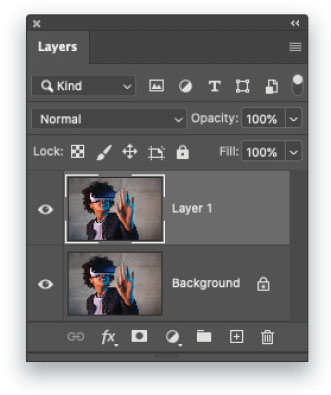
STEP ONE: Open a photo in Photoshop and press Command-J (PC: Ctrl-J) to duplicate the Background layer. (If you’re starting in Lightroom, select a thumbnail in the Library module and then choose Photo>Edit In>Adobe Photoshop 2021.)
If you’d like to download the low-res watermarked versions of this image to follow along, click this link, log in with your Adobe ID, and click the Save to Library button. Right-click the image in the Libraries panel (Window>Libraries) and choose Edit to open it in Photoshop.
To make it easier to work with the image, increase the resolution of the practice file. (We normally don’t recommend enlarging images, but this is only for practice purposes.) Go to Image>Image Size, turn on the Resample checkbox, select Preserve Details 2.0 from the Resample drop-down menu, set the Width to 2,000 pixels, and click OK. Duplicate the Background layer as described above.
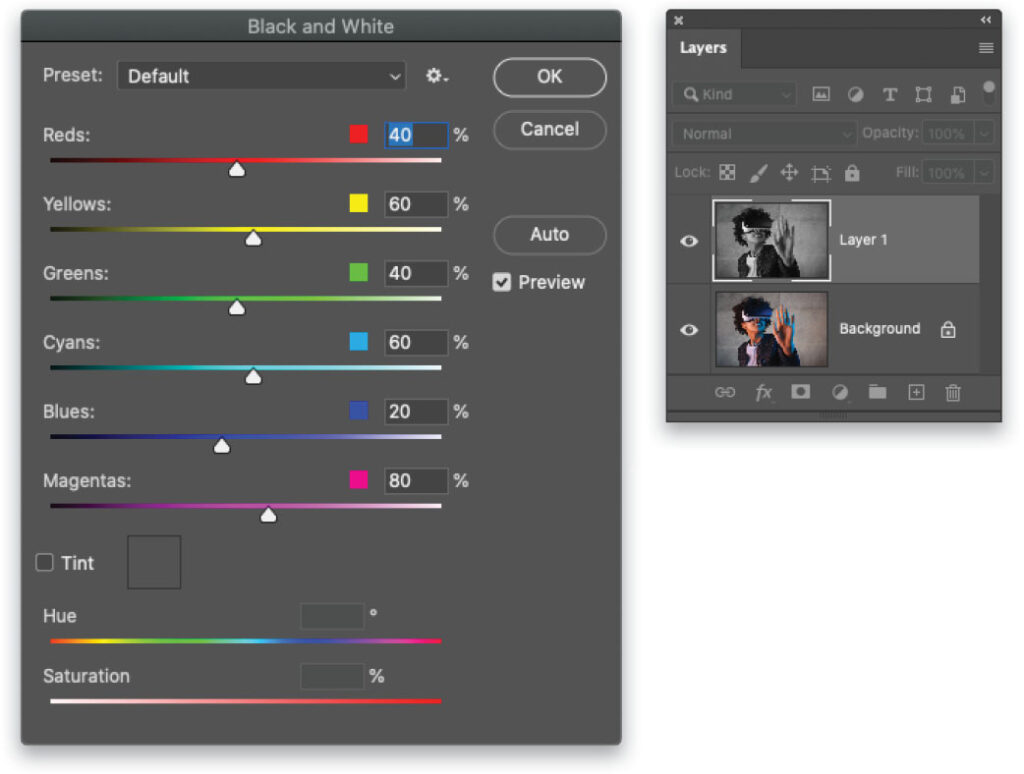
STEP TWO: Drain the color from the image by choosing Image> Adjustments>Black & White. In the dialog that opens, you can use the sliders to adjust the brightness levels of each color in the image; however, for this particular image, you can simply click OK.
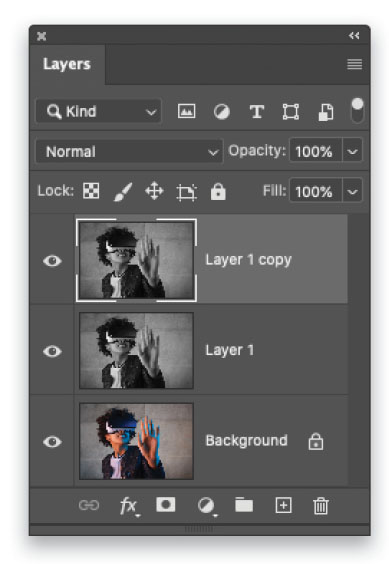
STEP THREE: Press Command-J (PC: Ctrl-J) to duplicate the newly black-and-white layer.
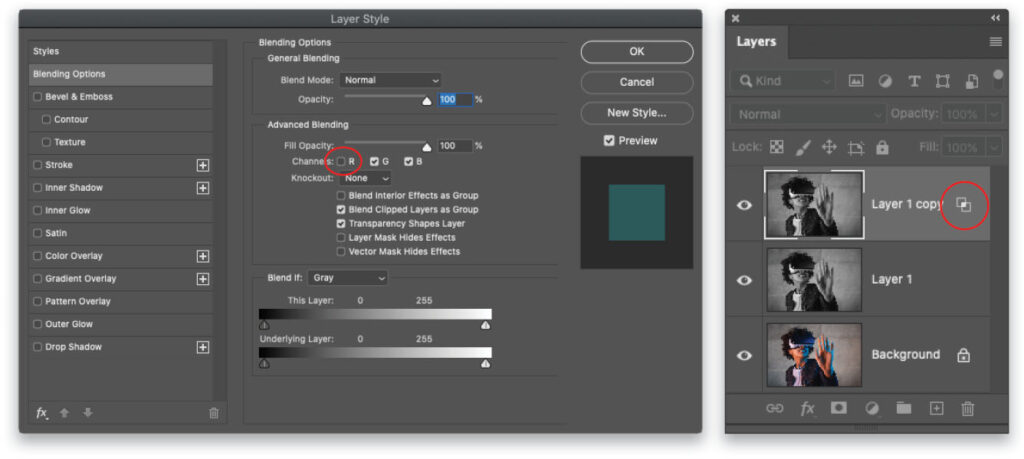
STEP FOUR: Double-click the thumbnail of the top layer (named Layer 1 copy) in the Layers panel and, in the Layer Style dialog that opens, turn off the R checkbox in the Advanced Blending section (circled). Photoshop excludes the red channel from blending with the layer below, which produces a double color exposure effect that will be visible after you move the layer in the next step. Click OK and notice the blending options icon on the layer (also circled).
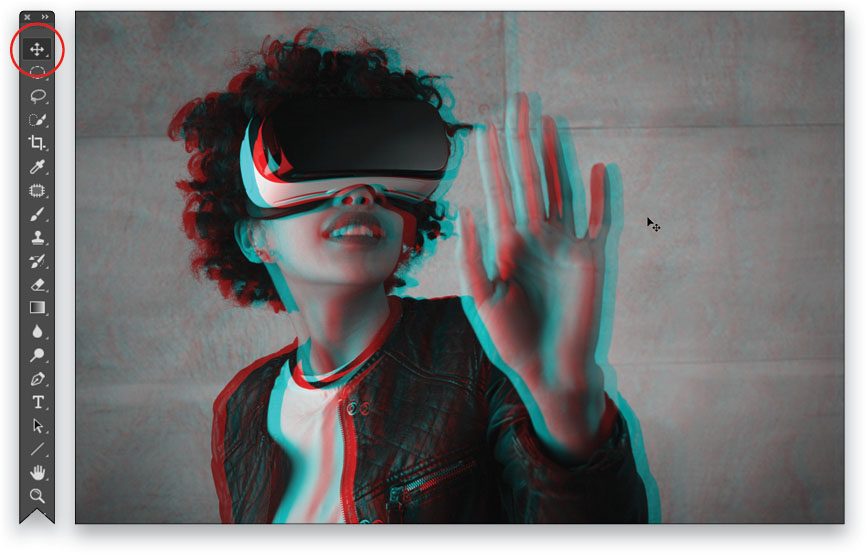
STEP FIVE: Press V to grab the Move tool (circled). Using the Left Arrow key on your keyboard, scoot the image to the left around 25 clicks, or until you see a good-sized strip of color appear.
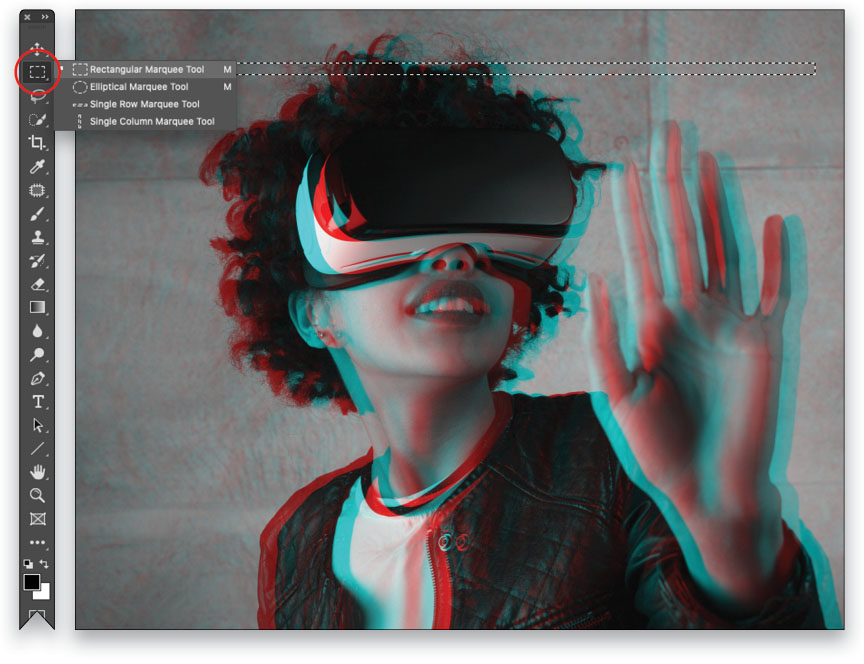
STEP SIX: Now let’s create a selection and scoot pixels left and right to create a pixelation look. Press M to grab the Rectangular Marquee tool (circled), and then click-and-drag to draw a somewhat thin selection near the top of the subject’s hair (say, around 40 pixels in height for a high-resolution image or 20 pixels for the Adobe preview image). Press V to switch to the Move tool and use the Right Arrow key on your keyboard to scoot the pixels to the right for about 10 clicks.
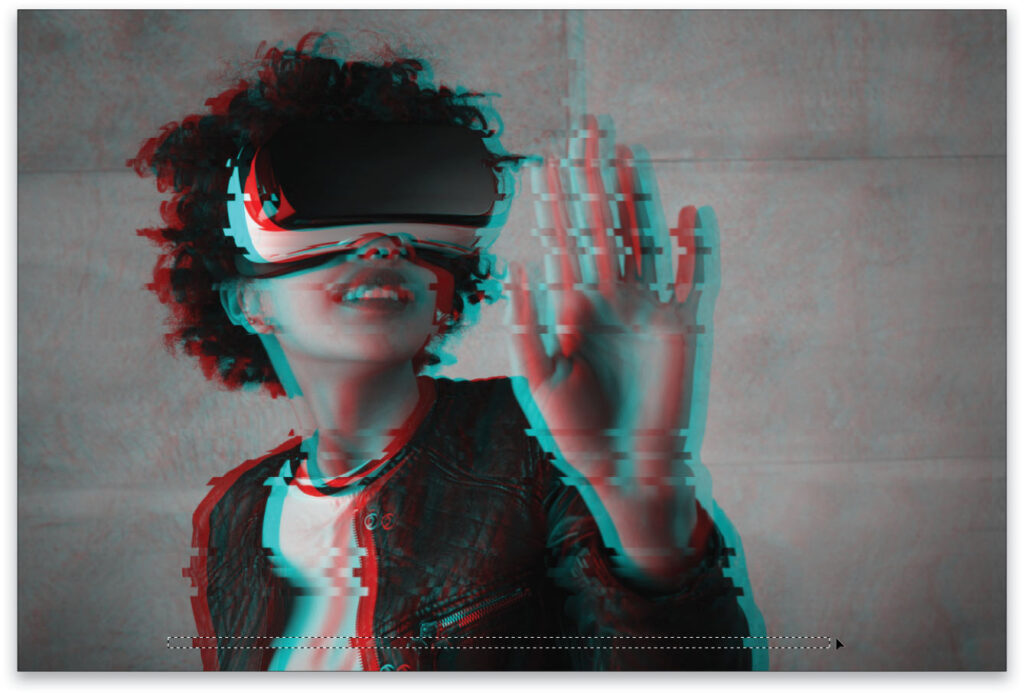
STEP SEVEN: Repeat the previous step to draw another selection a little farther below the original selection. Once you switch to the Move tool, use the Left Arrow key to scoot the pixels to the left for about 10 clicks. Repeat this process several times farther down on the subject. The goal is to make the subject look like she’s glitching between the real world and that of VR, so be sure to alternate between moving the pixels left or right. You can also vary the distance that you scoot the pixels, and leave more or less room between the selections so the space between the pixelated rows isn’t uniform (around 15 selections were created here). While roughly the same selection size was used, you can vary that too. When you’re finished, choose Select>Deselect to get rid of the selection.
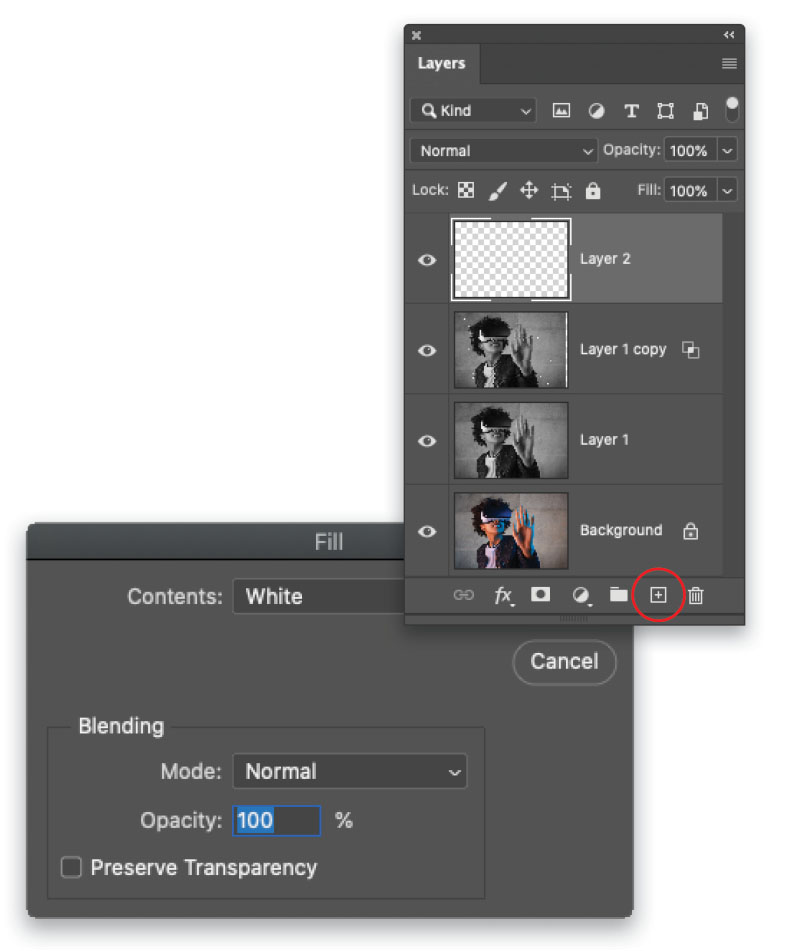
STEP EIGHT: Create a new layer at the top of your layer stack by clicking the Create a New Layer icon (+) at the bottom of the Layers panel (circled).
STEP NINE: Choose Edit>Fill and, in the resulting dialog, pick White from the Contents drop-down menu. Click OK.
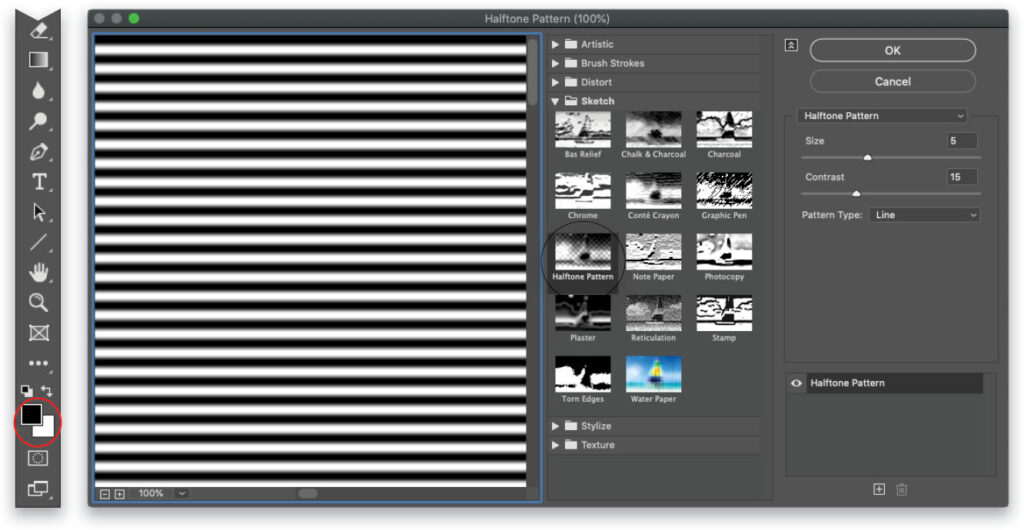
STEP 10: Press D to set the color chips (circled) at the bottom of your Toolbar to the default settings of black and white. (The filter you’ll run in the next step uses these color chips.)
STEP 11: Choose Filter>Convert for Smart Filters, and then choose Filter>Filter Gallery. Open the Sketch category and click Halftone Pattern (circled). In the settings on the right side of the Filter Gallery dialog, set the Size slider to 5 and Contrast to around 15 (try a Size of 2 on the Adobe preview image). Set the Pattern Type drop-down menu to Line and click OK.
Tip: Converting the white layer for smart filters gives you the option of reopening the filter to tweak the settings later on. To do that, double-click the words “Filter Gallery” in your Layers panel. Slick!
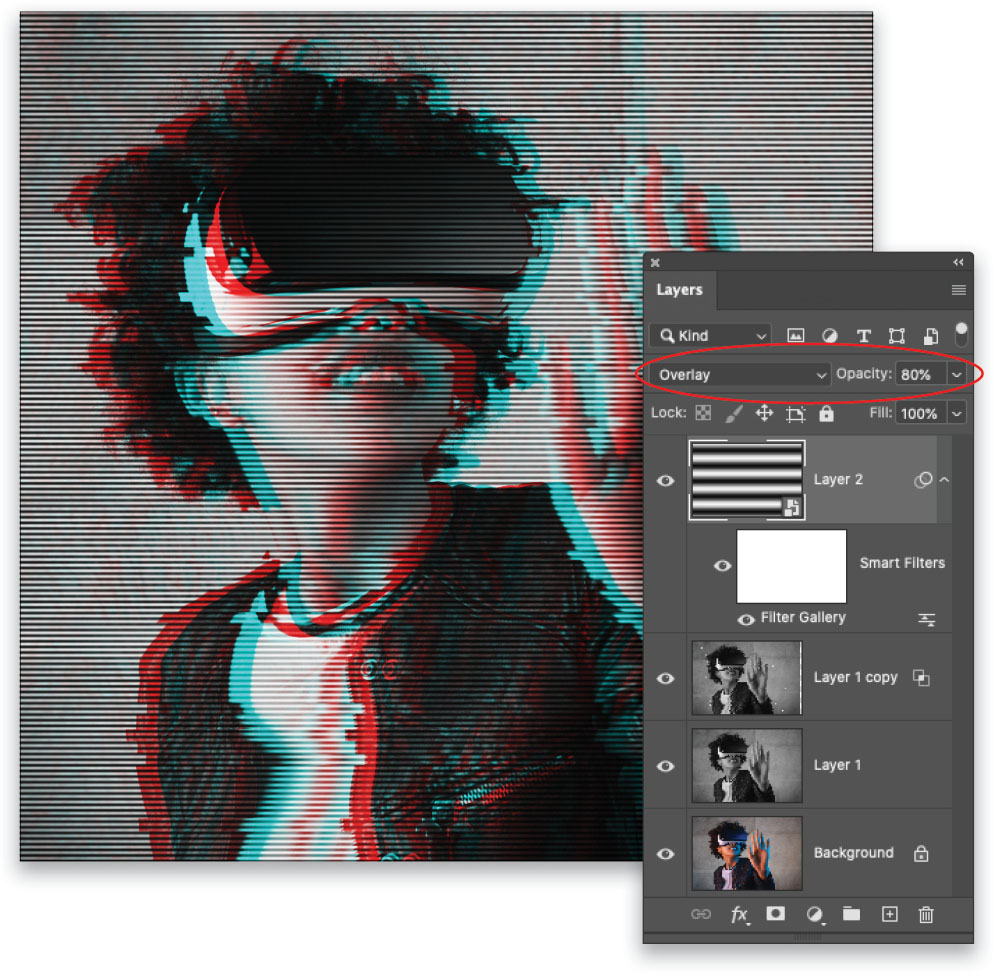
STEP 12: In the Layers panel, set the blending mode menu to Overlay and lower the Opacity setting to around 80% (both settings are circled here).
STEP 13: To bring back some of the original image color, activate the first black-and-white layer (named Layer 1) and lower the Opacity setting to around 50%. Here’s the final result.
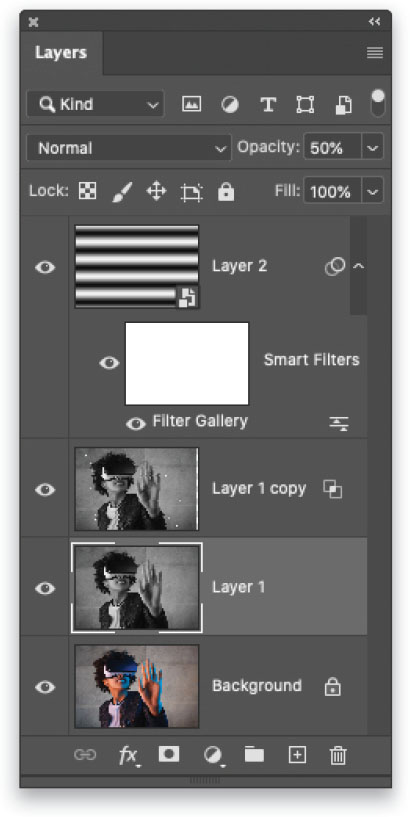
As you can see, this technique produces a striking and eye-catching effect! Until next time, may the creative force be with you all.

This article originally published in the August, 2021 issue of Photoshop User magazine.
About Photoshop User and KelbyOne
Photoshop User magazine comes out digitally 12 times a year and is part of KelbyOne, the leading educational resource for Photoshop, Lightroom, and photography. Pro members have access to more than 900 video courses and 100 back issues of Photoshop User. To learn more about KelbyOne, click here.


