3 Killer Tips to Maximize your iPhone Camera with Aundre Larrow
Let’s skip the pleasantries, if you’re reading this you’re a photographer. Maybe a full time professional, maybe a prosumer (a term I’m sure isn’t actually real) or a hobbyist. No matter the label you’ve spent time, money and sweat equity to perfect your craft.
And now here comes this new piece of technology, the iPhone, that has lifted the curtain and led to many more people describing themselves as photographers. A term that was formerly static is now fluid, being used to describe anyone who trains their eye to capture what’s around them with the camera that’s always with them.
It seems strange but I choose to see this newfound accessibility of photography as a compliment. Our desire to record, capture and be artful is worth pursuing for everyone.
And as a result, we’ve got some awesome technological advances in the iPhone camera each year. Here are some tips on how to access those and integrate them into your workflow:
KILLER TIP #1
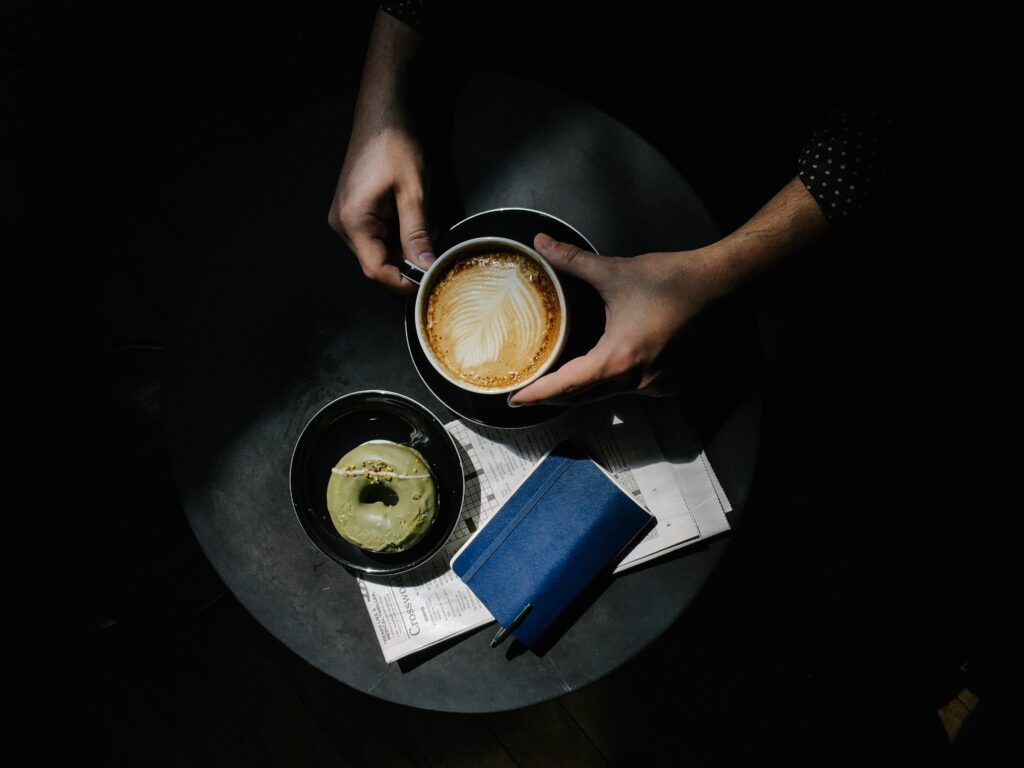
Did you know that your iphone camera can capture natively in RAW?
All iPhone Pro models from 12 onward capture have the option to turn on Apple ProRAW. The iPhone 14 Pro captures up a 48 MP image.
To access it, go to Settings > Camera > Formats > ProRAW.
Once it’s activated you can toggle RAW on and off in the top right corner of your screen.
It’s a touch slower than regular capture but the increase in detail and dynamic range is absolutely worth it.
K.O. TIP #1
Want to take photos and video simultaneously? No problem.
All you have to do is make sure ProRes is turned off (if you’ve got a Pro model iPhone) , and take photos using the white button in the bottom right corner while already filming. This can be helpful to take production stills, references for storyboards or just to capture an awesome moment with your family in motion and stills.
KILLER TIP #2
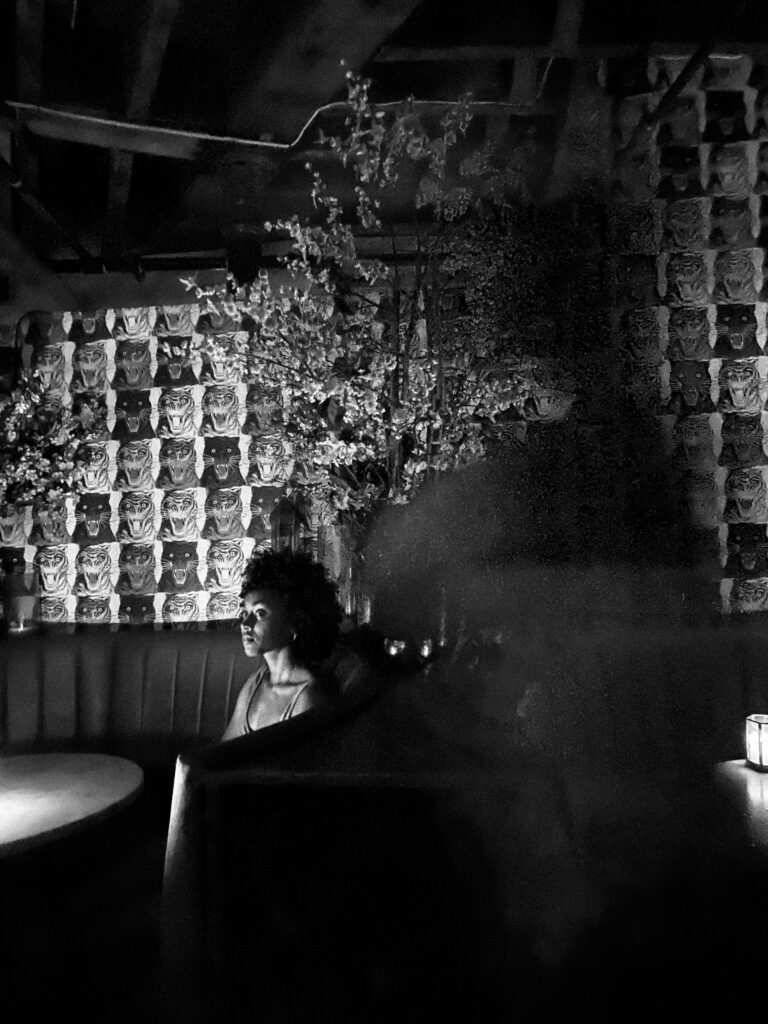
Night mode, whenever you want it.
You can turn night mode on not at night and turn it off whenever you please. But why Aundre?
Well you can force a touch of over exposure and get some cool blur effects! Try it out if you have some time to kill, no pun intended.
Tap the arrow at the top of the screen, and tap the moon icon, and use the slider to change how long the exposure your phone captures.
K.O. TIP #2
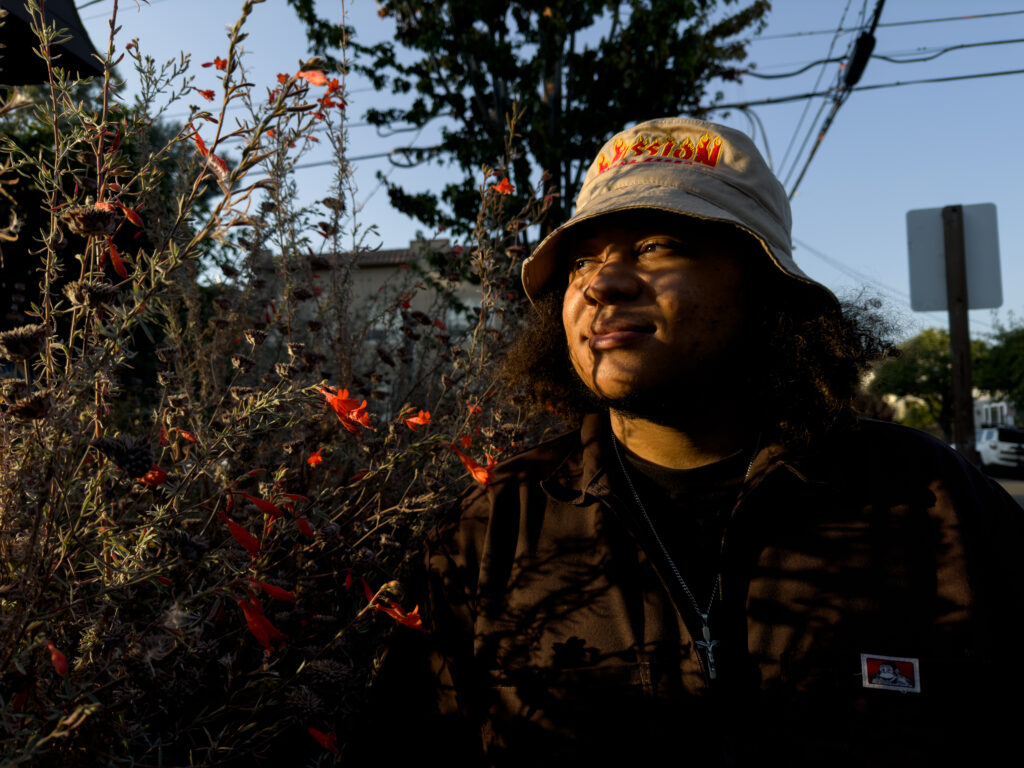
You can change the aspect ratio of your image in camera.
For some of us constraints help us in our photographic process. If that’s you, no need to crop after the fact.
Head back to the arrow and select the button that says 4:3. You can change your orientation to a full 16:9 (great for landscapes) or 1:1 (great for portraits.)
KILLER TIP #3
You can leave your settings so when you return to the camera it stays the same.
Most of this article so far has been customizing your camera to be ready for what you need. Now how annoying is it to set all this up only for it to reset once you close the app?
Just go to Settings > Camera > Preserve Settings and decide which settings to have as holdovers. I would advise against leaving ProRAW and ProRes on so you don’t eat up all your phone and iCloud storage.
K.O. TIP #3
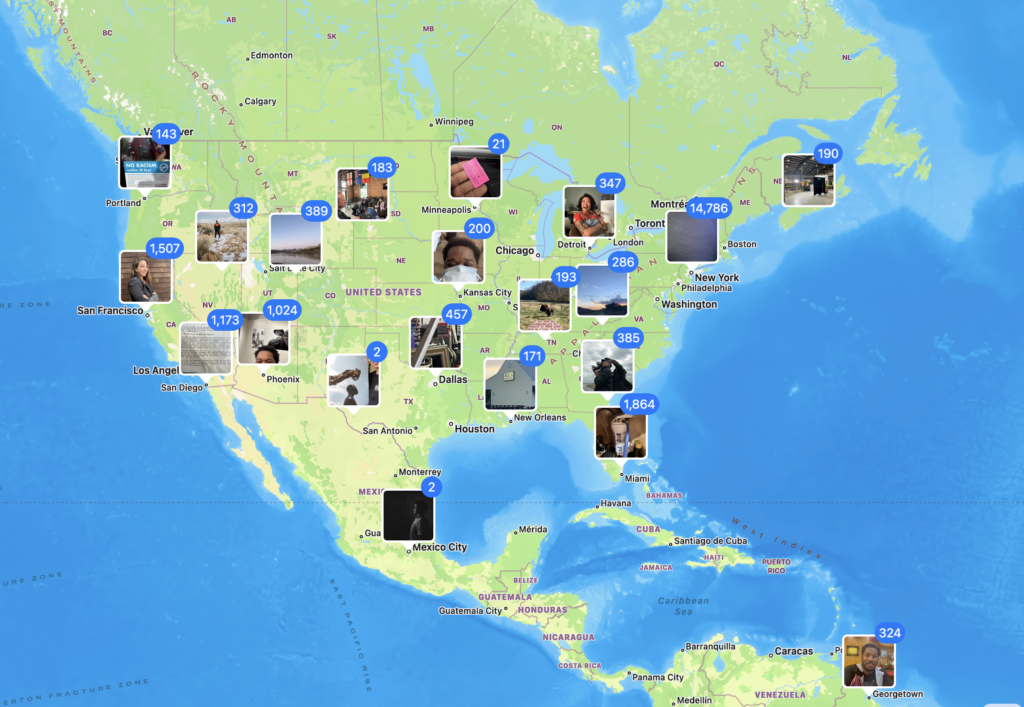
Places will make your photo scouting and searching much easier.
Whenever you photo scout for a client or for personal work, how do you catalog the work?
My process changes for the better once I started mapping my route on the places map in the photos app. It allows you to get as close to a pinpoint location as possible, even in semi remote areas. I can still see where I shot when I was in the arctic national wildlife refuge with no service!
Want more tips?
Consider attending my session at the upcoming iPhone Photography Conference on March 28th and 29th, 2023.
More From Aundre Larrow
If you haven’t already, check out my short, ‘Float’ that was #shotoniphone.
You can also follow Aundre on Twitter, Instagram, and Behance.